Biohazard

-
Lacing up the break with the steel wire. You don't secure this stuff by tying it; you twist the ends to create a braid. Problem is, you need somewhere to tuck the braids. I decided that there was more wiggle room on the frontside so I ultimately re-laced the wire moving all the twists to the front.


Even so, I decided to trench-out the front to afford maximum clearance between the plastic flange and the back of the chrome outer.

 
A look at the lace-up, front and back.


Now I smear the JB weld on, making sure to push it into the holes and into the trenches fully coating the wire and braids. I'll have to do one side at a time, though.
 
So after letting the backside sit overnight, I had to carefully sand off some excess JB weld that sort of dripped thru to the front... carefully.

Here's the front, ready for some more JB.

[URL="http://img.photobucket.com/albums/v467/vr6pilot/Red%20Fish/IMG_2331_zps5b0ae56b.jpg"][/URL]

And here's the patch. Not only did I cake it on but I made sure to run it out to the end of the narrow strip. Just trying to prevent future breaks in this, obviously, delicate area.

[URL="http://img.photobucket.com/albums/v467/vr6pilot/Red%20Fish/IMG_2332_zps618d5179.jpg"][/URL]

This will need to sit still until tomorrow. If I can set the chrome outer trim over it without it sticking out, then I'll leave it alone. Otherwise, I may need to run a file over the top of the patch. We'll see.
 
You're really insane to get rid of that Cruise Control. Even aftermarket, it will skyrocket the value of this Cuda. If you're sticking with the 2 barrel, reinstall it, you''ll be glad u did. Plus, if u can get it to work...how Cool is that????

+ U just gotta get rid of the 68 Front end, this Cuda deserves it.
DO NOT BUY the aftermarket 69 Cuda Grilles, you'll be sending them back. I've been there.
 
48 hours later....


Okay, allowed a day of set time for the JB on the front and another for the JB on the back. Had to be sure the stuff wasn't too lumped up under the chrome strip so I did a test fit and wound up grinding out some of the epoxy from the innermost track and then just flat sanded across the top.

Wound up with a perfect fit.

 
Cleaned up the chrome outer. This one is bubbled a bit. Can't do much about that except send it off for a rechrome which I may consider in the future but for now, just some crud removal and a polishing will do.

Check out the crunk.

 
Wow. I thought I could be picky about stuff. LOL It's taken two days on and off reading but I have read all 14 pages and studied your pictures. This is probably one of the best resto write-ups I have seen!

By the way, that comment about certain epoxies holding as well as baby oil, killed me. I'm gonna use it!
 
Compliment accepted whether intended or not! Yes, picky is the word of the week here.
And you can use that crack all you want. With any luck, I'll have no further need of it.

Wrapping up this past week, I shot 3 coats of clear laqc on the dash frame and allowed it to sit outside in wonderful conditions for curing paint. It needs to be rubbed in spots with some light compound but is otherwise good to go.

Also shot a couple coats of the stainless steel spray onto my plastic surround. Left it out west since I'll be resuming the work on it there. No sense haulin it back and forth.
 
So....here's something that sucks:

My 99% complete dash frame was sitting on a pair of saw horses, basically curing in the sun. Along comes a pop-up thunderstorm with a few mad wind gusts that blew the frame off the stands and onto the ground, landscaped with jagged red stone. Pissed.
 
We get weather like that often here in the Denver area. I've dealt with situations like you describe, and just have go on and re-do it. I hope it comes out alright. Great work so far!
 
One more tale of frustration and woe.

I work out of town week on/week off. Before leaving for this particular shift I decided to do something about the gunky smell building up in the single bay garage my fish is parked in. Everytime Mrs. Teeth&Tires opens that door, she complains about it so...time to get off my but since, obviously, there's still a stink issue. *and there is - I smell it, too.

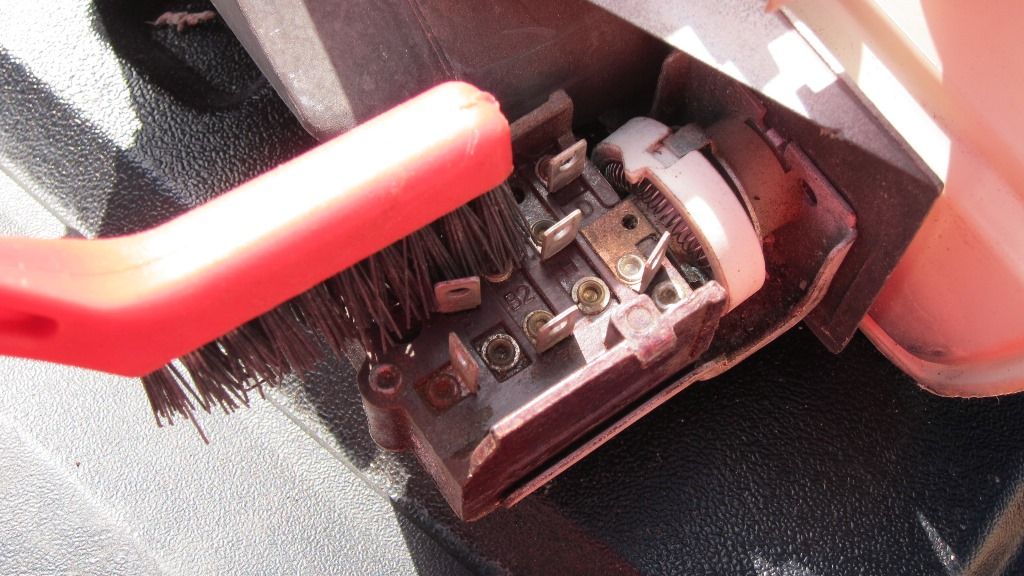
About the only thing left that hadn't been really detailed was the rear axle assembly. Plenty of crud still caked up on the top of the differential and along the shafts. The rear brakes had never gotten a serious cleaning either as I figured all those parts were getting replaced anyway so why bother? This plan was okay back when the car was living in the driveway but I had kinda forgotten about it when I tucked her in the garage. Can't ignore it anymore; gotta clean the rear end.

So its the day before I leave for a week and the forecast says nasty weather a-comin'. I had pulled the car out into the driveway to help it air-out but just can't leave it out there while I'm gone. What if it hails? I start scraping and scrubbing at the decades-old grime and it just isn't happening fast enough. Time to pull out the big guns and go get a can of Gunk engine degreaser. Stuff worked great and really helped me but now I have a new problem: the car stinks of engine degreaser - which is exceptionally pungent. I rinsed and rinsed to no avail, stressed over it for an hour, and re-attacked the problem with another jug of ammonia. That had the greatest impact on cutting the stench but ultimately, the car got pushed back into it's nest smelling worse than when it came out. Talk about no good deed going unpunished.
 
Project: Instrument Cluster

The dash frame got touched up with some glazing putty, sanded, painted, and re-clearcoated. It is perched atop the now-infamous sawhorses curing in the sun.
Time to do something about that awful instrument panel.

The black strip across the bottom has many areas where the paint is flaked-off, is scuffed and has several poorly done touch-up blobs. The chrome plating is flaking off just about everywhere is is applied. $450 for a repro? I'd rather not, thank you. Perhaps, if everything else goes well, I'll put it on my Christmas wish list. For now, however, I'm going the arts n' crafts route and will try to achieve tolerable aesthetics with readily available supplies, elbow grease, and perseverance.

I am also not a fan of the wood grain + black version of the instrument panel favoring, instead, the textured black + matte silver of the standard panel. To me, the wood tone just looks awful against the red interior.

Let's begin!

This cluster came out of the frame and went straight into a thick contractor bag and has been sealed up since last Summer. It has not been cleaned like everything else so that will be the first order of business.

The wiper switch getting swabbed after being misted several times with ammonia.
http://smg.photobucket.com/user/vr6pilot/media/Red Fish/IMG_2347_zpsdcccb26b.jpg.html

Brushing the loose dust and crud off the back of the gauges.
http://smg.photobucket.com/user/vr6pilot/media/Red Fish/IMG_2348_zps14a2e9e5.jpg.html

Brushing the crud off the headlight switch contacts area. Switch turned out to have some loose parts inside so, I ended up ordering a new one later that day.
http://smg.photobucket.com/user/vr6pilot/media/Red Fish/IMG_2349_zps0cd10bac.jpg.html

Take pictures!! The aid greatly in the reassembly process!
http://smg.photobucket.com/user/vr6pilot/media/Red Fish/IMG_2350_zps23aa31fa.jpg.html

Same same.
http://smg.photobucket.com/user/vr6pilot/media/Red Fish/IMG_2351_zpsd03a7758.jpg.html

The speedo removed, years and years of gears turning left greasy dust in the instruments housing. Anybody think I'm gonna leave that there? lol
http://smg.photobucket.com/user/vr6pilot/media/Red Fish/IMG_2352_zpsab6aac45.jpg.html

This one was to ensure I got the High Beam and Brake indicators back in the right spots.
http://smg.photobucket.com/user/vr6pilot/media/Red Fish/IMG_2352_zpsab6aac45.jpg.html

The gauges all functioned before teardown so I expect to clean them and return them to service. Here's a before-and-after of the gauge faces. How I freshened them up is my lil' trade secret.
http://smg.photobucket.com/user/vr6pilot/media/Red Fish/IMG_2352_zpsab6aac45.jpg.html

More dramatic than the last shot but some of this was sunlight induced.
http://smg.photobucket.com/user/vr6pilot/media/Red Fish/IMG_2355_zps3974385e.jpg.html

So, in the interest of fairness, I reversed their positions and re-shot.
http://smg.photobucket.com/user/vr6pilot/media/Red Fish/IMG_2356_zps85a7c47e.jpg.html

Rinsed out the guts with ammonia which evaporates like acetone out here in New Mexico!
http://smg.photobucket.com/user/vr6pilot/media/Red Fish/IMG_2357_zps395bcb62.jpg.html

Happy with the outcome. \\:D/
http://smg.photobucket.com/user/vr6pilot/media/Red Fish/IMG_2358_zpsc652aee0.jpg.html


The bulk of the cluster, after the gauges, is the front panel, the housing, and the circuit boards.
All of these got sprayed down with ammonia and thoroughly washed at the kitchen sink. Even the hardware and bulb sockets were dumped into coffee mug full of ammonia (outside, lol) and agitated for 5 minutes. Everything clean..... *picture the recruit in Full Metal Jacket cleaning his rifle.


So I was light-sanding the entire panel in prep for paint...


...when I discovered that the reason the wood grain looked so nice was because it was a repro overlay. Guess my decision to go black-n-silver was the right one!


It took all day to sand off the flaking chrome plating.


So many little corners, pits, nooks, crannies, etc. This is no project for the lazy.


Rinsed everything off, let it dry, and spent a few hours carefully applying and trimming masking tape. Oh, almost forgot: there were two cracks in the vicinity of the radio bezel along the bottom edge of the panel which needed (and received) a JB Weld repair - easily applied to the backside.


So, there it is - my first coat of silver drying outside. It is in the mid-80s and dry as a bone. Light winds means low dust. Excellent painting conditions!

I decided on Rustoleum's matte nickel for the silver color. I taped-off the labels (flasher, wiper, etc.) so I won't have to mess with them. For the chrome, I'm just going to use Dupli-Color's chrome stuff. Not going for concourse quality, just an even and pleasing aesthetic.
 
thanks TA!

Today, I pulled the HVAC back out of the car. I had temporarily hung it in place for the move out west but now, since I'm focusing on the dash, I need to get it installed correctly with all the gaskets, seals, and insulation that goes on the firewall.

Mornings here are always phenomenal. Just trying to get work done before 12 after which it gets pretty hot.
 
Headlight switch had something rattling inside and, like everything else, was funky so for ten bucks, it was just easier to buy a new one.

 
The instrument panel is far from finished but while I was home (my 'off' week) I figured I should work on those things I cannot do abroad. What follows is what happens when I think I'm just going to replace the old wiper seals.

Here's the wiper mechanism. No wonder the car was so rotten. This is likely the source of the leaking.


Whoever suggested (earlier in the thread) that the wiper seals were a suspicious place for mold to hide was right. Look at those gaskets - that should be white!
 
You can see a few interesting things here: the wiper pivot shaft is pretty long; it goes through the car in 2 layers; a rubber grommet seals out water where the pivot pokes through the outer cowl and a thin white gasket provides a secondary seal at the cabin firewall behind the dash to stop any water trickling down the pivot shaft.

In my case, I think it's pretty clear that the seals wouldn't keep a squirrell out.

Also note the corrosion on the linkage arms. That, too, had to be addressed before attempting reassembly.


I also found it somewhat irritating that whoever shot the paint couldn't even take the time to tape off the wiper arm drive splines. Fail.
 
Step one: get the crud off. Went after the parts with a copper bristle brush and several shots of ammonia just to ensure proper decontamination. Clearly, it was needed here.


Then it got the dremel + wire brush treatment.


Next, disassembly of the linkage for cleaning and to shoot a coat of paint over the arms after they get the rust scrubbed off.

 
Part of the disassembly meant dropping the brake pedal. Wanted to clean it, paint it, and re-lube the pivot. But when I pulled the rubber footpad off, I smelled mold behind it. Cleaning the steel arm was easy but I couldn't get the smell off the rubber so it got tossed. Replacements are cheap and easy. Not going to risk a re-contamination over a ten-dollar part. Plus, I'll get the chrome pedal trim pieces while I'm at it.

 
Got the silver down last week, time to re-do the black.


Got most of the trimming done with a small utility knife but the round cut outs demanded an x-acto knife.


Took little over an hour to mask off the instrument panel.


I do hope this works.
 
While allowing my paint to dry, I continued getting würk done by disassembling, cleaning, and oiling various throttle and transmission links. Here's some of it...

 
-
Back
Top