Biohazard

-
Dirty? The hell, you say.

Question (yes, another one) any of you guys recommend thread sealer on those heater hose fittings? Or just embrace that they're tapered threads and go with it?

I would put something on the threads. Helps to seal and gives some lube for threading in.
 
Fitted all fittings, with sealant, and installed all hoses (I hate spring clamps). Just one fan away from a complete cooling system. Managed to lose one of the cupped washers so I bought a set of 4 bronze lockers so they would all balance.
 
Trying to install cooling fan - fitment over the hub was too tight and I needed to sand some crud and paint overspray from the female side (fan hub). The Dremel sanding drum was perfect. Just a hair smaller than the hole I was trying to clean out, it only had to be moved around a tiny bit to clean out the crud without risk of getting the hole out of round.


This plus a drop of machine oil and the fan slips onto the water pump brilliantly.
I plan to fill the coolant and run the engine today.
 
Oh, the best laid plans....

Radiator leaking at the outlet with no pressure applied. :(
 
No lie, my brothers.

So, here is my motor looking like it's ready to go.

 
Vroom, Vroom, time.
Those little hose clamps are easy if you have the proper pliers to take them on and off.
They actually seal better than worm-clamps on new hoses.
 
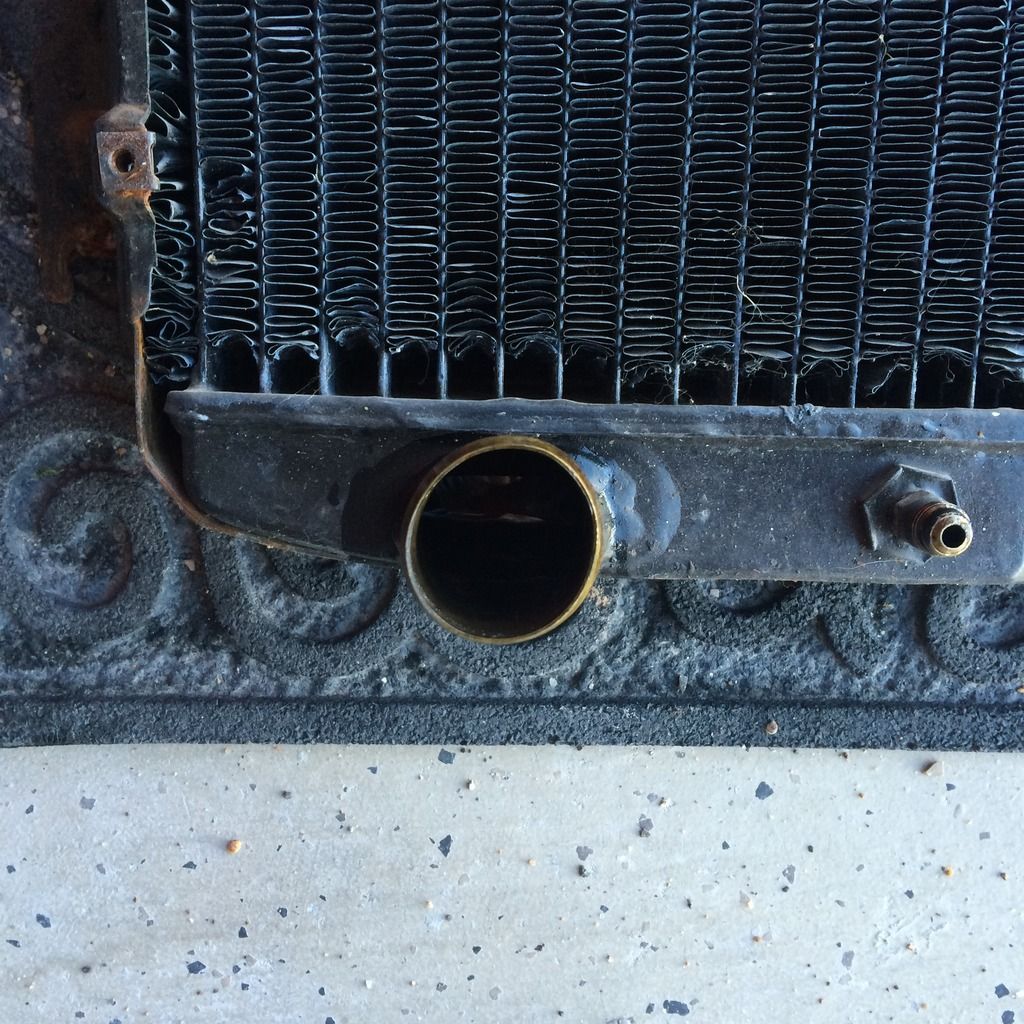
Right after that pic, I put the fan in and started pouring coolant only to find a steady light drip (one drop every 23 seconds) from the lower radiator outlet.

I then dropped enough F-bombs to make Nagasaki look like a birthday cake and went and found something else to do.

Once I got the energy to face my situation, I drained the fluid, capturing what I could, and yanked the cooler which had been in place since prepping for the move 17 months ago.

My first suspicion was, is it out of round? Well, it was...


This was handily remedied with a large wood clamp. Then, I laid it frontside down and filled it up with water to see if there were any compromises to the hull. There was one.


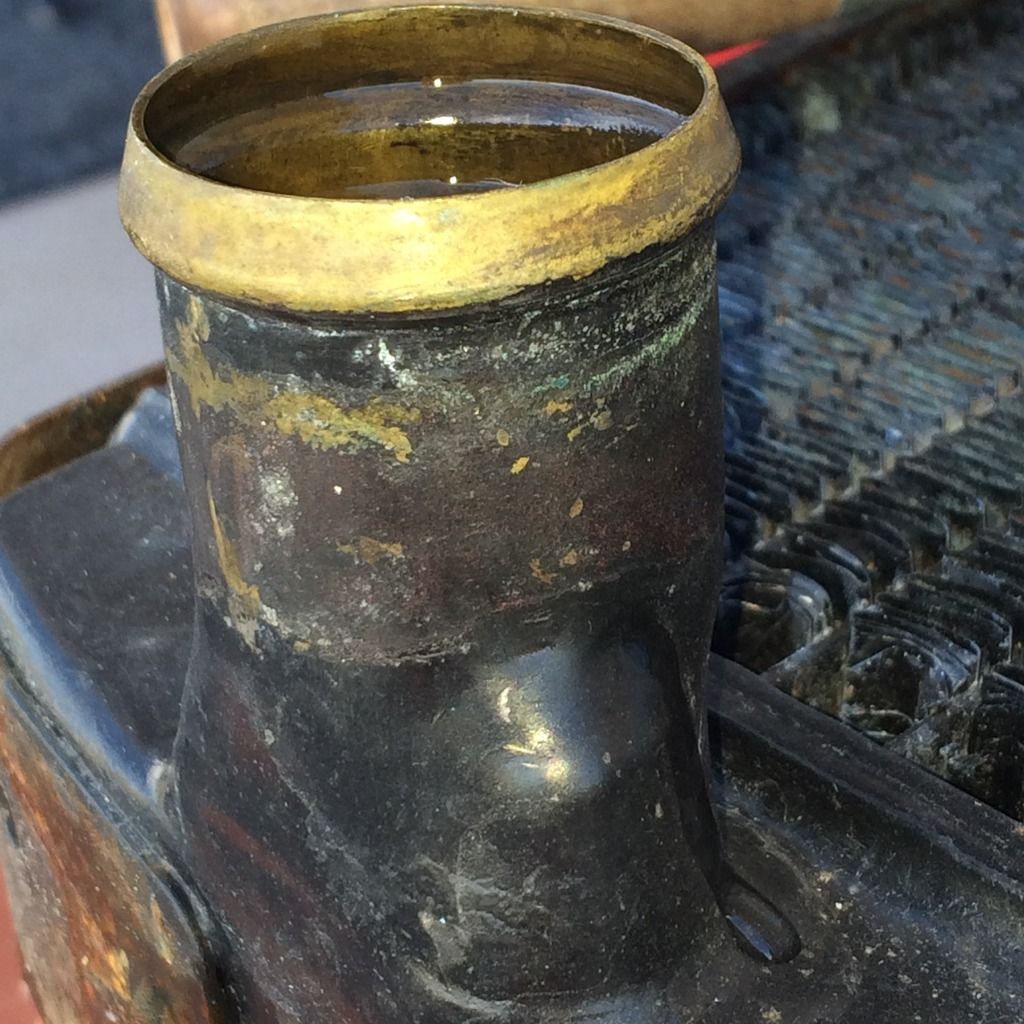
Slowly seeping at about the same rate as what I observed installed in the car.

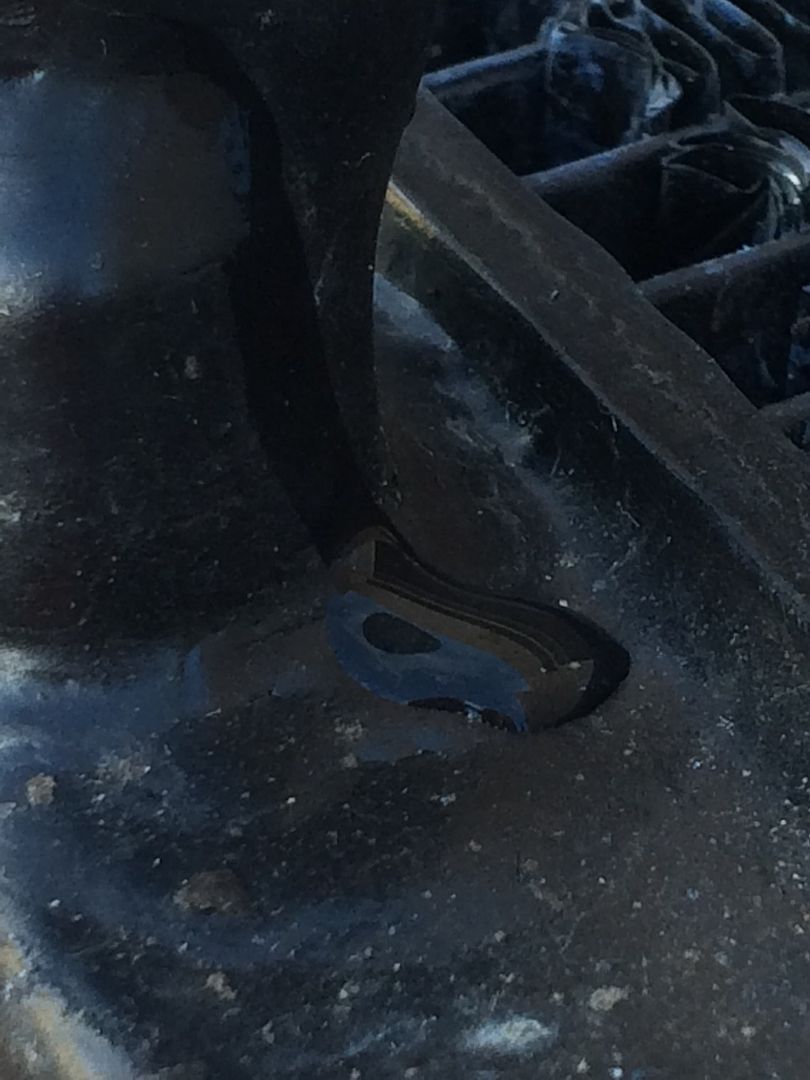
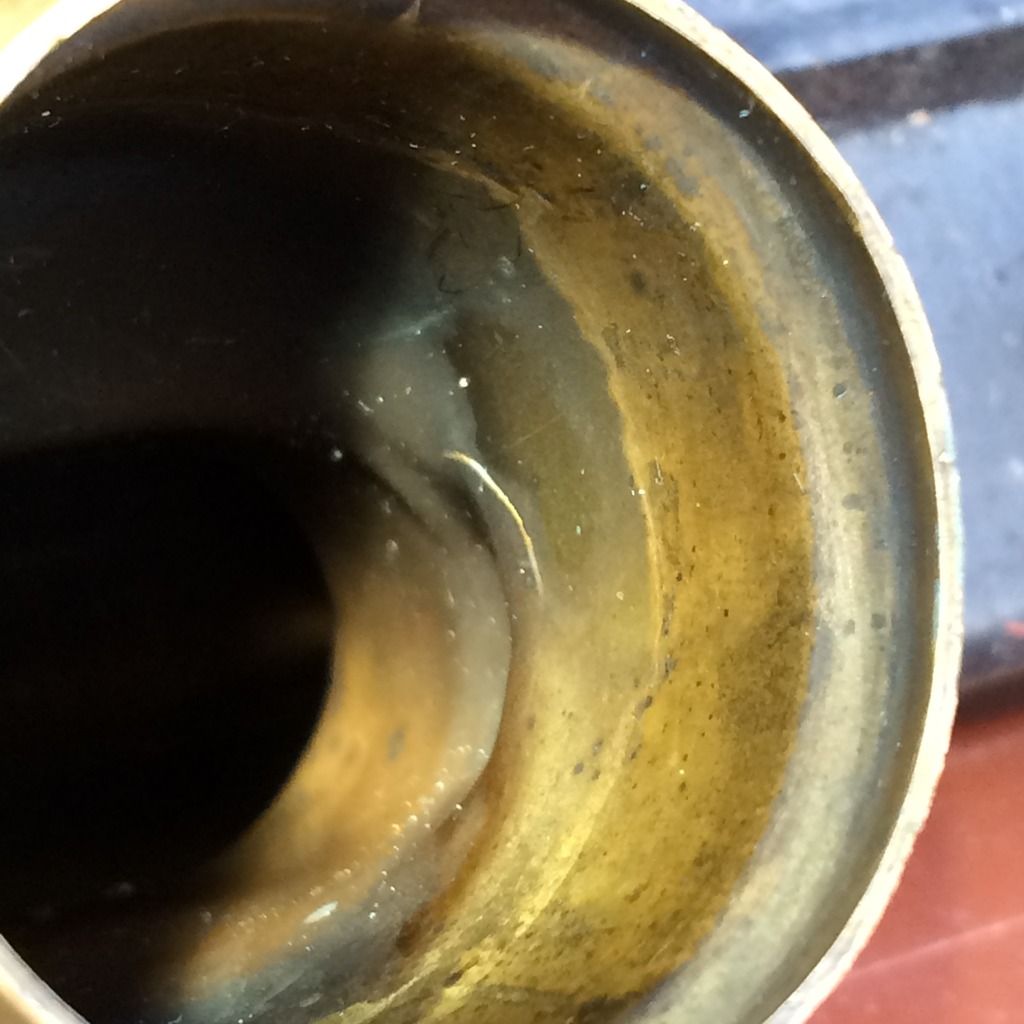
Peering inside the outlet, I can clearly see and feel this hairline crack...


So now I seek the wisdom of the council elders. Can it be soldered? Brazed? Some nefarious goo? Guide me, wise ones.
 
Yup, easy fix.
Take it to a radiator shop, $20 max around here to give you a guaranteed repair.
They will even make the outlet round if you bring it to their attention.
 
Think I'm just gonna do the repair meself. Pride and all that. Money, too.
And I had accepted the idea that the spring clamps were the more gooder way to go but I think I just got a real shitty plier. The experience, thus far, has been rather unpleasant.
 
Went at it today with some 60/40 tin-lead solder and a MAPP torch. After it cooled, I flipped her on her face and filled it, again, with water. Over an hour later, no leakage. :D
 
:cheers::cheers: Yay!! :cheers::cheers: Sounds like you got 'er fixed.

I feel the same way as you. Every time I pay someone else to do a job, I end up being dissatisfied and wishing I would have done it myself!!
 
I feel the same way as you. Every time I pay someone else to do a job, I end up being dissatisfied and wishing I would have done it myself!!

This - exactly. Although a pressure-test would be nice, I have to remember that there were no issues with the rad when I drove it prior to tear-down.
 
This - exactly. Although a pressure-test would be nice, I have to remember that there were no issues with the rad when I drove it prior to tear-down.

Your takin too long, she's getting mad at you for neglect. Pee'd on your parade, so to speak. Woman scorned........................ :D

lol
 
This - exactly. Although a pressure-test would be nice, I have to remember that there were no issues with the rad when I drove it prior to tear-down.

Bicycle tube. Cut it in half, attach the ends to the hose barbs, use the valve to pump it up. Submerge in bathtub and look for bubbles. Cheap and easy.
 
When I tell people about this car's Arizona life, they all say wow, the sheet metal must be great! -- and it is but I must, then, point out that everything NOT made of metal is toast. I thought I'd gotten a handle on all the soft bits needing replacement but guess I forgot about the rubber on the bottom of the radiator cap.


So sad...original Chrysler cap, too. I don't suppose anyone sells replacements gaskets for these?
 
Should be able to cut or punch new ones out of some rubber material. You might find it at a hardware store or McMaster Carr.
 
Actually wondering if I couldn't pull the ones off a new Stant and fit them to the old cap?? Eh, whatever.

Took the radiator to a local sandblaster today. The side brackets looked like crap, paint all bubbly and flaking off so I thought why not clean it up before I put it back in? It should be ready tomorrow and all I'll need to do is mask and spray-bomb it.
 
In today's installment, I shall attempt to make lemonade from lemons.
Since the radiator is out, removing the condenser is easy. Took that out, as well. And why? Because the radiator support in the area behind the grilles is supposed to be blacked- out and removing all of these heat exchangers facilitates shooting the required black paint.

 
-
Back
Top