SassyGrassScamp
My Addiction Has Begun
the guy i told you about with the duster had one but it might be gone now.
If you could find out and let me know, I'd be grateful.
Thanks
the guy i told you about with the duster had one but it might be gone now.


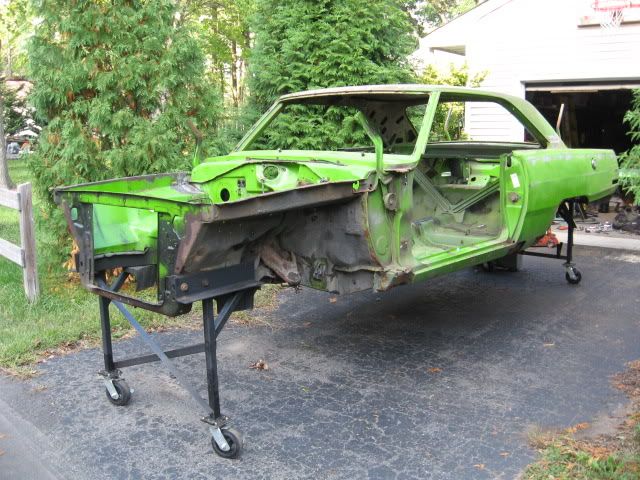
good job, looks good, love the homemade dollies. what size angle is that 3x4?
I think so....It was a brick lintel from an old building.
hey ...where you in Jersey...? I'm over in Monmouth Beach!
Just read the entire thread and love what you have done!! Keep up the great work and looking fwd to more pics and updates!
4spdragtop
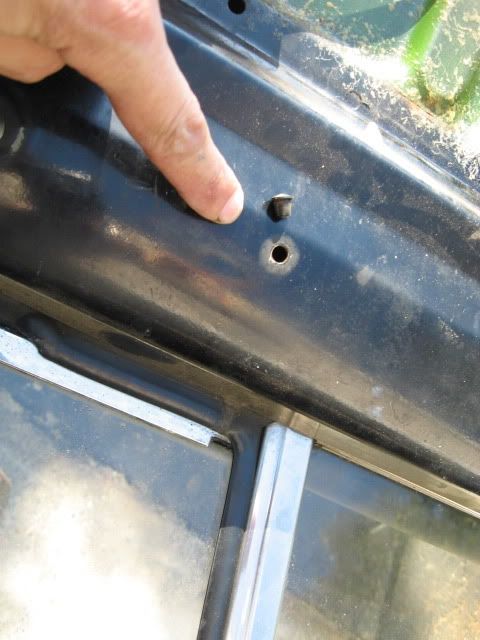
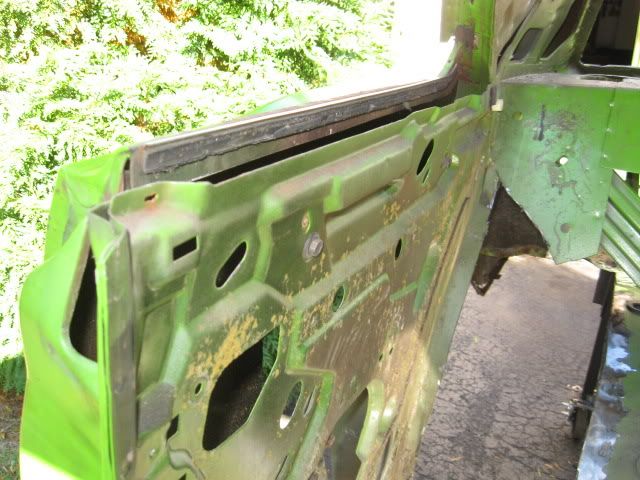
Your beloved Jets are playing my beloved Vikings, so we both will be getting something accomplished this weekend. Jamesdart is correct, there is an allen head screw behind that plug that helps hold the vent window assembly in the door.
To question 1, on Johnparts' car we left the lip but I suppose you could go either way if you wanted to. To question 2, the tubs are behind the seat back frame, but we did cut off the seatbelt studs as we're moving to modern belts anyway.

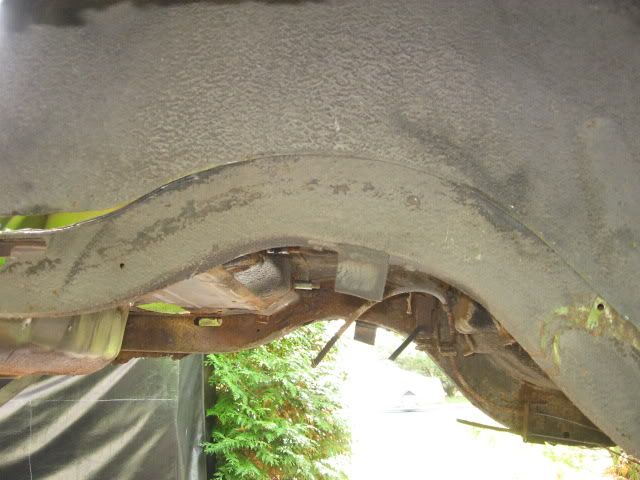
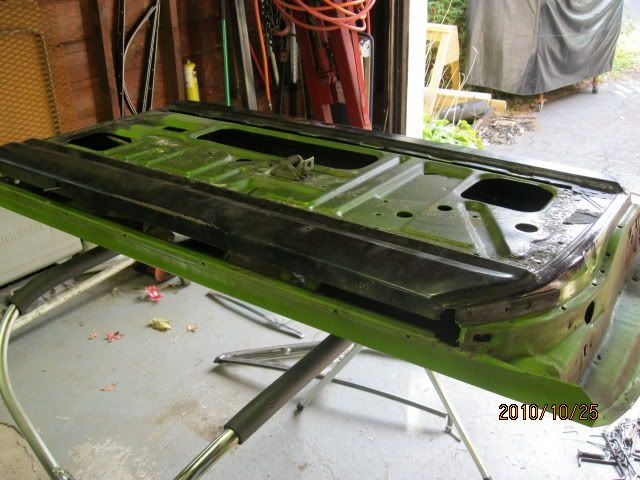
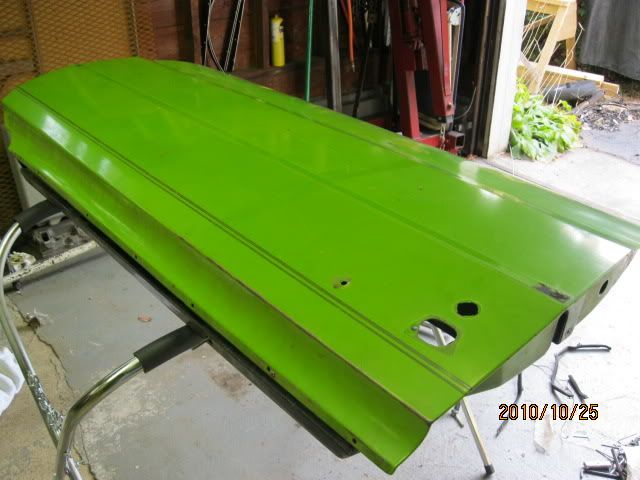
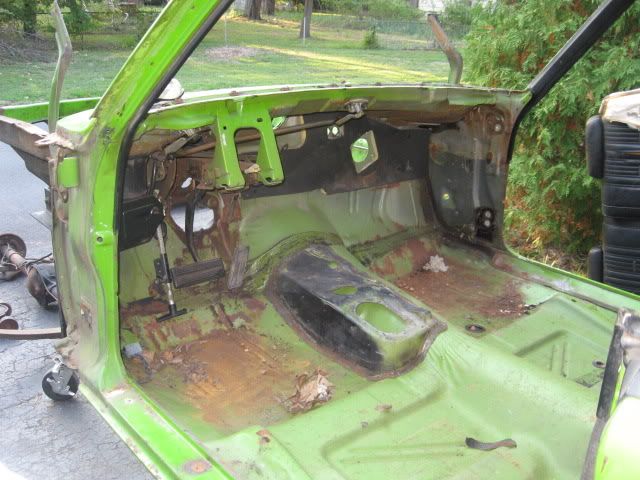
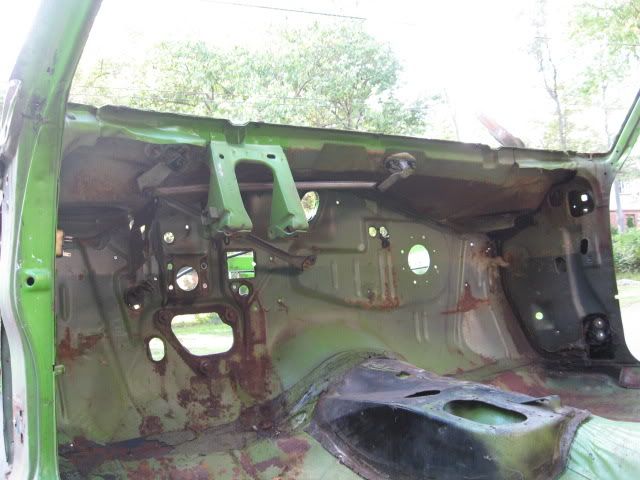
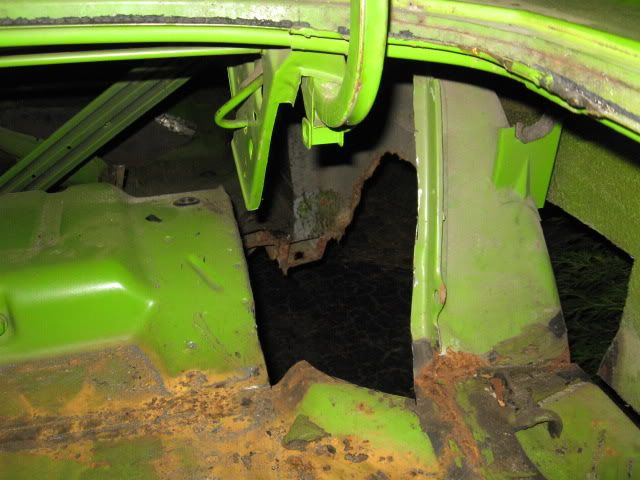
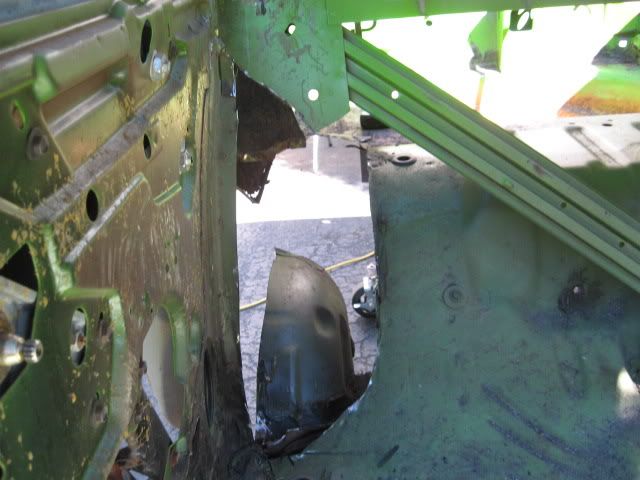
OK....This is officially the furthest I've ever had a car torn down, and I just hope I can remember how to put the damn thing back together!
LOL!, I thought the same thing when I got mine completely gutted. With any luck, I will find out by mid-summer if I can.
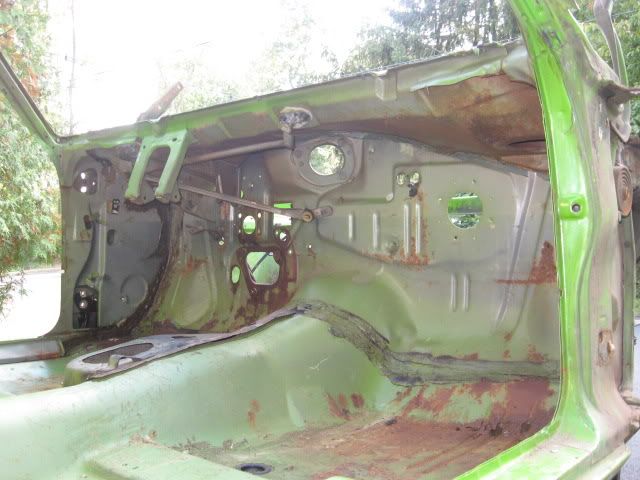
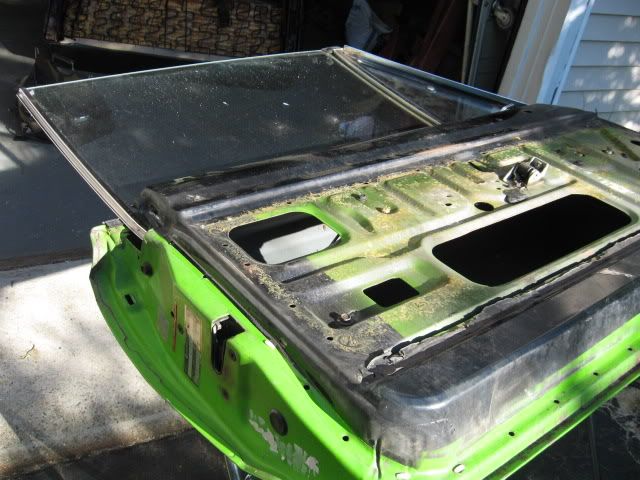
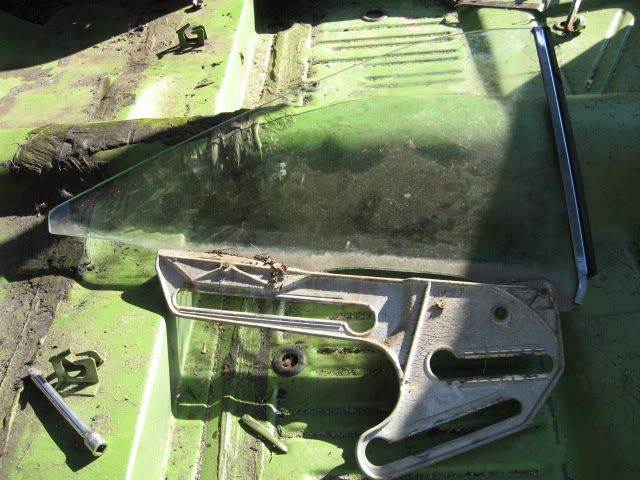
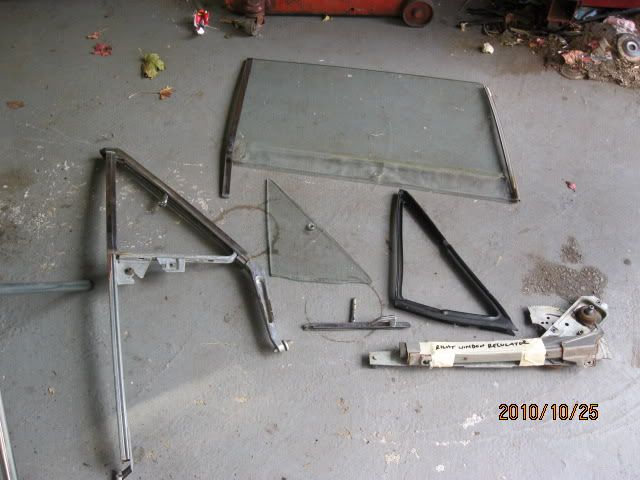
Did you manage to get the door glass out without tearing up the clear plastic "sliders" that were on the front channel next to the wing vents? Any idea if replacements can be had from anywhere? You're making great progress, keep it up. L8r
Jim
Did you manage to get the door glass out without tearing up the clear plastic "sliders" that were on the front channel next to the wing vents? Any idea if replacements can be had from anywhere?Jim
The plastic sliders are there, but just hanging on by a thread....I think they'll be ok to re-use.


