Riddler
Project EH-Body
Exactly my thoughts.
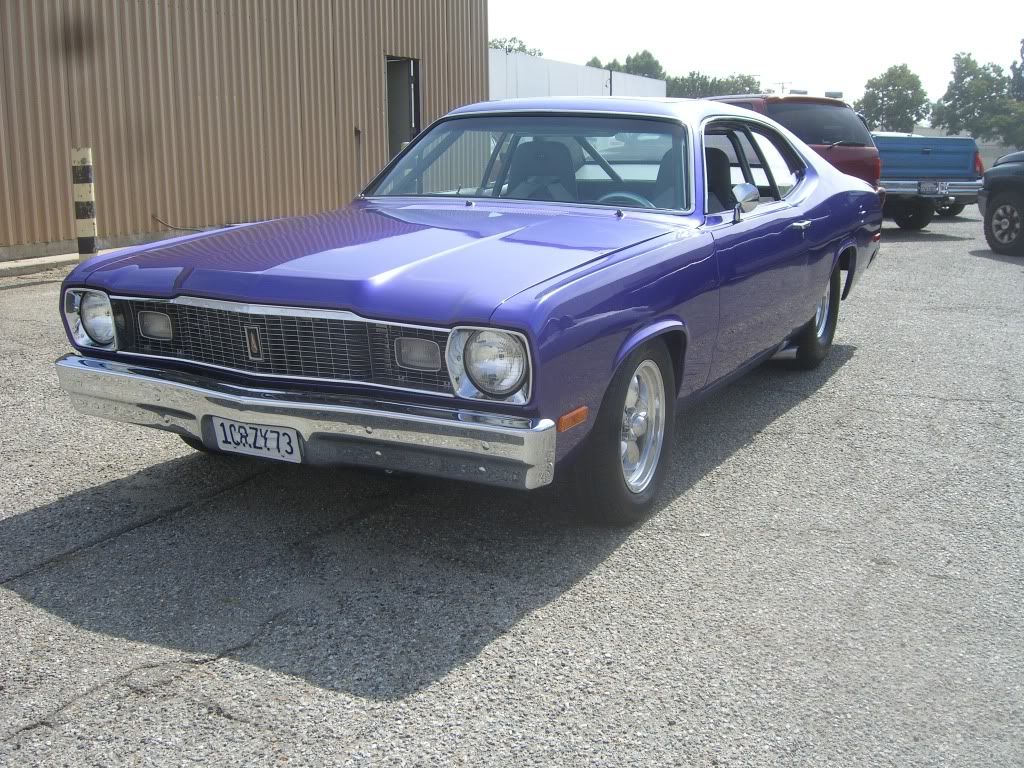
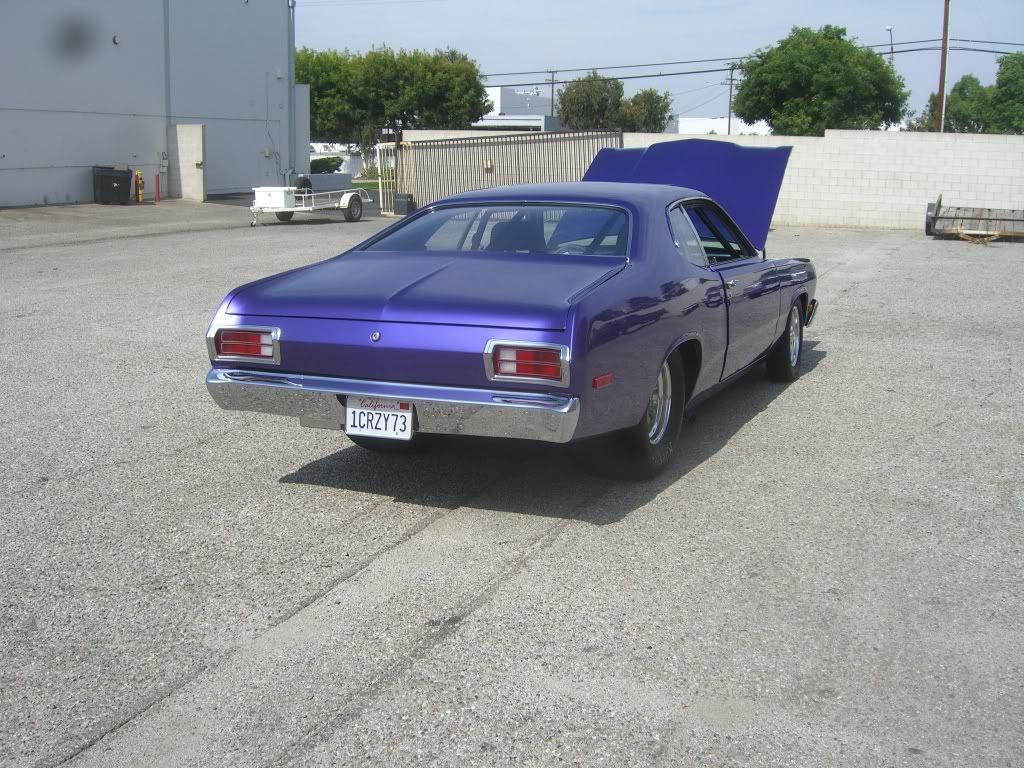
I will say though, that the rear wheel opening has enough room to run an 18" rim without getting too short on the sidewall. The front, on the other hand really is limited to a 17" rim, IMO.
If money were no object, I would run a 245/45-17 on the front and a 275/40-18 in the rear. Both have about 4.3" of sidewall, and they match a C5 Vette for tire size. Makes them a size that should be readily available for a long time, and relatively cheap to boot.
Wow thats some really good thinking. I'll have to call tomorrow and get a price on a set of 17" fronts and 18" rears. Im' normally a guy who likes matching size rims but I don't think you'd notice with 1" larger and the same thickness rim size.
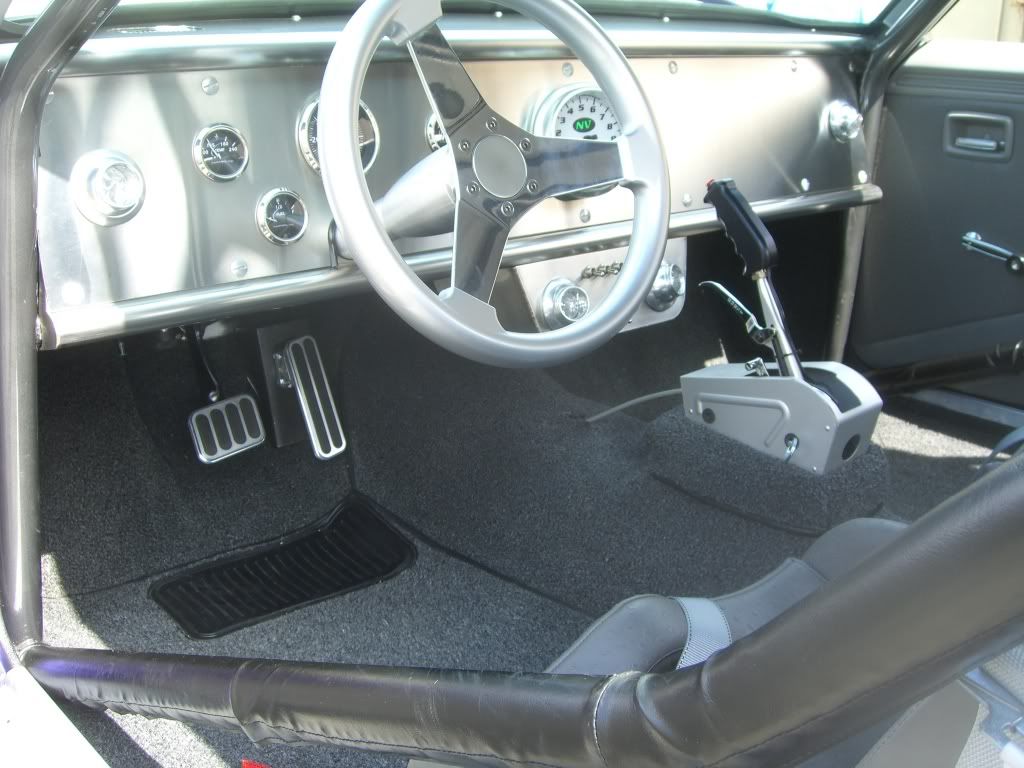
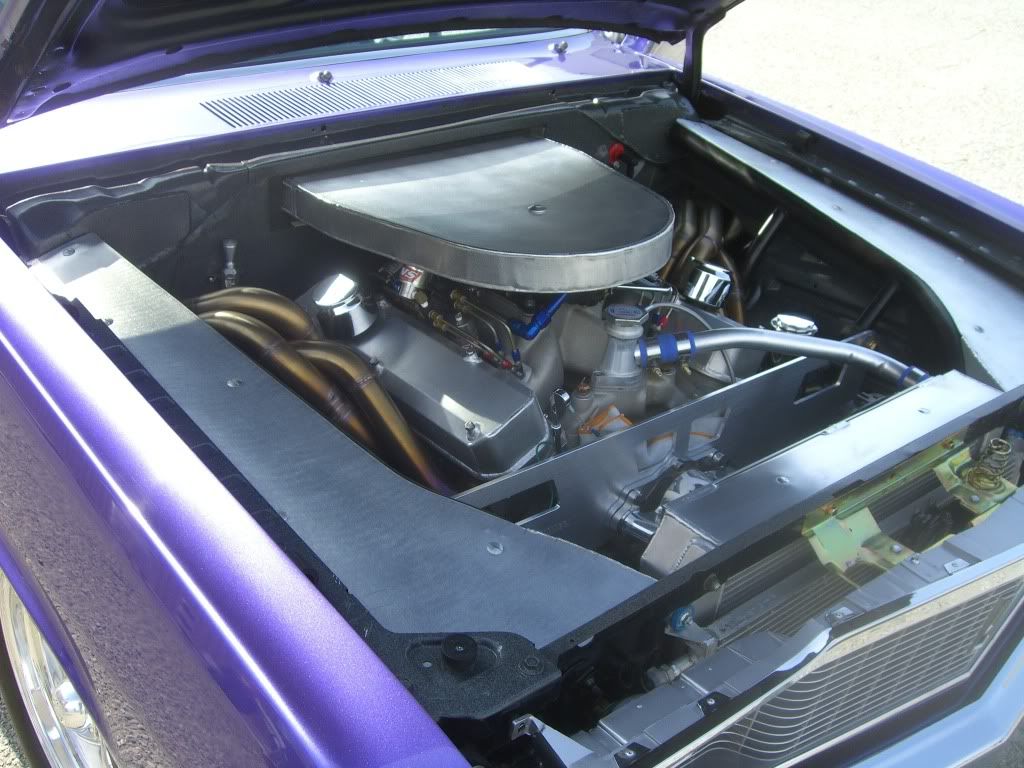
76orangewagon, huge thank you. I've been thinking of not using the extensions but wanted to see what others have done. I'm mostly conerned about rad size. I believe without extensions I can still fit a decently large rad and still have room for a trans cooler.
Riddler


")


