70 Dart Custom

-
The only major surprise was the passenger quarter. It must have been side swiped years ago, and instead of pulling the dent, they just layered on the bondo.

That is the old timers "cave and pave" method :thumrigh:

Car is looking great!!!
 
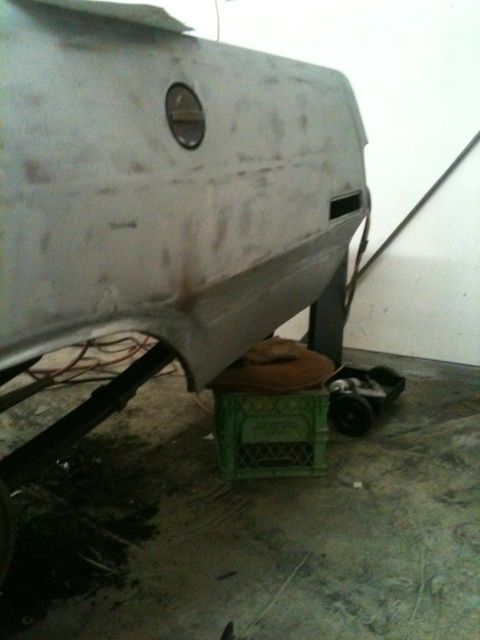
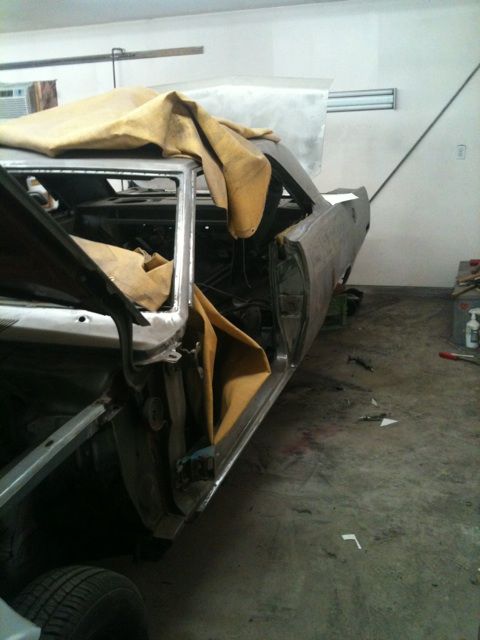
Got some updated pictures. Both inner fenders needed work, as well as the rad support. The quarter rust extended a bit further than it looked, and it had started to take out the trunk extension. The quarter behind the door jamb on passenger side was patched, and there will be a bit of firewall work as well. Some rust was starting where the rear window seal sits, so it was repaired.

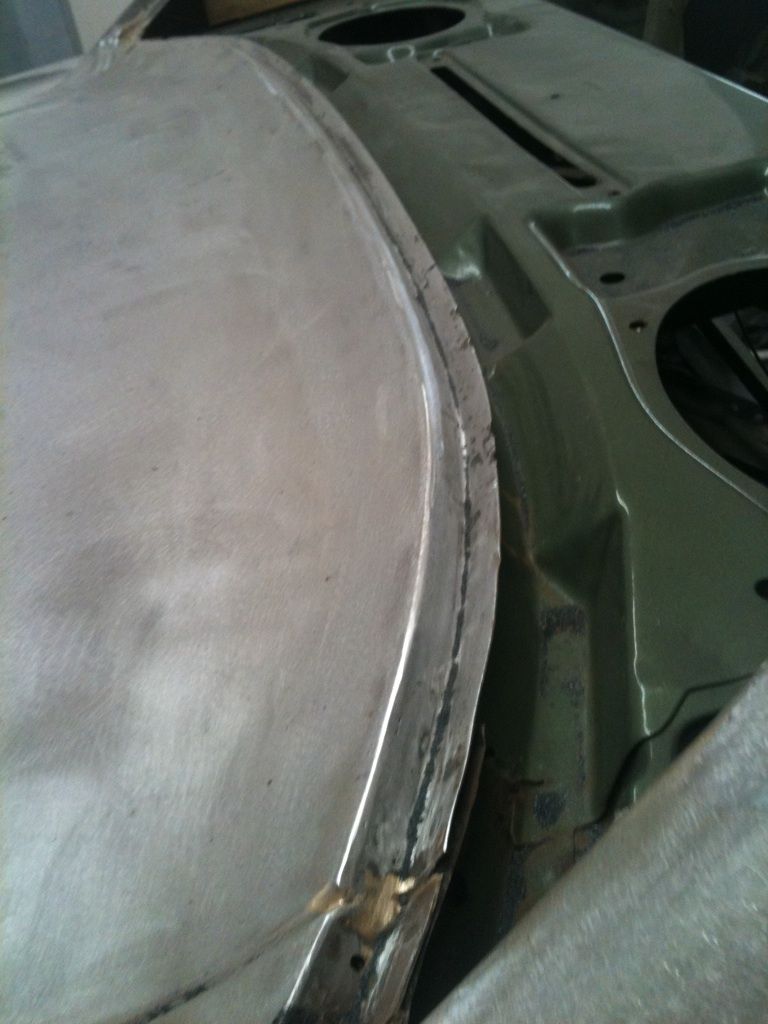
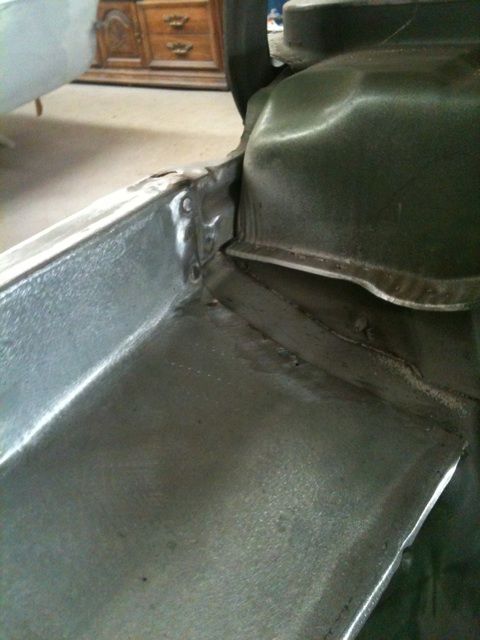
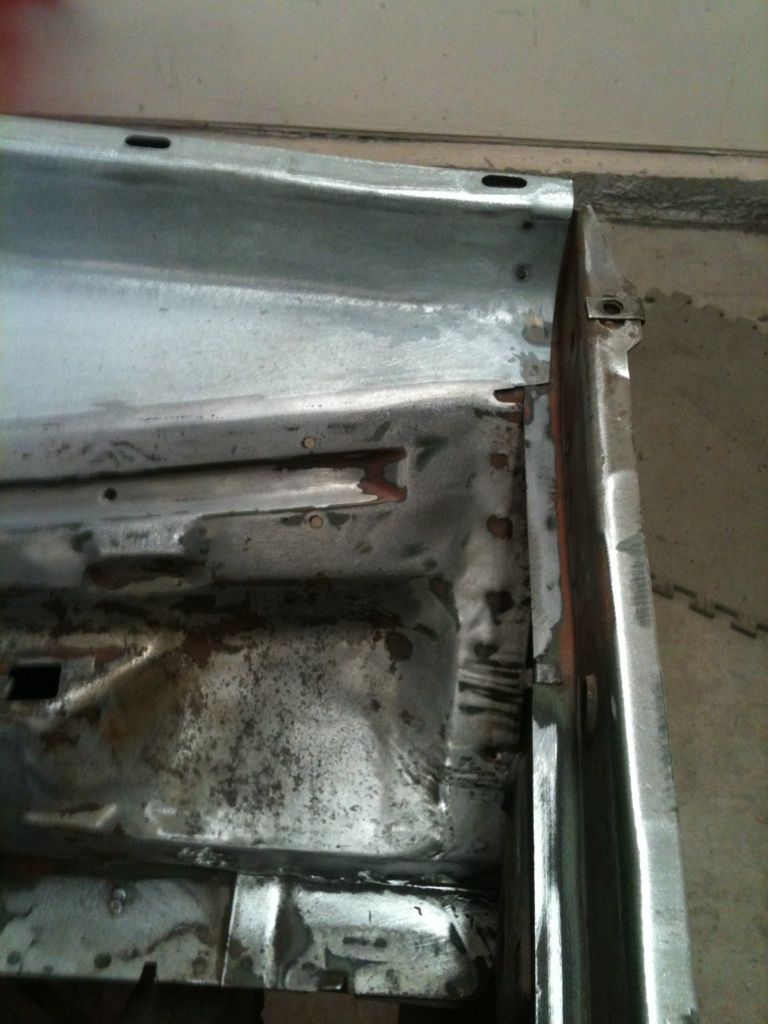
Trunk extension and inner wheel lip welded in.

untitled30.jpg

untitled39.jpg


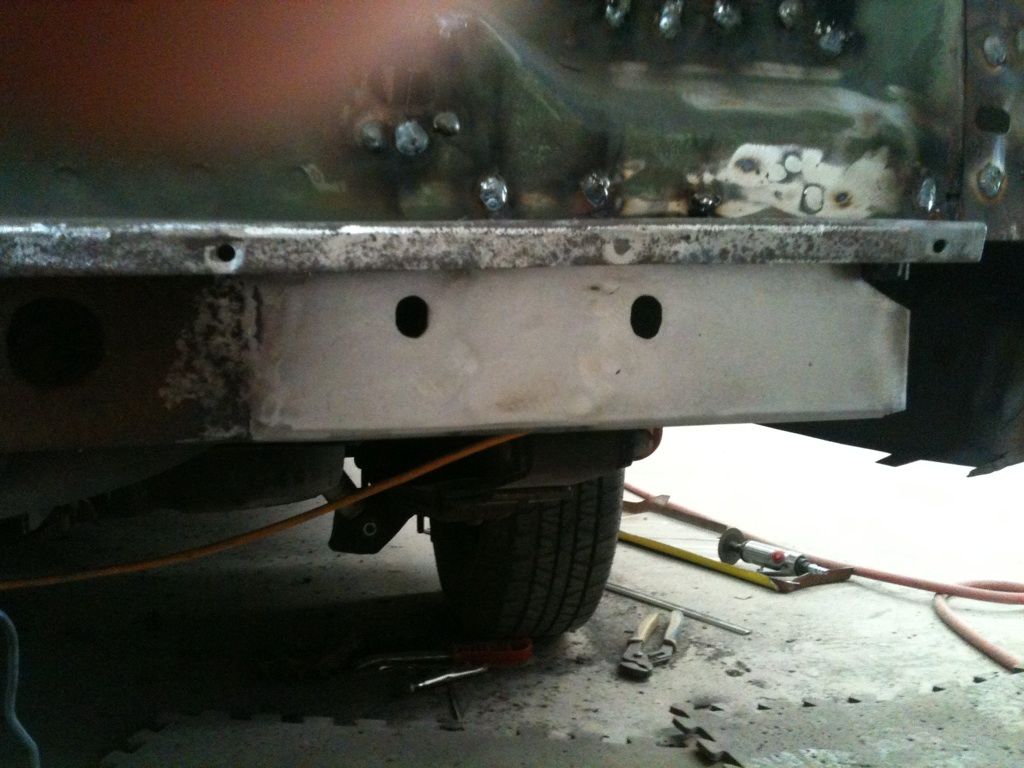
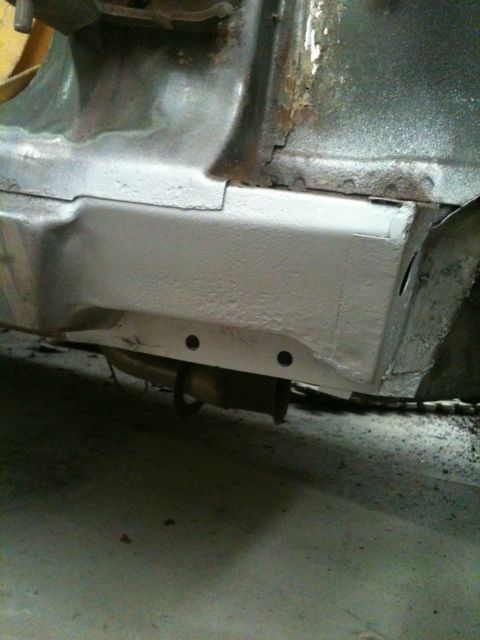
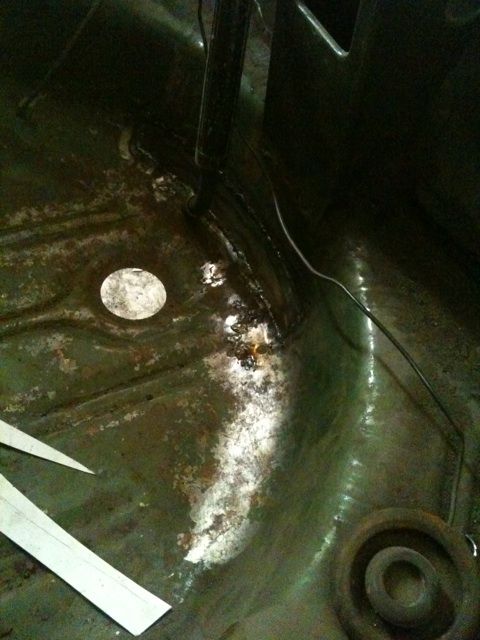
Rear frame portion fixed.

untitled31.jpg


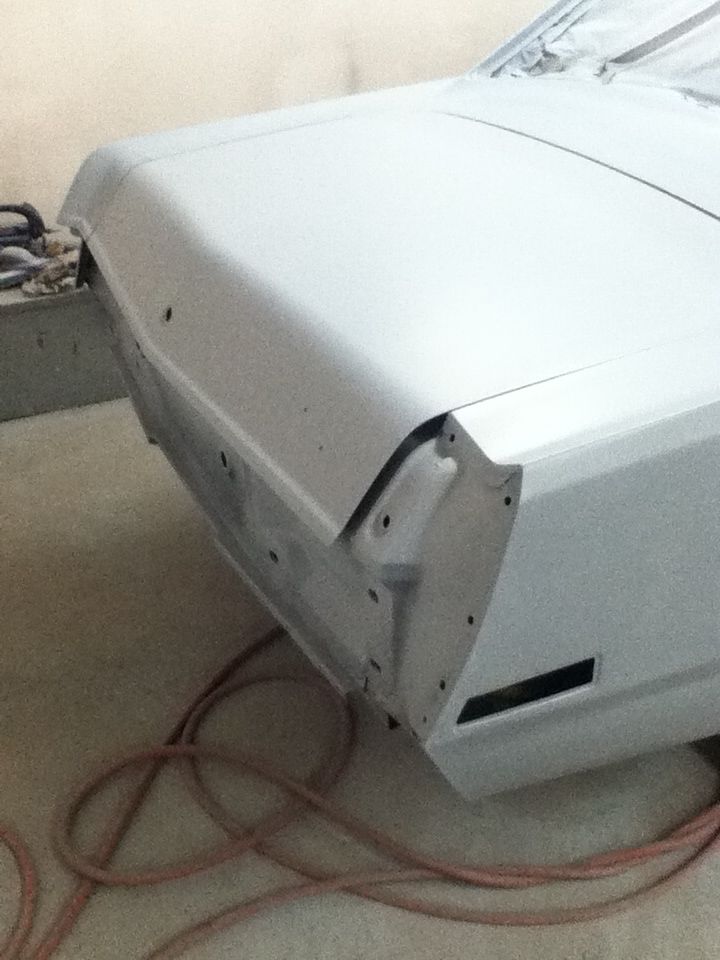
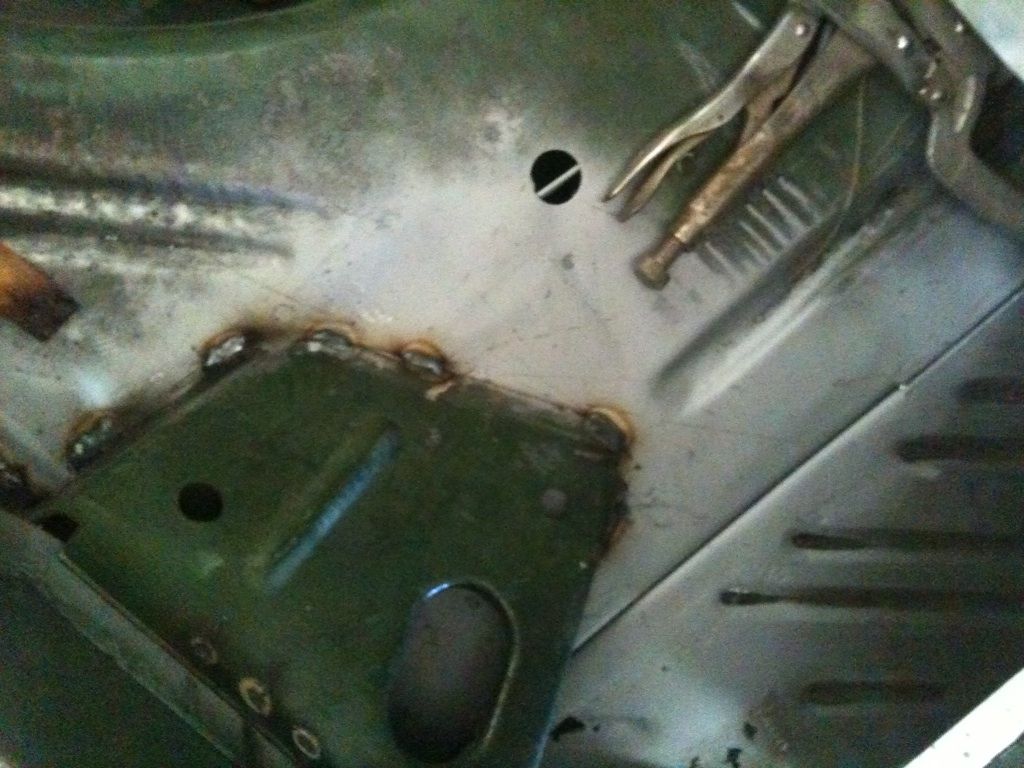
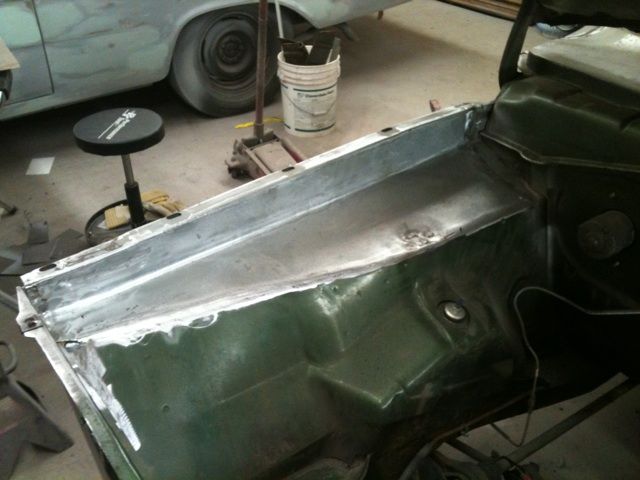
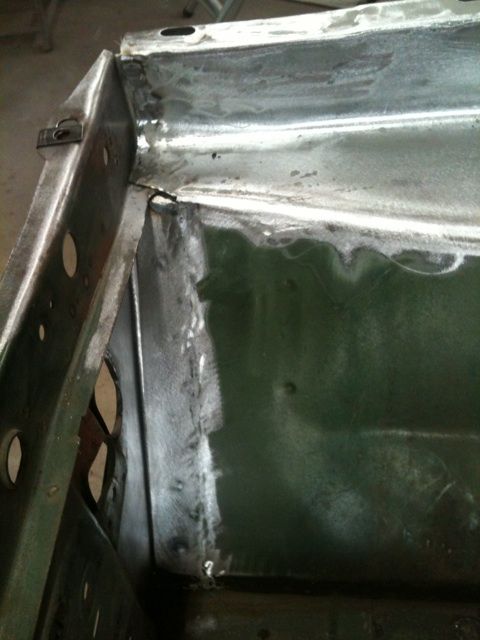
Passenger corner of trunk/trunk extension/trunk floor fixed.

untitled32.jpg


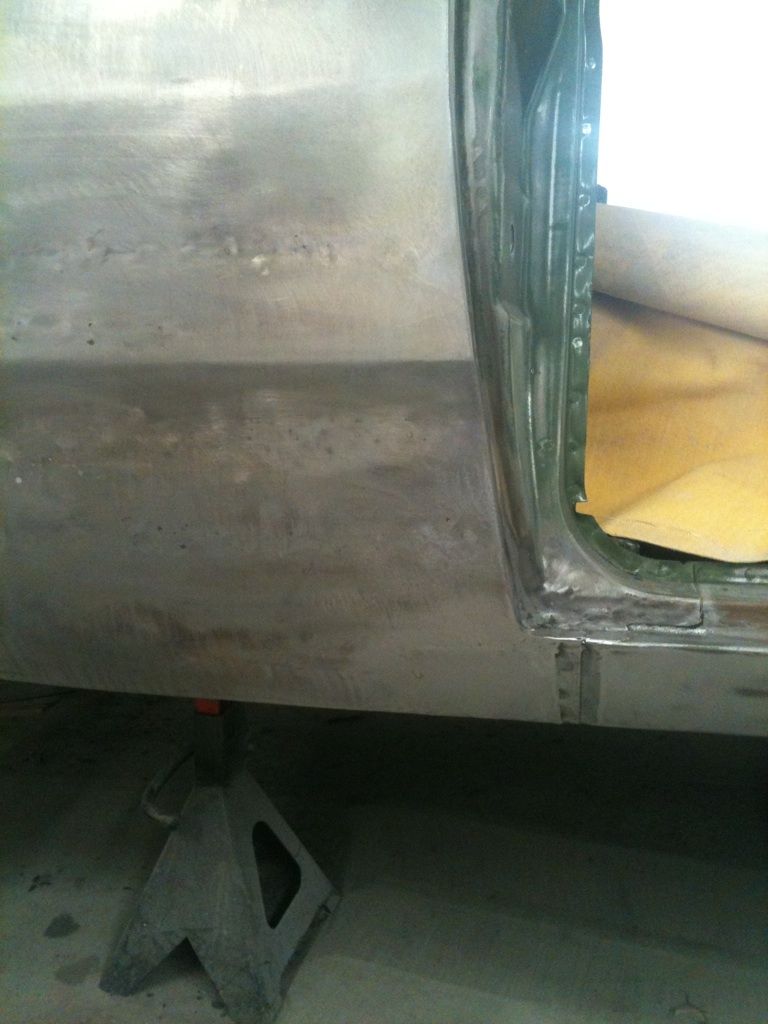
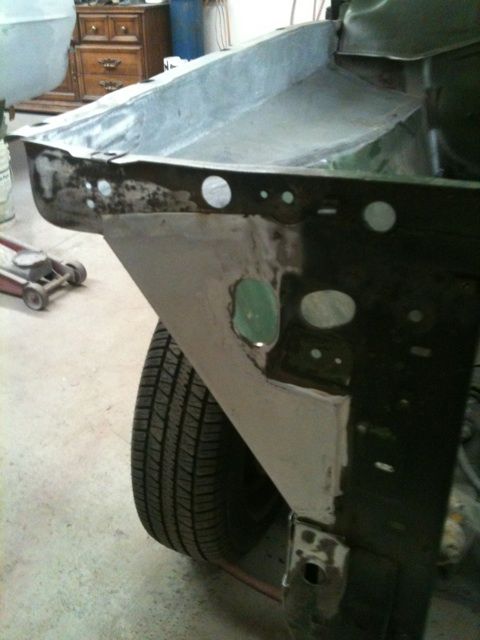
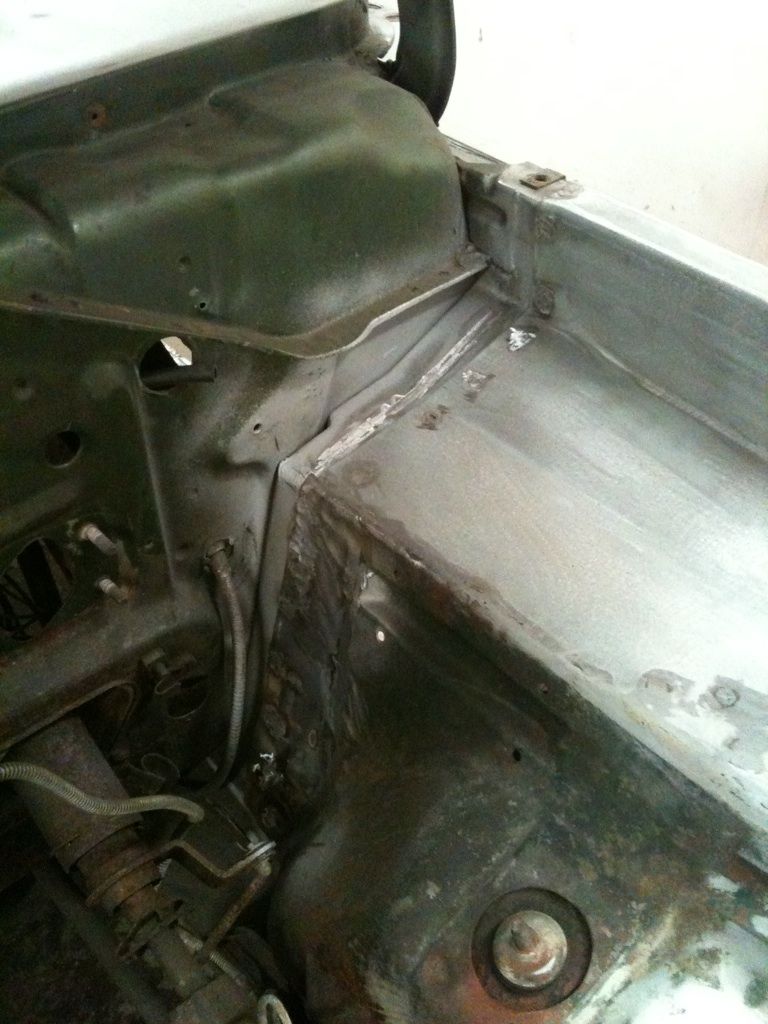
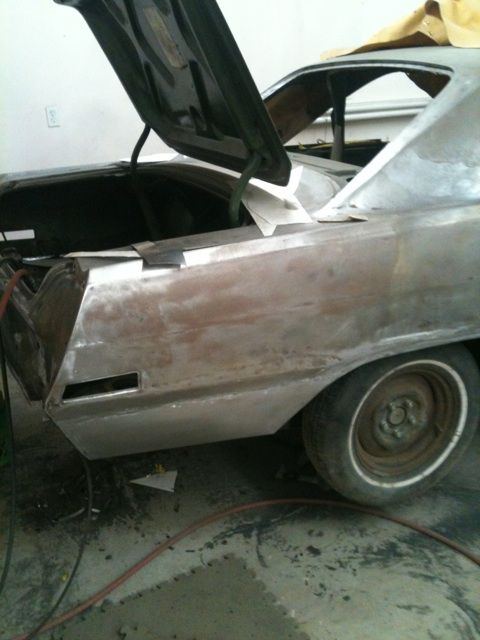
Passenger quarter behind door jamb, rot cut out and patched.

untitled40.jpg


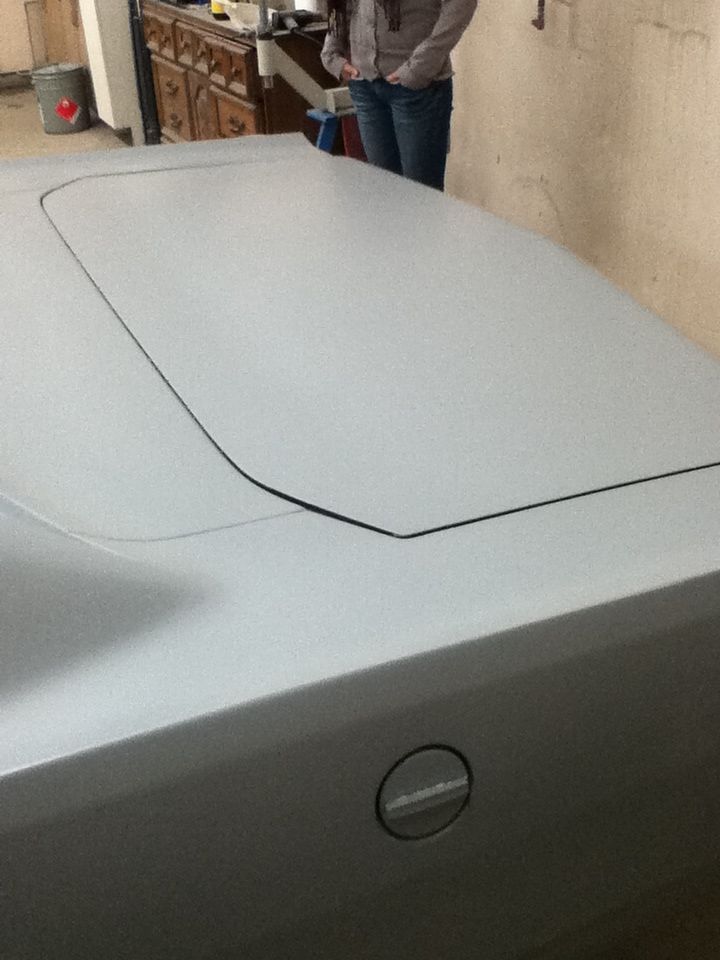
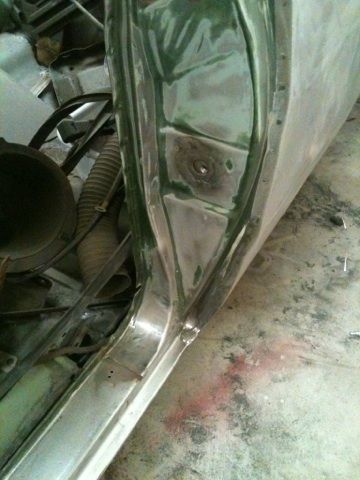
Rust in rear window taken care of.

untitled41.jpg


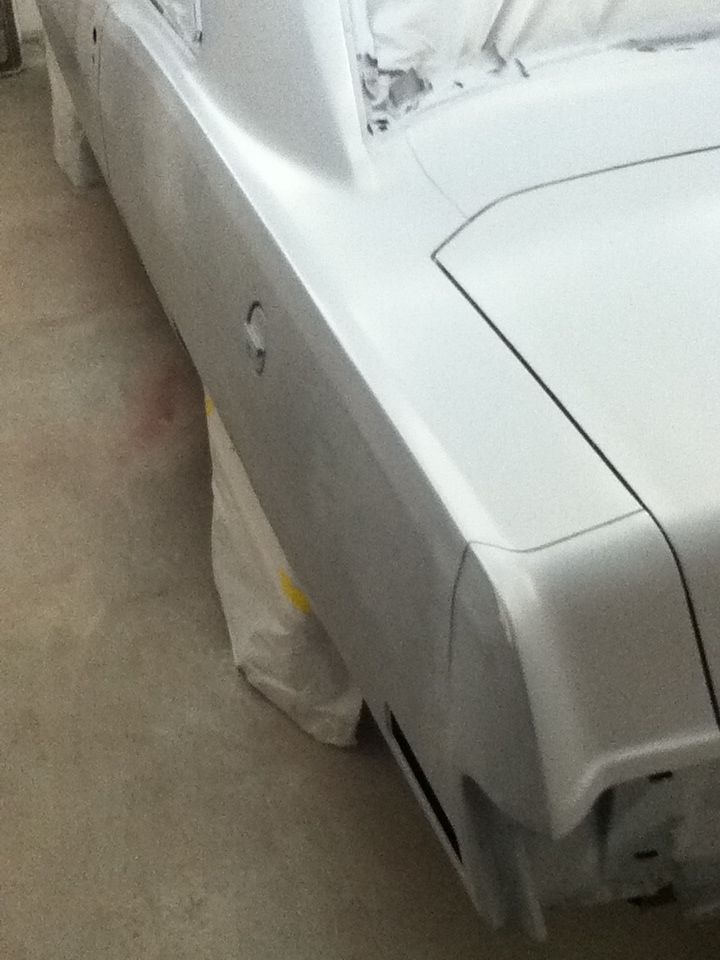
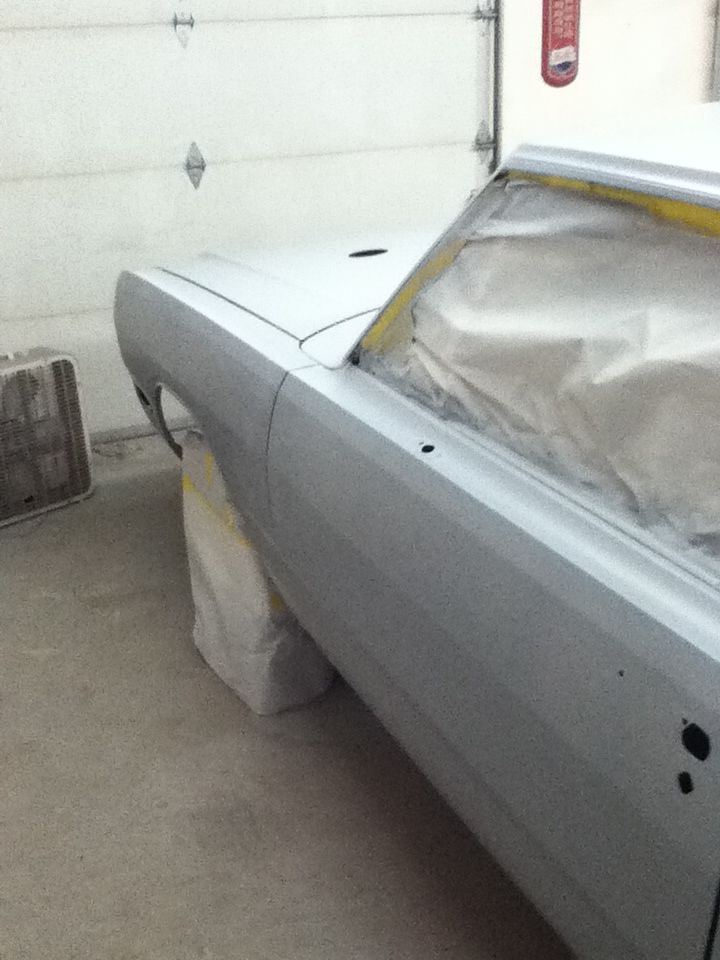
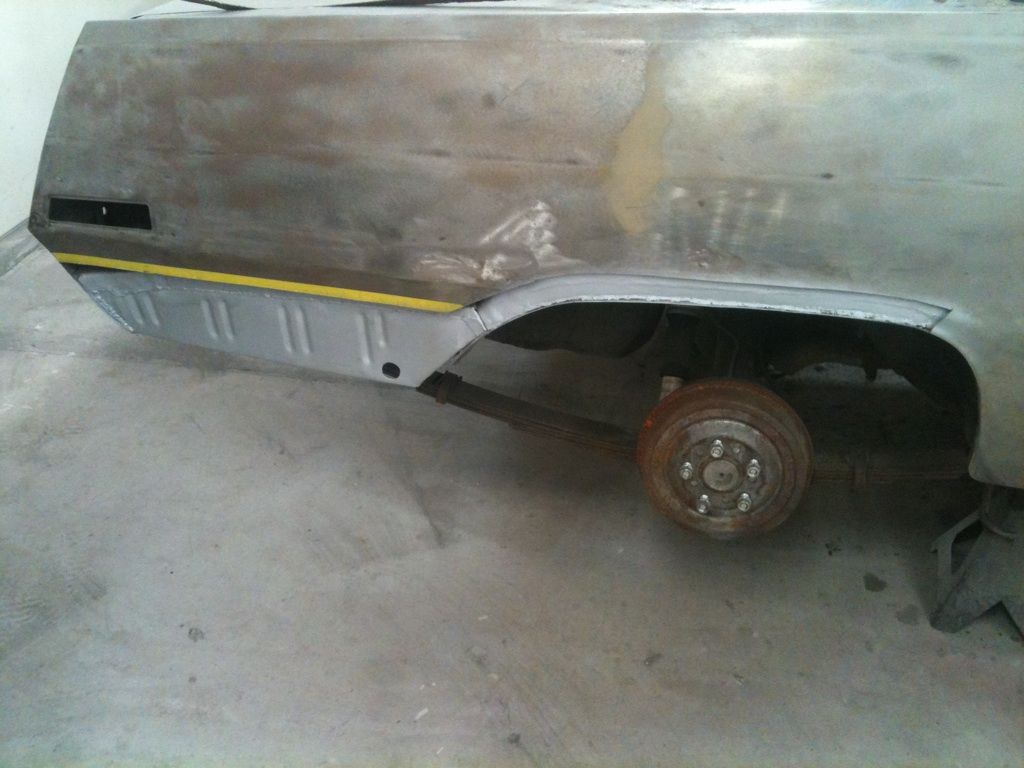
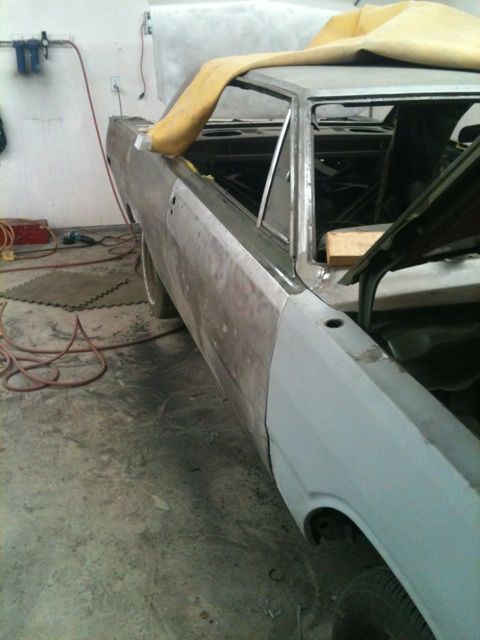
Passenger side, in front of door fixed.

untitled19.jpg


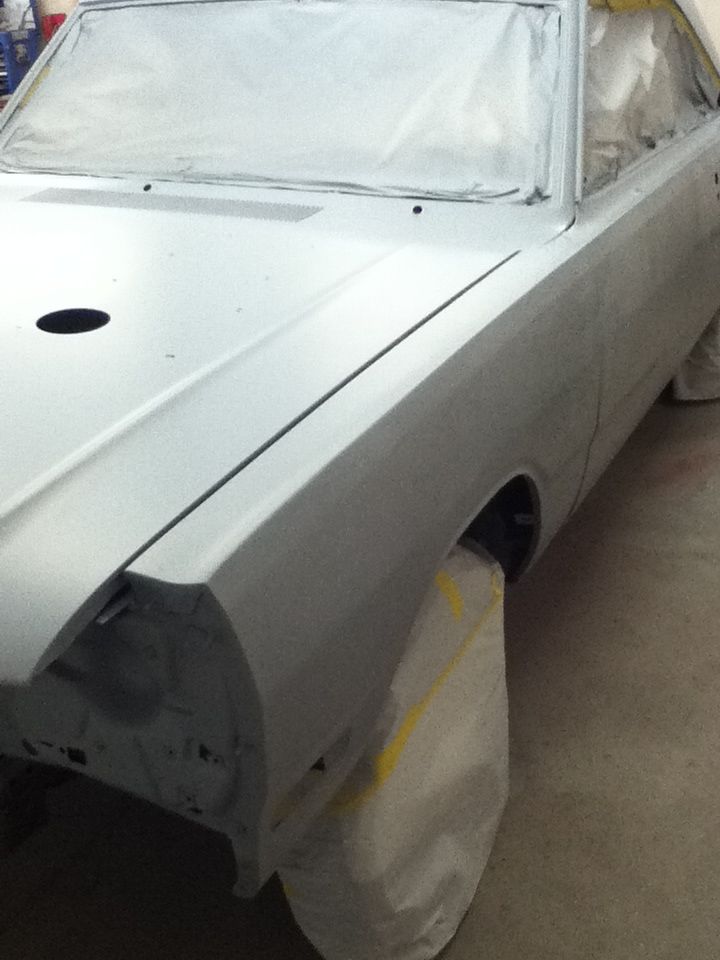
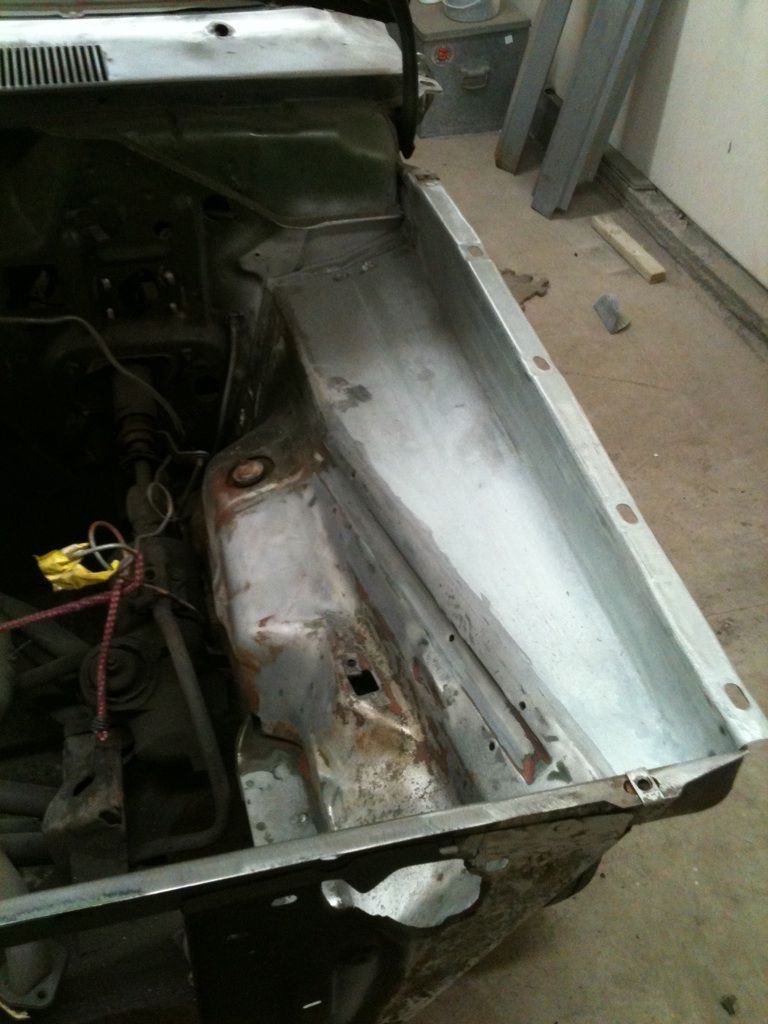
Passenger side inner fender and rad support fixed. Upper quarter patch panel was welded in, and other pieces were made and welded in.

untitled15.jpg

untitled17.jpg

untitled18.jpg

untitled16.jpg


While I was there, Paul was just cutting out the driver's side inner and noticed that an area on the firewall was rotted, which would explain why the floor had some rust which I had to patch.
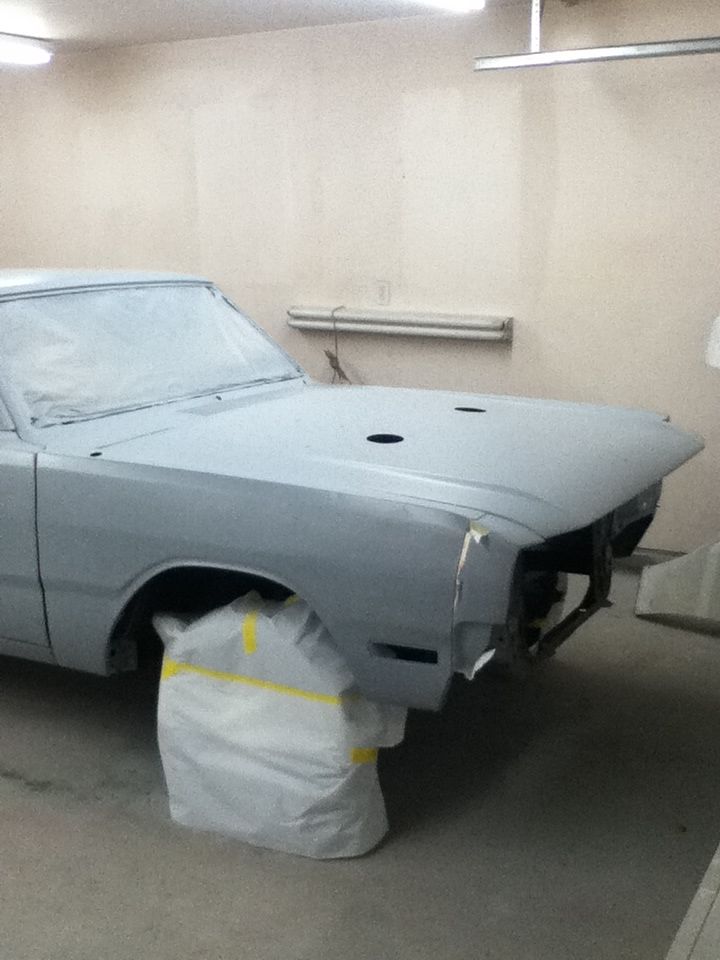
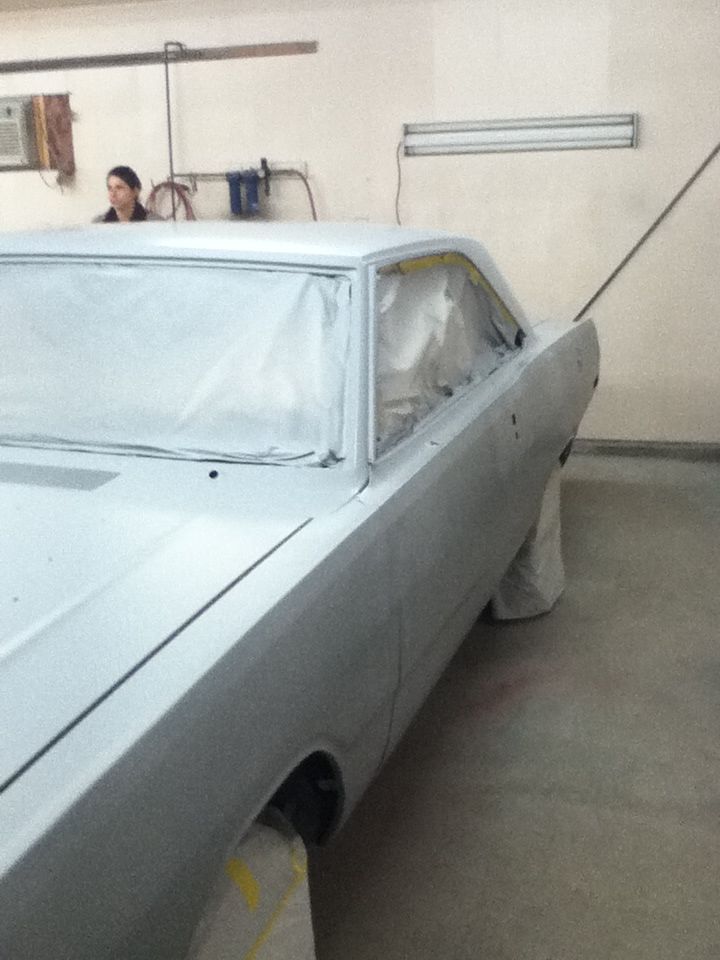
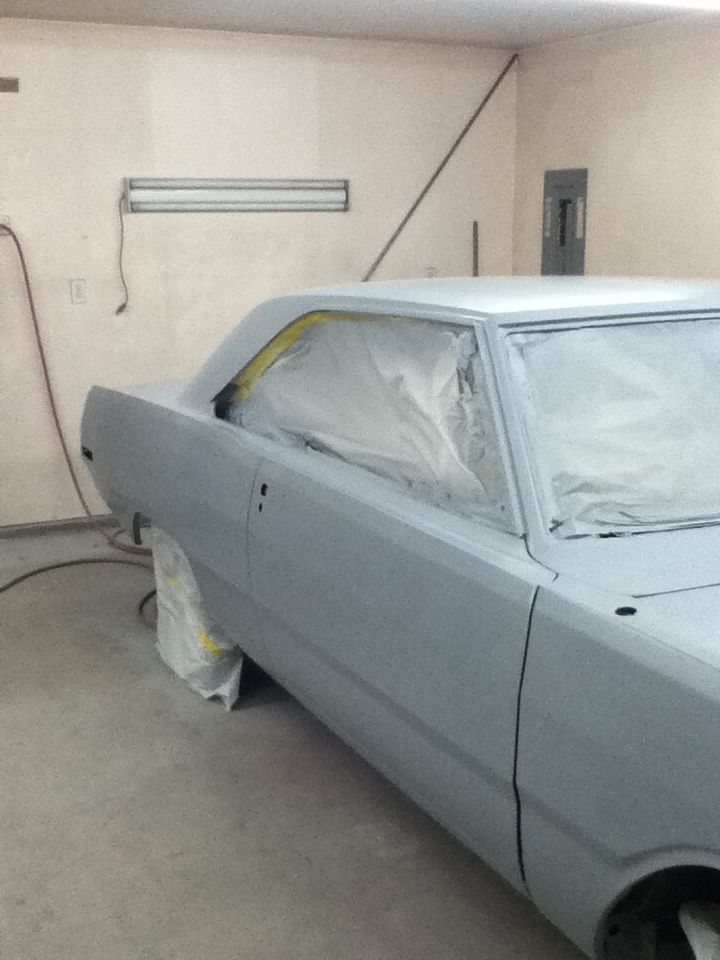
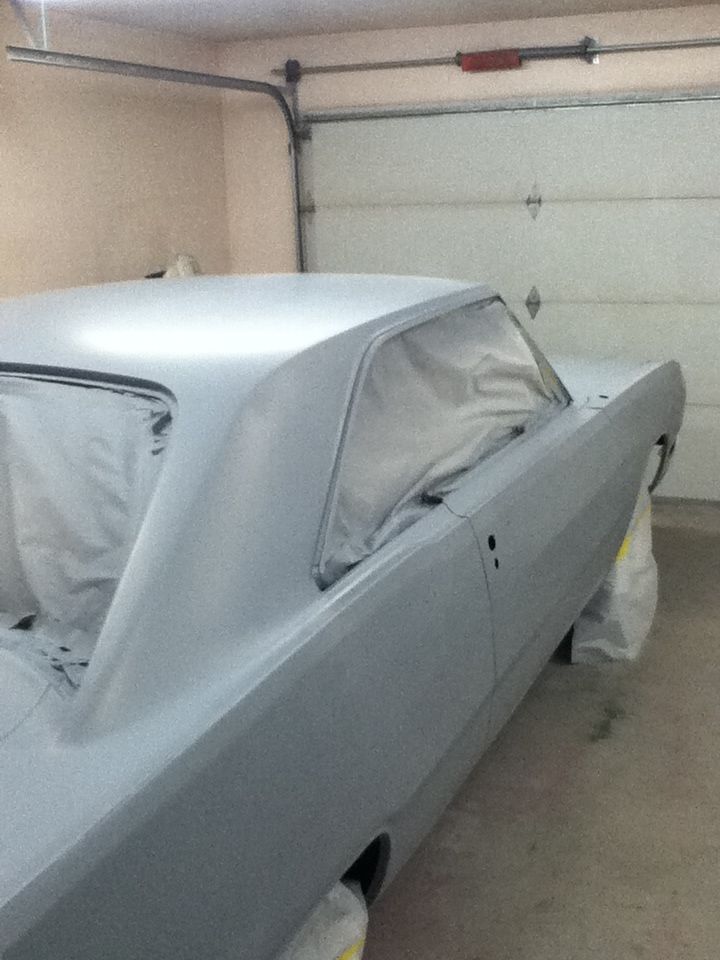
It's coming along!
 
A few more updated pictures. Both inner fender replacements are now welded in. Some work on the firewall was done, as well as some rad support work.

mydart1.jpg

mydart2.jpg

mydart3.jpg
 
Nice work. Seeing your progress drives me to get into the garage and starting stripping paint off. Can't wait to see some color!
 
It's been sealed and now in primer. Paul found some areas that need attention, so he's going to tend to those, and then continue.
Sorry for the poor quality camera, they were taken with my iPod.

primer8.jpg

primer10.jpg

primer9.jpg

primer6.jpg

primer5.jpg

primer4.jpg

primer3.jpg

primer2.jpg

primer.jpg
 
Looking great!

What are you using for primer?

I may have to take mine down to bare metal due to some failed synthetic enamel and there are so many "new" low voc products to choose from...
 
Body work and welding look good! Here's hoping you git er dun!
 
I'm really hoping for the summer. I've still got to tackle the interior, and I am hoping my 340 is done soon.. it's taking a while..
once you get all the bits you'll get the interior done in a day , the dash and the rest of the wiring takes time and cleaning your old window gaskets is a slow messy job but you'll get her done in no time , a couple more work rotations and you'll be chomping at the bit to drive her lol . Who's doing the 340 ? there's a retired guy in the Shawnigan area I think it is that builds mopar race motors for a few guys ,a couple of guys from work know him and are going to give me an intro , I am planning on doing a mild stroke to my 318 once I find a roller notchback for the 410 .
 
dude!!! very nice man!! nice welding skills! u went crazy pn that DA man! Thats what i gotts do, DA it myself, might save me some money when I take it to the body shop.
 
Looks great. Good luck getting it done by summer. Body work takes the most time. so maybe everything else just falls into place, and don't wear out your arms as much.
 
I'm not sure why there is this misconception that I'm doing it all myself, but I've got Paul Uren doing the body work. My welds are decent, but I'm not doing the body work on this car. The 340 is being built by SWB engines in dashwood. What I have done by myself is the suspension change, the floors, and I'll be doing the interior restoration, and putting everything back together. Just wanted to make that clear. But thanks!!
 
Something about getting her in to primer that makes the long road seem like there is an end. That is going to be one sweet 70DartMike.

Grant
 
-
Back
Top