70 duster: updating, and a no-dough pro-touring makeover

-
thanks!

i appreciate the compliments. i try to write things that i would want to read, as well as take pictures of stuff i would want to see.

and im suprised that someone from thsi board actually read the s10 build. im going to hate to see that truck go, but ive goty a new one now that fits the family better. anyone wanna buy it? 5300 OBO.

I understand the family side, I have 4 under age 8. Nothing that can carry the family well is going to accelerate, stop, corner like that.
 
The car looks great, you really nailed the wheel/tire combo and the stance.
THANKS!

just tried to get it to look right. still nees some fine tuning (side to side is a little off).

ill fix that when i get to my spindles and alignmetn,

michael
 
I love your car dusterbd, and I think someday I will test out some 17's for my cross-state cruiser.

Did the low profile new tires make a dramatic difference in ride?
 
not really. seems to be a hair more jarring over rough hughway (like potholes and nasty expansion joints), but not a very noticible amount. the 10 year old dunlops probably had something to do with that as well.
 
Life around my house can get a little hectic at times, not leaving me much time to play with cars. that, and sometimes id rather hang out with my wife and daughter that go down in my unheated shop.

but i do have an update. sort of.

a few weeks ago, Dustin and I went to the pull-a-part in Winston Salem for some much needed guy road trip time. we also needed a couple of parts for some various DD stuff.

whenever i go to a junkyard, i always eyeball the 2 door cars, looking for leather buckets in good shape that may look right and be comfortable for the duster. I've never found a set that really did it for me. usually i look for stuff in the import and GM sections (were i normally spend most my time at the boneyard, because of my dailys)
this time, i went to the ford section because of Dustin. spent WAY too much time in there stripping an early 80's courier. so i got bored, and started looking at ford seats. lo and behold, a clean black on black 1994 Lincoln mark VII was getting unload off the forklift as i was wondering around. looked in it, and it had a set of mint black leather seats. so i sat in it (and fell asleep). yup, comfortable. yup, power every which way. yup, fold forward. so we decided to pull them. If you do this as well, i will warn you, find a way to power them in the junkyard. it took us almost 4 hours to get them out with what hand tools we had due to the inside rear bolt location. you could only get 1/4 flat at a time.

but, they were only 46.72 for the pair.

these seats were also at the furthest point of pull-a-part from my truck, so i found out just how heavy they are.

tonight, we were rebuilding a carb for the next project (stay tuned, its an AMC), and decided while i had an extra set of hands to uncover the duster and pull the bench. we also threw the Lincoln buckets in, just to make sure i liked the size and shape in the car. remember, these are literally sitting on the floor, not even squared or shimmed. also with all the adjustments set wherever they were when the battery was pulled from the Lincoln. but i already dig them in the car.

heres pics, and will post more when the swap is finished. then, on to seat belts, alignment stuff, and autocrosses this summer.

Picture418.jpg

Picture414.jpg

Picture412.jpg

Picture416.jpg


budget total: 1711.78
 
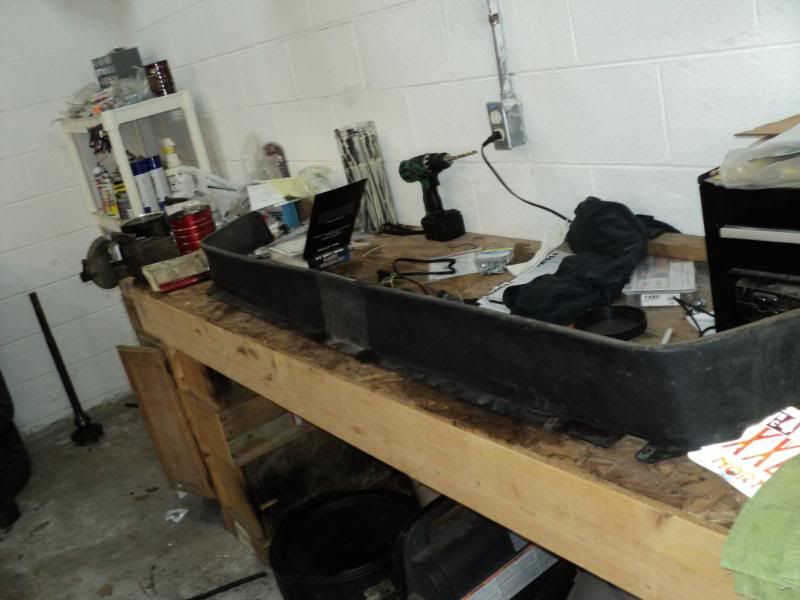
so I've spent a little time over the last week working on the duster.

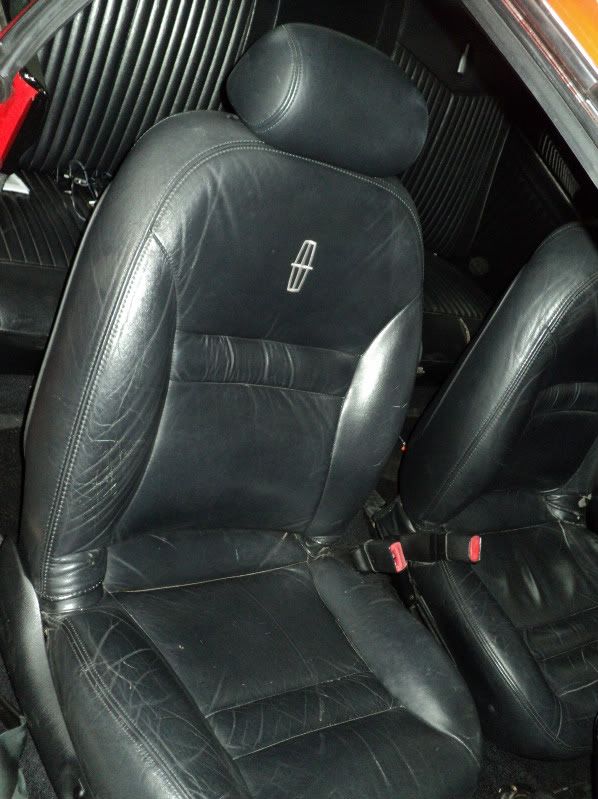
first order of business was getting the seats fit and wired into the car. decided that id start with the drivers side, as that's the most important for comfort and fit. (makes sense, as I'm the ONLY person that drives this thing.)

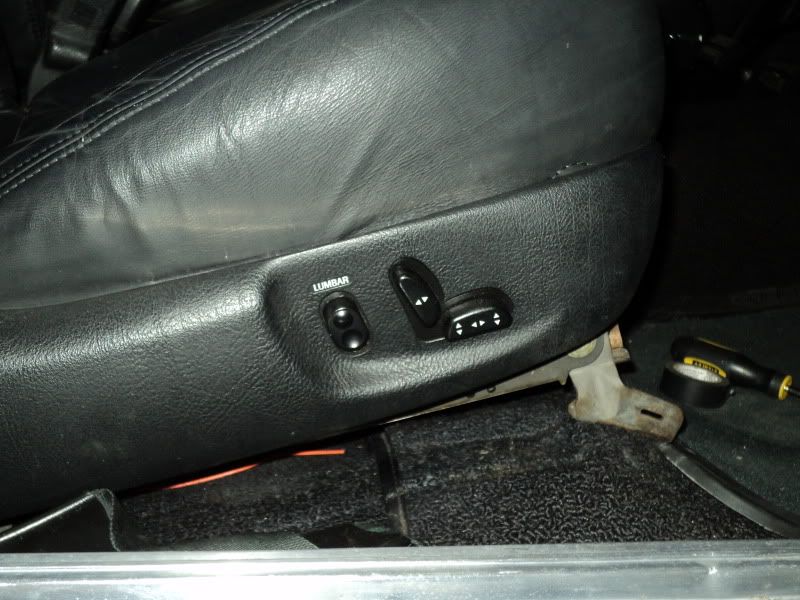
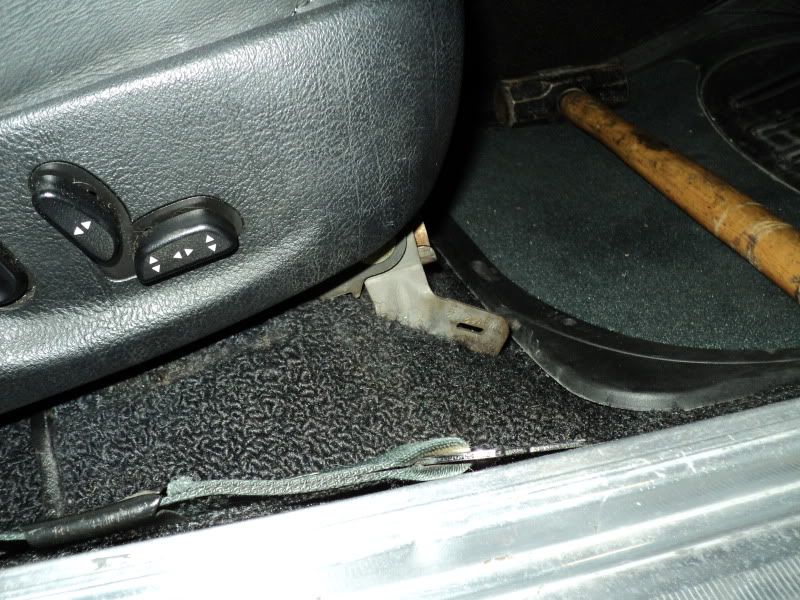
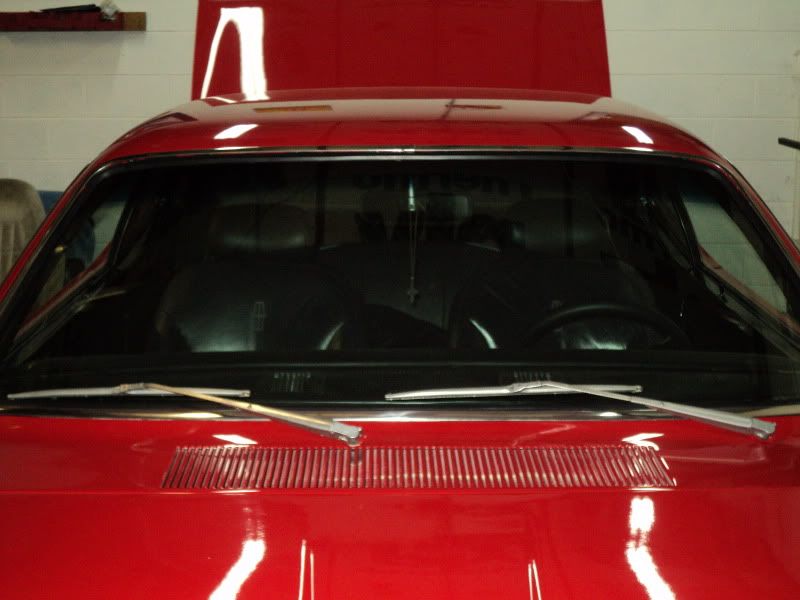
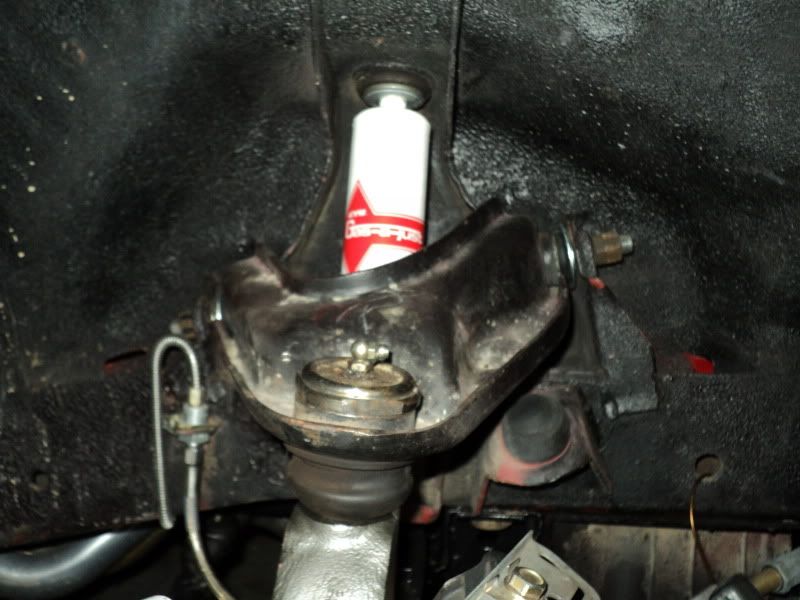
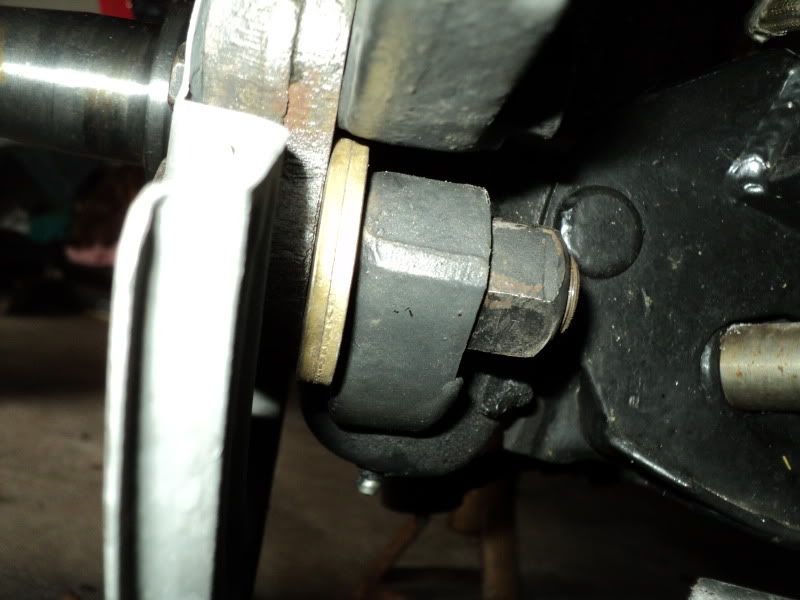
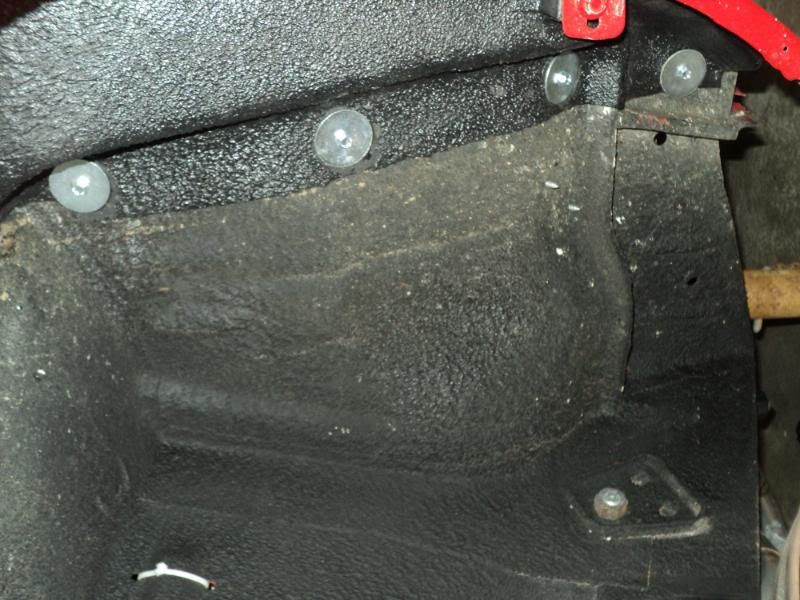
when i started out, the seat was awfully high in the front, causing some discomfort between me, the roof, the steering wheel, and the clutch pedal. i had it lowered as much as i could. heres what the stock Lincoln mount looked like:
Picture415.jpg


i used the back mounting hole for the bench seat to base things off of. put a spare carriage bolt through the back outboard Lincoln mount point and the factory hole. that's how the seat was sitting in that picture.
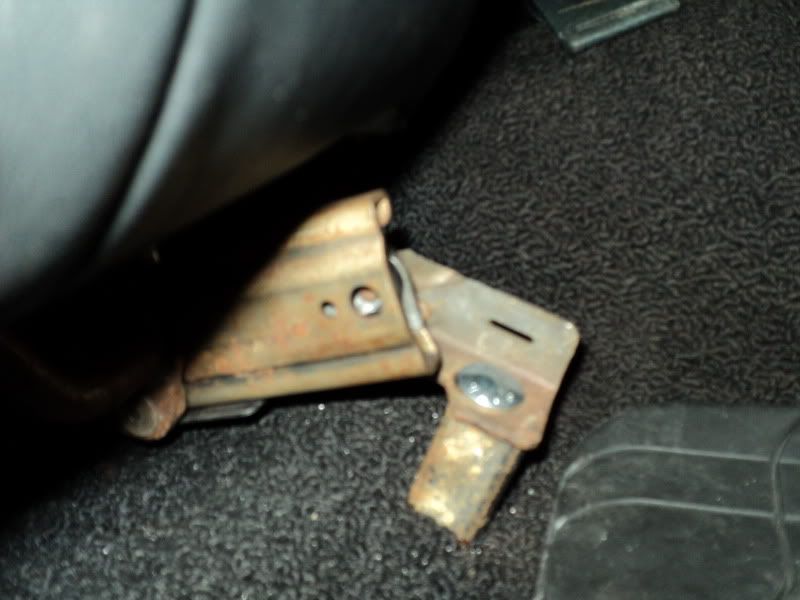
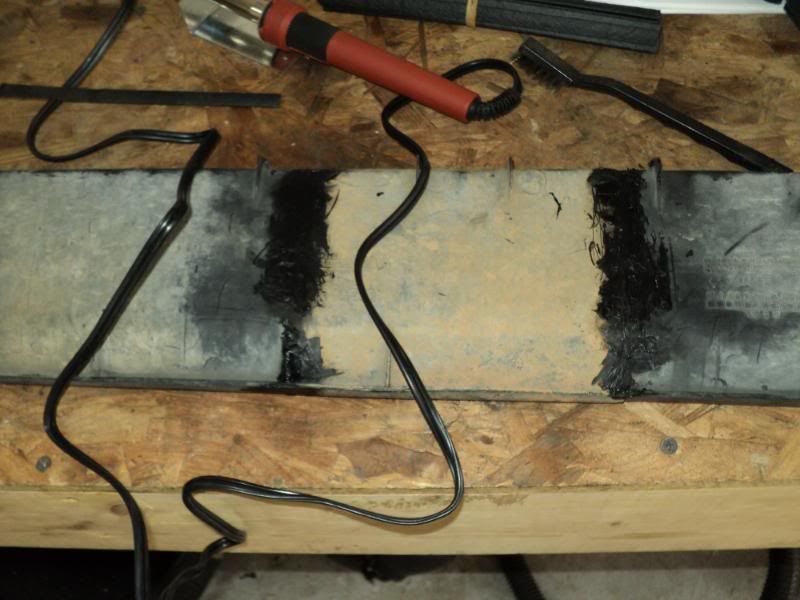
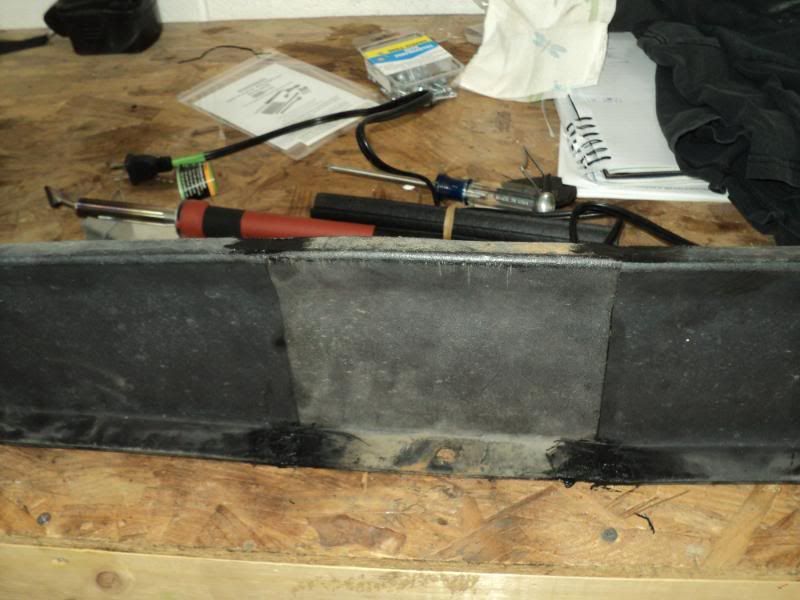
wound up figuring out that the front leg of the seat was not sitting flush to the contours of the floor pan, and that if i trimmed it a bit, it would allow the front edge of the seat to drop dramatically, alleviating most of the fitment problems.

so i got out the harbor freight sawzall that my old boss gave me for Christmas one year (my good craftsman was broken by my brother, and i haven't fixed it yet) and started a cuttin'.

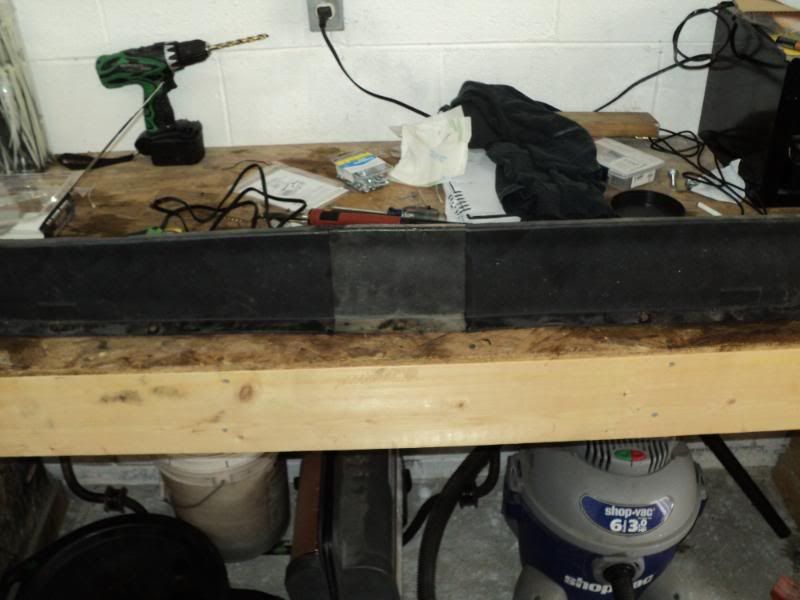
heres what i wound up with.
Picture421.jpg


now i have a lot more clearance at all the tight spots. just about perfect seat bottom angle as well, and that's with the tracks all the way bottomed out in their travel.

this is when i started to over think things and screwed up.

when doing this, never try to use a tape measure and estimate the center line of the car. wound up moving the whole seat 1.5 inches towards the door, and mounting it there. seemed good in the garage, so i took it up the road for a test. it just didn't sit right. was offset to the steering wheel, which made my hips twist on the pedals, etc. went back to the shop, and tried the bench mounting point again. only put the one bolt in it, as i already had a couple of spare holes in the floor pan now.
went back up the road, and it fit me like a glove. so, i figure the few holes now count as weight reduction.

i took the car down to troy, up through the uwharries, and back home. before i even got the rest of the install completed, i knew it was the best money and time I've spent on the car in a long time. i also knew that i had a few new problems to contend with.
problem 1. when i was adjusting the seat, i heard something sound like it was cracking, and my front component speakers stopped working. apparently the seat motors and the amp were attempting to occupy the same space at the same time now, and the seat won. dammit.....
problem 2. i have no cup holder. for the last 16 years, I've been putting my coffee cup in between my side and the armrest on the bench. fit great and NEVER spilled.
problem 3. i lost my armrest

all solvable.

first though, i had to finish installing the seats.
drilled the new front mounting hole for the door side, and moved on to the inside. the tracks on that side needed to come up a hair in the back, and a bunch in the front. for the back, i used a steel wheel lug nut from an 86 dodge diplomat as a spacer. the tapered side fit perfect in the ford mounting hole, and it leveled the seat out to .1 degree at the back. to get the front the same, i wound up using 1/8 wall 1X1 square tubing to make a spacer. length of 1.75 inches.
also, made some floor washers/seat reinforcements out of some 1/4 plate i had laying around. 3X3 squares with a hole drilled in them. also, for hardware, i used some carriage bolts i had bought down at Lowe's with nylock nuts. total in hardware was 5.86
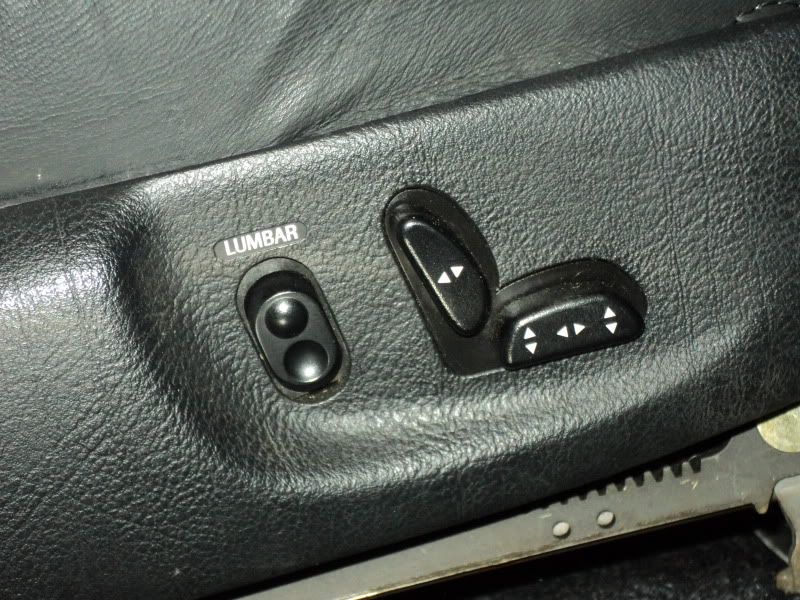
to power the seats, i had left a 20 amp lead in my harness along the door sills for eventual power windows or locks. so i pulled those over to where the seats were to power the seats.
to fix my amp problem, i wired the components directly to the head unit. they actually sound better now that they're not powered by the old audiovox amp.
also learned that after powering the passengers side seat, it has a micro-switch in it. when you tilt the seat back forward for rear seat access, it automatically slides the seat forward with the electric adjusters. when you put it back upright, it goes back to exactly where it was set before. really nice unexpected feature. thanks ford!

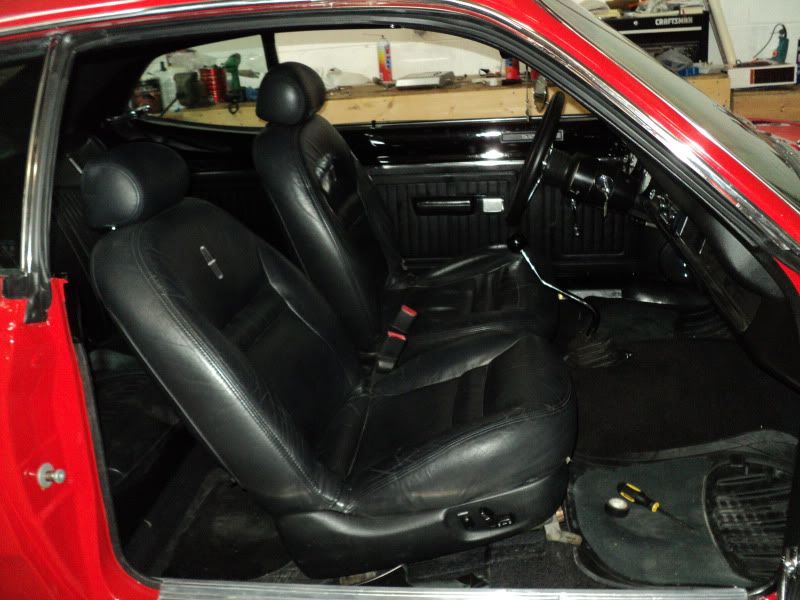
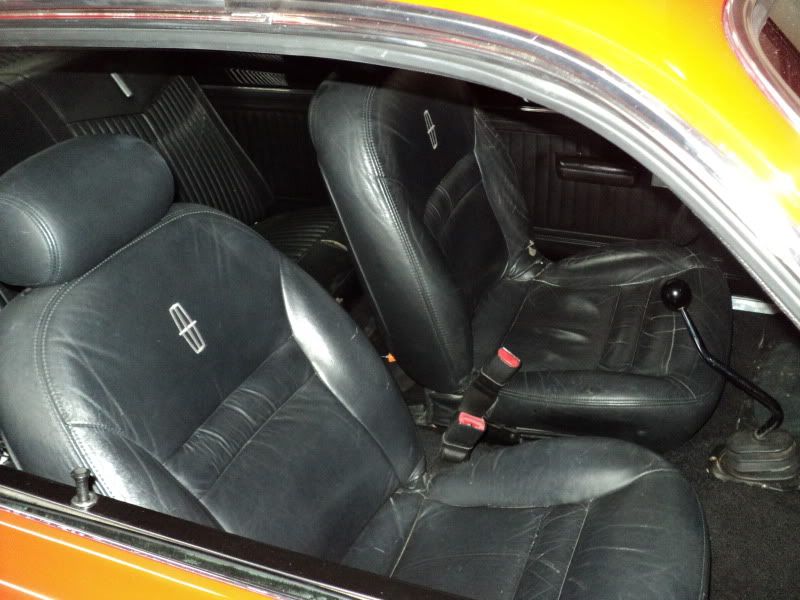
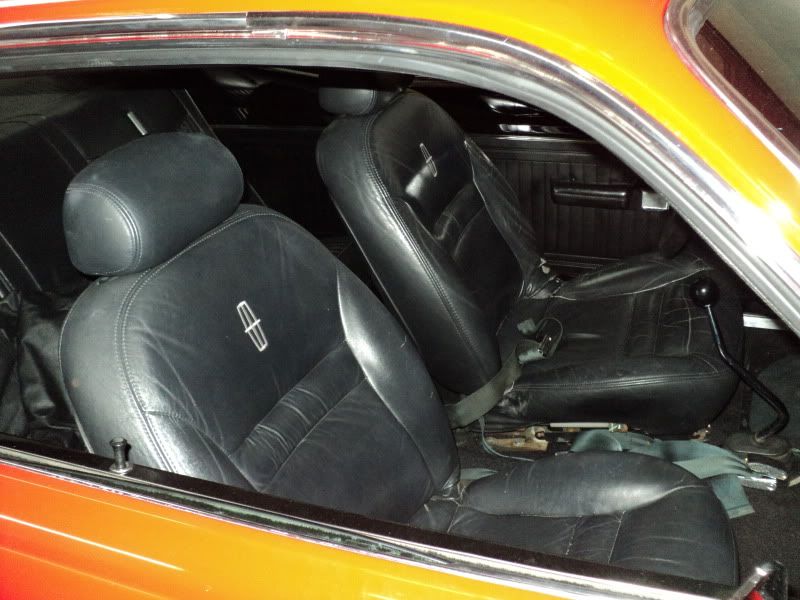
heres pics of both seats mounted, and the mounts i made. (both seats mounted the same way, with the same hardware and measurements)
Picture422.jpg

Picture419.jpg

Picture420.jpg


after i got done with the seats, i went back to the trunk. i permanently mounted the amp and subwoofer enclosure, as i dint want them sliding around at high rates of lateral acceleration. use #10 screws and fender washers up through the trunk floor to mount the sub box, and some s10 screws with captured washers to mount the amp. all these parts came out of my magic bolt box.

last on the list is my news of the week:
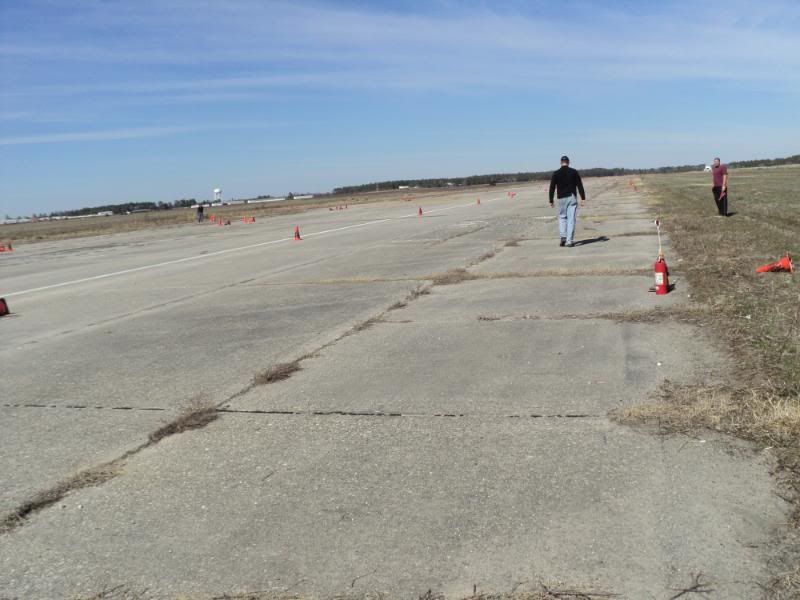
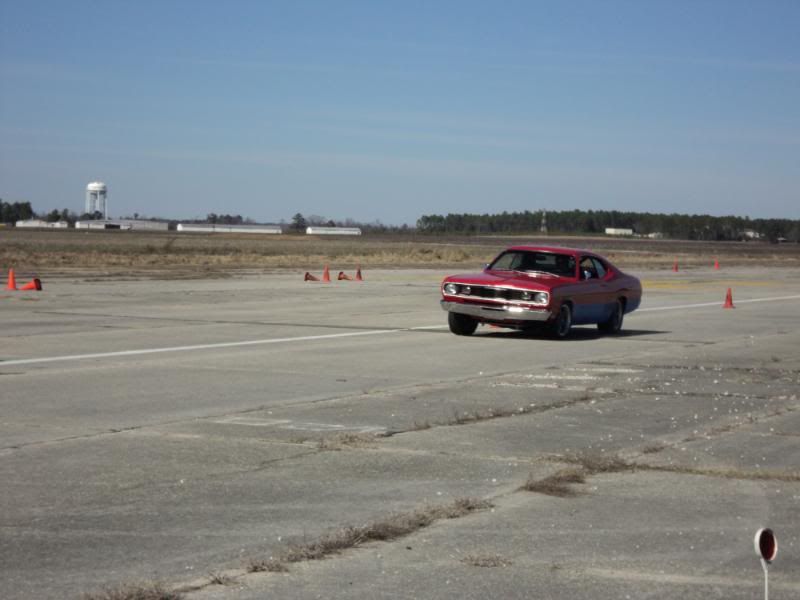
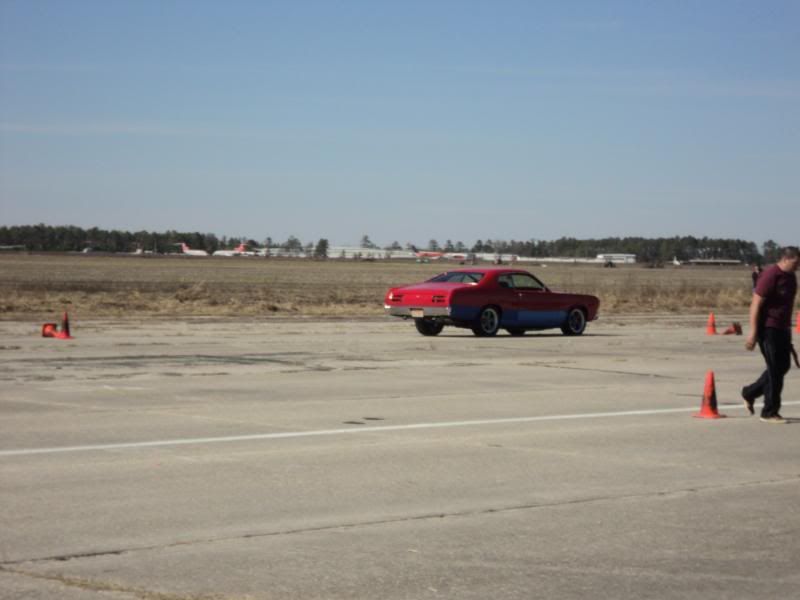
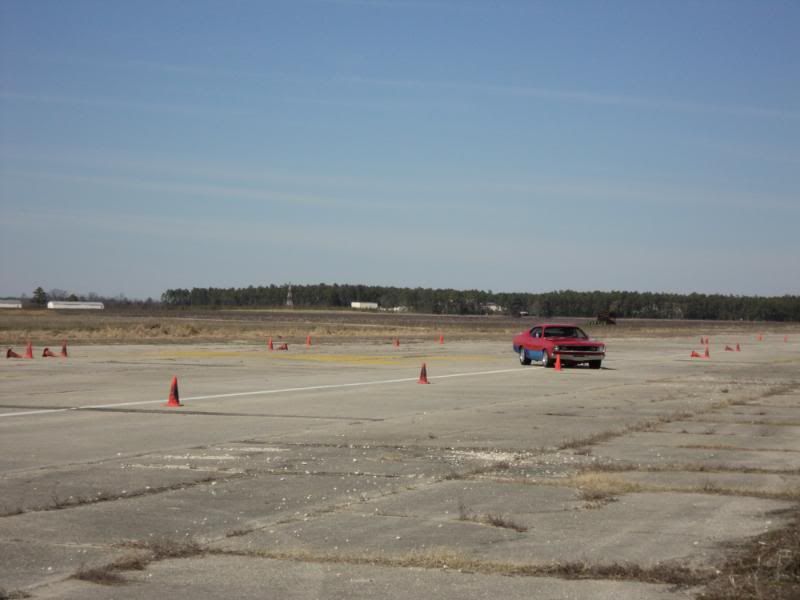
I'm going autocrossing with this car and my dad on Sunday. Tarheel Sports Car Club is having their test and tune day down at Maxton, and its time to see what this old girl can really do. I'm excited. hopefully ill have some time to get the carb fine tuned between now and then.

total is 1717.64

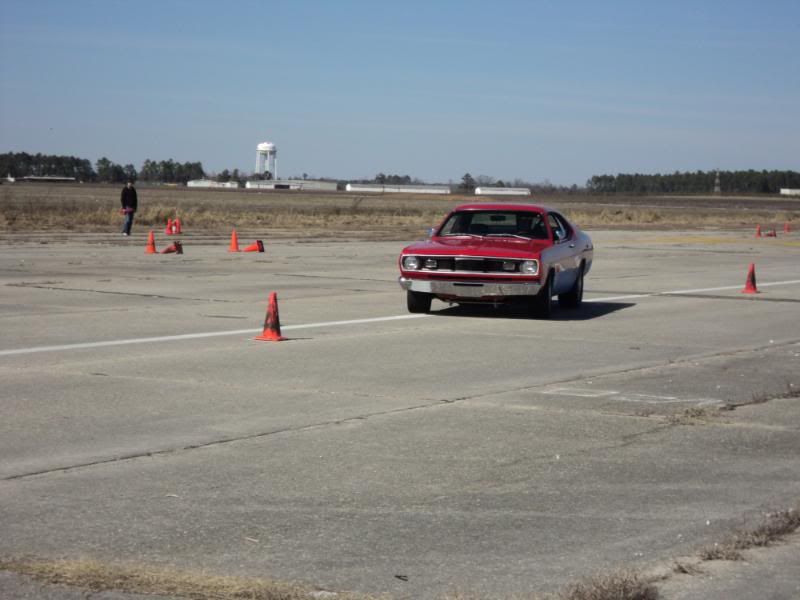
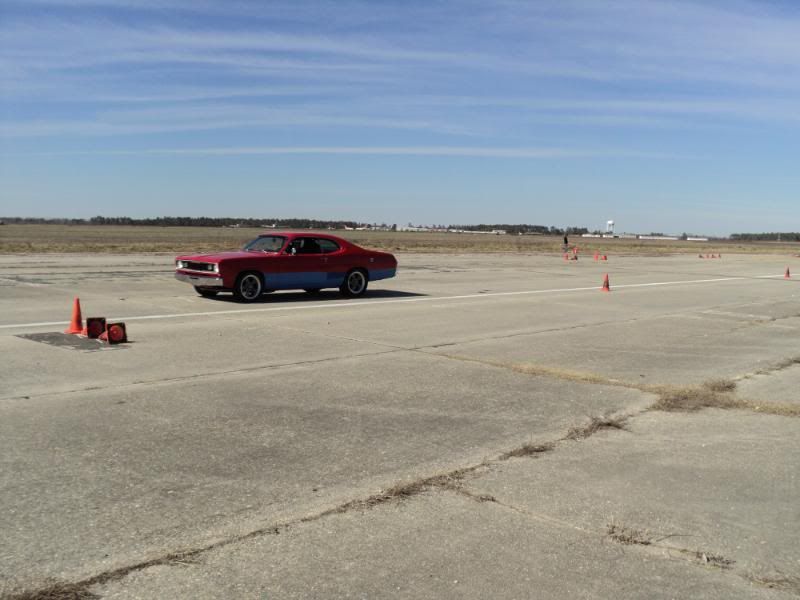
stay tuned, ill have action shots good lord willing.

michael
 
Any idea how much the seats weigh? Did you add a bunch of weight, or remove some?

Just curious. The power bucket in my Dart must weigh a ton.

Looks good!

Hmmm....wonder what I can get for a set of A-Body buckets. What did you say those were out of? :wink:
 
i know i added some weight. each seat probably goes 50+ lbs.

these seats were out of a 1994 lincoln mark 8 2 door.
 
at the moment, suspension consist of:
.89 t-bars
adjustable strut rods
addco 1 1/8 front sway bar
boxed LCA
73 spindles and steering linkage
KYB shocks
poly strut rod and UCA bushings
11.75 slider rotor.caliper
FFI stage 3 steering box
subframe connectors
340 4speed ESPO rear leaves
7/8 ADDCO rear sway bar
poly bushings
1 inch lowering blocks
KYB shocks


i wont have time to get my front end dialed in before sunday. alignemnet is WAY out from where it shoudl be.

Michael
 
long day, so this may be somewhat incoherent.

short version for those that don't like to read: the autocross was great. had a blast, and was quicker than dad.

left out this morning at 7AM, chasing the sun. nice drive down to Maxton, NC. about 1.5 hours each way. light traffic, highway sparkling in the sunrise, good air, great tunes on the radio. we got there as they were still setting up. registration and tech was a breeze, and we ran into a couple of guys we knew. also a bunch of guys that just wanted to check out the bright red duster with the nasty exhaust note.

drivers meeting was at 10AM, and we did the novice course walk. during that, we realized just how bad the track surface was. LOTS of sand/gravel. also, very rough as far as chuckholes, etc.

Picture424.jpg

Picture427.jpg


dad had the recommendation that we tape the car to protect the paint. so, we begged/borrowed/bought 4 rolls of 1 inch wide painters tape. took about 30 minutes of the first 1 hour run session to do it, but I'm grateful that we did.

over the course of the day, i got somewhere in the neighborhood of 40 runs in. only thing i did to the car was check the fluids and torque the lug nuts. just wanted to get a feel for where i was starting from.

the last session, i started "timing" the field. since this was a test and tune session, there was no timing equipment set up. so i used my CD player, where it read the seconds into a song. started the song when a car left the line, looked at the time when it crossed the finish. the RX8's and Mini coopers were running 28-30 seconds. dad was running 31-34 seconds. i was running 29-30 pretty consistently.

the car has a few kinks to get worked out. under-steer is fairly significant when its not under throttle, it runs rich, there's no turn in, i flop around inside like a drunken fish, and fuel slouches down the car from the filler neck, even with only 1/2 tank. its geared right, plenty responsive to throttle, and an absolute HOOT out there. i was actually running up to 50 at some points on the track.

heres pics, to prove that it happened.
Picture425.jpg

Picture426.jpg

Picture428.jpg

Picture430.jpg

Picture433.jpg

Picture437.jpg


michael
 
i love your little xplod LOL btw sexy duster i dont think a duster looks right unless it's got 17s. they just compliment the car so well
 
im assuming by xplod you mean the old sub.
yeah, it worked....sorta. the JL is so much better.

the xplod is going in my truck soon. thanks for the compliment.
 
Man that looks good! Looking forward to trying that myself, some day.
 
had a little time in the shop tonight, and a little space now that the s10 has been paid for and is gone.

a while back, my rear end began to get very, very noisy. like a very amplified, very pissed off handheld plunge router. used to be that any throttle over 55 would get it to howling. after maxton, any speed with load made it howl, from idle on up. i got a quote from a local shop that does most of our drive train work for 600 bucks max, and that was with gears, clutches, bearings, everything. fair enough. more than i really WANT to spend, but.....

Picture463.jpg


also started redoing the front suspension. plans are to go to 3/8 taller FMJ spindles for better negative camber gain, and offset UCA bushings for better alignment specs. I'm thinking of going with the recommended specs from hotchkis, which are -1.5 camber, +7 caster, and 1/16 toe in.

to get there, other than the offset bushings, i had heard reference in some older forum posts about using spacers between the lower ball joint and spindle. plans are to do about .25 inch spacers for my alignment numbers.

while i have the front apart, id like to make sure things are as right as they can be. to that end, I'm planning on adjusting the strut rods to where there is minimal bind, checking these crappy ADDCO mounts to make sure they are not binding, and setting the t-bar ride heights equally without the sway bar attached this time. also fixing the ackerman by getting the tie rod ends the same length as one another. anything else I'm missing in the general tune up and
optimization?

the spindles are already purchased from a mid 80's M-body that had only 54000 miles on it (and it was at pull-a-part!)

heres a pic to show the height difference.

Picture459.jpg


assuming this works as i think it will, ill be selling the a-body pieces to offset some cost.

got the passengers side torn down tonight for the most part.

Picture460.jpg


and my growing pile of removed parts
Picture462.jpg


this Sundays Ill finish getting the drivers side taken apart.

Tuesday i have a half day at work. ill be dropping my UCA's off to get the bushings pressed (i could do it, but for the 30 bucks it will cost me, its worth the money for me not to have to) and my hogshead off at the drive line guys.

hoping to get it all back together in time to make the Sanford autocross next month.

cost as of tonight is still the same.

michael
 
...

also started redoing the front suspension. plans are to go to 3/8 taller FMJ spindles for better negative camber gain, and offset UCA bushings for better alignment specs. I'm thinking of going with the recommended specs from hotchkis, which are -1.5 camber, +7 caster, and 1/16 toe in.

to get there, other than the offset bushings, i had heard reference in some older forum posts about using spacers between the lower ball joint and spindle. plans are to do about .25 inch spacers for my alignment numbers.

...

I wrote about lower spindle bolt washers "spacers" on my old 68 Cuda Autocrosser website: http://hometown.aol.com/pwall5/cars/2cudapag.html
I read about doing that in an ancient circle track book called, Suspension Theory and Design by John Pappas. Pretty rare book actually.

I think Andy at ARengineering makes hardened spacers that fit perfect for this.

I don't know if you will be able to get 1.5 neg camber AND 7 deg postive caster both at the same time with stock UCA and offset bushings. I got to 1.5 neg and 5 deg positive caster. It's sort of a trade off between the two. The camber is more important than the caster. Take the 1.5 neg caster first, then whatever max caster is left.
 
and thats exactly what im planning on doing. im hoping that the spacers help me to get there easier, though, by "building in" more negative camber. hopefully the geometry with the taller spindle will help, too, as that will change the angle of my UCA at ride heigh in a positive manner for camber. i think.

and i had found reference to the spacers over on mopax. might have been a thread started by you, though.

i liked your old site. used it many, many times when i initially did the setup on this car. and it worked well when it was still my daily. now i just want a lot more from it. really want to be competitive in Cprepared with a stock chassis mopar.

michael

You're right the spacers should help. The spacers change the Steering Axis Inclination of the spindle. Which changes the scrub radius.
 
can you explain to me what ill see with scrub radius,what ill experience, and if it will be detrimental to tire wear, turning radius, handling, etc?
and while your at it, can you make it in laymans terms? i googled it and got baffled pretty quick. this is a new suspension geometry point that im not familiar with.

thanks
 
so, i spent a few hours on it last night, and she fought me EVERY step of the way.

earlier this week, i got the other side torn down, and the new Moog offset UCA bushings pressed in (cost 35, not 30. money well spent. if anyones local, go down to Mabry's automotive. the guy is GREAT to work with.)

last noght, after it got too dark to work outside, i headed down to the shop. went to install the UCA on the passnegers side, and started to fight the car. little "persuasion" with a 2x4 and a 3 lb hammer, she went where she was supposed to. then the bolt holes wouldnt line up. had to take the shock out, the swaybar off, etc. finally got it all back together with the new spindles and spacers, though, and did a rough alignment. how i did that was to put an old rotor with no studs on the spindle, (no t-bar tension right now, by the way) and jack the UCA until the spindle pin was at right height measurment from where it was before (measured to the fender lip. and yes, i know youre supposed to measure at the inner pivot of the LCA. never been successful at that though. i just cant seem to be consistant with that method.)
roughed in the passengers side at 1.5 negative camber, 4.5 positive caster. used 2 hardened 5/8 washers per bolt for a totak of .25 shim stack.

heres pics. ive been working outide on the honey-do list all day, and im beat. add 43 to whatever the total was.

Picture468.jpg

Picture467.jpg

Picture469.jpg


Michael
 
a while has passed with not a lot of work on the duster.

i got the drivers side back together, my strut rods FINALLY adjusted (stay away from the American muscle pieces. they are absolute crap. half the threads disappeared (sheared off the strut rod) while i was adjusting them. the front nuts did take a torque setting on them, so I'm just going to keep an eye on them. as a side note, the previous alignment guy that took 6 hours and charged me 200 bucks for an alignment that was nowhere near correct and actually caused the tire to contact the fender never tightened the strut rods back up after he adjusted them. may explain some of the evil steering/braking/handling characteristics of this car)

also, i worked with my brake sliders some. i noticed some odd wear on my pads, as the inboard pad is worn down about half way, while the outboard still had machining marks on them. came to figure out that when i POR15'd my calipers and caliper adapters, i never cleaned them back up where they were supposed to slide. the grease cant help a friction fit. so i took out my zizz wheel with an SOS pad and scrubbed them shiny. fresh grease and they should be good to go.

heres pics of one side done:
Picture487.jpg


i still have to st my T-bar preload when i get it back on the ground. also have to trim my wheel studs some more. they're bottoming out in the lug nuts. then i can finalize the alignment and hook the sway bar back up.

while I'm waiting on my hogshead, i started working on my air dam again. its an 80's S10 piece made from 2 spares i had. took the good one, cut it in half. sectioned in a piece of the bad one to lengthen the whole unit to fit my car better. 6 3/4 inches worth of splice. took my harbor freight plastic welder and wended it back together. still have to do the front side, then ill check it for fit. if i still like it, ill do my bodywork, smooth it, and spray it semigloss black. may add brake cooling ducts too.

Picture490.jpg

Picture491.jpg

Picture492.jpg

Picture493.jpg


lastly i FINALLY got my splash shields installed.
add 7 dollars of screws and washers, as i lost the originals. or used them on something.

Picture488.jpg


i pick up my rear end from the re-builder tomorrow. that's gonna hurt......

Michael
 
-
Back
Top