dusterbd13
Well-Known Member
so, budget total from the previous updates: 1766.64
for this one, it hurts. a lot.
740 in rear end rebuild, 15 in gasket and posi additive. gear oil was actually free (had two bottles of 85-90 Valvoline in my storage building, unopened, from god knows when.
so the new total is: 2521.64
that's a hellofalot more than i had anticipated spending to get it to this point. kind of discouraging, really, but then again I'm doing it right and not cutting any corners.
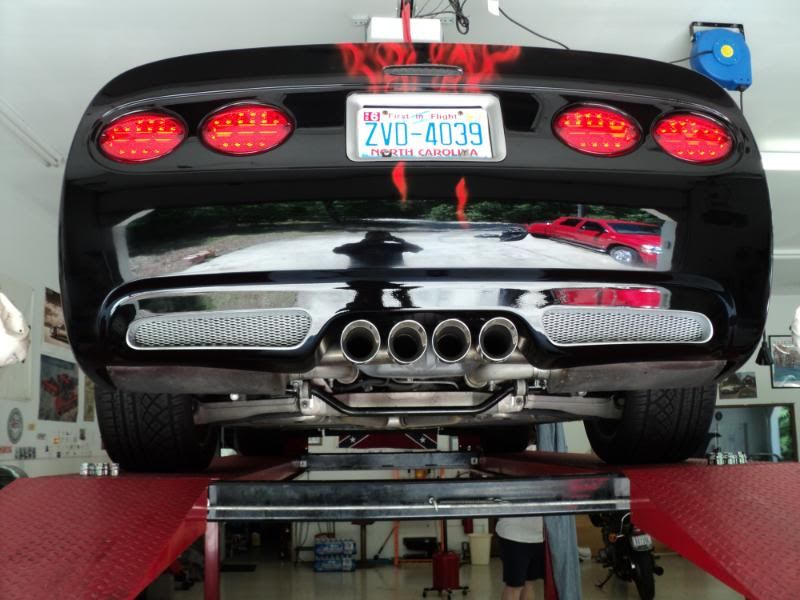
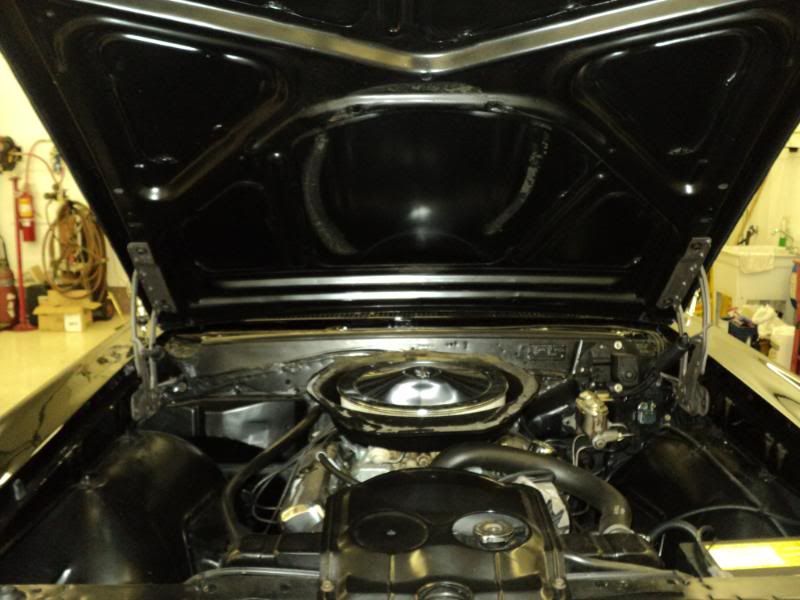
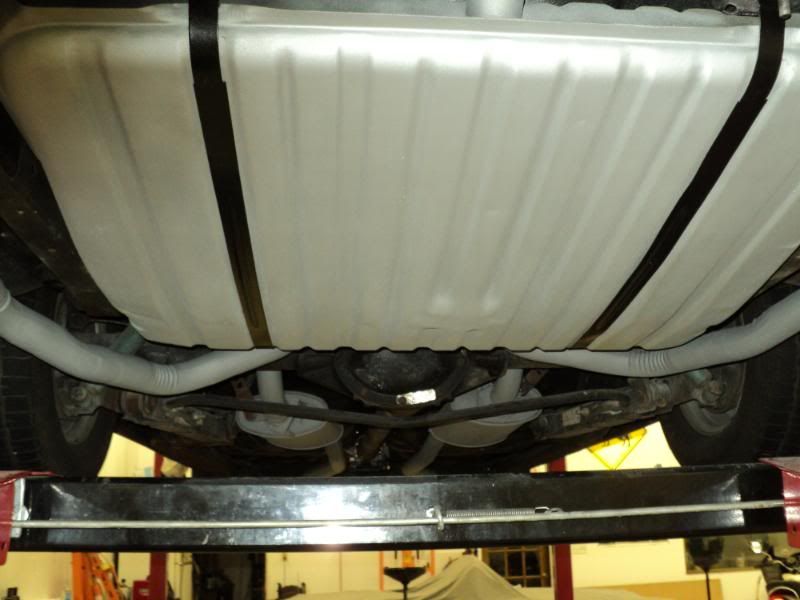
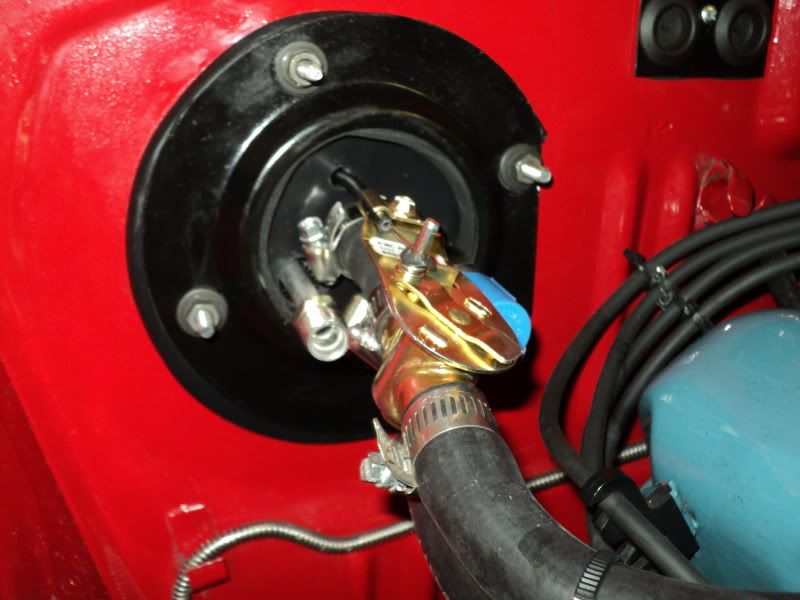
so, heres what 740 worth of hogshead looks like:
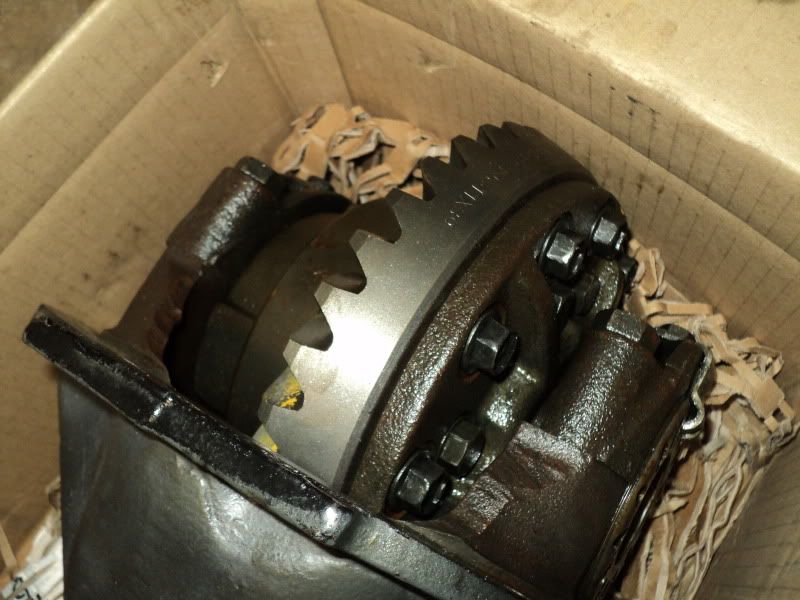
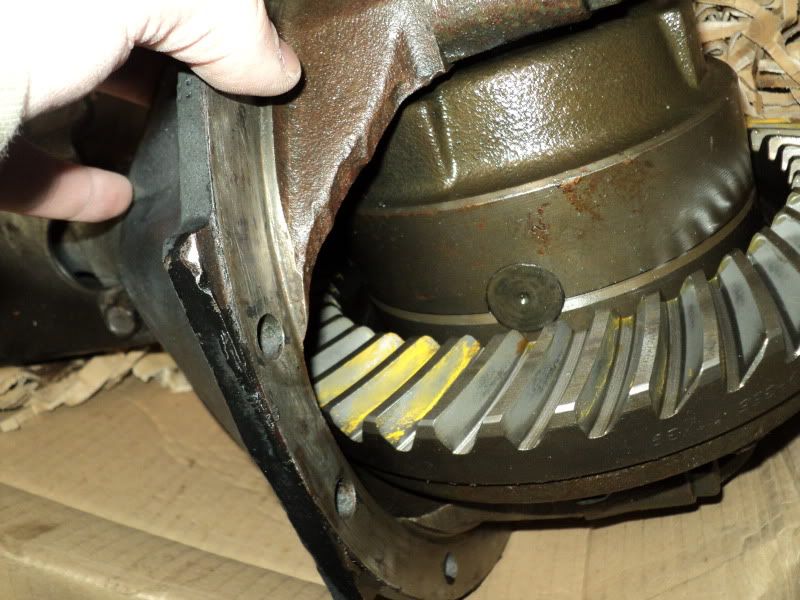
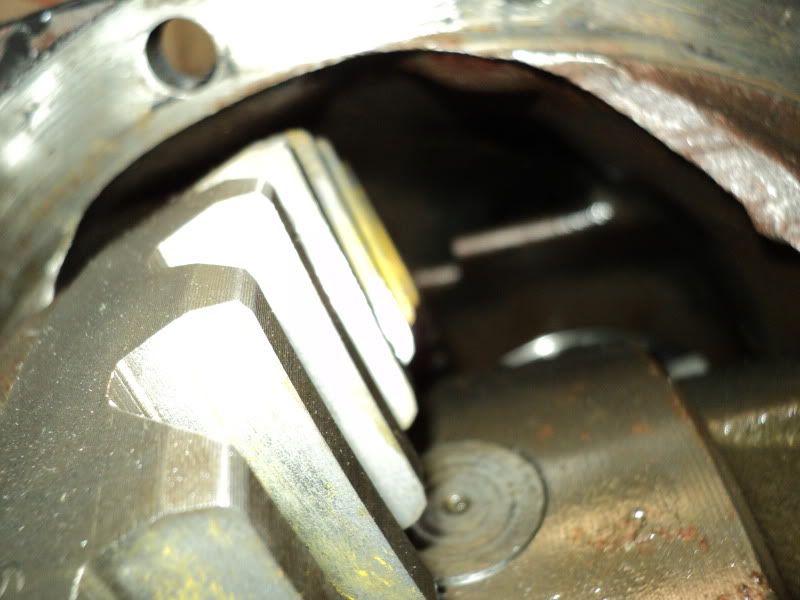
new clutches, gears, bearings, seals, and pinion yoke, plus setup. its quiet now.
if i had to do it all over again, i would have gone with the explorer 8.8. would have been considerably cheaper, and gotten rid of my wheel spacers and rear drums all at the same time.
i also got all my front wheel studs trimmed off 3/8 of an inch, but didn't take any pictures. you really cant see a 3/8 shorter wheel stud in a picture.
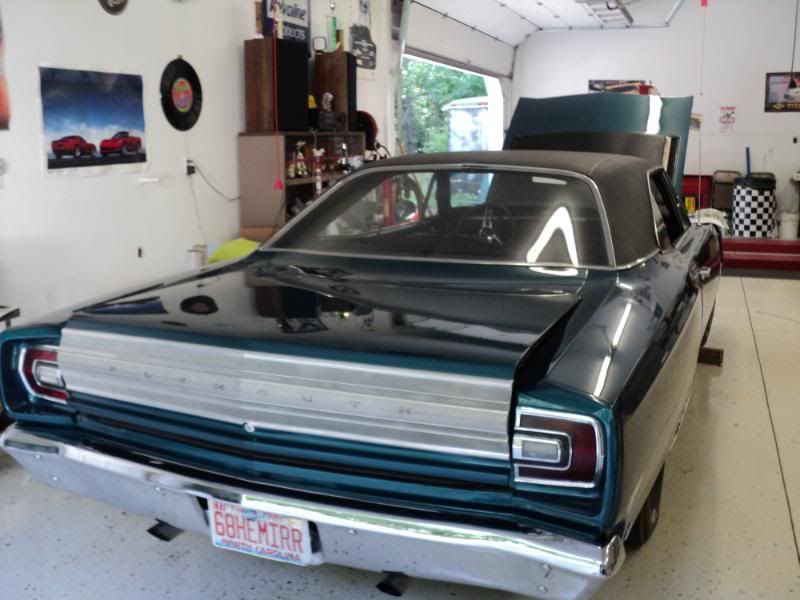
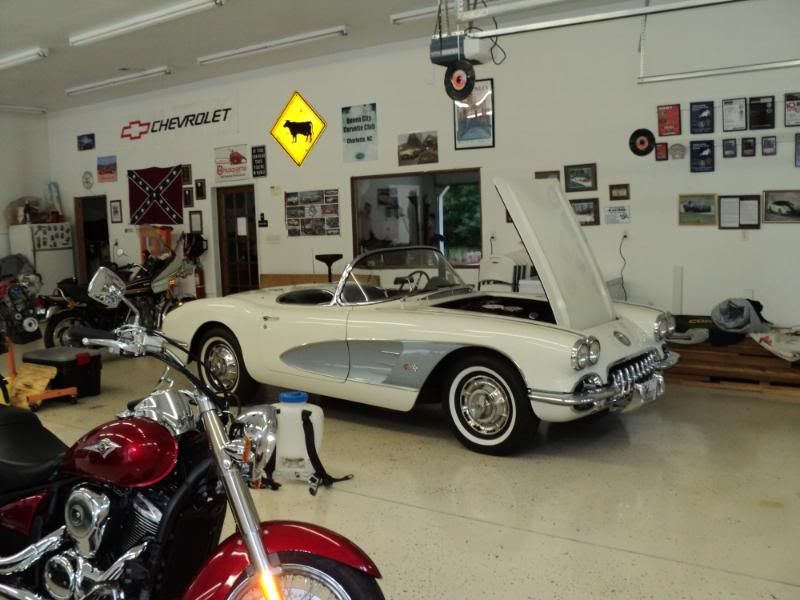
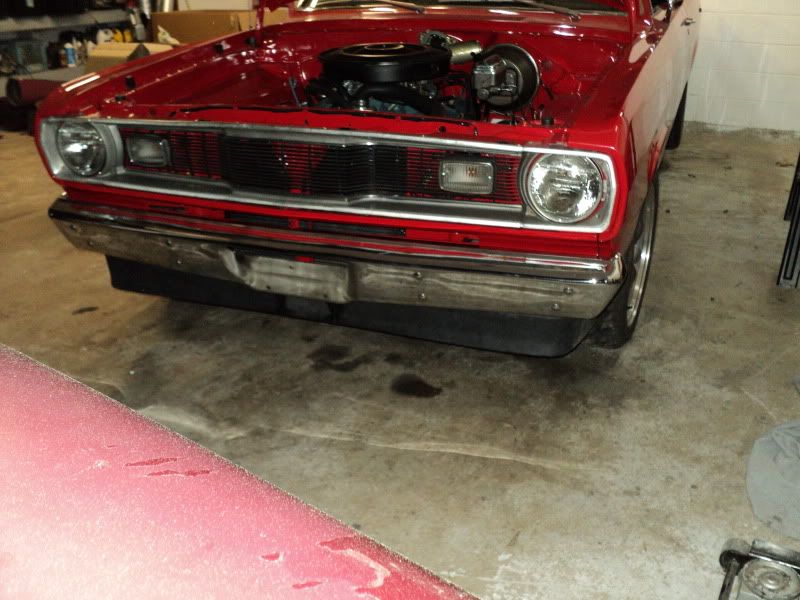
trial fit my new front air dam. still not finished with it. need to make a bracket to hold the center of it at the proper angle. after that, bodywork and paint. then ill decide whether its staying.

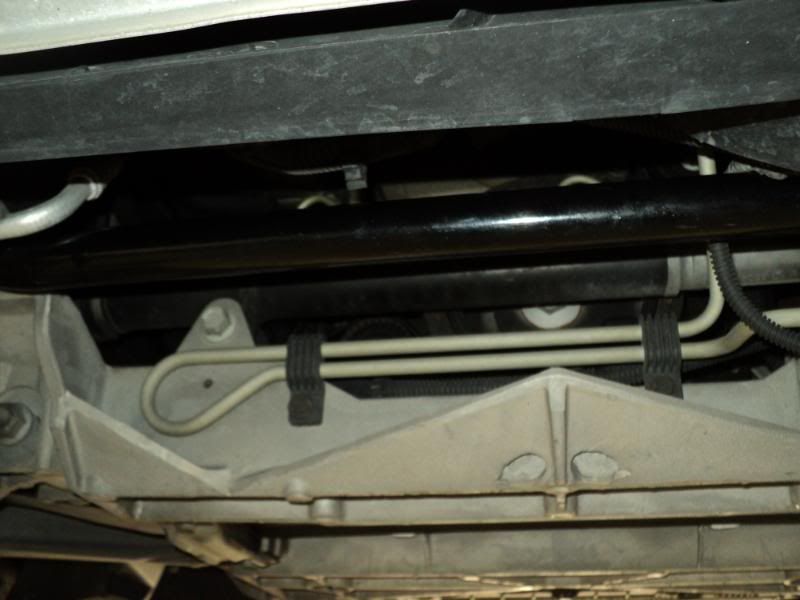
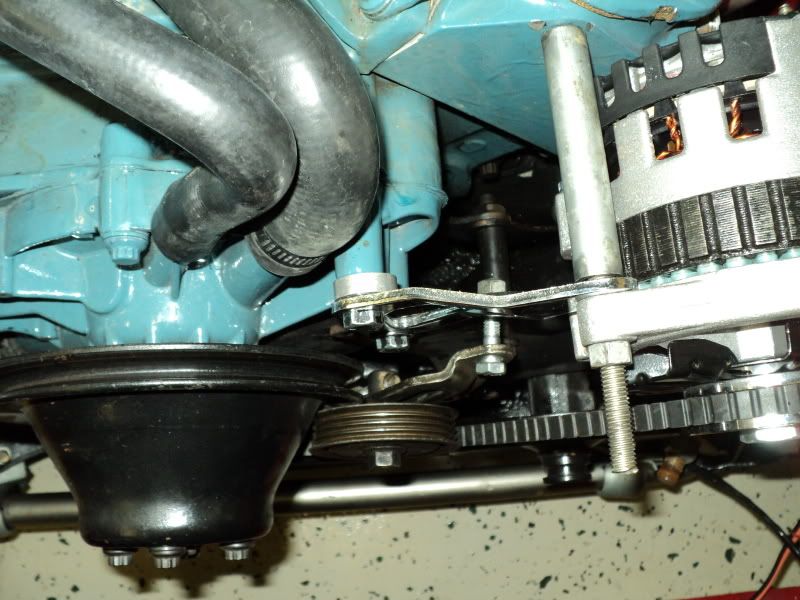
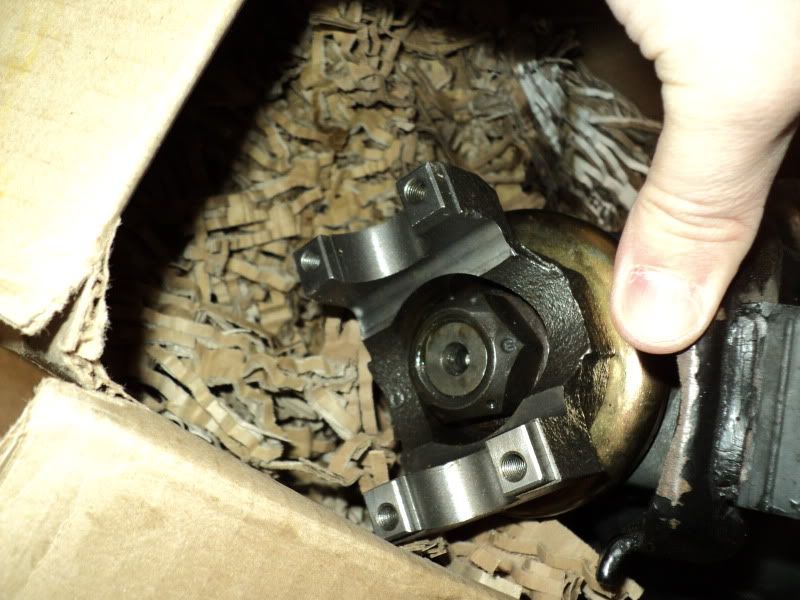
and a picture of the better of the two strut rods threaded portion.
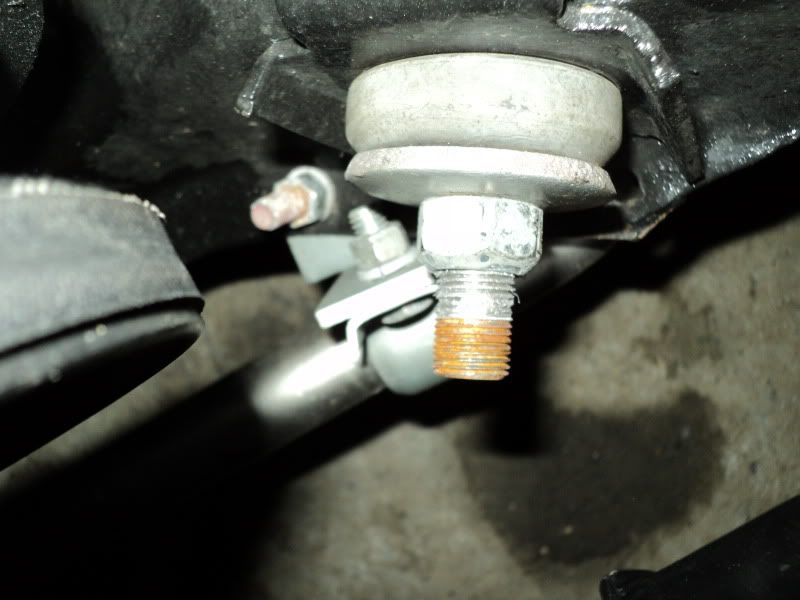
got the ride height set right after this picture, sway bar reconnected, and did a quickie alignment on it. max caster on the eccentrics, camber wherever it fell, and 1/16 toe in. camber was right at -1 degree, caster right at 5.5 positive.
took it for a quick test spin (3 or 4 miles), and thought i heard some rubbing. couldn't really find where it was coming from, even after dong a thorough nut and bolt check. it rained all last week, so i didn't have any time to drive it.
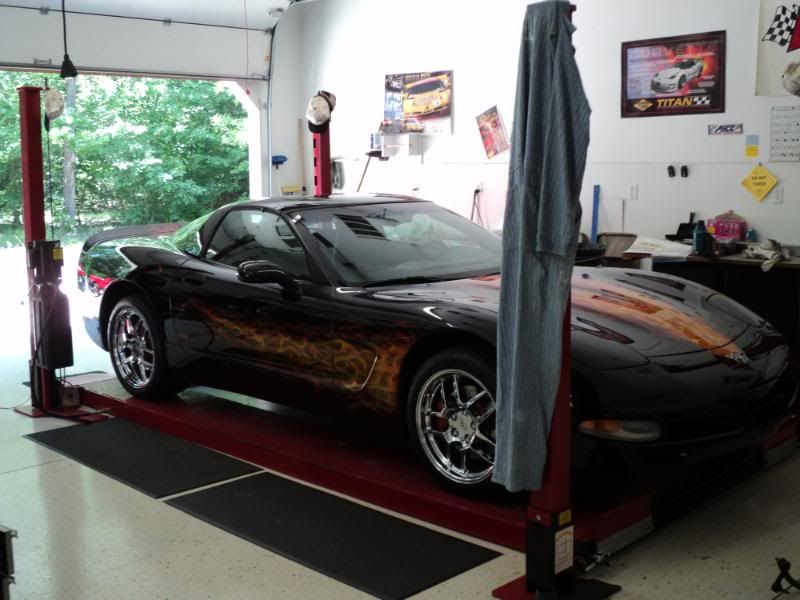
Saturday, i was planning on getting some miles on it. it was actually sitting in the driveway warming up when my phone rang that my dad had totalled his brand new Z06 up at VIR. put the car away, and loaded up the truck and trailer to go take my mom to see him, pick him up, and haul back what was left of a 80,000 Z06 corvette. Saturday was a very, very crappy day. but my dad and his student were both more or less OK. just banged up pretty good.
today i got the car out since it was nice to put some miles on it and get a feel for the new setup. ran good, good turn in, drove straight, steering wheel straight. really liked it so far, except for an odd intermittent pull over slight bumps.
when i got down near work, i hit the crowned manhole cover with my right front corner, and immediately had the steering wheel pulled from my hands and point me towards the nice, shiny, new light pole. after i got the car squared away and quit cussing, i turned around and SLOWLY got home. nothing hurt but my pride.
this was not the fault of bumpsteer. what happened was that my right front corner actually locked up in compression. the lip of the UCA ground my wheel to a halt when it came into contact with it, causing my underwear changing course correction.
this was always the tight spot with my old spindles, but with the new found negative camber and taller spindles, it apparently has used up all my fudge factor. there's some nice shiny grooves in both the inside hoops of my front wheels where the higher side of the UCA is contacting, as well as some deeper gouges where the lip in front of the UBJ is hitting.
I'm going to grind the lip down about 1/8-3/16, and see if i get the clearance i need. if I'm still hitting, ill go back to the shorter spindles.
just as a reminder to all, CHECK EVERYTHING THROUGH THE FULL SUSPENSION ARTICULATION, NOT JUST RIDE HEIGHT. i usually do this, but got sloppy this time and it nearly bit me in the ***.
updates when i find my fix.
Michael
for this one, it hurts. a lot.
740 in rear end rebuild, 15 in gasket and posi additive. gear oil was actually free (had two bottles of 85-90 Valvoline in my storage building, unopened, from god knows when.
so the new total is: 2521.64
that's a hellofalot more than i had anticipated spending to get it to this point. kind of discouraging, really, but then again I'm doing it right and not cutting any corners.
so, heres what 740 worth of hogshead looks like:
new clutches, gears, bearings, seals, and pinion yoke, plus setup. its quiet now.
if i had to do it all over again, i would have gone with the explorer 8.8. would have been considerably cheaper, and gotten rid of my wheel spacers and rear drums all at the same time.
i also got all my front wheel studs trimmed off 3/8 of an inch, but didn't take any pictures. you really cant see a 3/8 shorter wheel stud in a picture.
trial fit my new front air dam. still not finished with it. need to make a bracket to hold the center of it at the proper angle. after that, bodywork and paint. then ill decide whether its staying.
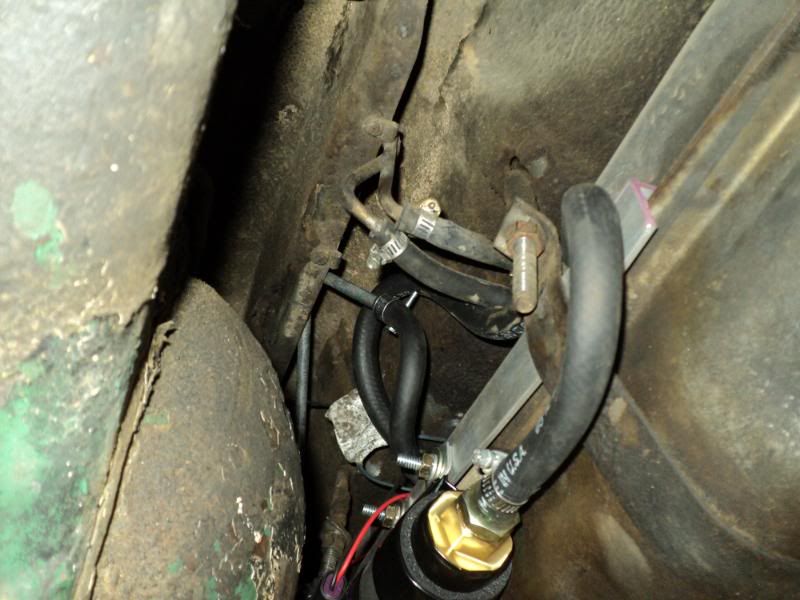
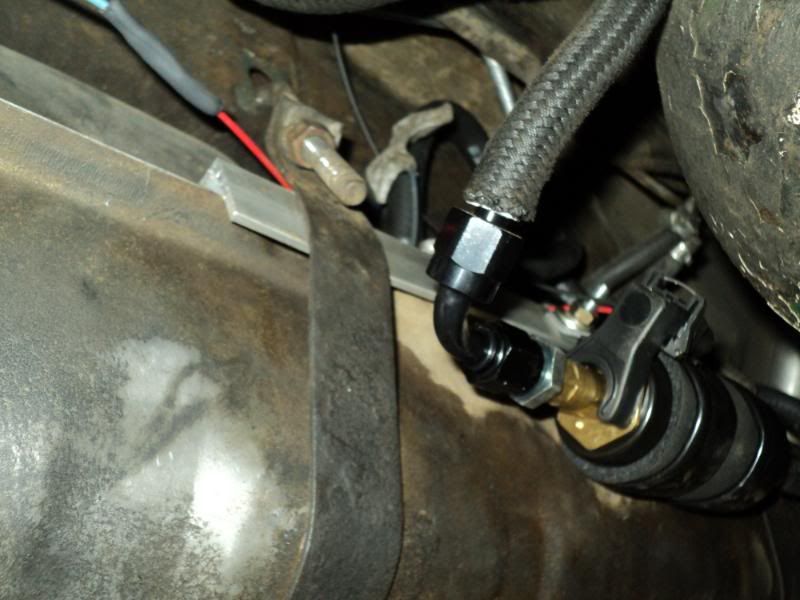
and a picture of the better of the two strut rods threaded portion.
got the ride height set right after this picture, sway bar reconnected, and did a quickie alignment on it. max caster on the eccentrics, camber wherever it fell, and 1/16 toe in. camber was right at -1 degree, caster right at 5.5 positive.
took it for a quick test spin (3 or 4 miles), and thought i heard some rubbing. couldn't really find where it was coming from, even after dong a thorough nut and bolt check. it rained all last week, so i didn't have any time to drive it.
Saturday, i was planning on getting some miles on it. it was actually sitting in the driveway warming up when my phone rang that my dad had totalled his brand new Z06 up at VIR. put the car away, and loaded up the truck and trailer to go take my mom to see him, pick him up, and haul back what was left of a 80,000 Z06 corvette. Saturday was a very, very crappy day. but my dad and his student were both more or less OK. just banged up pretty good.
today i got the car out since it was nice to put some miles on it and get a feel for the new setup. ran good, good turn in, drove straight, steering wheel straight. really liked it so far, except for an odd intermittent pull over slight bumps.
when i got down near work, i hit the crowned manhole cover with my right front corner, and immediately had the steering wheel pulled from my hands and point me towards the nice, shiny, new light pole. after i got the car squared away and quit cussing, i turned around and SLOWLY got home. nothing hurt but my pride.
this was not the fault of bumpsteer. what happened was that my right front corner actually locked up in compression. the lip of the UCA ground my wheel to a halt when it came into contact with it, causing my underwear changing course correction.
this was always the tight spot with my old spindles, but with the new found negative camber and taller spindles, it apparently has used up all my fudge factor. there's some nice shiny grooves in both the inside hoops of my front wheels where the higher side of the UCA is contacting, as well as some deeper gouges where the lip in front of the UBJ is hitting.
I'm going to grind the lip down about 1/8-3/16, and see if i get the clearance i need. if I'm still hitting, ill go back to the shorter spindles.
just as a reminder to all, CHECK EVERYTHING THROUGH THE FULL SUSPENSION ARTICULATION, NOT JUST RIDE HEIGHT. i usually do this, but got sloppy this time and it nearly bit me in the ***.
updates when i find my fix.
Michael