Biohazard

-
Shopping list -
Large ring terminal to run ground wire from neg post to radiator support.
Fuel filter, fuel hose
OEM style hose clamps
Hose clamp plier
PCV valve grommet
Correct vacuum fitting for intake manifold.

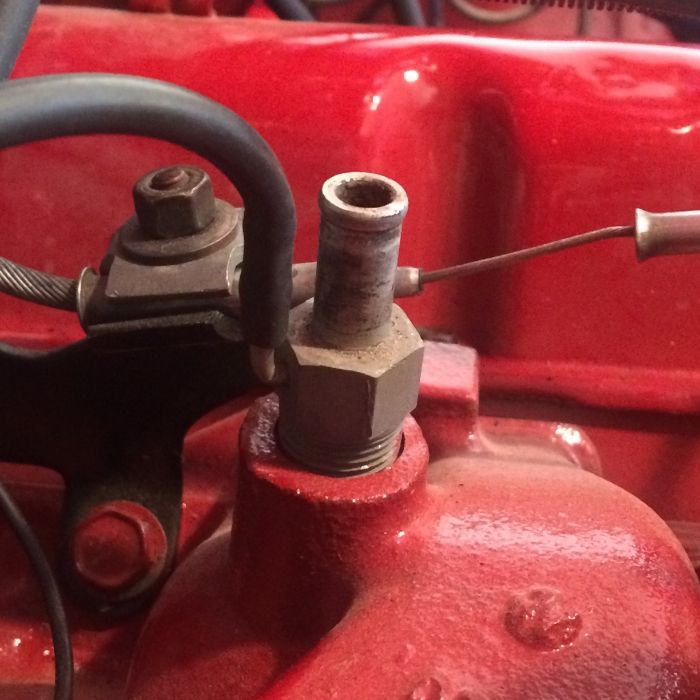
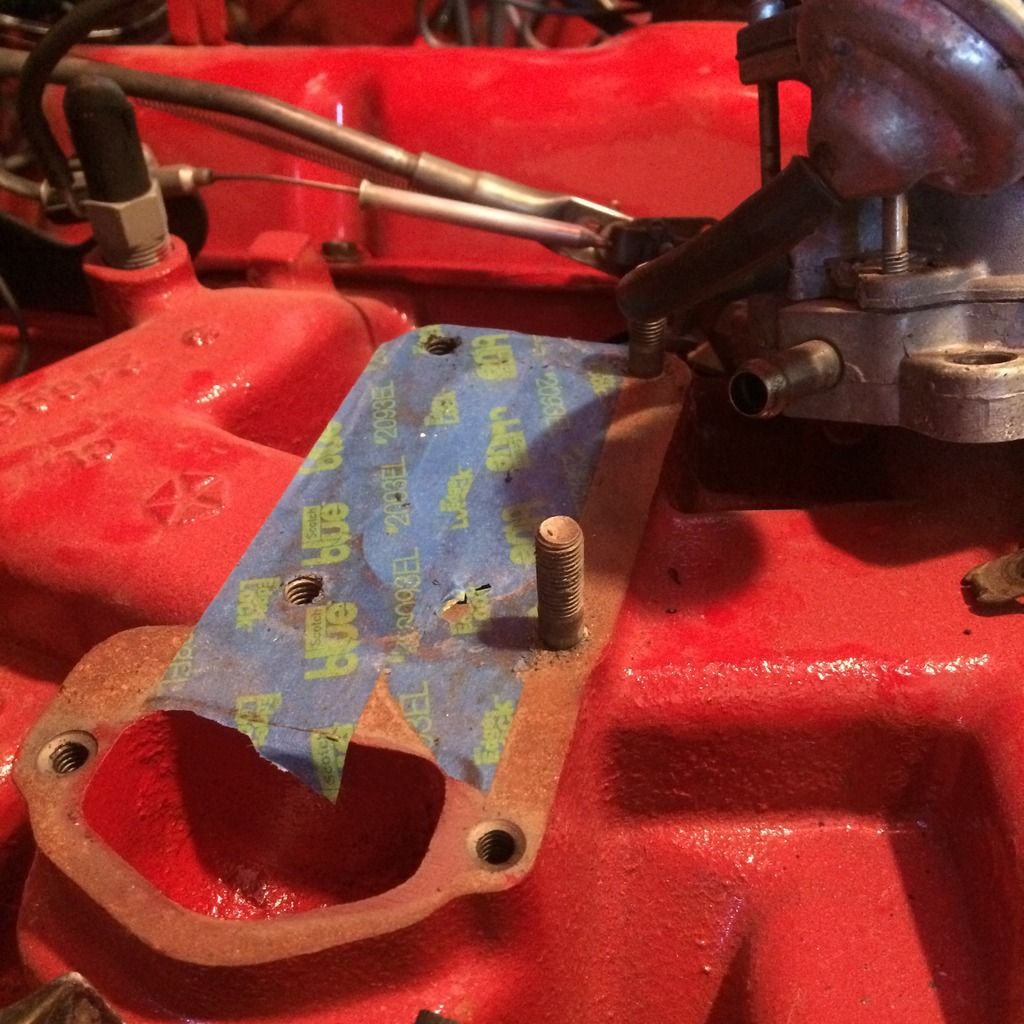
When the PO added the cruise control, he needed to replace the vacuum tap with one from a power brake car because the cruise runs off vacuum. I either needed to cap the fitting or find the correct one for my car. So I found one on eBay and its on its way.
 
Here's the vacuum tap currently threaded into my mill...


...and the incoming replacement...


Fiteen dollah, buoooy.

*don't worry, Imma clean it up right.
 
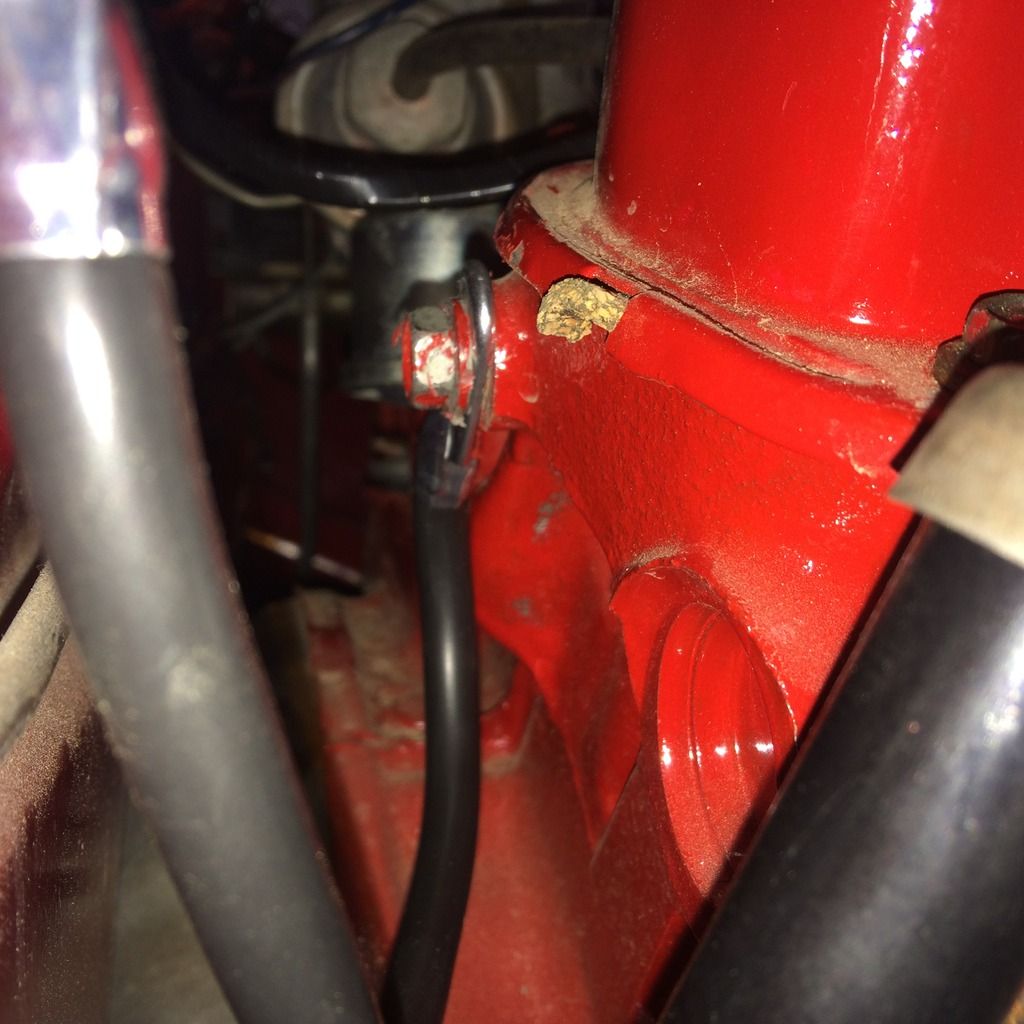
New ground strap for the rear of the motor installed....with a twist.

Here's the connection at the cylinder head:


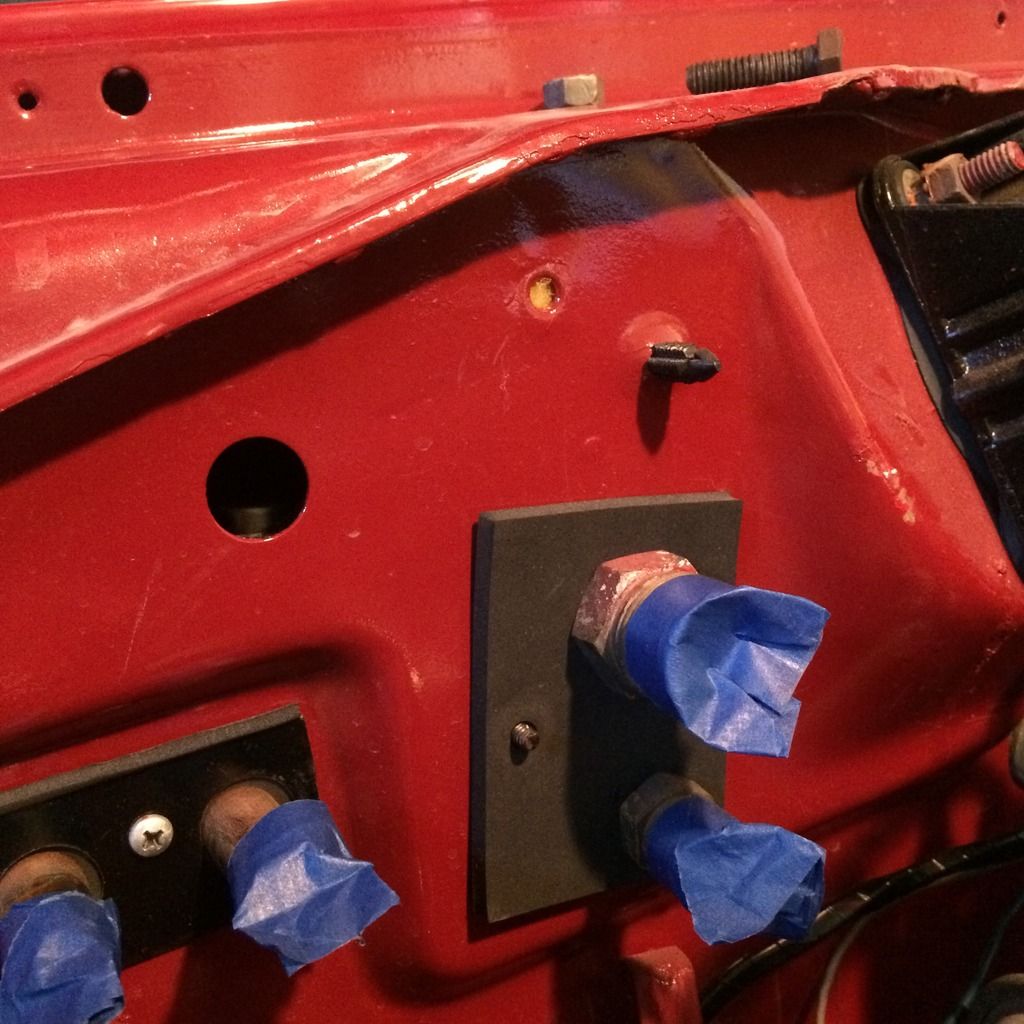
The other end should be bolted to the firewall in the hole directly above the A/C fittings.


...but I decided to secure it here...


Can't see why that's not every bit as good of a ground point and it leaves the upper firewall looking a tad cleaner. Maybe she'll turn over now.


That looks like the same place mine is bolted to on the firewall. It seems like the perfect location! Not sure if mine is original or not. It's not very long.
 

Attachments

  • ground strap.jpg
    55.7 KB · Views: 326
Toad (if I may call you 'Toad'), a perusal of the 'net suggests that you and I have broken from the factory with our wiring scheme but if it works, it works. Not to mention, we both need to clean up our trans oil dipstick handles, lol.

When I'm nearing completion under the hood, I'll still need to plug that hole in the interest of keeping heat, fumes, and wind out of my cabin.
 
By all means, please call me Toad.

LOL, it just makes more sense to put it there!!! Like you said, much cleaner.

Oh, I was just looking up the rubber hose you have from the heater motor to the firewall. You probably noticed mine is missing. Do you know what it's for??
 
Yes, I did notice that along with how mangled your pipe end is, lol.

So, I'm pretty sure that it channels some of the air in your HVAC box and routes it back to the fan motor to help cool it. Get the hose or, at least, cap the pipe.
 
Thanks! I found one online at Detroit Muscle Technologies.

And yes! I need to straighten that up!!!! You continue to give us inspiration to keep going!

My current project is converting the single master cylinder to a dual. The plan I have for my car is to slowly get it put together the way I want it, then pull it apart and have the body and paint done.

However, I may be moving to Tennessee soon, so once the master cylinder is done, I'll stop until I move. You know ALL about moving!!!! Like you, I was military and moved every three years. I'm really hoping this will be my last. I interviewed for a company in Gallatin, TN this past week. Love the slow pace of it.


Yes, I did notice that along with how mangled your pipe end is, lol.

So, I'm pretty sure that it channels some of the air in your HVAC box and routes it back to the fan motor to help cool it. Get the hose or, at least, cap the pipe.
 
No problem, man. Yeah, my tube was part of the whole DMT kit for redoing your vent box so I figured they'd have it. Their products are top shelf!

Gallatin...looks like a great location just outside Nashville! Nice place to plant your butt. Get a good garage!!
 
On the subject of moving...I just happened upon this photo yesterday of the fish on the trailer which I never posted so, instead of a video clip of me polishing another screw, here's that pic.


*Cracker Barrel, Wichita Falls
 
Solved:

d573176c36ab4c5306d3a28fe2eceda0.jpg
 
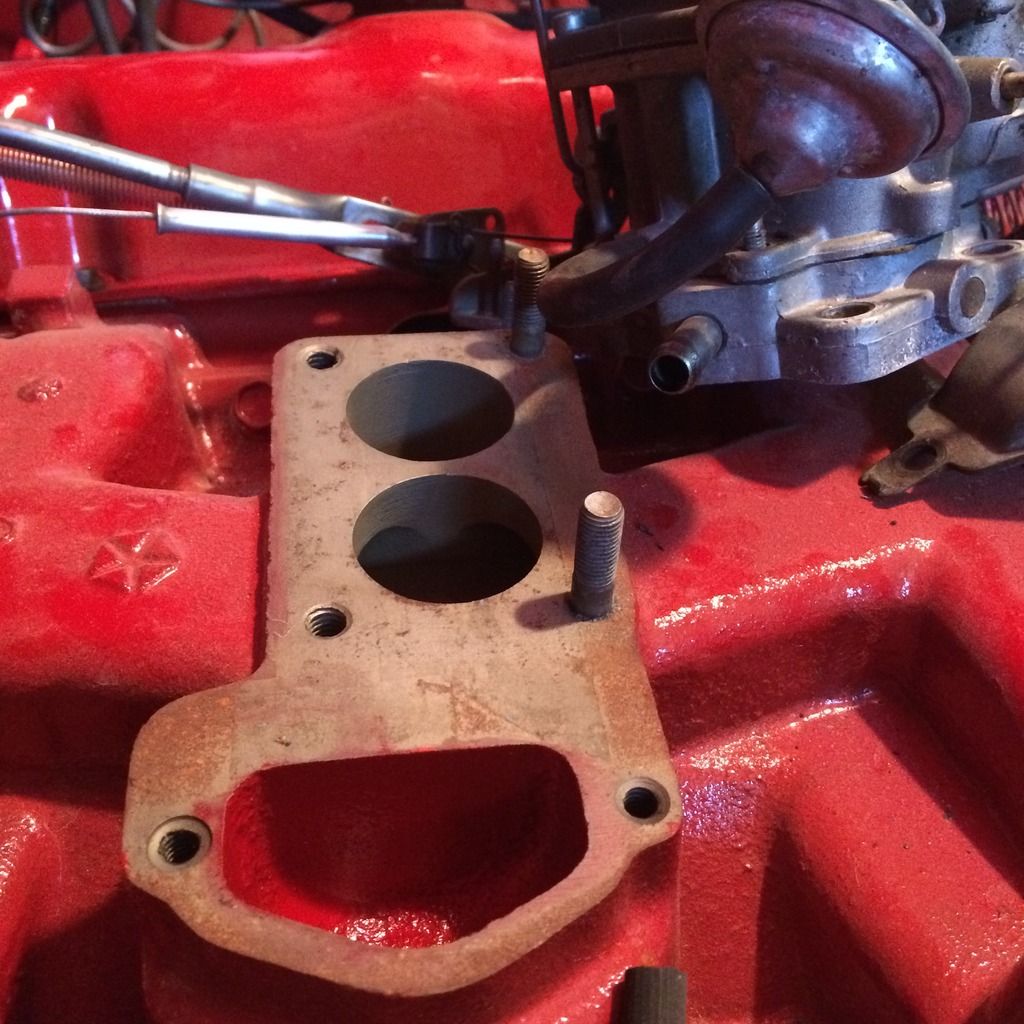
So, getting ever closer to bringing the mill back to life. Carburetor off to remove the tape I used to seal up the manifold. Man, I don't care if it is painter's tape...after a year and a half, that stuff is hard to peel off!!


But off it came...


I went with the thinner gasket. Realized the thicker one raised the carb more and might affect choke rod reach.

I never use blue tape on anything that sits more than a week, use the green 3m it will come off easy a year from now.
Also I am pretty sure the thick gasket is the correct one, I have a new in the package Felpro 60188 I will give you if you need it.
 
Oh boy I have had my fair share of grounding ghosts! Im at the point now,when I buy a new to me vehicle the main ground gets replaced if it is the least bit suspect. Kinda like a tune up or oil change for same.Just something I automatically do.
 
Completed some wiring work.


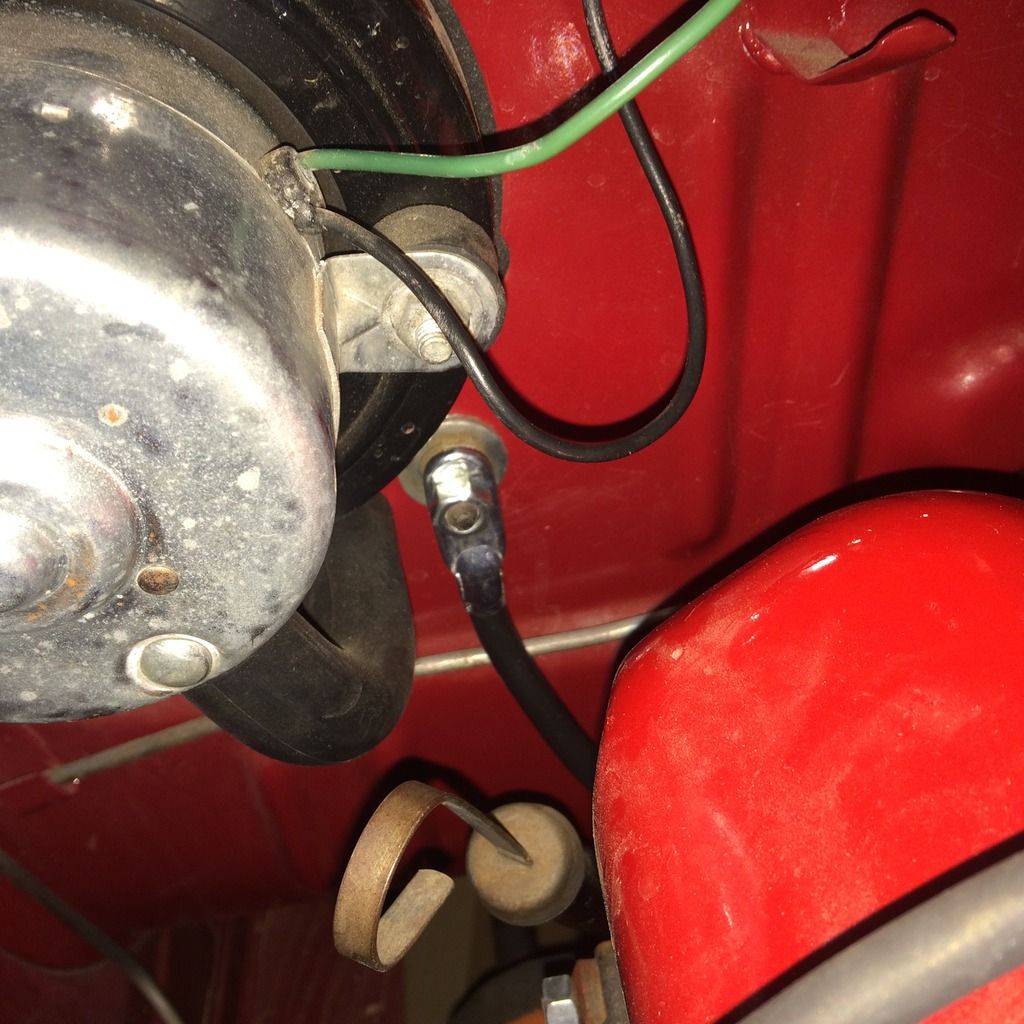
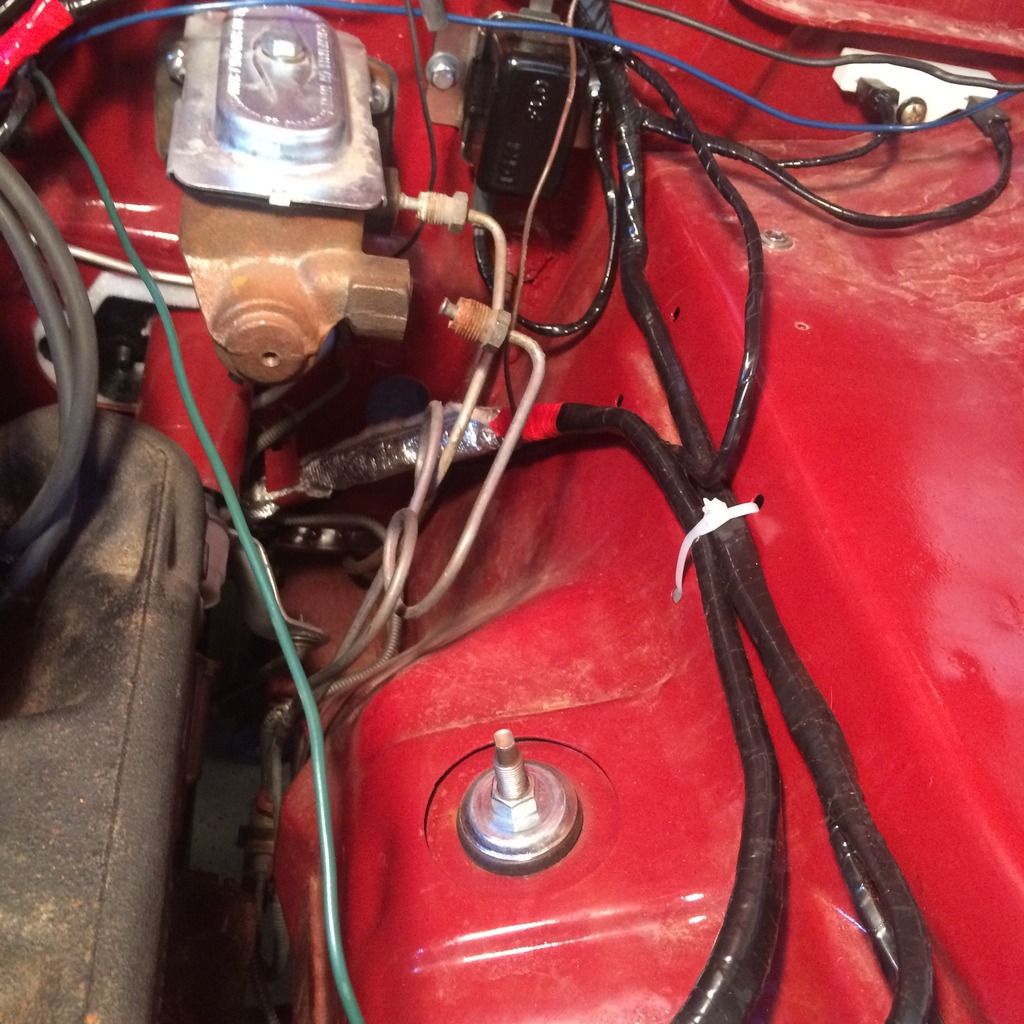
Ground to radiator support - notice added rubber grommet (I had one in my bin)


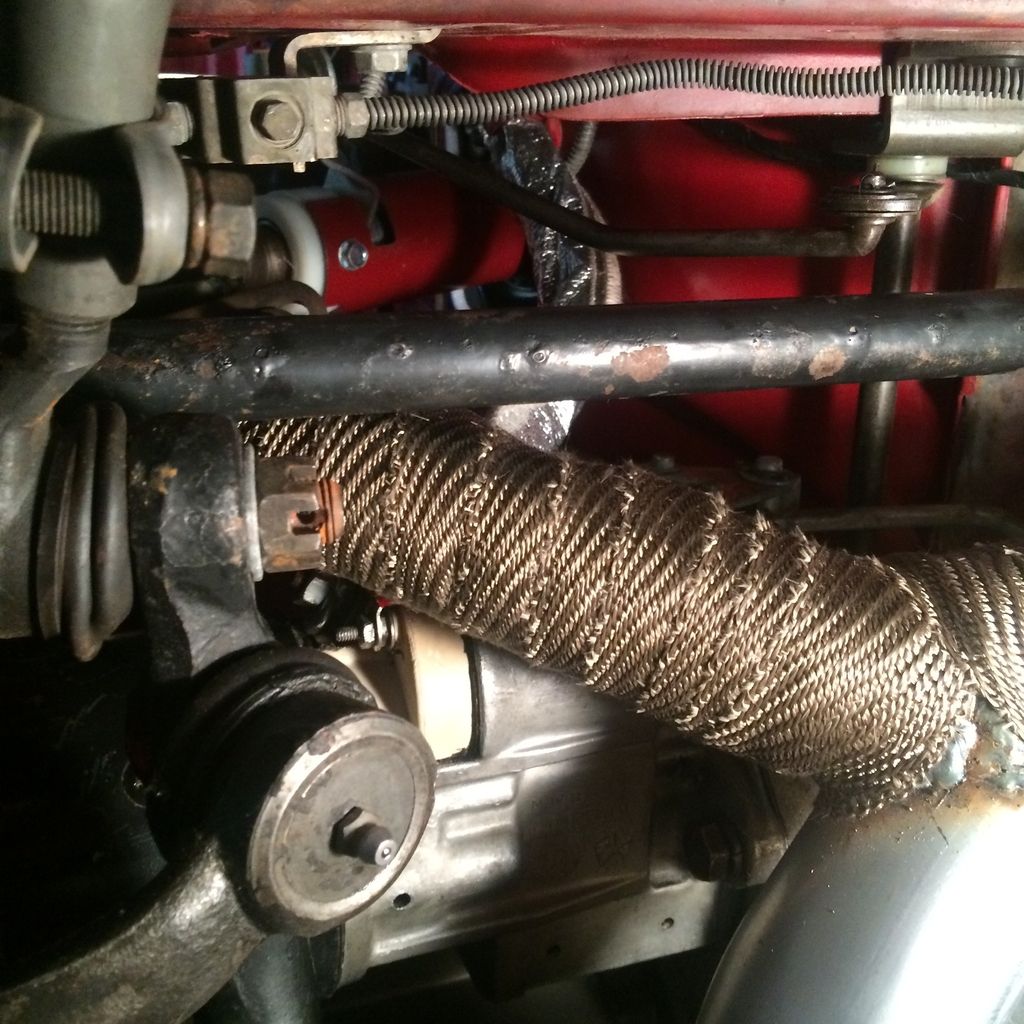
Ran starter cable, correctly this time, secured with white zip tie.


With the new wires and starter reinstalled, time for test. Now in video format!!

[ame=http://img.photobucket.com/albums/v467/vr6pilot/Red%20Fish/IMG_2173_zps0ntcdfzq.mp4]
th_IMG_2173_zps0ntcdfzq.mp4
[/ame]

http://vidmg.photobucket.com/albums/v467/vr6pilot/Red%20Fish/IMG_2173_zps0ntcdfzq.mp4div>
 
So here's how the rest of the day went....

Good test on the starter, very happy about that. But, much to my surprise, the fuel pump really moves a tonne of fuel and because I f'd around and cranked it too much (got greedy, doncha know), the carburetor started pouring gasoline out from where the accelerator pump rod goes into the bowl. Holy crap! Gas everywhere. So, needless to say, the fish is back out in the driveway because I can't have her smelling up the garage with gas.

Anyway...stuck floats? And if so, why? Did I leave it sit for too long after the carb rebuild? It has been two years now.

I did run a wire directly from the batt to the + side of the ignition coil just to ensure it got a direct shot of 12 volts but the engine never lit off. Flooded, no doubt.

Ugh, what now?
 
Sad it had to come to this.


Guess the top is comin' off that carb. Oh well, it's all about the journey, right?
 
Got inside the carb's bowls and lifted out the floats. Looks like some black gunk had formed on the bottom of the floats and there was a matching pattern at the bottom of the bowls. Suggests that the gunk had sort of glued the floats to the bottom, keeping them from rising and closing off the inlet valve. At least I hope it's that easy. However, while removing said floats, the hinge pin fell out and promptly scurried down that U shaped opening between the number 3 and 5 cylinders never to be seen again. I can order one for $11 but found that some 2" finishing nails I had were the right diameter so I'm going to carefully cut one down to 3/4 of an inch and pat myself on the back for having done so.
 
Continuing the nice work!

Hopefully cleaning up the bowls and floats will stop that gas from spewing out all over! Then you can get Teeth and Tires back into the garage...safe and sound.
 
I like having her under roof just because summer's coming. No fun tooling when it's 95+ outside.

When little parts fall into those cavities in the cyl heads....just where do they go?
 
Man, your guess is as good as mine!

We need one of the guys on here who used to build these motors new to tell us the secret.

Krazy Kuda where are you????????
 
I tried to fish out that float hinge pin with a magnet - no luck.

So, I've cleaned the bowls, polished the floats, and fab'd a new pin.
 
-
Back
Top