Biohazard

-
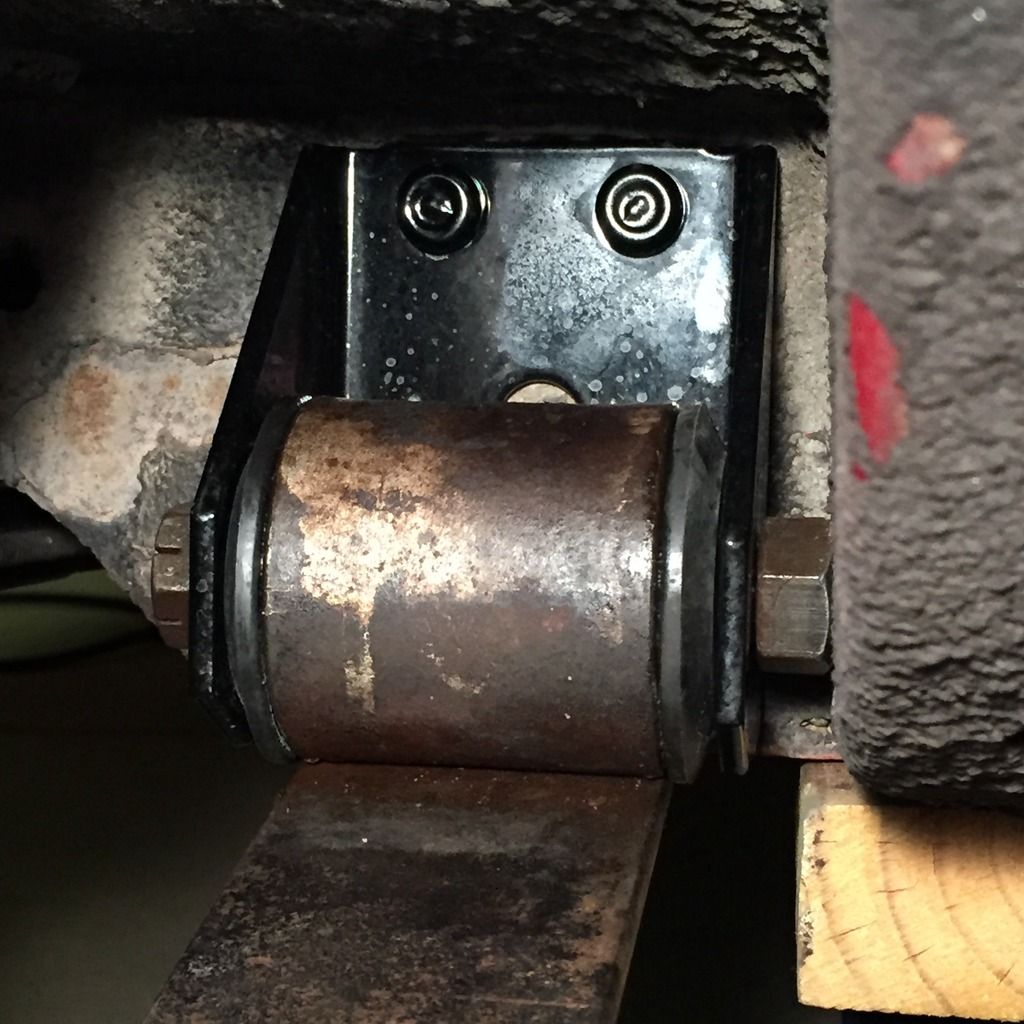
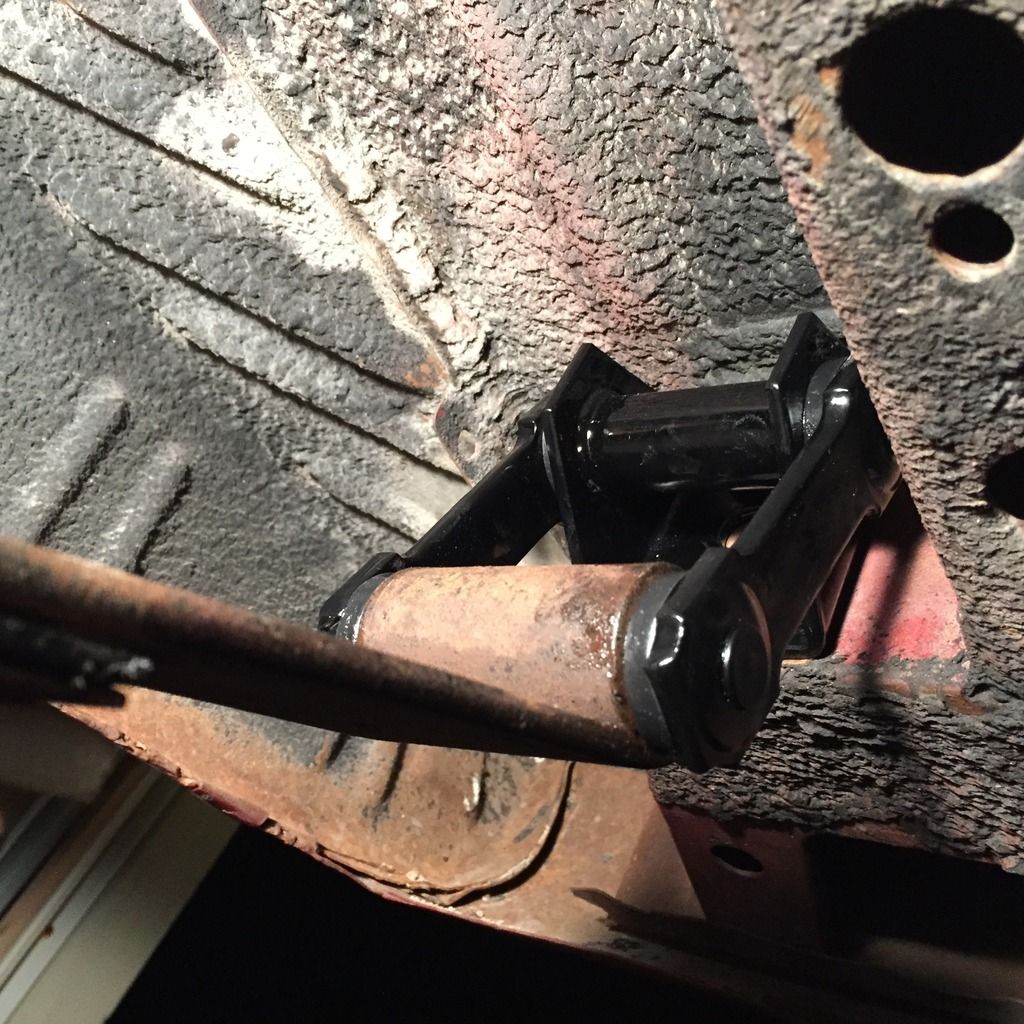
Got it all done yesterday. Once those steel sleeves were driven out, putting everything together was cake. Had I known that the PST bushing kit came with its own special lubricant, I wouldn't have asked about using it.


Glad you got it together, the last photo really shows how poor the OEM undercoating is on the 1/4 panel.
 
Gave the fish a ghetto alignment *taped a stick to each of the front tires and turned the tie rods till the distances were equal.
This was good enough to make the car safe and controllable. Certainly enough to drive it to the alignment shop when the time comes. Drove her up and down the street. Good times.
 
Give it as much positive caster as you can, zero the camber (using some crafty measuring to the wheel), add a smidge of toe in and the alignment will probably be better than a shop will do.
 
Give it as much positive caster as you can, zero the camber (using some crafty measuring to the wheel), add a smidge of toe in and the alignment will probably be better than a shop will do.

You make me giggle.
 
Today was kinda awesome. Had Dad over for the big dinner and, of course, had to spend some time in the garage going over what I had done and what it had done for me and so on.

Came time to push the fish out into the driveway (we don't like to fume-up the garage if avoidable) and run the engine. When I say, "the motor fired up instantly"...I'm not exaggerating or speaking in hyperbole. It seemed like the motor was under full steam at the first spark to find it's way to a plug. It actually took me by surprise as I was expecting at least a few rrr, rrrr, rrrr before it caught.

Proud, was I, to say the least.

Happy Thanksgiving everyone and, especially, to those who've helped me out along the way!
 
Awesome!

Happy Holidays keep progressing!

Family kinda puts it all in perspective!
 
How about some opinions???

I've decided to alter my interior decorating plans a little. Having found the red and white scheme a bit too peppermint stick for my liking, I've decided to go with red and black.

I'll be doing the sheet metal trim in black as well as the carpet and, of course, the dash. But the seats are going to be red. Having trouble deciding whether to get red door panels or black ones. With red panels, there is a distinct red-n-black thing happening but if I do the panels in black, the seats 'pop' a little.

Here are some pics of Tony Fields' car. My car would look a LOT like his if I get the red panels....

attachment.php


attachment.php


http://www.forabodiesonly.com/mopar/showthread.php?t=162455 Link for the thread where these were posted.

I have to decide this tonight. Sale at Classic!
 
I LOVE red interiors. Tony's looks great. - But I think I'd consider red carpet which would make a nice contrast with the black console and I think I'd even like the sheet metal in red too.
 
I think it ties in better w/ the red door panels. I was considering doing my seats and door panels in a dark brown leather motif and leaving all the other trim black.

How about some opinions???

I've decided to alter my interior decorating plans a little. Having found the red and white scheme a bit too peppermint stick for my liking, I've decided to go with red and black.

I'll be doing the sheet metal trim in black as well as the carpet and, of course, the dash. But the seats are going to be red. Having trouble deciding whether to get red door panels or black ones. With red panels, there is a distinct red-n-black thing happening but if I do the panels in black, the seats 'pop' a little.

Here are some pics of Tony Fields' car. My car would look a LOT like his if I get the red panels....

attachment.php


attachment.php


http://www.forabodiesonly.com/mopar/showthread.php?t=162455 Link for the thread where these were posted.

I have to decide this tonight. Sale at Classic!
 
There are a lot of cars that get their interiors done in black. I think it's because it's easiest to find parts reproduced in that color and it does tend to go with all exterior paint schemes. I think that one of the main reasons I drool over a red interior is because it tends to really pop and has sort of a retro look to it.

Black tends to hide details. - That doesn't mean that I don't think they look good, I just think that they lack the WOW factor that colors like red give you.

If I had to choose between column A and column B I guess I'd choose black door panels. I think that with as much of the rest of the interior being kept black, the red panels would seem to break up the overall 'flow' of the interior. I don't know if my trend of thought makes any sense to you. I guess I'm trying to say that I feel the black/red/black door theme (with red seats) seems a bit disjointed compared to the black door theme with red seats.

Regardless of which way you choose you really can't go wrong. They'd both be great but I'd go black.
 
I am leaning toward black panels. And I think I do follow what you're saying. Too much alternating colors when you put the red panels in so keeping them black helps keep the cabin, as a whole, looking a lot cleaner.
 
I am leaning toward black panels. And I think I do follow what you're saying. Too much alternating colors when you put the red panels in so keeping them black helps keep the cabin, as a whole, looking a lot cleaner.

^^^^^^^THIS^^^^^^^^^ The red panels on the doors just look out of place. :cheers:
 
Hey Nebraska... here's one for you, from a magazine article (Musclecar Review, Nov '87) featuring a car that I have long coveted. In particular, I thought the interior was amazing. Funny how I now own a '69 fastback in the same color but anyway.

Red on red on red.


This car belonged to a fellow named Michael Brown. I do wonder where he and this car are today.
 
The 66 Barracuda I sold back in the spring was all red interior just like that 69. It was white exterior (what paint it still had on it, lol) and the combo was great. It was a lot of red!!!
 
Ultimately, I decided that "too much red" comes on rather quickly. So, I ordered black panels. The only red that will be on the inside is the seats and the steering shaft under the dash. Maybe I'll drop some red floor mats in there, too, but that's it.
 
Just a little.

Today, I yanked the radio out along with the speaker I had previously installed in the dash. I have much to do up under the dash I decided to get some significant obstacles out of my way, the most significant being the radio. It's HUGE.

Anyway, starting with the speaker: I pulled the assembly out and separated the speaker from the mounting frame. Having arrived at the conclusion that I'll not be wanting to use that speaker in any actual audio capacity, I decided to make it's removal a permanent move. The speaker frame was covered with a piece of that thick shelf liner (the stuff I've been making body gaskets out of) drawn tightly over the top and glued in place. This will act as a sort of sound deadening blanket to reduce the amount of noise sneaking out from behind the dash and reflecting off the windshield directly into the occupants' faces. Reinstalled that.

While I rendered the radio useless some time ago, I wanted to keep it installed for appearances' sake. You'll know from several pages back that I gutted the electronics out of mine partly because I couldn't effectively sanitize the circuit board and to reduce unnecessary mass. But since the whole thing is like having a lunch box stuffed behind the dash frame and it makes doing work up in there nearly impossible, I was seriously considering trashing it altogether.

What I did do instead was eliminate the bulky radio chassis which was, by this time, little more than a partly empty box. Since all of the tuning buttons and dial are supported on the face frame, the chassis box was non-essential.

Comparison of radio with and without the metal housing:


The top plate is needed to house the light that illuminates the tuning dial. After removing it, I trimmed it down with tin snips and reinstalled it. But, the top plate is normally secured, with screws, to the other housing panels so to keep it from eventually rattling out of position, I secured it with two small screws shown here....

 
-
Back
Top