Today's big payout:

 /
/


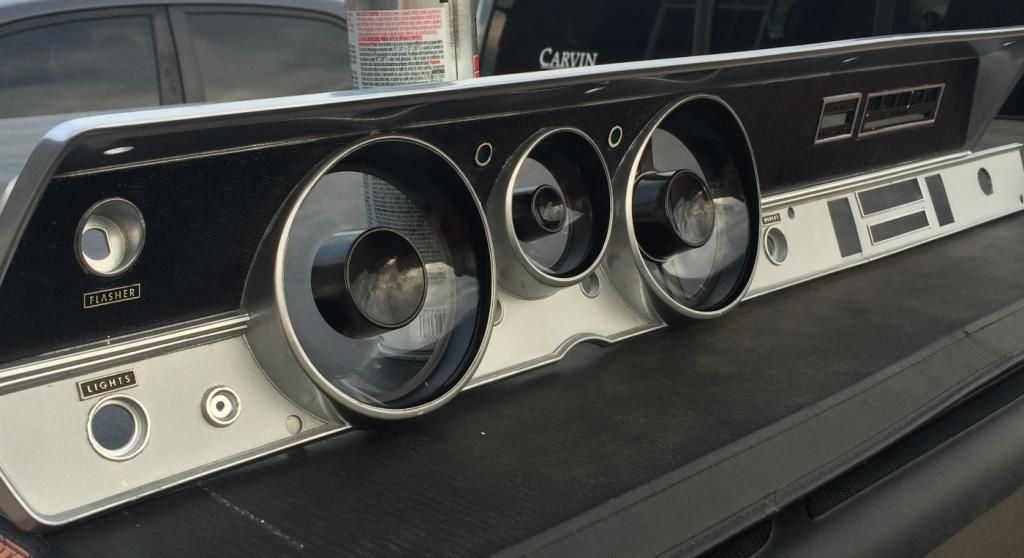
Tidying up some loose bits. A crack in the plastic that I repaired with JB weld has failed and is a crack, once again. Dremel'd out the old weld, creating a channel, and filled it with fresh JB and a straight section of heavy paper clip wire for reinforcement. JB bonds to metals much better than plastics.


One thing a day baby......

Don't know if you've considered this but installing a dedicated ground wire to the back of the instrument cluster, bonding it via ring terminals to each circuit boards ground screws and then running it back to the chassis or even to the battery negative will give you a low impedance ground path and your will have no issues with any gauges. Keep up the good work.
 rayer:


