Cleaning up a Proportional Valve

-

lgjhn

"The faster you go, the faster you go..."
Joined
Nov 6, 2004
Messages
134
Reaction score
49
Location
Southwest LA
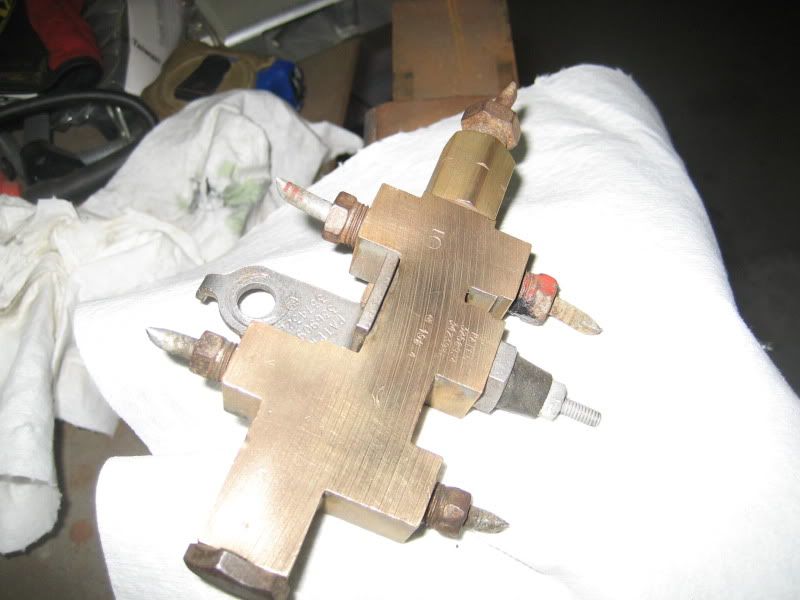
The following is a pictorial of how I cleaned up a proportional valve. This is for informational purposes only and if you elect to do something similar to this, you're on your own and I take no responsibility for your results (I hang around too many lawyers....LOL). This is a typical junk yard score or your 35+ year old valve:
IMG_3008.jpg


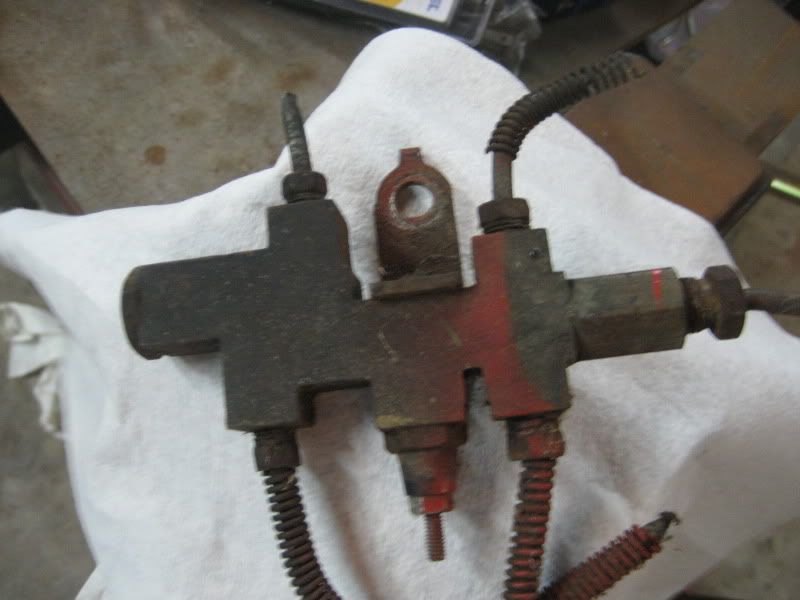
I cut the excess tubing off with a set of side cutters or dykes leaving about an inch or so of the old tubing. I do this for a couple of reasons: 1. It provides a cheap source of good plugs to keep the trash and mud daubers out. 2. It allows me to get a 6-point socket or closed-end wrench over those fittings. You're gonna want that because most of these are in there really tight where even a tubing wrench won't move em. 3. It saves rounding off the fittings that could otherwise be cleaned up and re-used if need be. Here it is fresh from the bead blaster and tubing lines cut as described:

IMG_3010.jpg


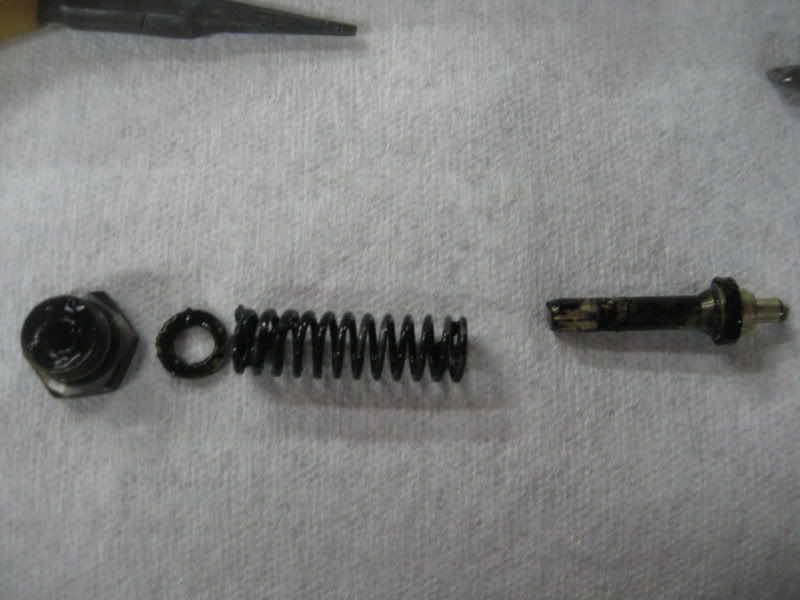
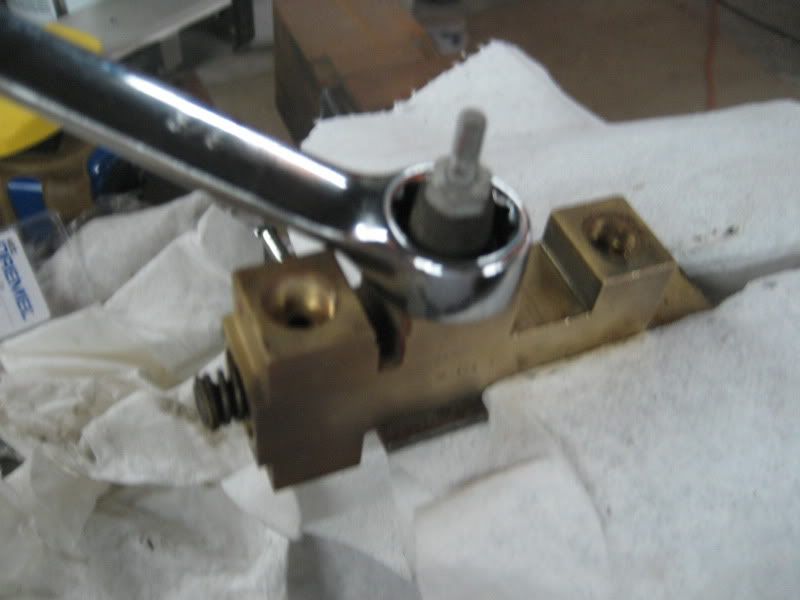
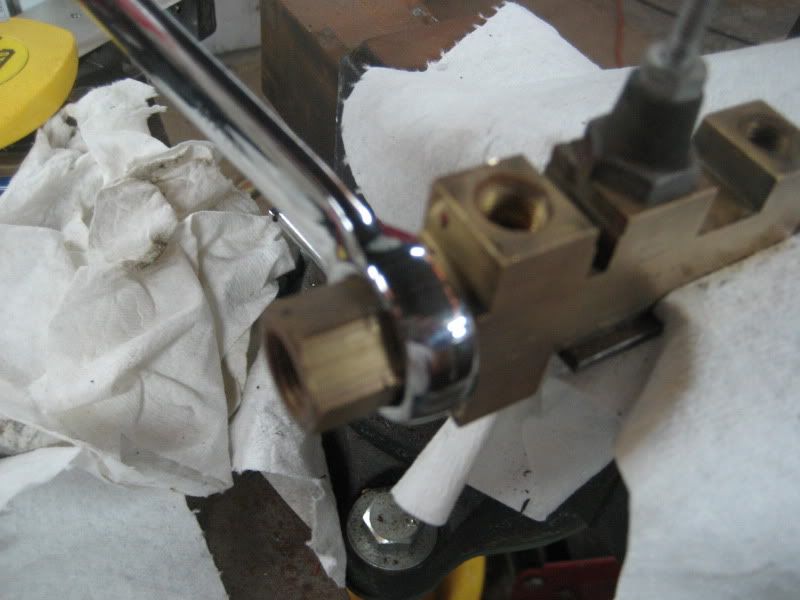
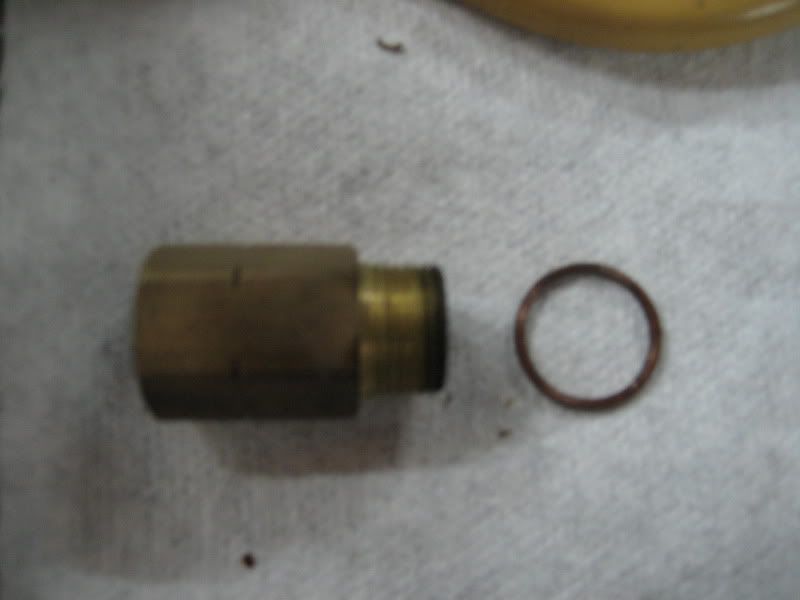
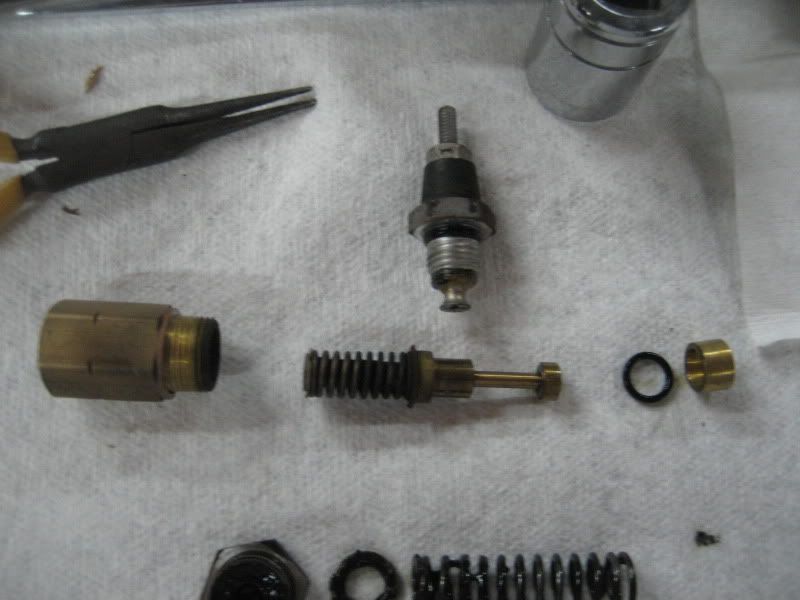
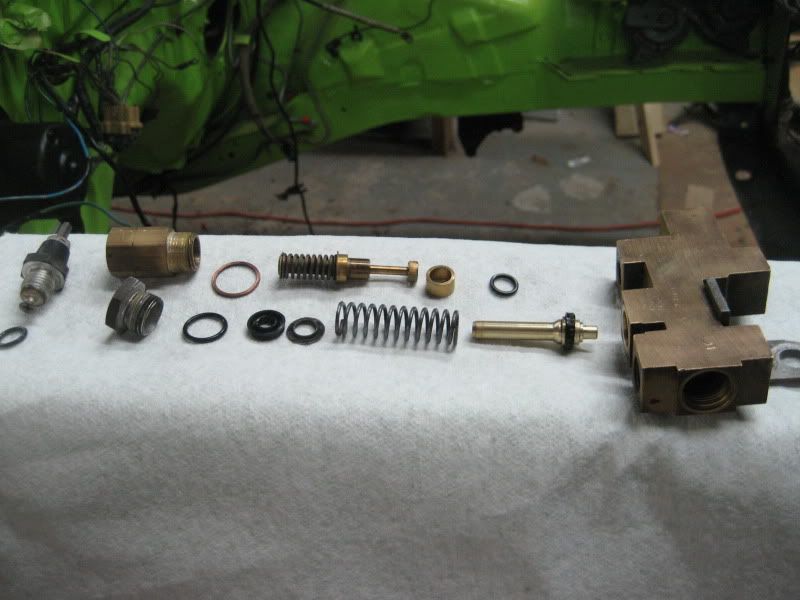
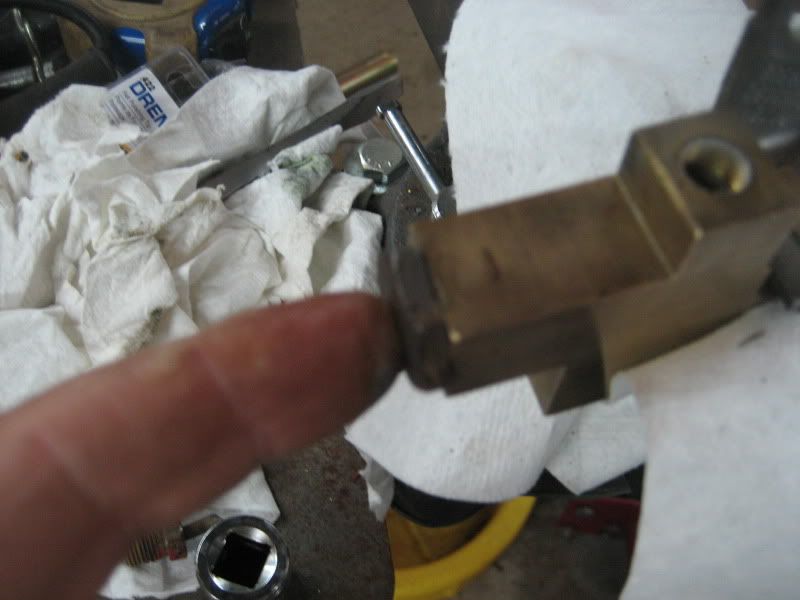
Clamp it in a vice, get the fittings (plugs) out and take a 3/4" wrench to the bottom nut. Be careful because this nut is under spring pressure and has a small metal washer that you do NOT want to loose:
IMG_3013.jpg
 
Most of the crud is going to be found in the bottom section of the valve behind that 3/4" nut as its just about the lowest spot in the system and after 35+ years, it's just gonna collect there. After the nut is off, here is what you'll have:
IMG_3014.jpg


You'll need a small needle-nose plier to GENTLY pull the plunger out. There should be a rubber grommet on the plunger. Sometimes, they stay stuck in the hole so you'll have to GENTLY pry it out and put it back on the plunger. Be careful as there is no new source for these that I'm aware of. Also inside the nut is a rubber grommet that I have no new source for. Gently pry it out and clean everything up (sorry for the lousy pic):
IMG_3019.jpg


Next, take a 5/8" wrench and remove the switch:
IMG_3016.jpg
 
Once the switch is loose, take an 11/16" wrench and undo the top. There is a small brass washer under that fitting much like a brake washer that I have no source for so don't loose it:
IMG_3015.jpg

IMG_3020.jpg


Now remove the switch if you haven't already done so and gently remove the upper plunger assembly and you should have something that looks like this. Most of the time, the o-ring and/or the brass ring will tend to stay inside. Fish em out with the pliers or a pick:
IMG_3017.jpg
 
Clean everything to spotless, including the inside of the valve body itself. I replace the o-rings on the bottom nut, the switch and the upper plunger. I use Buna-N rings. Make sure you use something other than plain old rubber rings. You want them to hold up in brake fluid. The bottom nut uses a 014 ring. The switch and upper plunger use an 011 ring.
Here are all the parts cleaned, new o-rings and ready for re-assembly:
IMG_3022.jpg


Re-assembly is the reverse of the above: upper plunger, switch and lower plunger, spring and nut (don't forget the washer). You should be able to push the upper plunger and it should spring back. You can also check continuity of the switch with a meter.

I dunno if this will help anyone but I didn't see anything posted like it anywhere. These are actually not that hard to do. I just wish we had a source for the bottom grommets and the brass seal ring. If anyone has a source for those parts, please let me know. Thanks.
 
thanks for so much info even tho some pics fuzzy it was very good i enjoy these kind of posts because of info thanks again
 
lgjhn, very nice thread, you didn't even advertise what you charge to do this as a sidejob ! What would you charge? Thanks
 
Good info lgjhn, quite often we get so enthused about doing stuff that we forget to take pics. Thanks!!
 
Awesome post lgjhn. Good timing as just the other day, I was looking at cleaning up mine, but had no idea how to go about it. Thanks for taking the time to show us how. BTW, is there a specific O-ring kit I should look for that has the appropriate sizes?
 
Awesome post lgjhn. Good timing as just the other day, I was looking at cleaning up mine, but had no idea how to go about it. Thanks for taking the time to show us how. BTW, is there a specific O-ring kit I should look for that has the appropriate sizes?
great article,nice job..j
 
I think I'm gonna be doing that. Junking out a disc brake equipped Duster right now


Thanks
 
According to all factory literature from day one to present, proportion valves are not to be serviced.
 
According to all factory literature from day one to present, proportion valves are not to be serviced.

Memmie so, but see, (L.O.L) that doesn't fit in with my life's philosophy,

"You cannot break it if it's broken, but you can fix it so it cannot be fixed"
 
I sent mine to be rebuilt a few years back...cost a bundle...then leaked a bit and crapped the paint. Looks like a job most of us could handle, Thanks...nice work
 
Here is how I cleaned my up. lol
 

Attachments

  • Polished portional valve.jpg
    97.6 KB · Views: 731
John: the outer lip on the brass tube; which way does that seal go? The open side towards the long end of the tube??? or the closed end towards the long end?
 
Is this an aftermarket kit for switching from front drums to discs? Are those lines stainless?

Nice cleanup lgjhn!

No it's not a aftermarket kit. It's same valve as for drum brakes. I was going to install a adjusting valve but after driving the car I found I didn't need it. Yes they are stainless lines.

I used a buffing wheel and buffing compound to clean up the valve.
 
-
Back
Top