My 67 Dart, Where to begin...

-

joeboy

Well-Known Member
Joined
Feb 11, 2009
Messages
1,127
Reaction score
94
Location
Denver, CO
I have been making some progress, slowly, and wanted to give an update. Here is the car...

http://www.forabodiesonly.com/mopar/showthread.php?t=57094

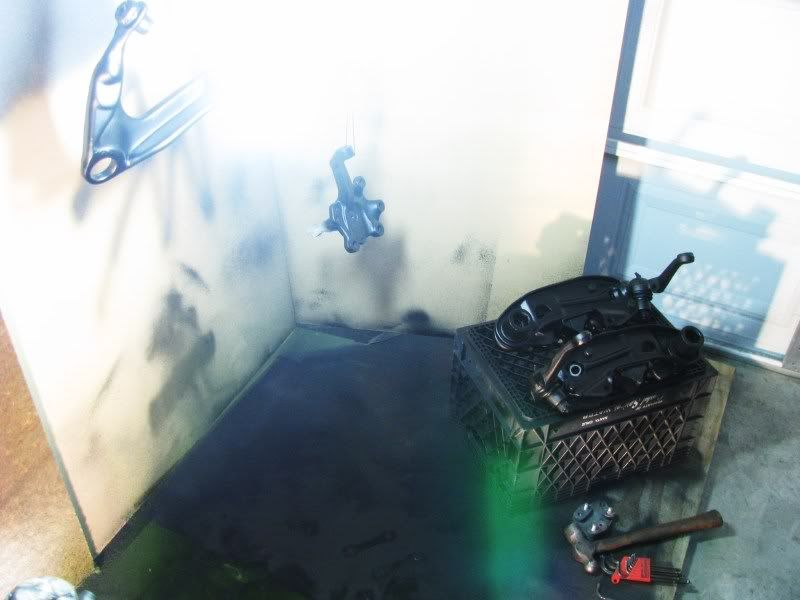
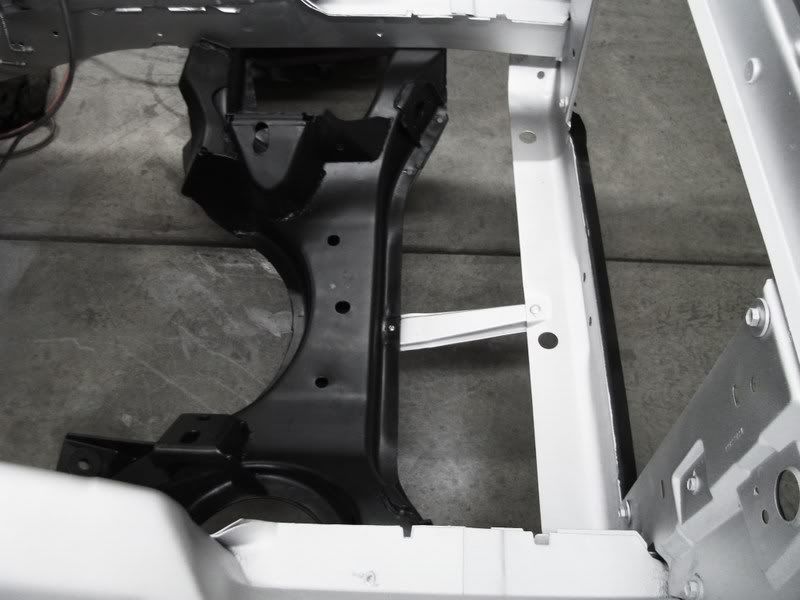
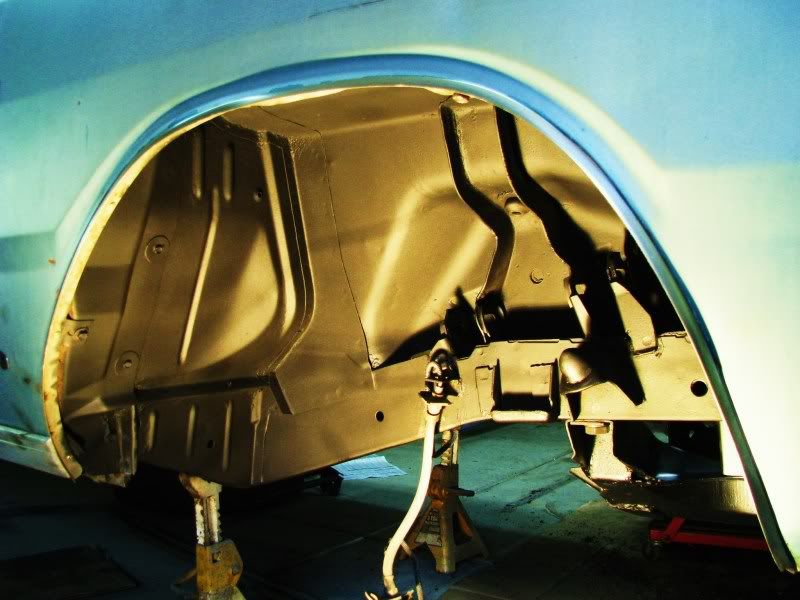
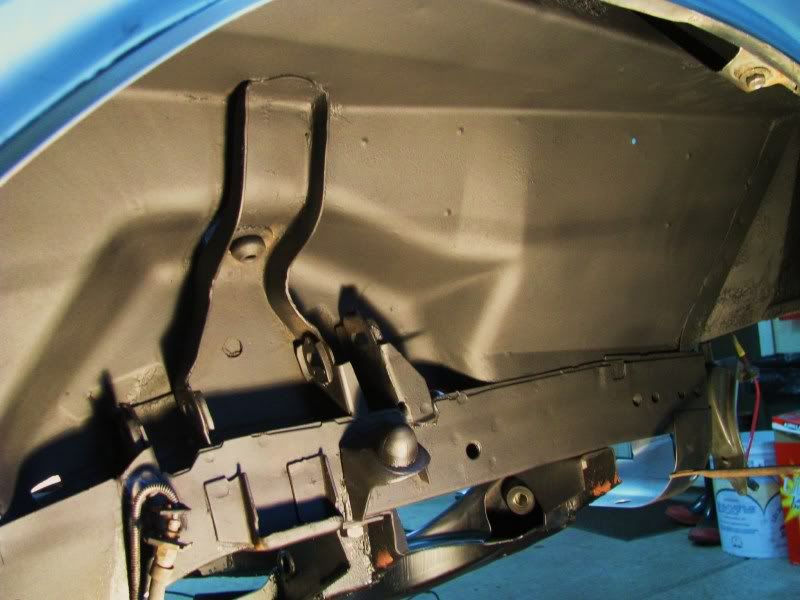
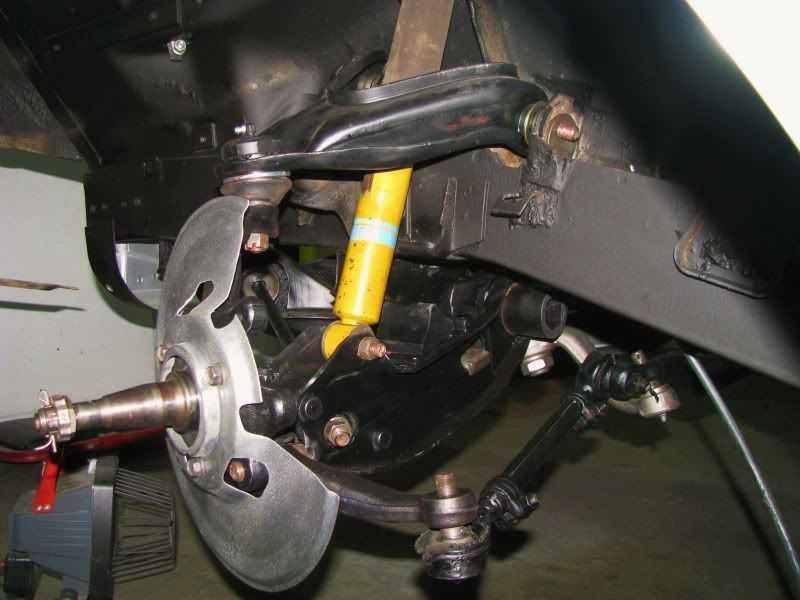
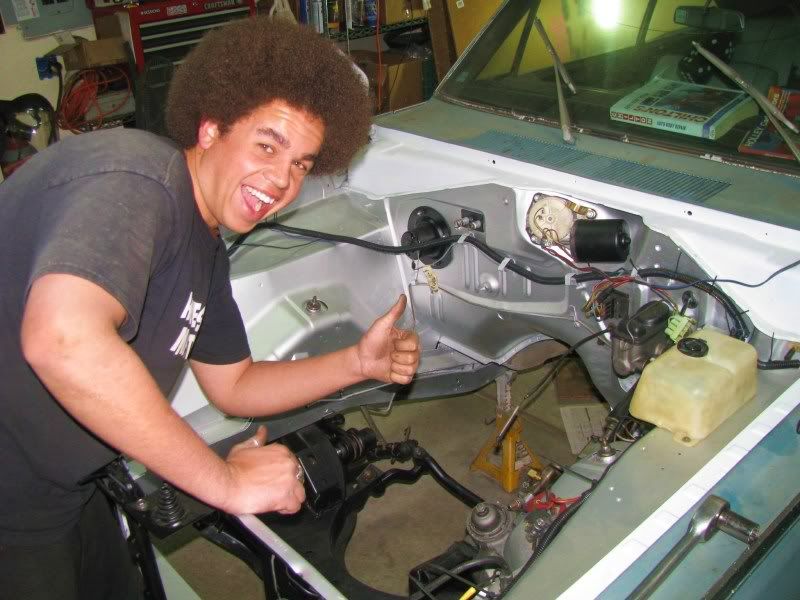
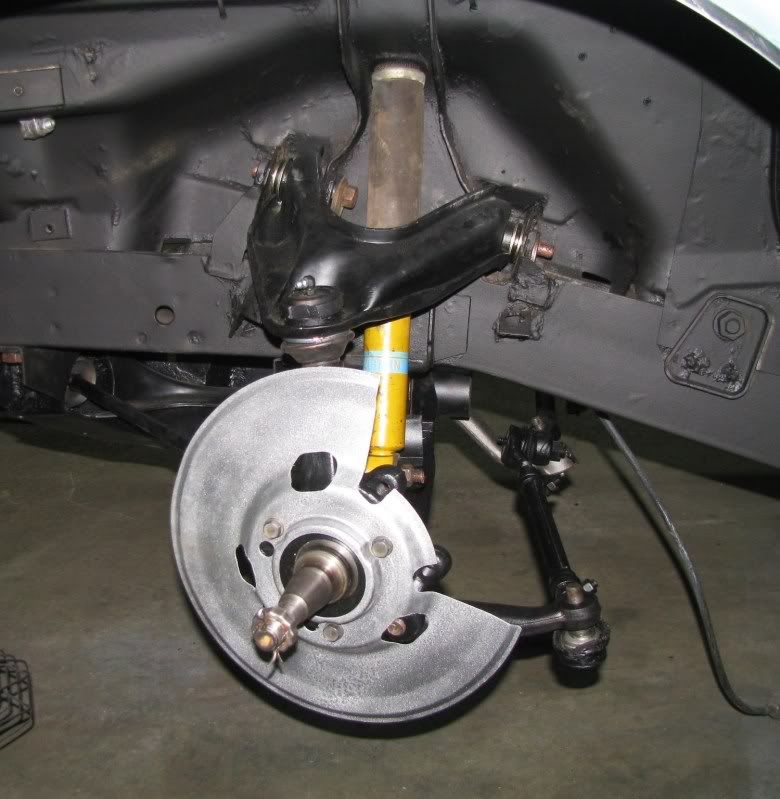
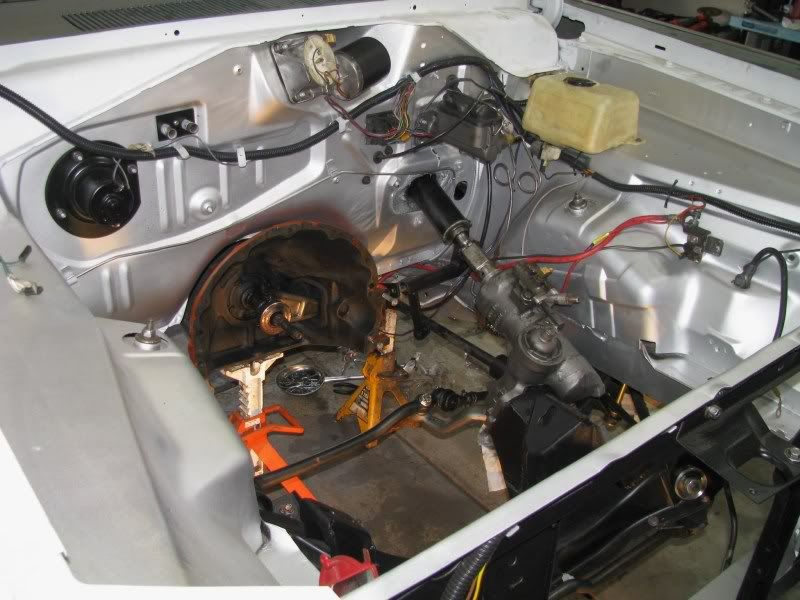
...and here is what I been up to. I decided to get started with the rolling chassis, front first. I got the PST poly bushing pressed in, and have got most of the front end ready to put together. It is all cleaned up, primed and painted. I also painted the inner fenders/K-member after a few hours with wire brushes, steel-wool, and simple green. Here are a few pics. More to come, gonna try and spend some quality time with it tomorrow.

JOE

109_0215 (Small).JPG


109_0216 (Small).JPG


109_0217 (Small).JPG


109_0218 (Small).JPG


109_0219 (Small).JPG
 
Here are a few pics to update. I did not get as much as I wanted done today, but such is life...

I started by cleaning all of my old nasty brake lines with steel-wool and a wire brush. I got the front/master lines back on the car, still gotta finish the line to the rear. It took some time, but they turned out way better than I expected.

I then moved on to get the control arms and other basic front suspension in place. I did not get to the torsion bars, they are up next. I also got most of the steering stuff in, just gotta get to the box/pitman when I head that way again.

I am waiting on a flaming river conversion shaft for the new box, some shocks, and then the Scarebird brackets. Soon I hope...

109_0220 (Small).JPG


109_0221 (Small).JPG


109_0222 (Small).JPG


109_0223 (Small).JPG


109_0224 (Small).JPG


109_0226 (Small).JPG
 
Too clean ! Looks great.
A RollsRoyce is built by hand too,
with a lot more hands ofcourse.
Pat yourself on the back :)
 
HAHAHA!

Dude, We are mates now...

My Build.
http://www.forabodiesonly.com/mopar/showthread.php?t=55670

You are pretty funny doing all the same stuff as me! Well Interesting Differences actually... But anyways, GREAT JOB! Keep it up. I wanted to Pull me Hair out a bit of Times! But Dang, ... That right there is Awesome.

Nice Car. How's the Motor/Tranny Situation Lookin? Let's See.....

My name is Max and I think we should introduce our cars some day. They are gonna be best friends! Well at least look cool hangin out. 273 Aint a Big tough guy though. Just a Noisy Lil Bastard!
 
Ex: 1-UpperA-LowerC
IMG_0622.jpg


Ex: 2-K-Member
IMG_0346.jpg


Ex: 3-Well-Pass.
IMG_0616.jpg

IMG_0614.jpg


Ex: 4-Sus-Disc
IMG_0671.jpg


Witness: Mr. Fro
IMG_0674.jpg


IMG_0670.jpg


IMG_0802.jpg


Dude. You too!!!! That is Classic!
 
Wow these pics are better that the hot mopar babes thread.
OK maybe not LOL
Atleast the wife doesn't mind my saving some of the pics.
You guys rock !
 
Max,

Yeah, I been followin your thread for a while... My car looked nearly identical to yours before I painted it (just faded blue). It does not look like a GT much anymore since I stripped all the trim. I will try and find an old pic to post. I am a bit jealous of your disc brakes, I gotta do a kit.

Mine will also be a 273 car, but it is a 727 auto. It will be a few months before I get to the motor/trans. I gotta rebuild my rearend and clean up the undercarriage a bit more first.

Stay tuned... Hopefully We will get 'em out together someday

JOE
 
Yeah the Car handles great with them discs. I drive it very fast into corners...

Glad to know you been keepin an eye on my proj. So funny we have the same pictures even almost!!!!! Lol. Yeah well good luck man and Can't wait to see em back on the road!
 
I have spent the last 2 weeks workin on the dart on and off, but have not made any real tangible, or at least visually stimulating progress.

I have spent most my time underneath it with a wire brush, wire wheel, and some scraping tools. I Hope to get the bulk of the undercarriage cleaned up within the week. When I finish getting it cleaned up, I will get some more pics up.

Why is it always more fun bolting on the new parts, than it is cleaning up the old ones?
 
It seems that the bulk of my summer was spent fixing up the house, and working in the yard and garden. I finally got all of my "projects" done, and made some progress.

Here are pics of the scarebird stuff goin together... I opted for Crossdrilled/Vented Rotors, Heavy Duty Calipers, and HAWK HPS pads, to try and improve the upgrade a bit more...

More to follow

109_0407.jpg


109_0409.jpg


109_0410.jpg


109_0411.jpg


109_0412.jpg


109_0415.jpg


109_0419.jpg
 
finished the brakes, started to install my Hellwig Swaybar. Gotta wait for the shocks to arrive before I go any further.

109_0420.jpg


109_0413.jpg


109_0421.jpg
 
So After a bunch of reading online, and tips from FABO members, here goes my attempt at the floor pans... I am doing them 1 at a time to try and maintain the integrity of the unibody as much as possible. Right side first...

first few pics are the before shot, and a few holes I drilled in the pans from the bottom to mark the frame, and outline where I needed to replace.

109_0424.jpg


109_0427.jpg


109_0430.jpg
 
Next I used a pneumatic chisel/hammer to "connect the dots" i made with my drill. I snuck the chisel between the frame to cut the pans there also. A grinder or cut-off wheel is perfect for nipping the last bit of pan over the rails.

I used the chisel to push the pan away from the frame, I eventually switched to a pry bar to just "snap" some of the spot welds, which was easier than the chisel. I then did the same at the seam along the top of the panel.

109_0432.jpg


109_0433.jpg


109_0436.jpg


109_0437.jpg


109_0446.jpg
 
nice.. very clean work on the suspension.. good luck with the floor.. i cut the floor out of a old mustang the other day.. wasnt to bad..
 
I got back to workin on the car... I trimmed the passenger panel for a near perfect fit. (it has a bit to big of a gap at the rear I had to try and fill with a couple beads) Then I drlled holes to weld it to the sub-frame. I also took the time to fab a plate from some steel to "box in" the frame rail beneath the floor. Hopefully this will give me a bit more rigidity when I get the sub-frame connectors welded in. I then held the panel in place with some weights, and some vise grips at the front. It still warped a bit trying to weld it to the thicker frame beneath, but overall it turned out ok. My welding is really improving, the drivers side should be a bit prettier.

109_0467.jpg


109_0469.jpg


109_0471.jpg


109_0472.jpg
 
So I have not been to take pics for a bit because I managed to drop my Camera in the ocean on vacation... So no photos from vacation, (wife kinda sad) and no updates here (I'm kinda sad)...

So I finished my floors, and primed & painted the interior floor. I have since removed the rearend, rebuilt the 489 case with some 3.91's, and begun getting the parts together to freshen up the rear brakes and suspension. I also got the under-side all cleaned up and ready for paint too.

More to come...

DSCN4416.jpg


DSCN4417.JPG


DSCN4418.JPG


DSCN4422.JPG


DSCN4421.jpg
 
Started putting together the rear, and also got the caltracs mono-leafs and traction stuff installed. (went with the 1" lowering springs, so we shall see) Cleaned up a bunch of parts, and got paint on a good portion of the undercarriage. Still waiting on some brake parts, bushings, and some other odds and ends... Hopefully in a few weeks she will be back on the ground!

DSCN4437.jpg


DSCN4436.jpg


DSCN4438.jpg


DSCN4440.jpg
 
I got the rearend in, filled it with fluid, felt like big step.
Still gotta finish up the rear brakes, waiting on $ for the drums... I got the Caltracs stuff all bolted up, I cant wait to feel it Hook-up.

I gotta start hunting for a motor/parts that will be the next step, as everything, it is as the $ and time comes... I need more of both.

JOE

DSCN4456.jpg


DSCN4457.jpg


DSCN4458.jpg
 
-
Back
Top