340sFastback
Well-Known Member
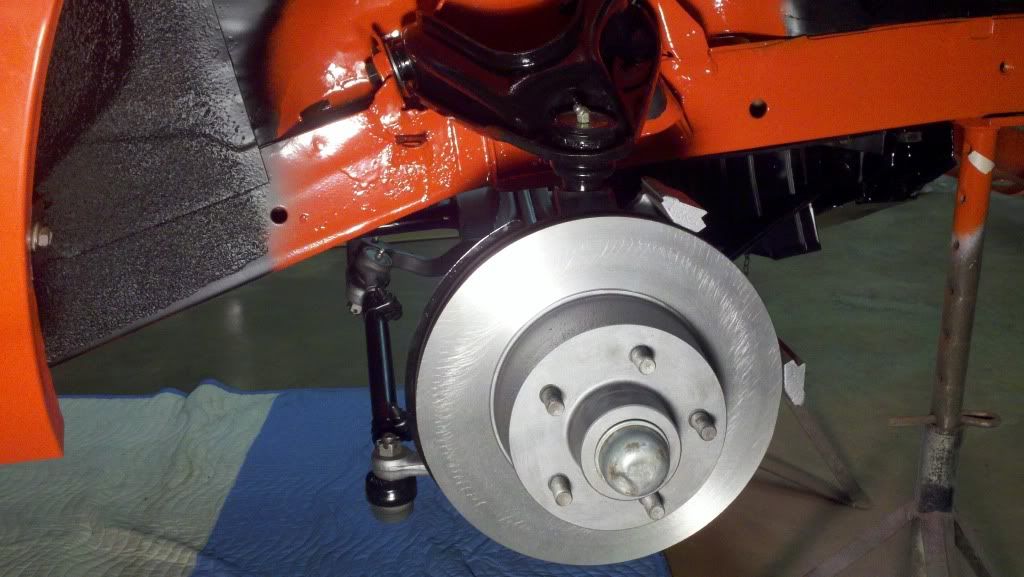
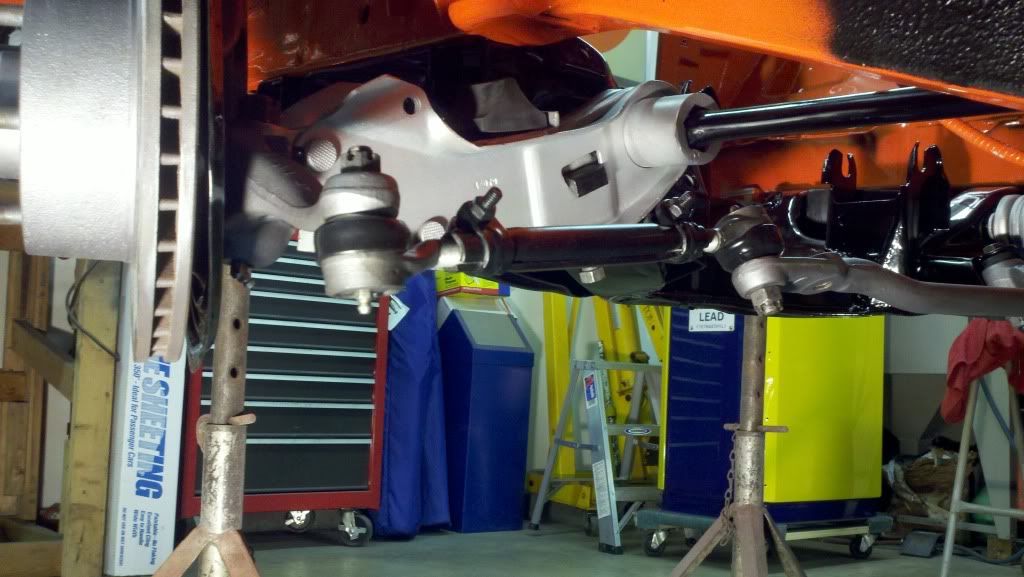
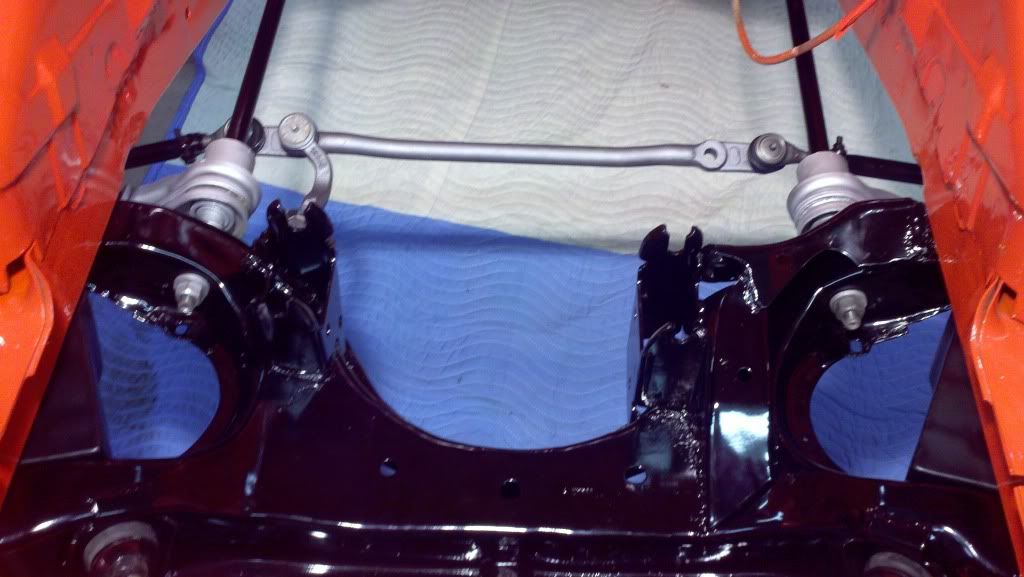
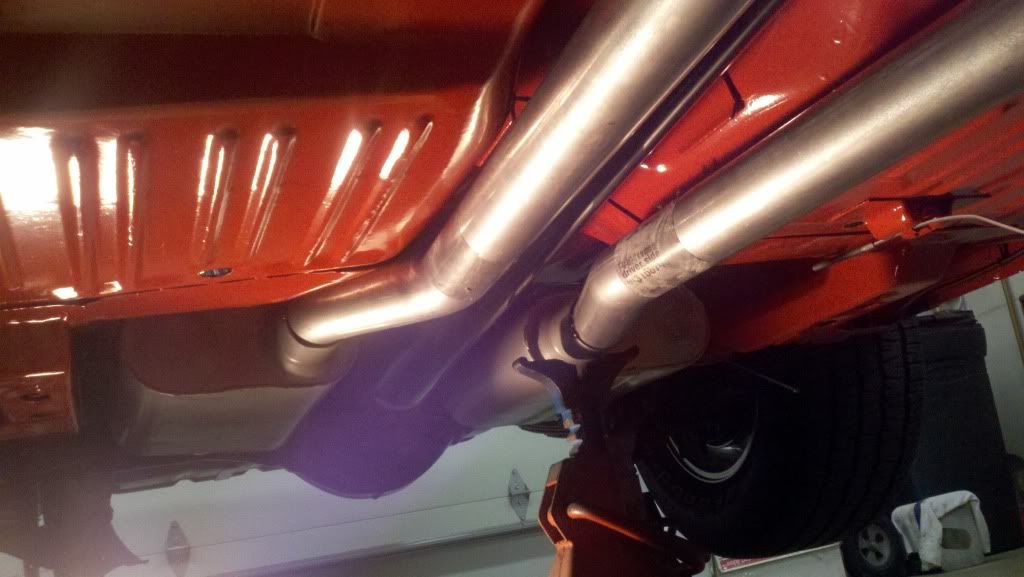
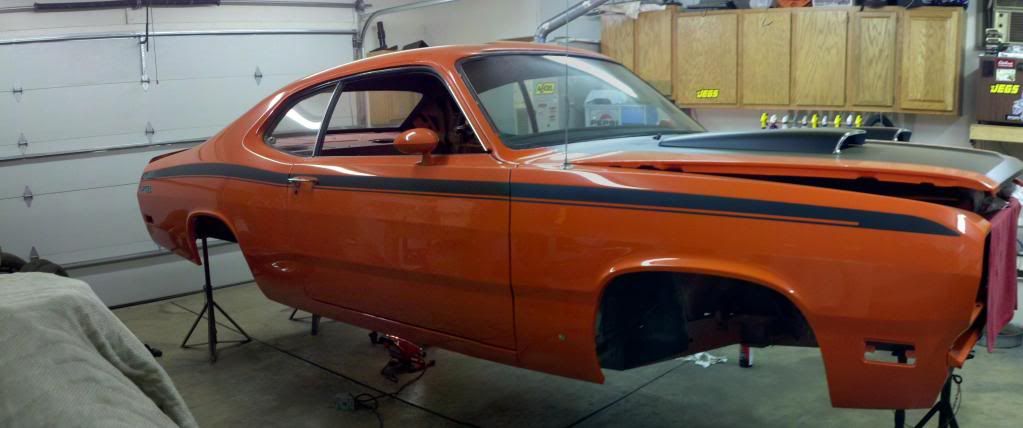
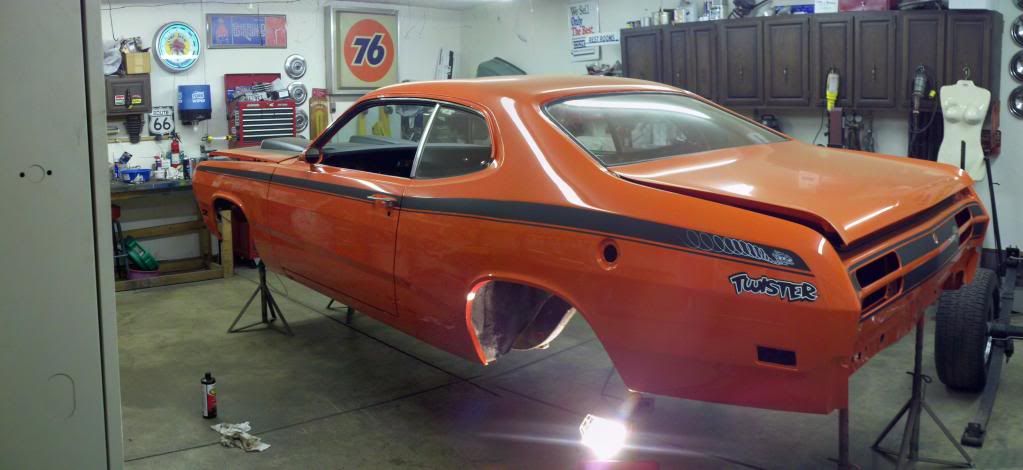
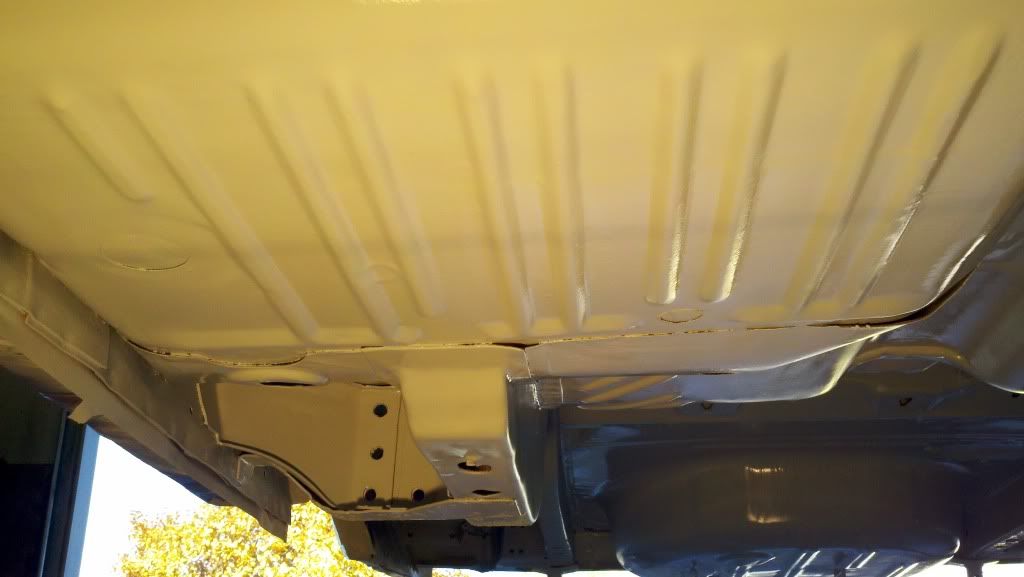
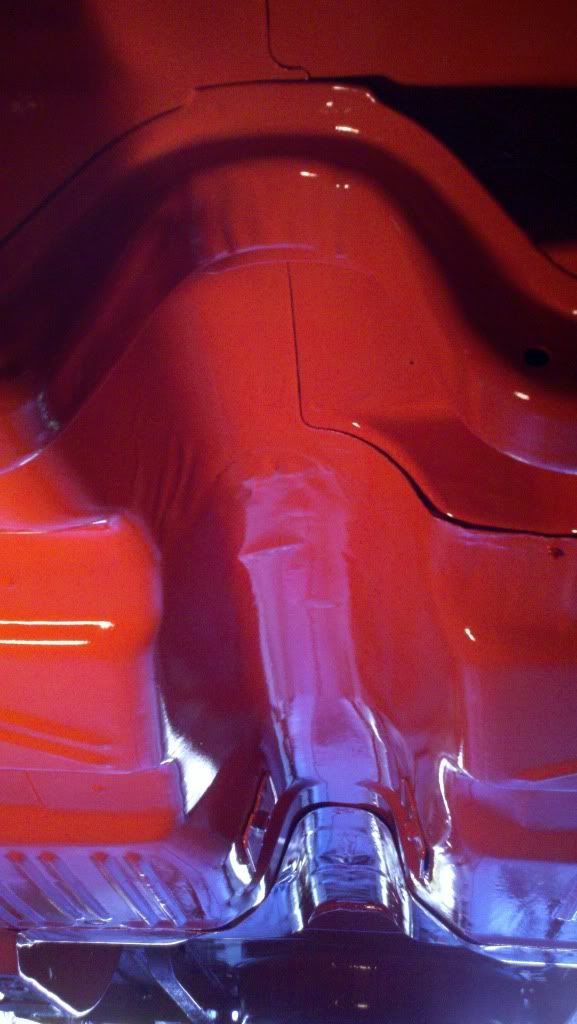
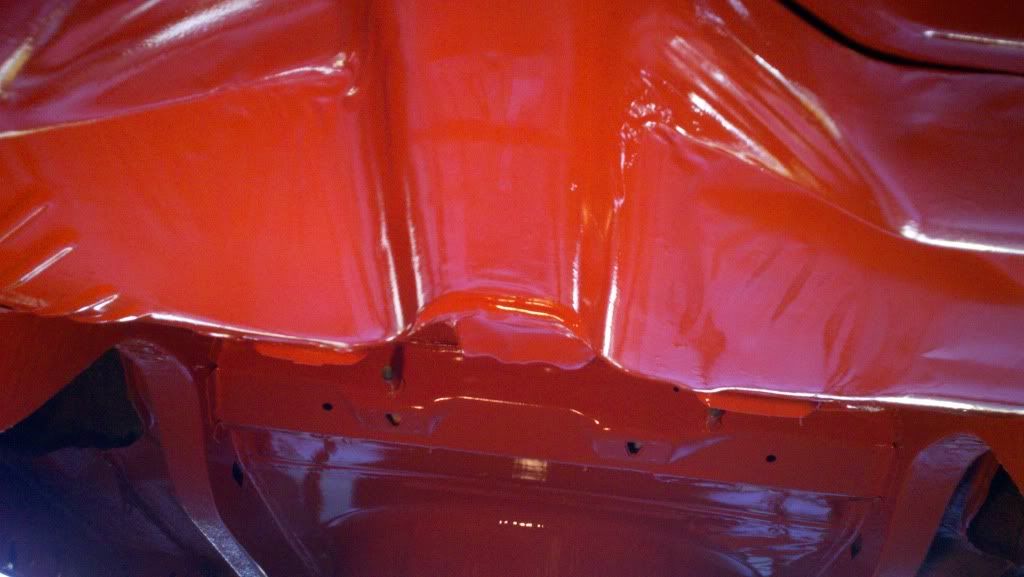
I think going orange underneath is the way to go. Forget about deadlines do it right the first time and be done with it. That car is too nice to rush.
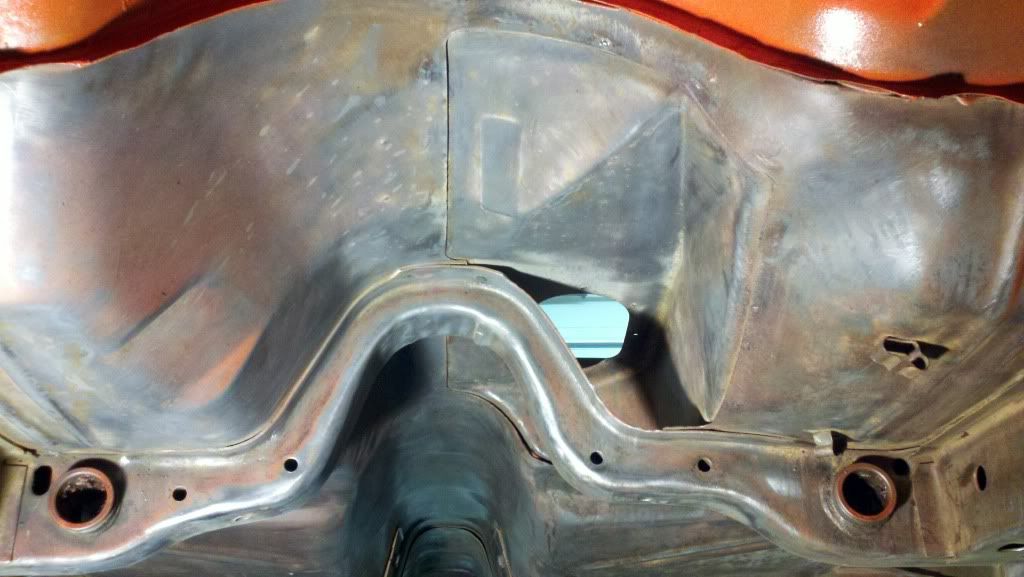
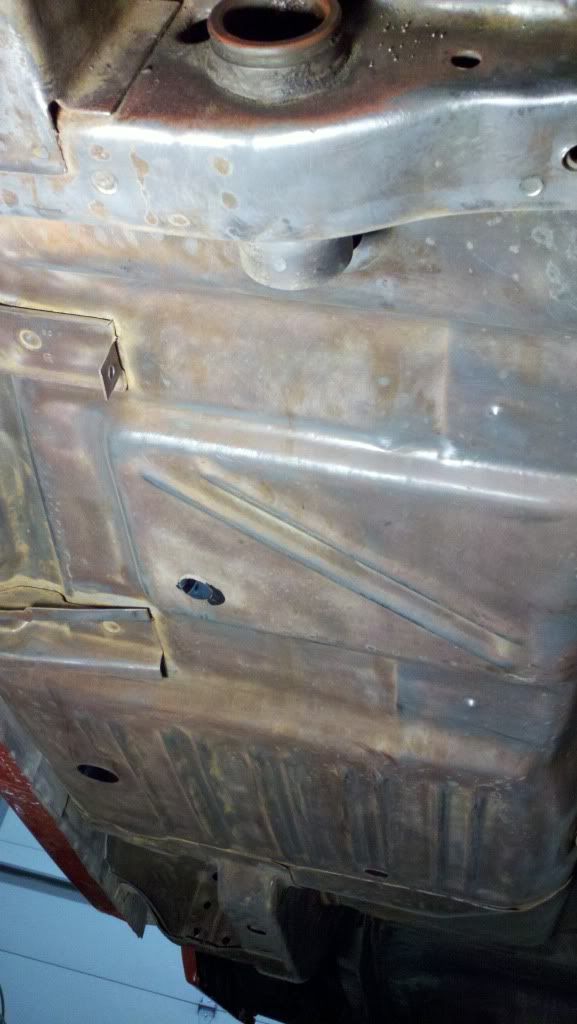
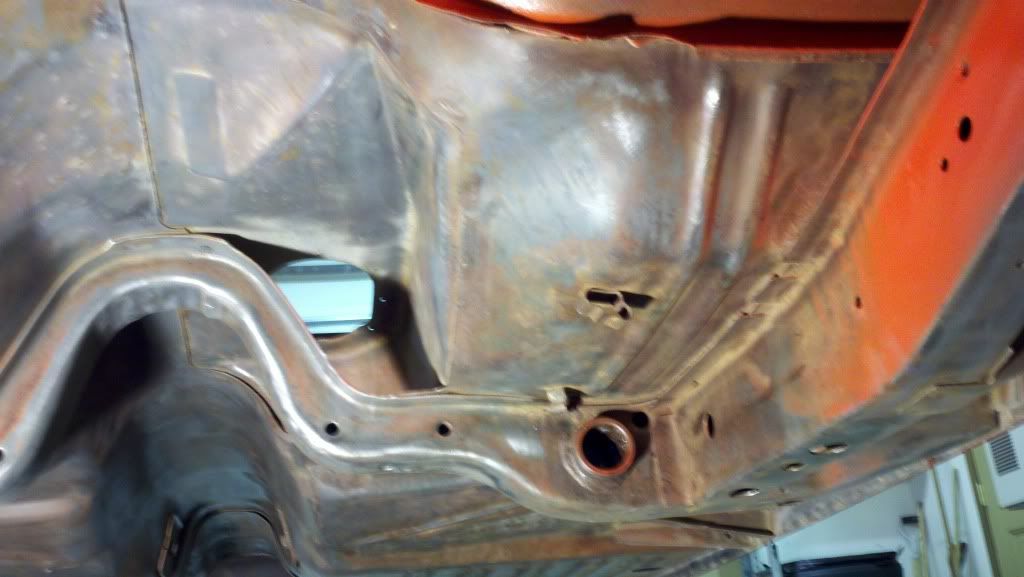
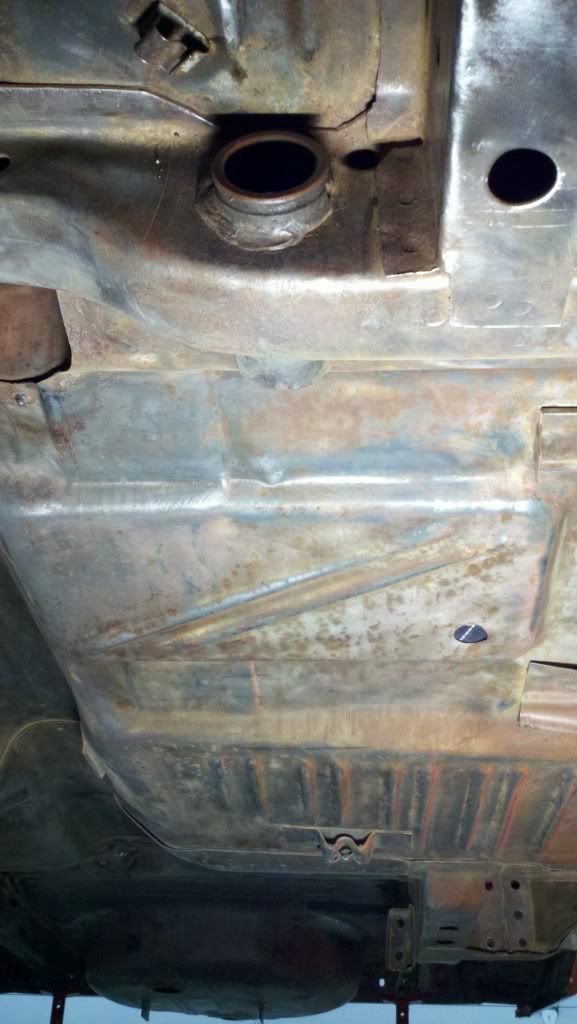
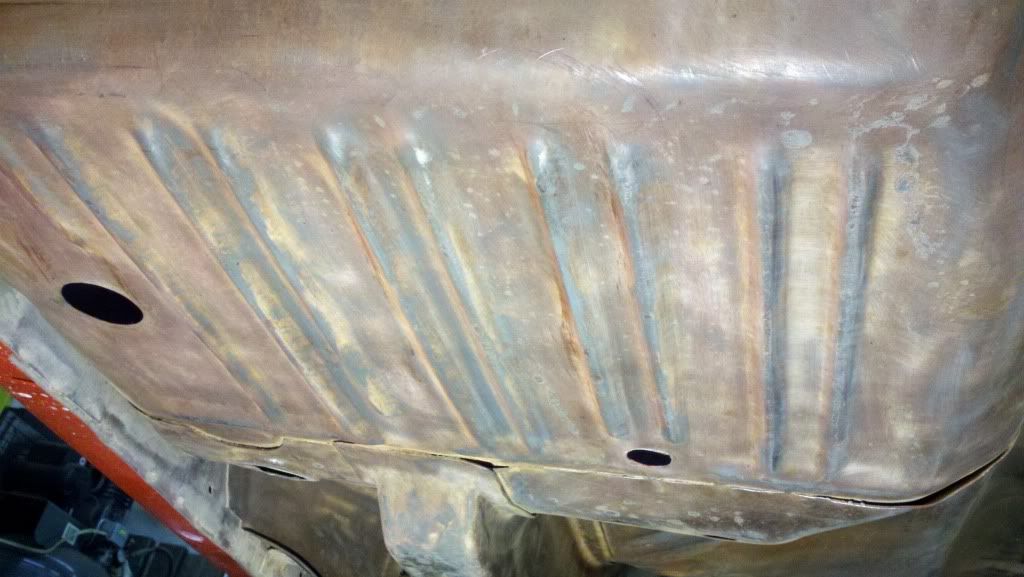
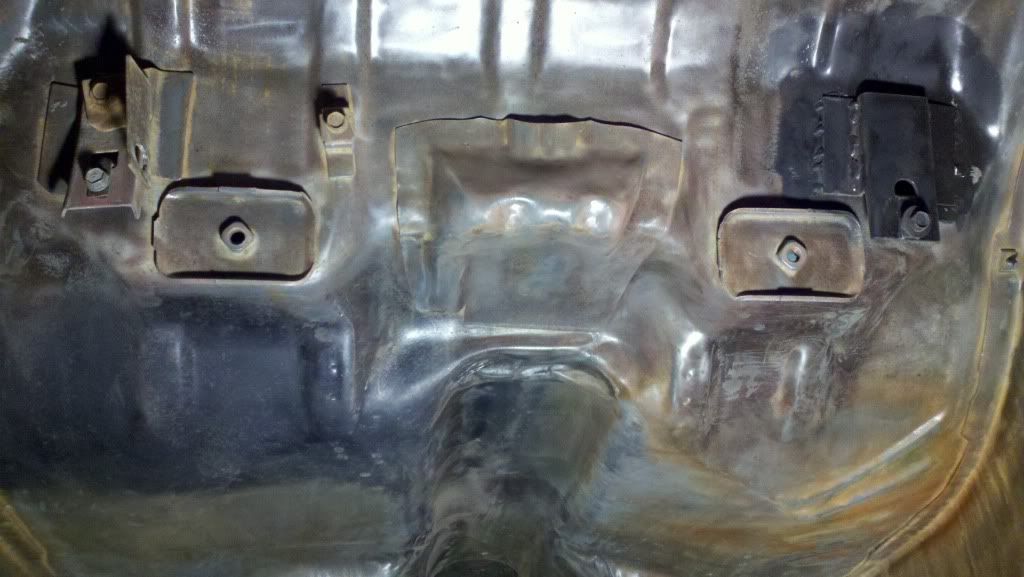
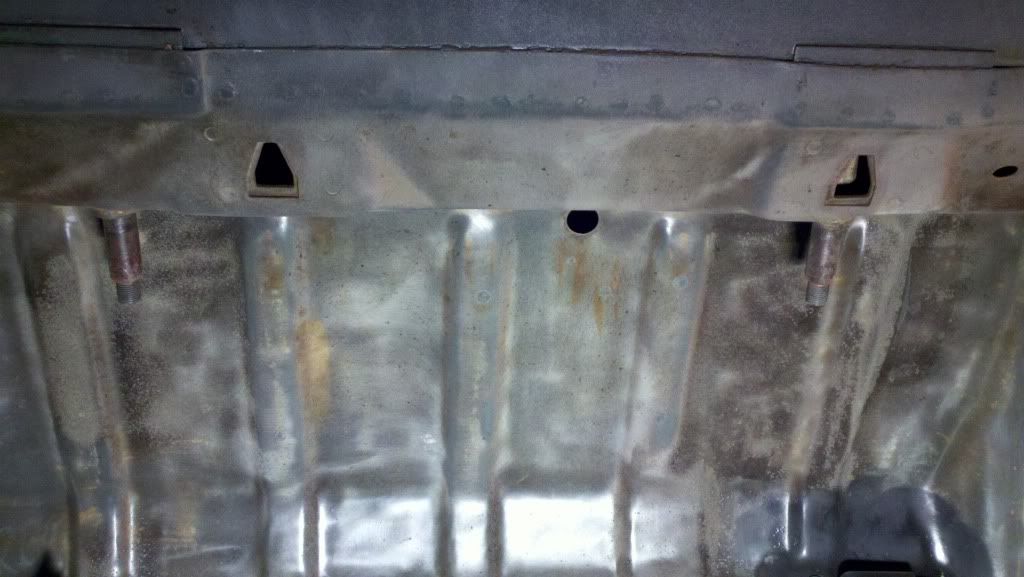
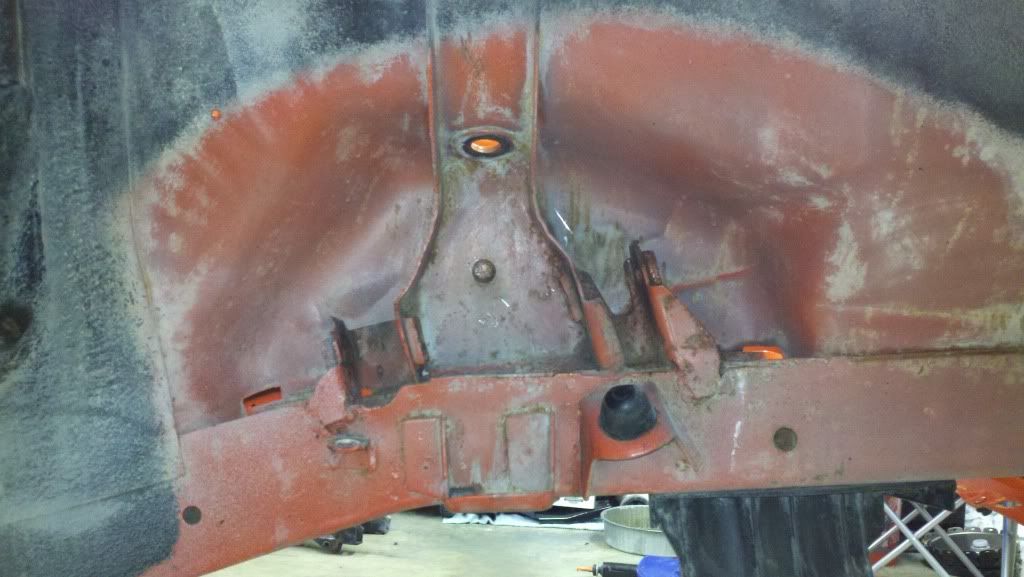

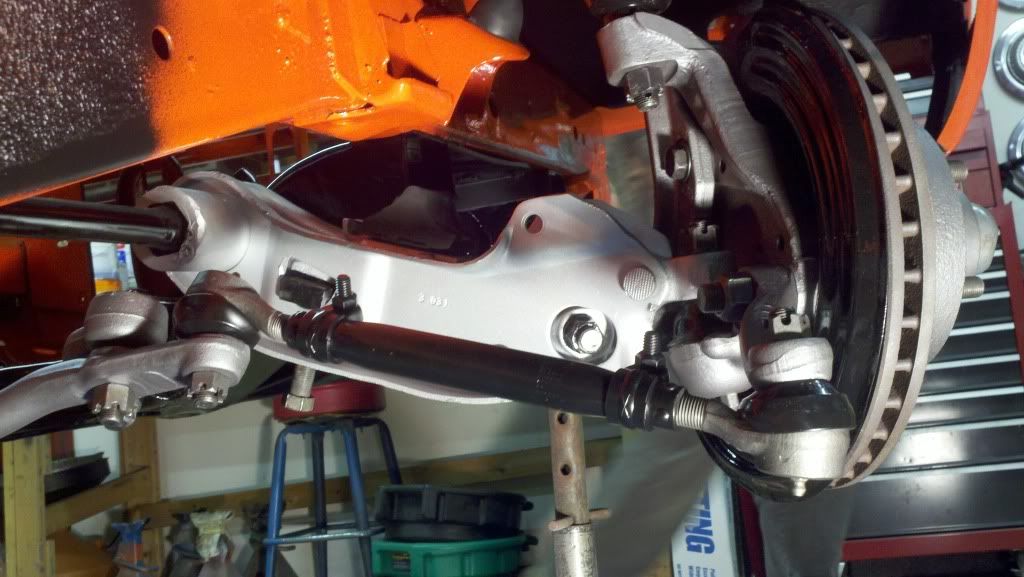
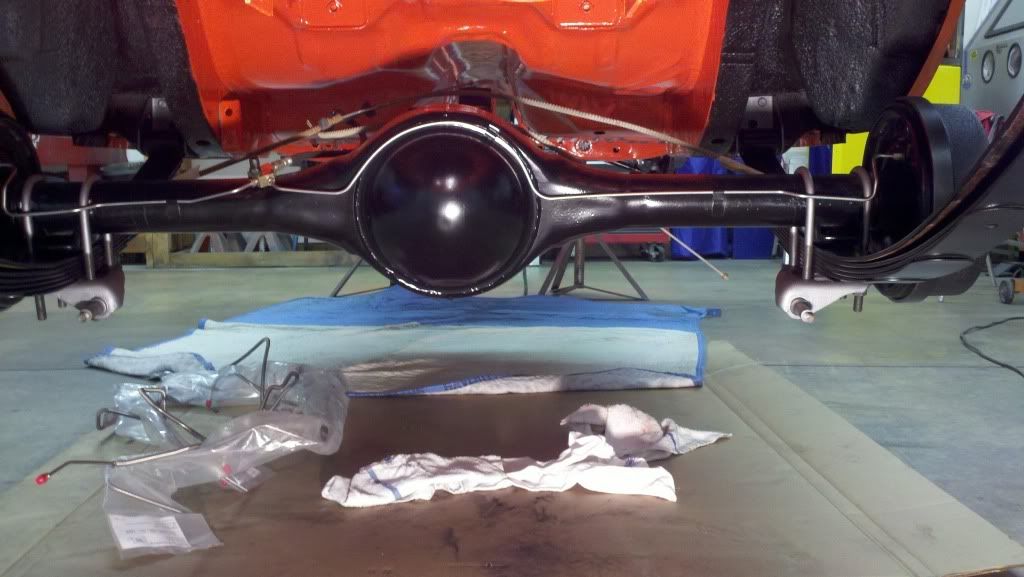
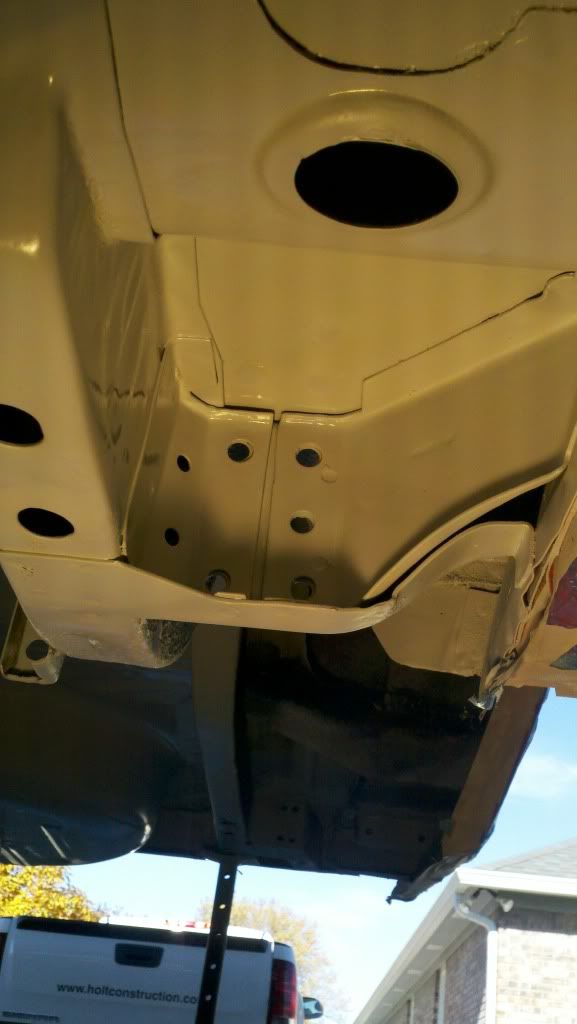
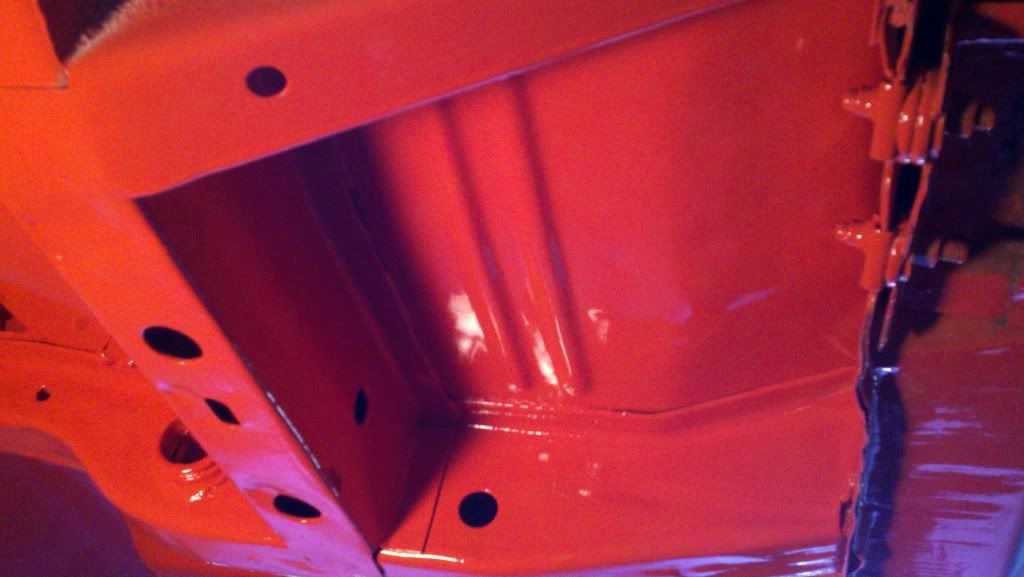
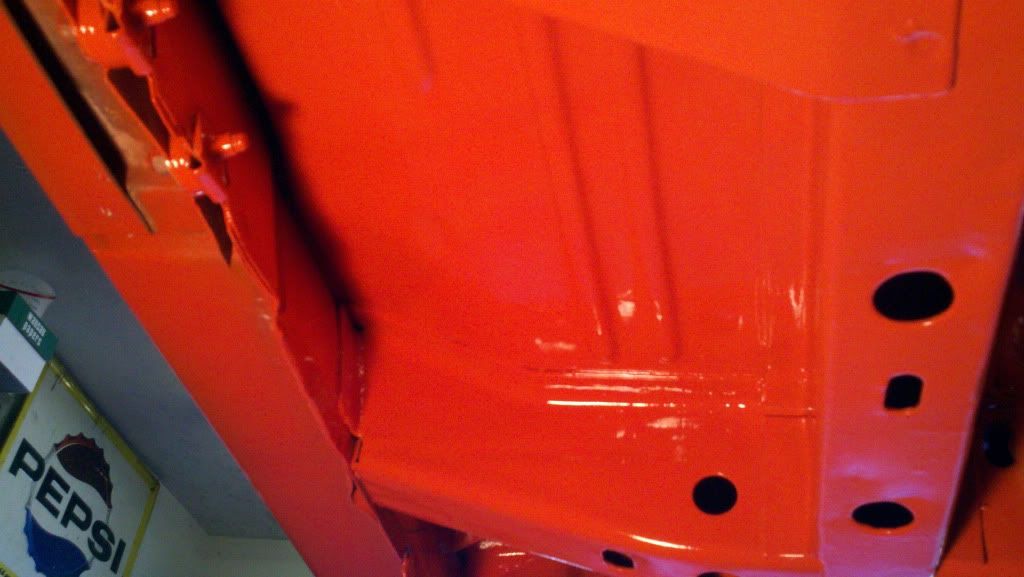
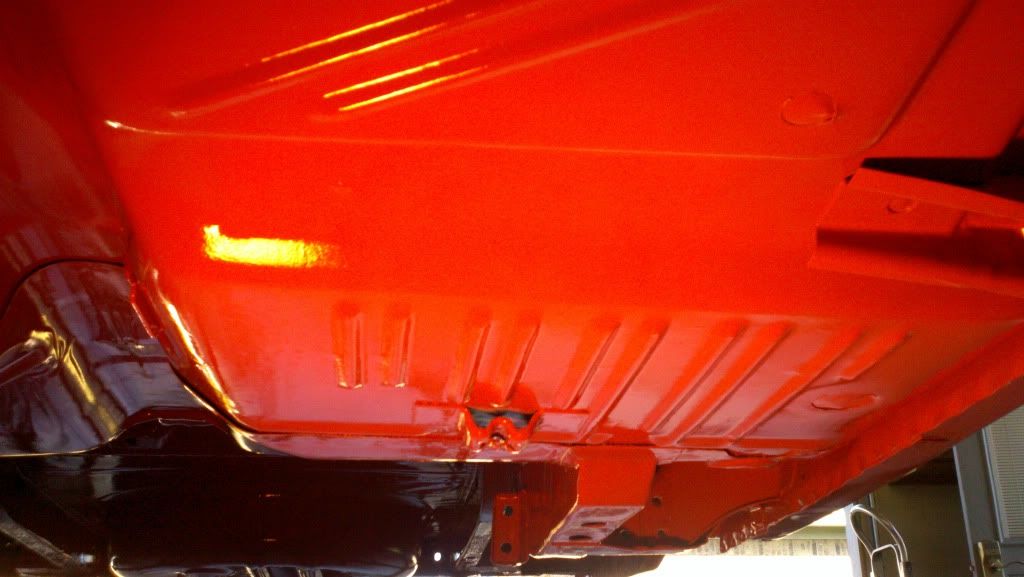
Looks great!! Did you media blast the underside?
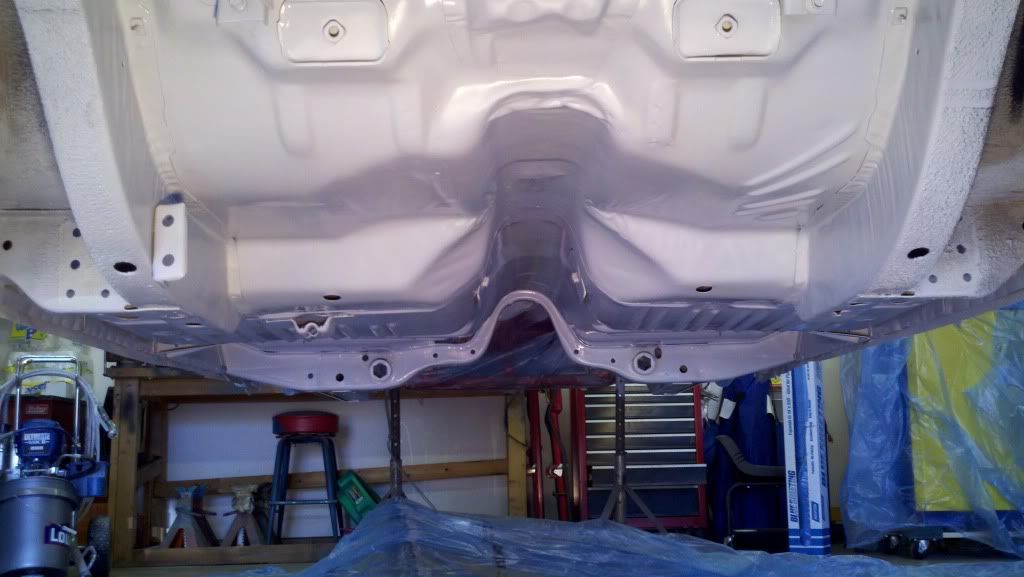

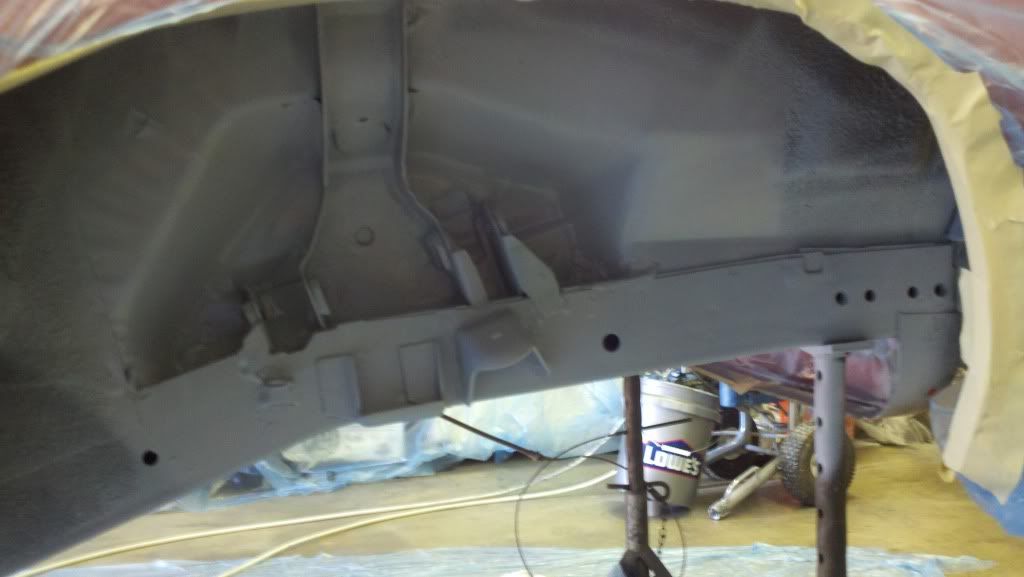

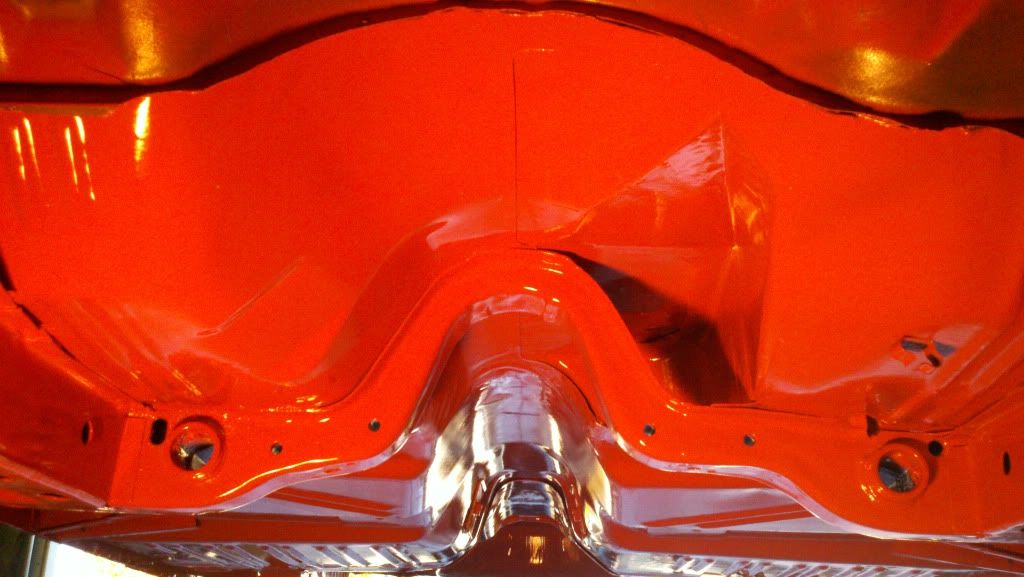
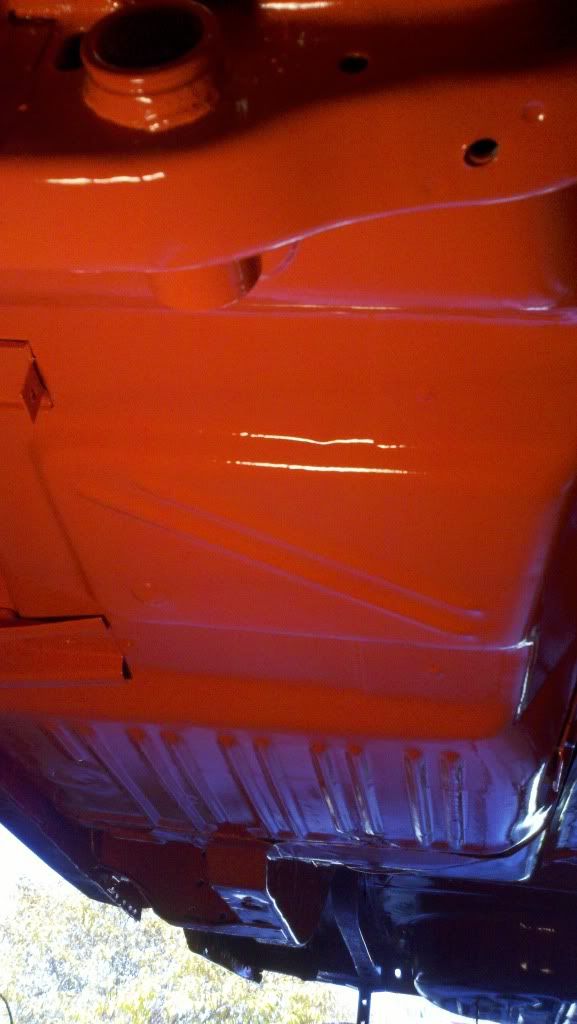
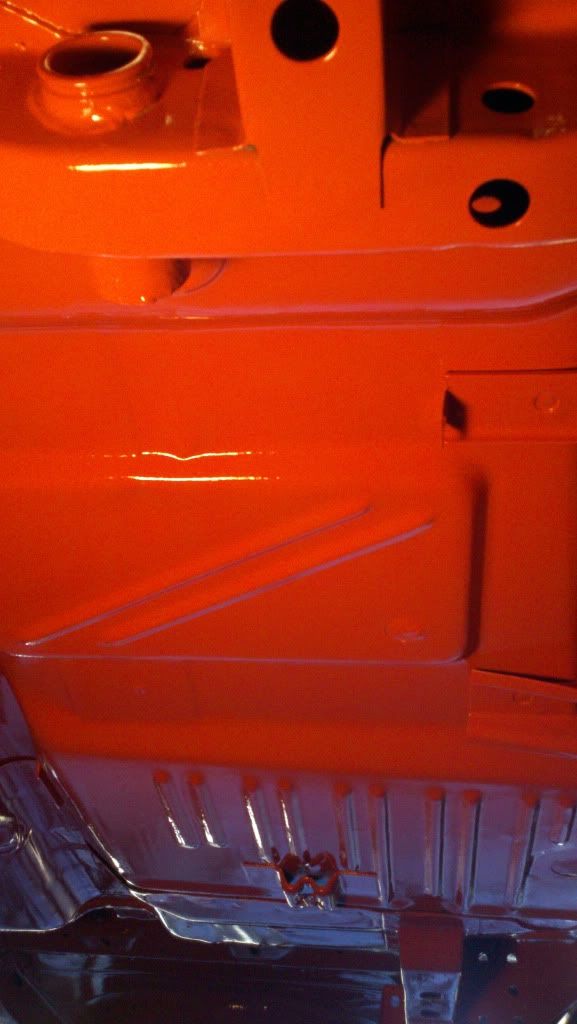
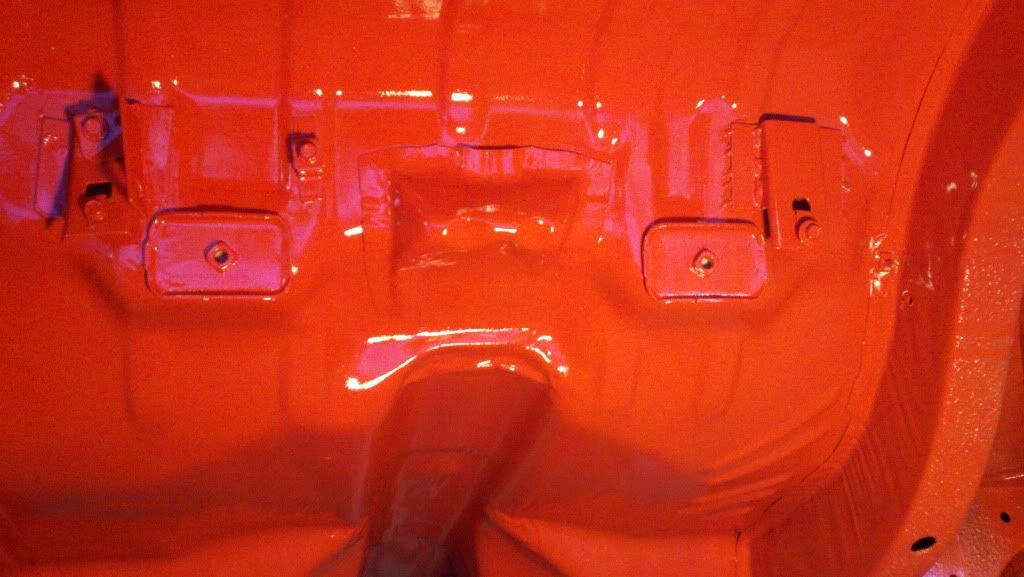
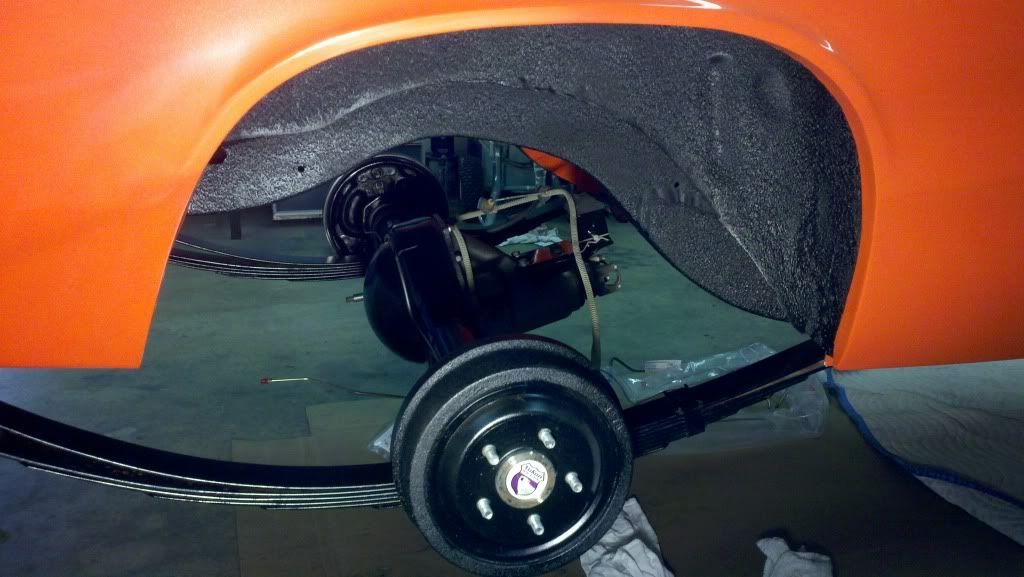
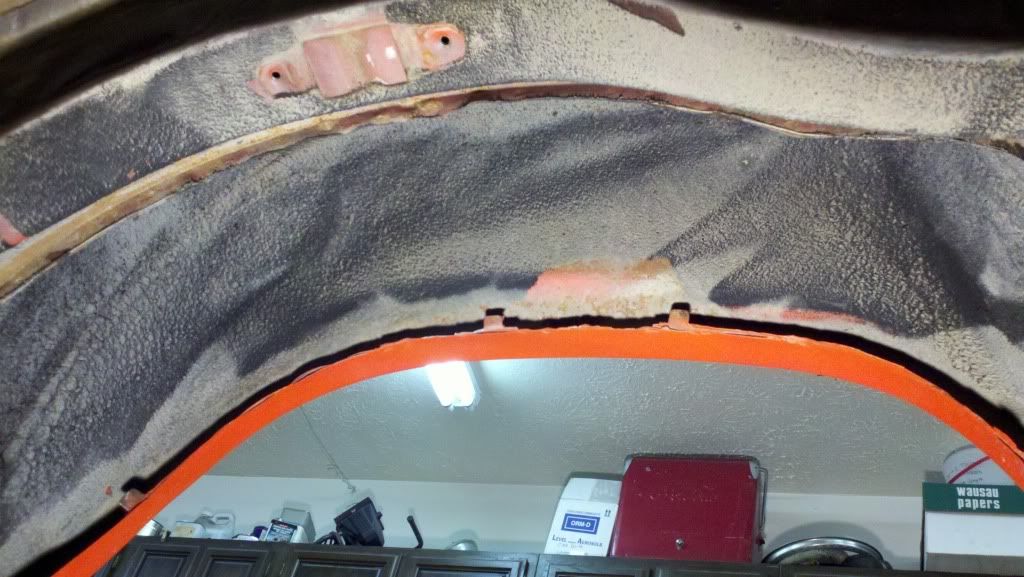
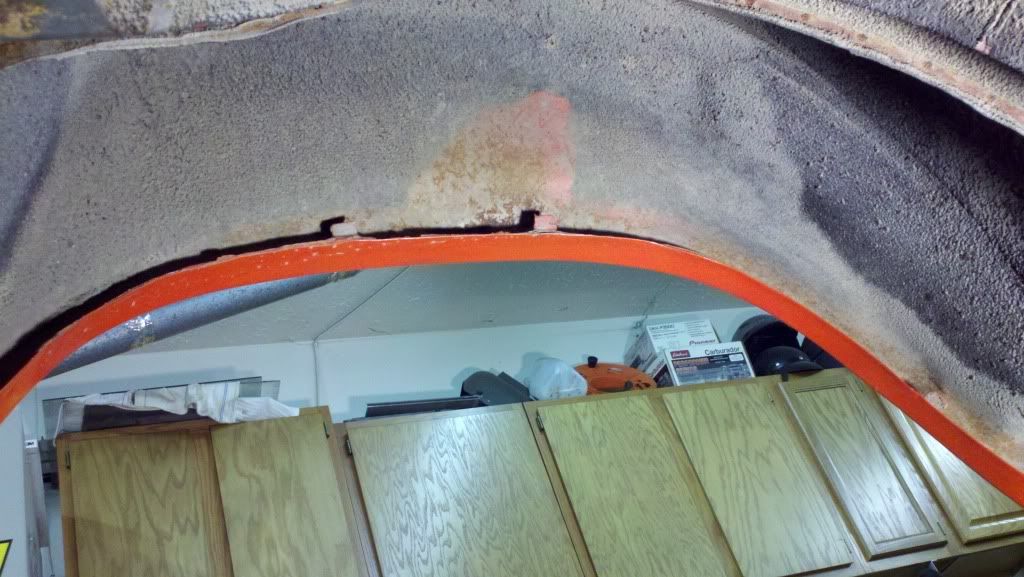
Now to just go through and add a little layer of undercoat in the fenderwells.
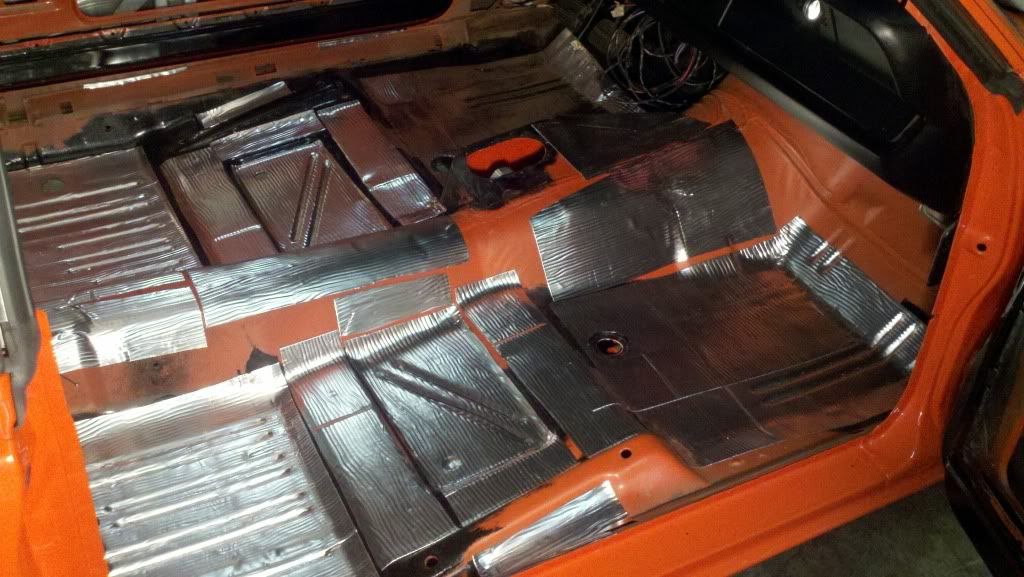
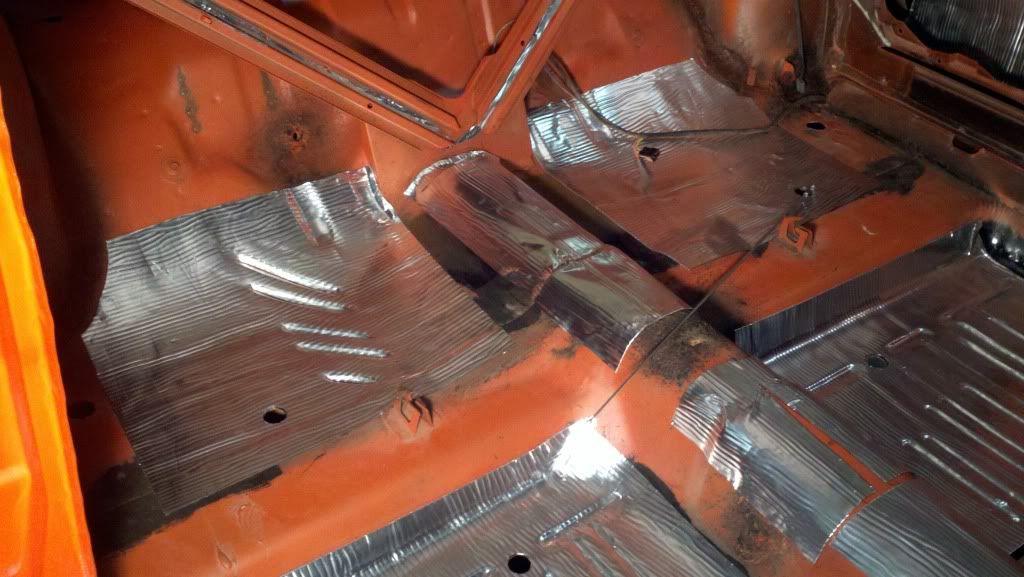
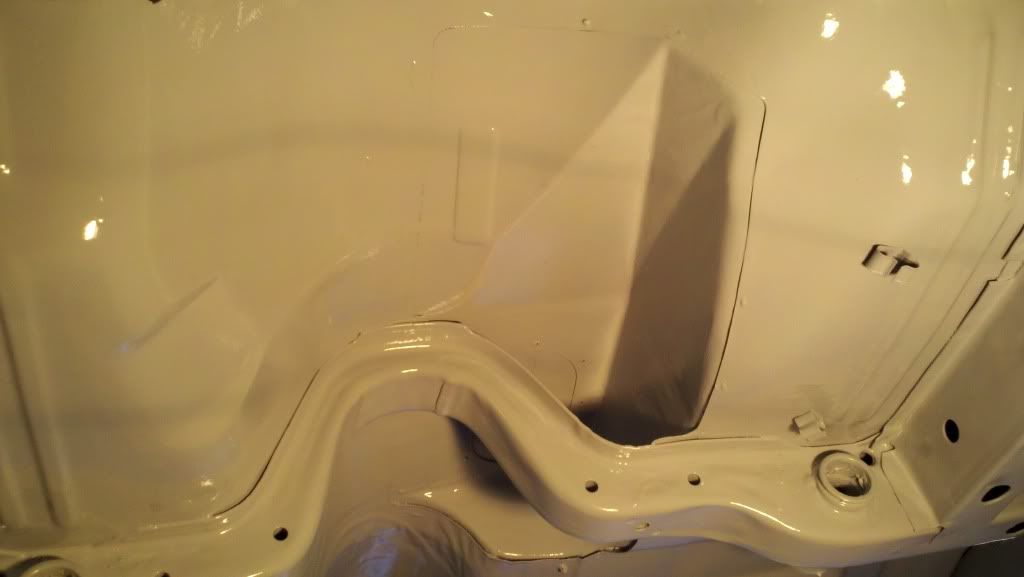
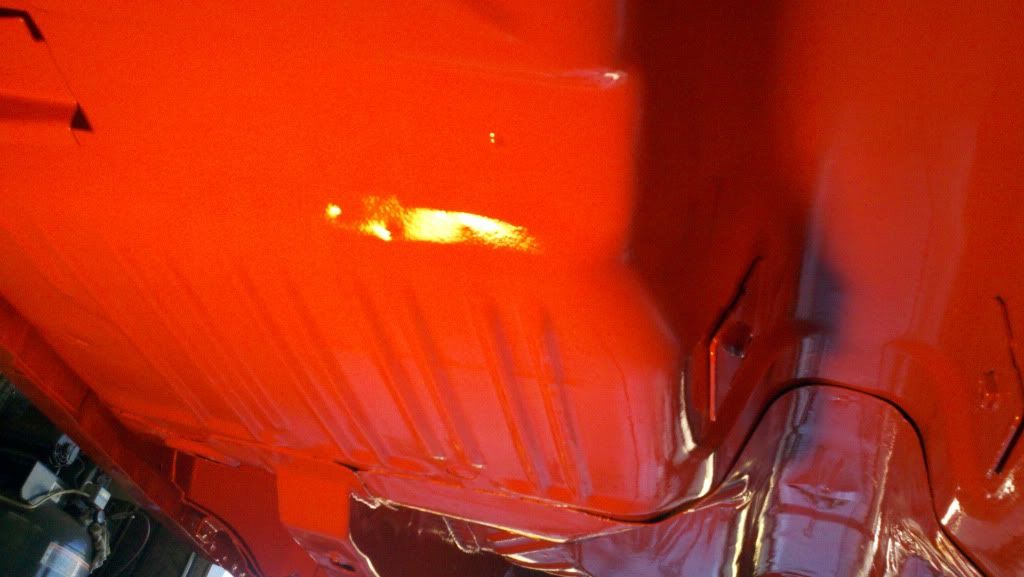
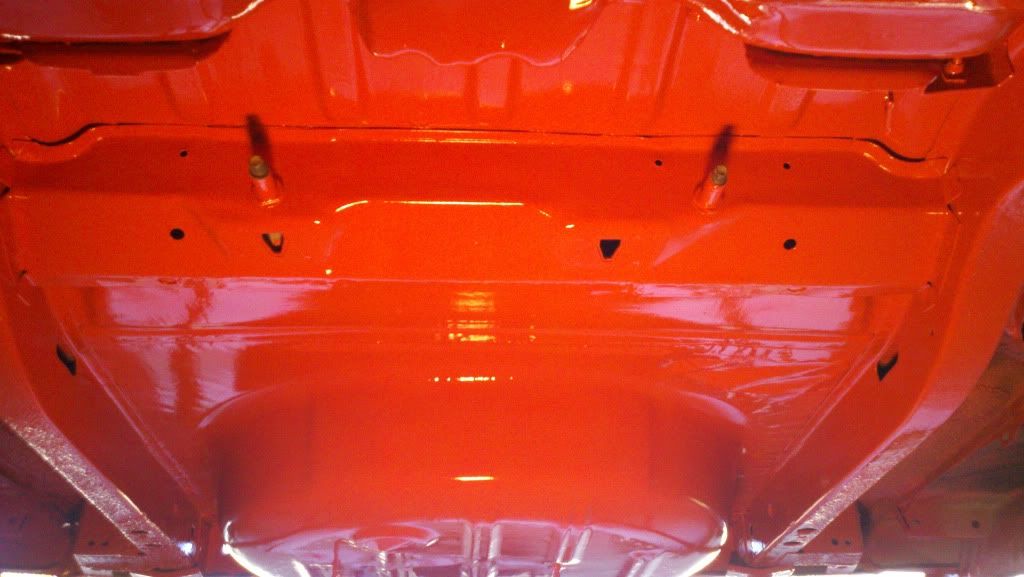
frist let me say you are doing a awesome job and very nice looking car. I will be starting a build on my 74 duster soon and i want to do the same thing you did. But time for the dumb question.I am not a painter or body man.So my question is how the heck did you paint the floor on jack stands.I mean did you have to lay on your back to paint it?thanks mopar65