Glow Worm
"Not Your Grandmaw's 318"
OOPS! Sorry! I was editing, and created a double post.
Remove negative battery cable !I asked about the same question yesterday and didn't get much feedback. Check post #46 above. I did a search and found out that you indeed need to drop the steering column to make it easier. I wouldn't remove it if I could help it but just dropping it down.
Nice Cuda. I like the white stripes!
")
Good write up Redfish , I can almost feel the scratches on my arms as I read. Lol!
I donate blood to John Q. Public every 8 weeks. I wont go there with arms looking like I defeated a barbed wire garter belt.Good write up Redfish , I can almost feel the scratches on my arms as I read. Lol!
Check this out. Looks like they cut the radio windows out for you LOL
http://cgi.ebay.com/ebaymotors/1967...yZ140720QQssPageNameZWDVWQQrdZ1QQcmdZViewItem
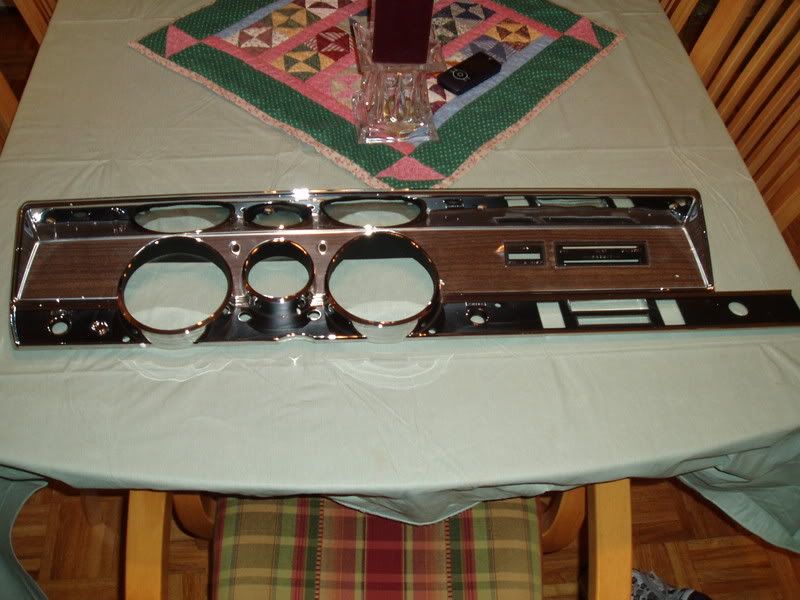
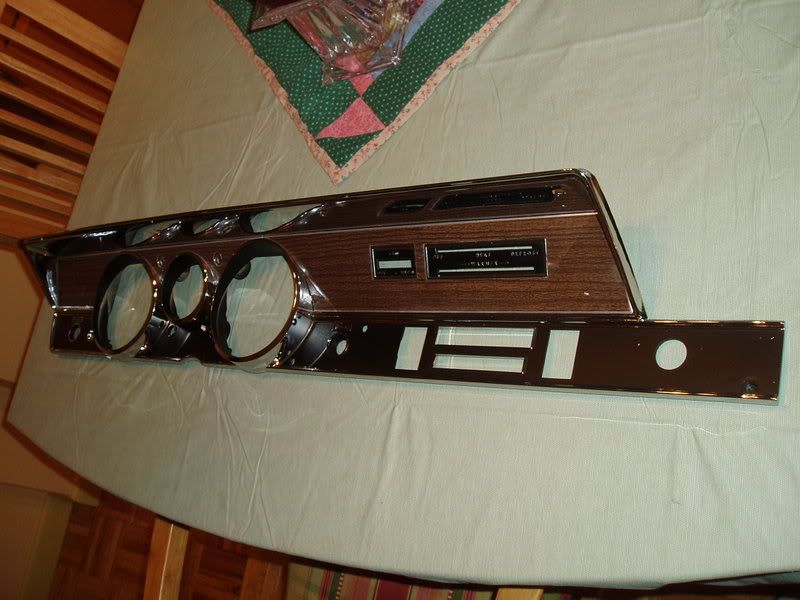
I got my dash from P&G ,It is great looking considering I've been looking at the old cut up one for 15 + years still have to install the lenses and guages but I'm really happy :thumblef:
Looking good, did you buy it recently?
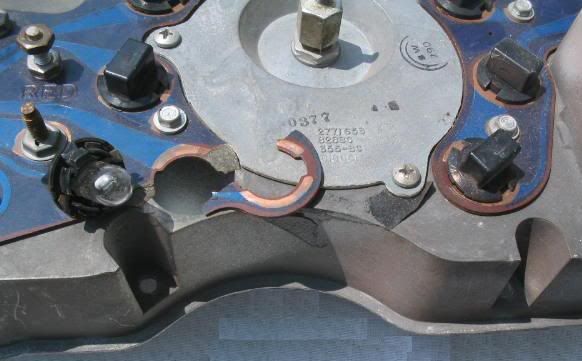
They are phillips, heads of about 3/16" dia. and 1/8" tall and chrome plated.That resto cluster looks good, I can't wait to get mine. Another quick question, when I removed my bezel/cluster I noticed that I had every type of screw in the book, self-tapping, wood screws, cheese-head screws, etc. Would one of you be able to tell me what are the proper screws to affix the cluster to the dash frame and where to source them?
Thanks for yor help.
They are phillips, heads of about 3/16" dia. and 1/8" tall and chrome plated.
When I needed chrome screws for a aftermarket steering wheel I used google search.
www.mrgusa.com specializos in automotive hardware and may have those.
Just got my repro bezel today. It really looks good, I'm impressed. Going to install it next weekend. I'll post how it goes and how it fits. I got the piece for the glove door box too. I'm hoping it will make a huge difference in the look of the interior.
No, I did not. I was hoping it wasn't going to be too difficult of a job to swap in my old ones. How did you make out?
I got my dash from P&G ,It is great looking considering I've been looking at the old cut up one for 15 + years still have to install the lenses and guages but I'm really happy :thumblef:


