The Brick, 1972 Dodge Dart Custom

-
Okay so weekend #2 with the disc brake swap. During weekend #1, I agitated a previos neck injury so I have been wife ordered not to stress out my body too much getting the Dart back on the road.

So in taking it easy today, Gene and I got a few more things done. Ran to Discount to have the tires mounted on the BBP stock steels. As I could not get them painted prior, I figured to just paint them with tires on.

Pressure sprayed them clean and primes them black.
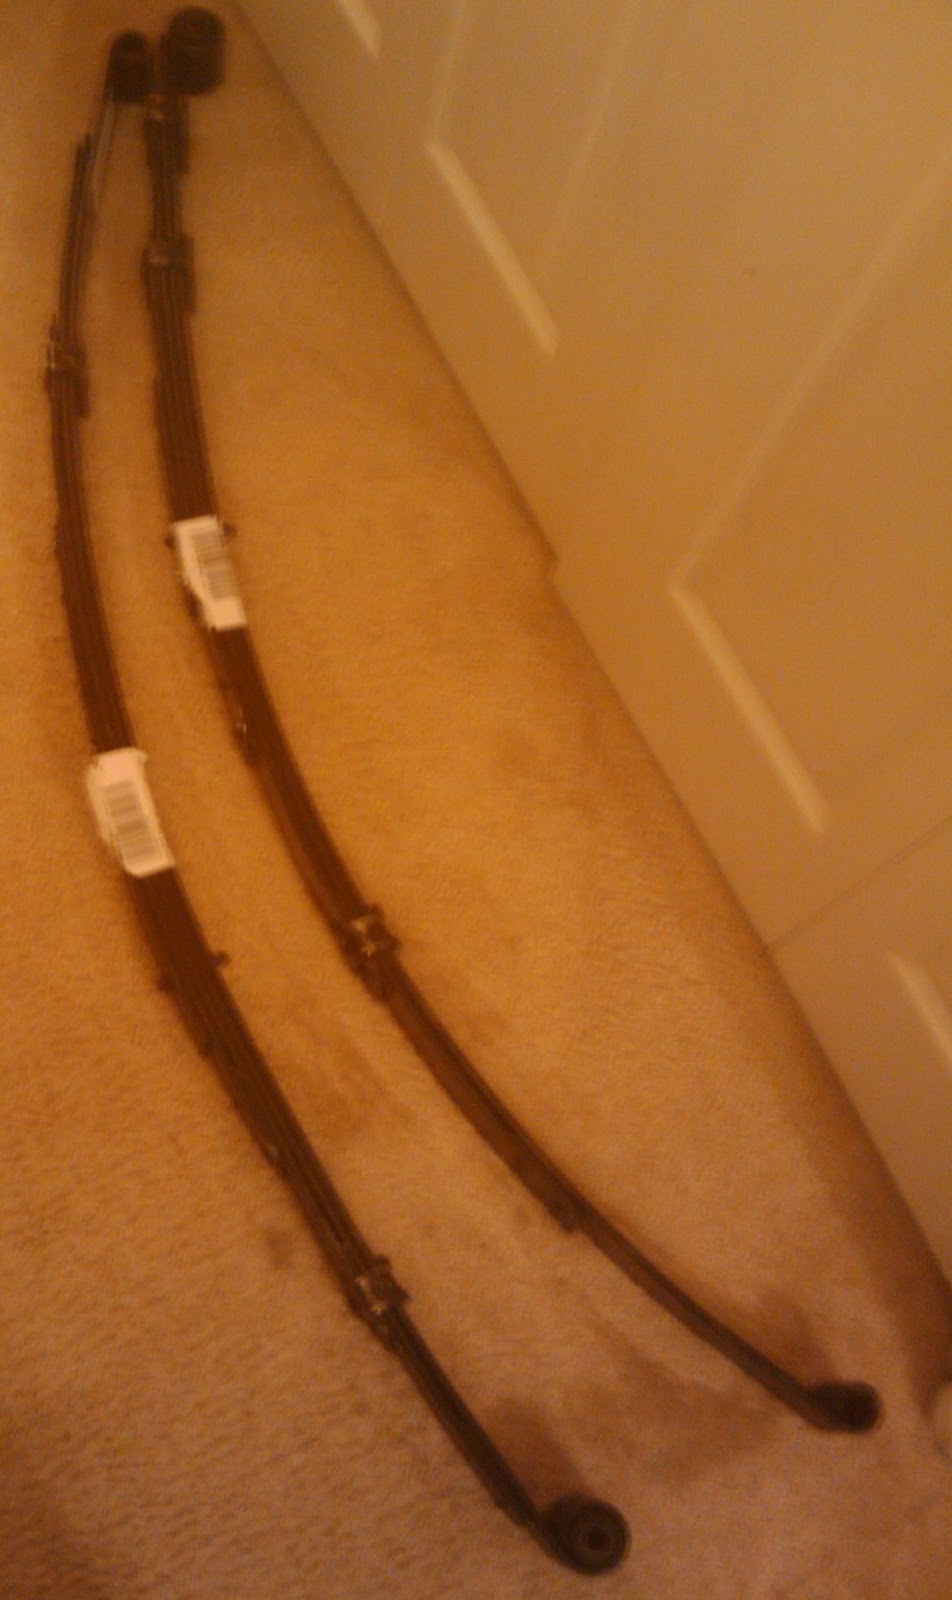
Sorry about the lousy pictures. I took them with my phone.

painted+wheel.jpg


While the prime was drying, we finished up the disk mounting. Packed the new bearings, Set the calipers and pads in place.

finished+disk.jpg


After Priming, I shot them with Krylon Graphite metallic spray and let them dry.

I put the two wheels on to prep for (maybe) tomorrow preloading the Torsion bars to get an eyeball alignment on the front end.

mounted+tire.jpg
 
Well, another Saturday working on the Dart. After a doctors visit this week, found I have a separated ligament or two from the bone. Not fun, but getting better.

Springs came in last week, as well as a few needed parts to get the rear all setup to go in.

Springsarehere.jpg


Got over to Joe's and set up the adjustable valve for the front brakes. I am not liking how the line that runs to the prop valve is sitting, so will probably pull it off and re-run the line.

adjvalve.jpg


Joe got to work cutting off the old spring seats, and burned through our only cutting wheel for the grinder. He went ahead and welded up the new seat on the rear.

joewelding.jpg


And here is a better picture of the stock steels in graphite grey Krylon wheel spray.

wheelspainted.jpg


Will keep posting updates as I get them. Have to go slow with the shoulder.....I just want my car back on the road.....
 
Looking good dude!! Just a quick question, you play 40K dont you???
And those rims look good for steelies and some spray
 
Yeah, have for 20+ years. Abundantly apparent from the shirt and tatoos. Oh and my avatar....Lols. 2 of my 3 hobbies.

Mopar, Warhammer, and Tattoos. And I give my wife **** about decorating cakes for a hobby, now that stuff is expensive.....
 
Another weekend and a few steps closer to getting back on the road. This past weekend was all about getting the 8 1/4 rear all setup to go under the Brick and to finish off minor stuff for the front end change out.

Here is Joe cutting the other spring seat off. Got one side cut off and the other side popped off with a whack with a BFH.

2010-11-13+14.05.44.jpg


He got the other one welded up, looks pretty good.

2010-11-13+14.41.34.jpg


Mocked up the full setup of the new rear and springs. New U-bolts and shock mounts.

2010-11-13+18.19.24.jpg


Polished off the Adjustable Prop valve install. Replaced the main down line. For the most part, brakes are done, just got to finish up the bleed job after the rear goes in.

2010-11-13+14.53.52.jpg


Would have taken pictures on Sunday of me beating the s**t out of myself taking out the 7 1/4 but was kind of busy breaking 40 year old shackles :(

Oh well, going to order the new ones this week and hopefully, rear end installed this weekend!
 
So today was a good day. After last weeks asskicking of getting the rear end assembly out of the car and then the breaking of the shackle, I was hoping for a good Saturday.

Not as many pictures as I had hoped to take, but I was on a roll, but did stop to take a few pictures along the way.

Got the Springs put in. They went in pretty easy. Bolted the front spring hangers to the springs first and then reattached the hangers.

springsin.jpg


Wheeled the 8 1/4 in on a furniture dolly, and then lifted it up onto jack stands. Connected the springs to the shackles, and then set the rear end onto them. I have to say the Joe's measurements and welds were exactly on.

Pulled the drums off and setup the new brake pads. I HATE DRUM BRAKES.....especially since I only had 2/3 of my brake tools there. Stupid Retainer Springs......Pinched the **** out of my fingers for an hour trying to get them back on with a pair of needlenose pliers......Oh well, they are in there now and binding nice and tight. Although I don't have a picture, I did end up having to plumb an "extender" into the rear brake line to make sure I had enough slack in the rear rubber brake line. At full extension of the springs, the hose was pretty tight, so I cut and bent a 5" piece of brake line and bend a 90 degree bend in it so that there is now a down turn in the metal line. I'll snap a picture when I have the car back up in the air to put the driveshaft back in.

When setting the rear in place, I was dreading not having clearance for the tires. I have read a lot here and on other boards that the F body rear was too wide for an A body bolt in. Well, This was not the case with this one. Albeit I do have to shorten the driveshaft, but the rear, after welding in the new seat, snuggled right into the well pretty good. Prior to setting the car on the ground, I mounted one of the wheels and then use a jack to run the suspension all the way up until I almost lifted the rear of the car up off the jackstand.

roughmountwheel.jpg


I have about 1.5 to 2 inches of clearance between the tire sidewall and the lip of the wheel well. No chance of it rubbing out back either. Took the picture laying on my back, and a **** ton of sun overhead (gotta love AZ in the fall) I drew a black line on the picture where the lip of the wheel well is. Nice part is if i want to grab wider wheels for more rubber, the wider rear allows for about 3 more inches of tire without hitting the springs.

wheelellgap.jpg


And the car is back on all feet now. Pretty much like the way the rear sits on the SS Mopar Springs. Going to adjust the front down a bit to get rid of the 4.5 inches of wheel well showing around the front tires. And the Po' Boy rims and Dog Dishes look damn sexy on there - Even the wife says so.

ontheground.jpg


It gets the flatbed treatment on Tuesday to the local AAMCO for an alignment, drive shaft shortening, and the brake adjustments. Really don't have somewhere I can take it close to the Compartment to adjust them, but Nick said that they can do it on the cheap, which will keep the wife happy.
 
With the advise pulled up from my suspension thread, I re-tackled the leaf springs. Pulled them back out, switched sides and put back in about an hour and a half. Man what a difference. I guess my eye ball front end alignment worked put pretty well, cause the car ended up pretty level.

2010-12-04+17.26.17.jpg


We bled the brakes all the way this time, and I got a nice hard petal. Still have to adjust them with the adjustable valve, and the drive shaft should be done this Friday.

Then I can take it in and have the front end aligned and back on the road I go. I don't care for how far the front end sits up, so may back off on the torsion bars some to get the front end down.

Again, thanks for all the help guys! Happy that the Dart is back on the ground, level, and able to stop again. Hopefully, back on the road next weekend.
 
yep i have been raised on mopars all my life, been wrenching since i was 12 yrs. old. built my 1st engine when i was 15 yrs.old mopar 318 for my dad's 68 dodge p/u. so i have over 30 yrs. of wrenching since i just have my 42nd b-day back in oct. sorry 4 that big crack y'all saw when i start wrenching i really get n2 it. very funny of u to post it as well mikey. i 'll get u back 4 that 1. u shall rue this day be gone stop rueing
 
Part Cost
Car $1,300.00
Shocks $80.00
Sunpro Guages $80.00
AC/Misc Repairs $600.00
Primer $300.00
Disc Hard Parts $100.00
Rear and Rims $140.00
Front end parts $200.00
Diff Gasket $4.00
Rear brakes $30.00
Leaf Spring Left/Right $232.00
Shackles $42.00
Wheel Lugs $40.00
Driveshaft $170.00
Tires $500.00
$3,818.00

So far so good, unless I missed something. $2500 into it, not including the car. If I count this way, I am doing great!

I am going to go over because I haven't touched interior or paint yet.

Figure about $1k for the interior, doing all or most of the install work myself. Found a place that will charge about $600 for all new interior cloth, precuts for door panels, headliner, etc. I get to install them all :(

Paint and Body - well, we'll see what Joe has up his sleeves for me. Thinking of shaving the door handles and changing the side marker lights to 69 Dart style. I have about 15 years of Iowa rust in the rear quarters, mostly on the trunk drops, but the outer skins are good. Joe is a wizard with sheet metal, so will fab up some drops and get those installed. Only a handful of rusty areas and those are pretty easy (for Joe) to fix :)
 
@Tnplumber - Yeah, between Joe, Doty, Gene, and a few others, I have a pretty full staff....lols.

Joe is the corporate installer for Audio Express, handling all the cool high dollar installs, display vehicles, and is an all around pro when it comes to figuring things out.

Doty is Joes room mate, and even though he doesn't know anything about working on cars, he is great at it when you tell him what to do. Plus great distractions when the time is right. Smoke breaks, cold beverage runs, and overall gamer geekery.

Gene - heh, 65 Cuda on FABO - Known him for 15 years, we went to college together and he worked with my dad in the army. Great guy and a great mechanic, but sometimes needs a foot in his *** to keep him on project :).

Of course, the best part of my "staff" is my wife and kids.

My 3 and 5 year olds love daddy's car and are excited that I will have it back soon. Very rare that a ride in a parents car is treated as a special occasion.

My wife is my financial advisor, project planner, and overall consultant when it comes to making sure I don't do something stupid :) It's awesome that I will tell her what I want to do and she will ask cost, do I really need to do it now, and then figures out how to work it in.
 
Part Cost
Car $1,300.00
Shocks $80.00
Sunpro Guages $80.00
AC/Misc Repairs $600.00
Primer $300.00
Disc Hard Parts $100.00
Rear and Rims $140.00
Front end parts $200.00
Diff Gasket $4.00
Rear brakes $30.00
Leaf Spring Left/Right $232.00
Shackles $42.00
Wheel Lugs $40.00
Driveshaft $170.00
Tires $500.00
$3,818.00

Outstanding! Think how much you've saved on labor. Could always keep it in primer8)
 
At a point in my life, I farmed stuff out. I will now, but only for certain things. AC or transmission really. Everything else I want to do, my and my buddies will do. Besides, they keep wracking up the favors, so who knows what I am going to end up working on.

My wife wants me to paint it, so it gets painted.....lols.
 
Well, new driveshaft is done. I somehow bent the shaft getting it to the driveshaft shop, but AZ Driveshaft hooked me up with some beautiful work. If you are in AZ, they are the people to go to to get driveshaft work done. The fantastic lady that owned the place actually remembered me after 10 years!

Spent Friday night plinking around trying to get the torsion bars adjusted right.....what a nightmare. For every inch I would adjust it down, the front end would drop 2. But I did get it started up, drove it to test out the brakes, and they worked great, without major adjustment!

I had to go back over today to get the front end re-adjusted. Cranked it back up 4 inches so that it would settle down 2 inches. Got it sitting pretty nice, put another eyeball alignment on it to get the camber really close and then took off to the local Pep Boys (only a block away) to get it in for the alignment.

Was told by the service manager that they could not align that old of a car because their computers did not have the alignment specs in it......He suggested that I head over to a place called Network Auto Service to get it aligned. I called over there and their old car guru is off on the weekends. He had just finished a front end refresh on a 1970 SuperBird......so I guess if he is good enough to work on a very expensive rare car like that, then he can work on my Dart :)

Jammed over there to drop it off and was surprised to see a person I hadn't spoken to in 3 years. The manager is a guy that had previously owned a pizza joint that was next door to my old business! I always knew he was a car guy, as we would hang out front of his Pizza place, and over some cold beverages, discuss what cars we had worked on, and what we had done with our cars in the day. He is setting me up, and hooking me up on the price to boot.

So all you Phoenix Area FABO guys, if you are looking for someplace to handle driveshafts, Arizona Driveshaft is the place. Family owned and operated and a great place. Same thing for Network Auto Service! Both have been in business in AZ for over 20 years. Both are in Mesa, and they like old cars, even Mopars!

Here is a pic of the Brick with the front end all adjusted to my desired ride height. It's a pretty weeny picture, but I am on my mother in laws computer, so I have limited tools to work with.....I will probably post a bigger pic and one of the drive shaft tonight when I get home.
 

Attachments

  • 2010-12-11 12.15.50.jpg
    23.3 KB · Views: 983
2010-12-11+12.15.50.jpg


Bigger picture of the Brick, as she sits right now. Should have it back from Network on Tuesday. Getting antsy for Christmas, as my wife and family have told me it would be a Car Parts Christmas.
 
hey there mikey, don't 4 get u owe me big time.... after the holidays r over it will b time to work on my custom ridez....GKCUSTOMZ
 
Damn Gene - learn how to write. You do know that the internet does not charge for extra key strokes right? In keeping with my promise to my wife to give her a break from me working on my car, I am willing to help to help get your Cuda started......just stay on target with it!
 
I only get faint of heart when I see a photo of anyone with their head under a wheel well of a car held up by any kind of Jack as it reminds me of a joke that stats with : Hey watch this!!
 
Well, just got the call from the alignment shop - Lower Control Arm Bushings need to get replaced....**sigh**
 
Well, wish me luck guys, get to pull the LCAs tomorrow and replace the bushings.....
 
Trick to remove the lca bushing. Push out the pivot first (small press from harbor freight)
Burn out the rubber a bit, (it dont take much), Now, here is the trick,-find 2 of those washer like used on the top of the front shock absorbrs. Take these washers and weld them onto the OUTER SHELL of the lca in the control arm. Make sure you weld to the shell, not the arm, (I used my old 100 amp lincoln fluxcore welder-workrd great) weld all around carefully. Now take the control arm over to the press and press the outer shell out using the washer to press against, it will come out easily. I,ve tried other ways and ended up ruining a lower conreol arm with a air chisel. This way works (I learned this method from one of Steve Dulcich's magazine articles) good luck.
 
BTW, this is a dark, well kept secret that even many mopar people dont know about, shsss, dont let anbody know about it. Even most auto shops dont know this and I've seen many a mangled LCA on various forums. To pres in the bushing, find appropriate piece of steel that lines up with the OUTER circumference of the bushing (old supply of pawn shop sockets is always a good idea) use sock to press bushing into the arm first, then, using the appropriate deep well that fits over the center pivot somewhat snug. Use this to press the center pivot into the bushing alreafy in the arm. Be careful, the first 1/4 inch or so is kinda unsteady cause of the stack-up of the LCA-pivot and socket but once you get it started it goes smoothly. BTW, I only recommend the rubber in the LCA application and not the urethane. Only totally tighten the LCA to the car after it is at the ride height you want, Leave it loose until then. (this make sure the rubber is not in any pre-stressed situation.) ENJOY!!
 
oh forgot to mention. when pressing the pivot into the bushing. make sure the inner sleeve is supported by something. Its a bit tricky cause you got to have something that will fit through that hole in the LCA. (old sockets again) If you dont support the inner sleeve, you could push it out. Also, you will have to remove the old sleeve from the pivot. I "scorred" it with a cut off wheel til it almost was through the sleeve (lengthwide) then used a torch to heat it up red then smacked it with a hammer. came right off.
 
-
Back
Top