Turning a 74 into a 72

-
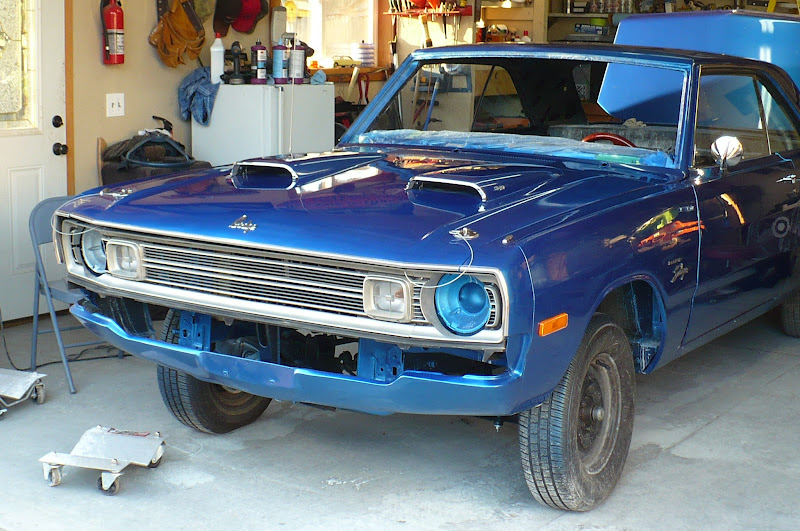
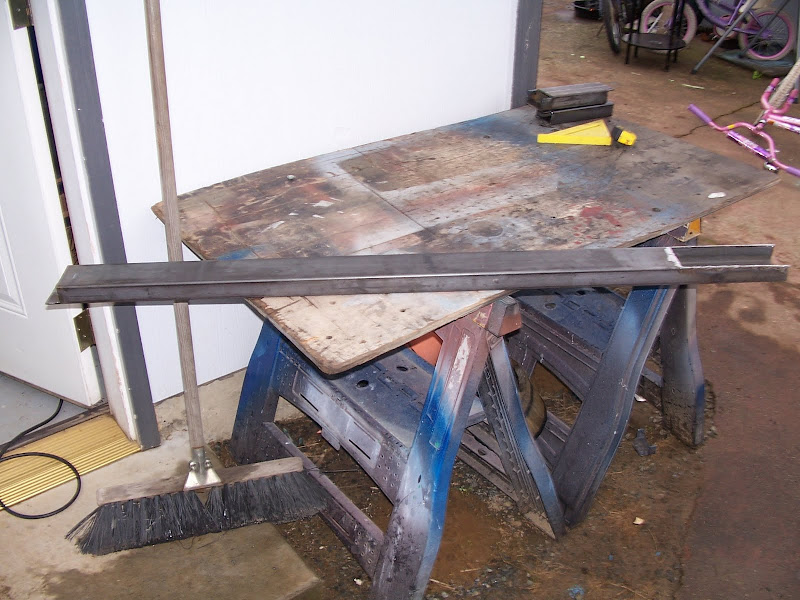
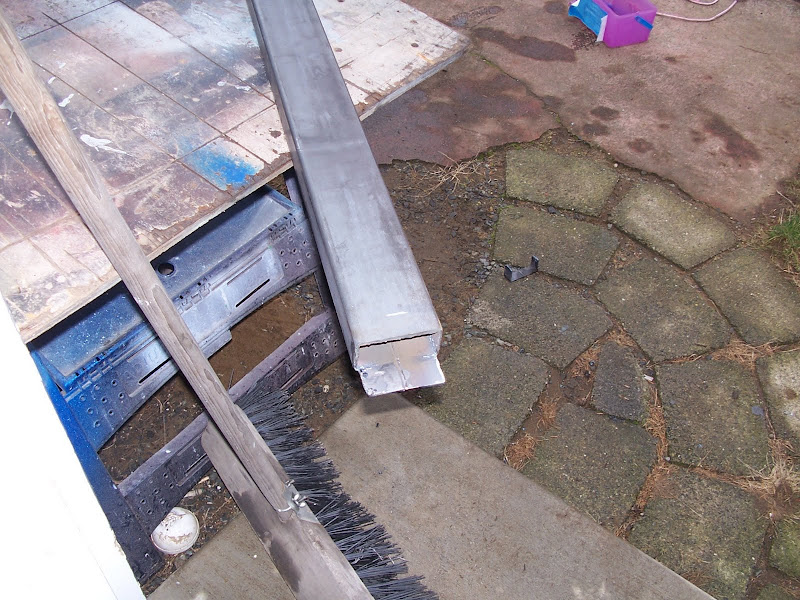
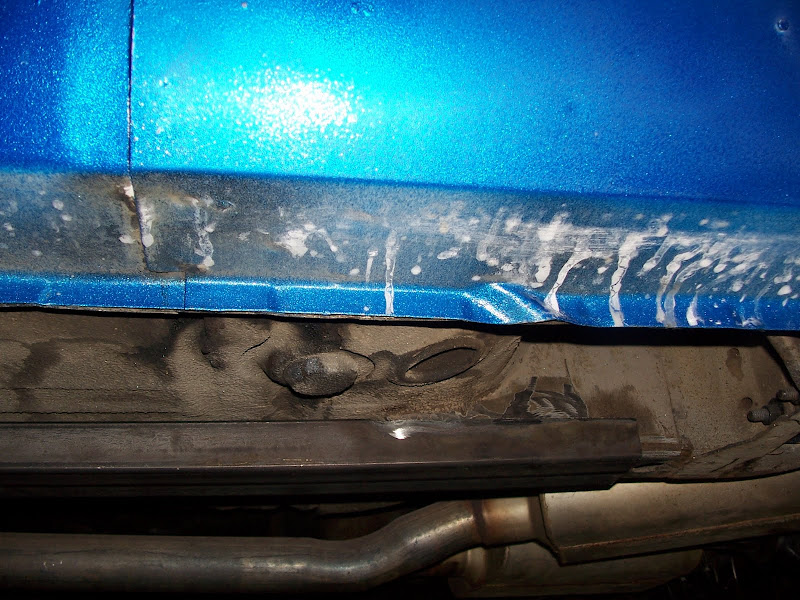
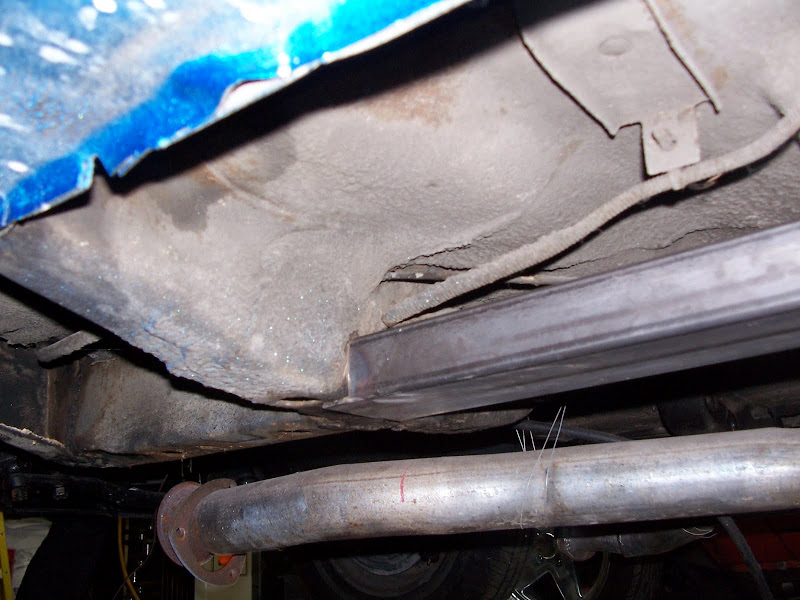
Made some frame connectors today for the dart. Cost $50.00 for two 5' pieces of 3" x 1 1/2" x 1/8". I notched one end to fit over the frame rail in the back and three sided the other. Trial fit looks good, so tomorrow I'll weld them in. I didn't use the whole five feet, they are cut back to 50".
Here's a few pictures of what they look like.

74%252520dart%252520247.jpg


74%252520dart%252520248.jpg


74%252520dart%252520249.jpg


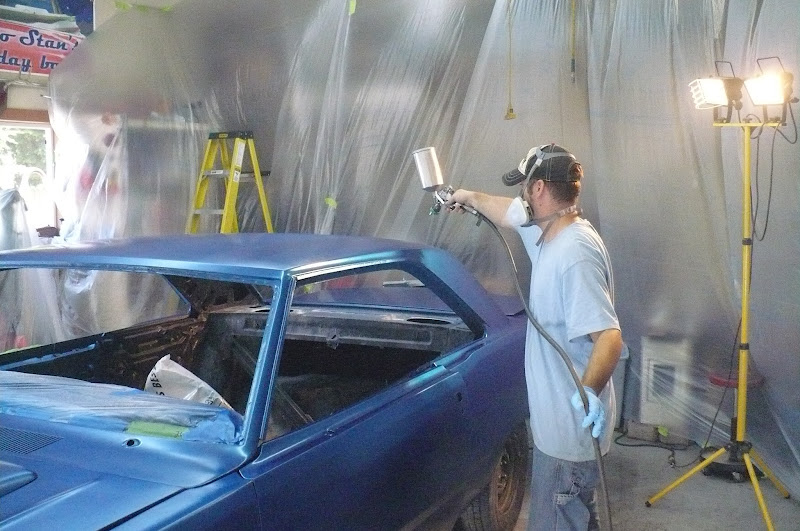
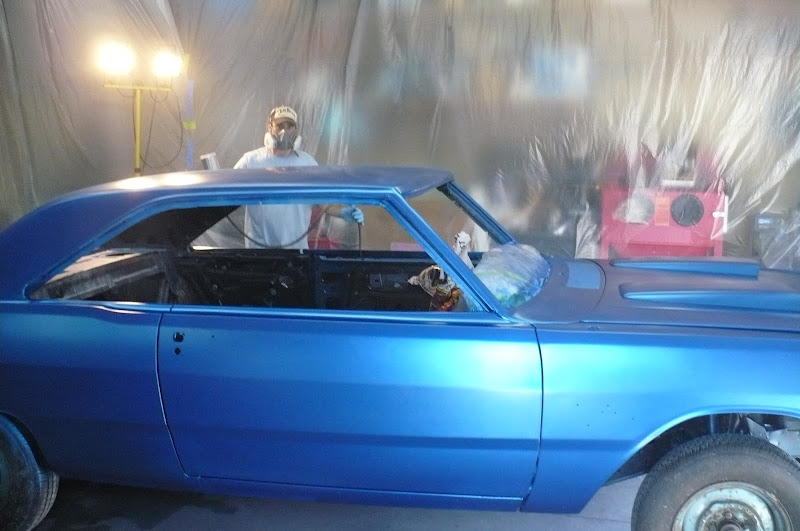
I got the idea from the birth of the blue missile thread. Thanks for posting that Andrew.
 
Not much, I'm hoping to get the paint done soon so I can start to put it back together.
We have to many projects going right now. Just finished my son in laws dart and are also working on a 76 aspen r/t for my daughter.
 
The clear fish eyed on me the first go around, so the dart has been all sanded back down and will be repainted today. We painted the underside of the hood yesterday and it turned out great.
So once it warms up some today we are going to finish the dart. I bought some new clear that seems to lay down better then the last stuff I used.
Biggest problem with the last stuff though was the guy pulling the trigger on the spray gun, and trying to paint the dart outside in the sun on a hot day.

The shop has been cleaned and we'll paint inside this time. We are going to put 4 box fans under the 16 foot door and open the door and window to provide ventilation and wear our masks.

I'll post some pictures when the dirty deed is done!
 
Well it done and turned out a lot better this time. I'll get some better pictures when I can roll it outside.
 

Attachments

  • 20120903_162149.jpg
    77.1 KB · Views: 732
  • 20120903_162154.jpg
    88.6 KB · Views: 723
Stan.....That looks great and I'm impressed with someone who can paint their own car!!

Outstanding color too :cheers:
 
Here's Larry doing the dirty deed!

004.JPG


003.JPG


And here's a couple of the hood after the cut and polish.

009.JPG


008.JPG


Pretty easy time of it this time. Just been going over it with 1500 grit then 2,000 grit, and I've been using a 3,000 grit pad last. Then I cut it with 3M rubbing compound and a wool pad, next I used 3M machine polish #2 with a foam pad, and lastly I'm going to use 3m ultra fine machine polish with a foam pad.

So far it really looks good. I have the front clip just about done and will be starting on the roof next.
I'm hoping to get the paint finished by this week end so I can clean it up and get a good look at it outside,

Well back to work!
 
Looks great! I love the whole build, it reminds me a lot of what i went through!
 
hey i know this car too :) mat's dad :) this is jerry how ya doing me and stan was going to get together for a while but are scedules just have not hooked up :) i am still working on that 70 have not had the money to do anything with it yet really but at least i got it still :) haha ... the main thing i need to do 1st is to replace the master cillender so i can drive it but i know the lines are going to break when i go to do it so i just have not hehe
ok see ya all L8er Cuda "aka Jerry"

Hi Jerry,
I was just wondering the other day how you wher doing on your car.
Stan
 
What a transformation! That blue is gorgeous! Really reminds me of the Viper Blue. Auto body is something I've never attempted before, but I'm looking to give it a go, if I can get the right A-body. All excuses to buy more tools!

It's easy to lose track of how long this project has actually taken, especially when you're coming in late and just reading through the whole thread in an evening. Keep up the good work, neighbor!
 
All done with the wet sanding and buffing, looks pretty good. Started putting the name plates and chrome back on. I would have taken some pictures but it got to late and I was ready for a shower and dinner by then.

Hi there wintermute, I work for a saw mill in Mount Vernon. More tools is always a good thing:)
 
Well I finished the wet sanding and buffing :cheers: and started to put the old girl back together.
I have been playing where's the part at for the last couple days. It amazing that I can't recall where I put things two years later. :scratch:

Any way here are more pictures to bore you with. :tongue1:

001.JPG


002.JPG
 
-
Back
Top