1965 Dodge Dart Charger

-
Thanks to Don (65 dartman) I got the last spring for the parking brake lever. It just needed some glass beading and a new coat of paint.

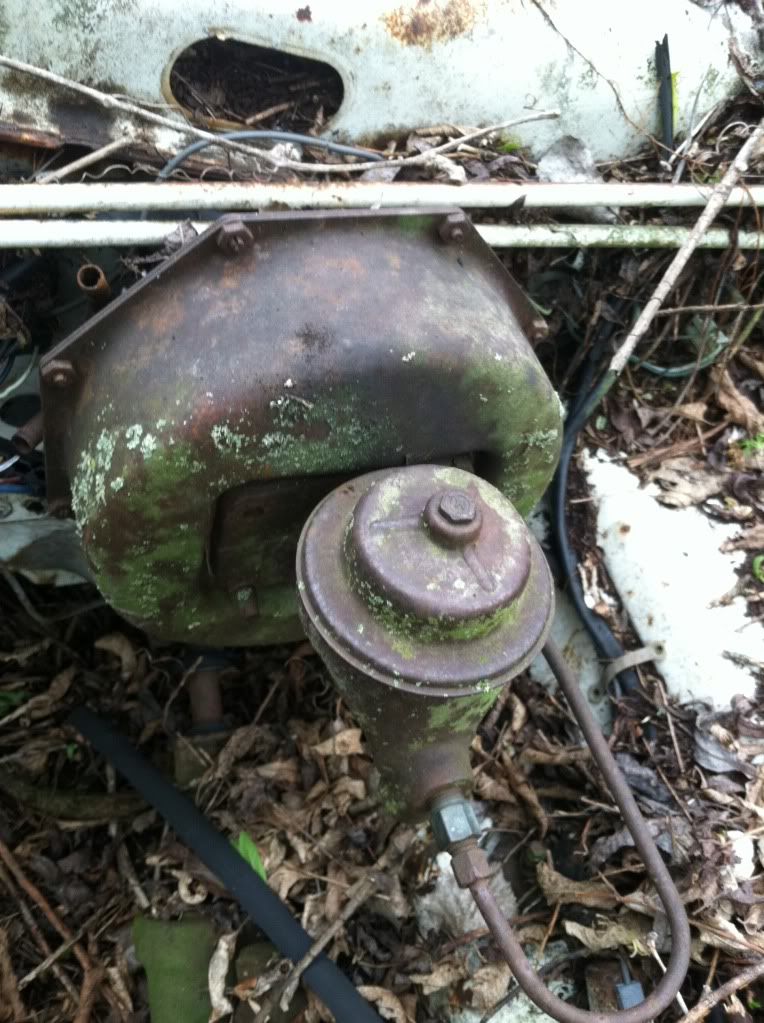
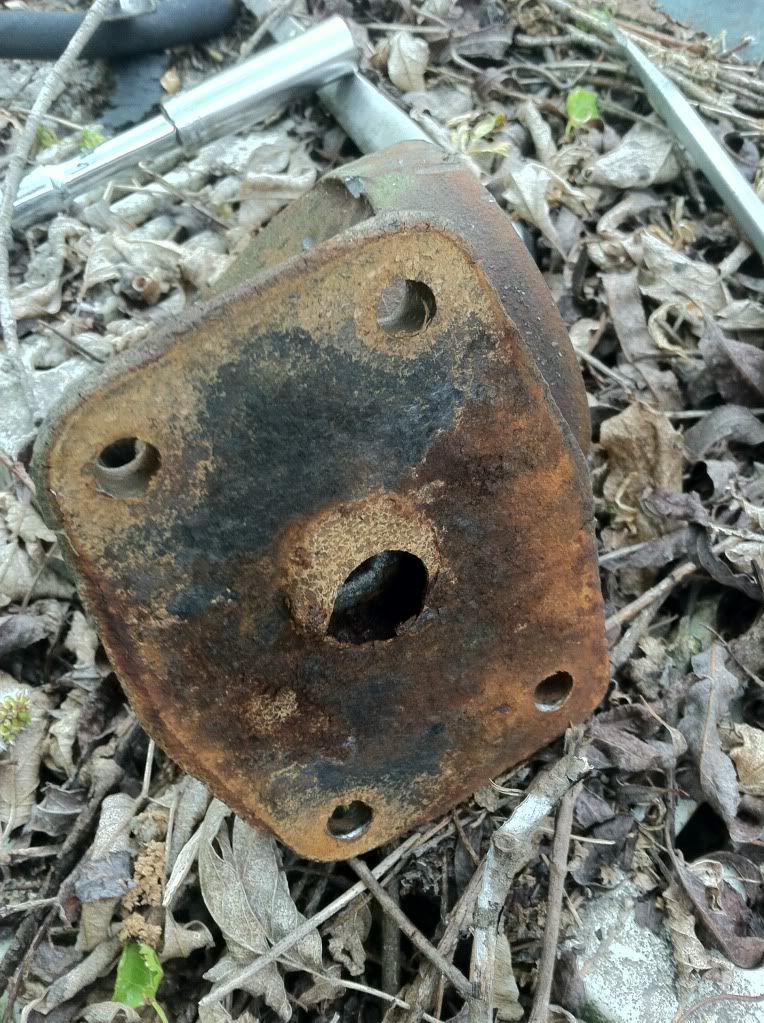
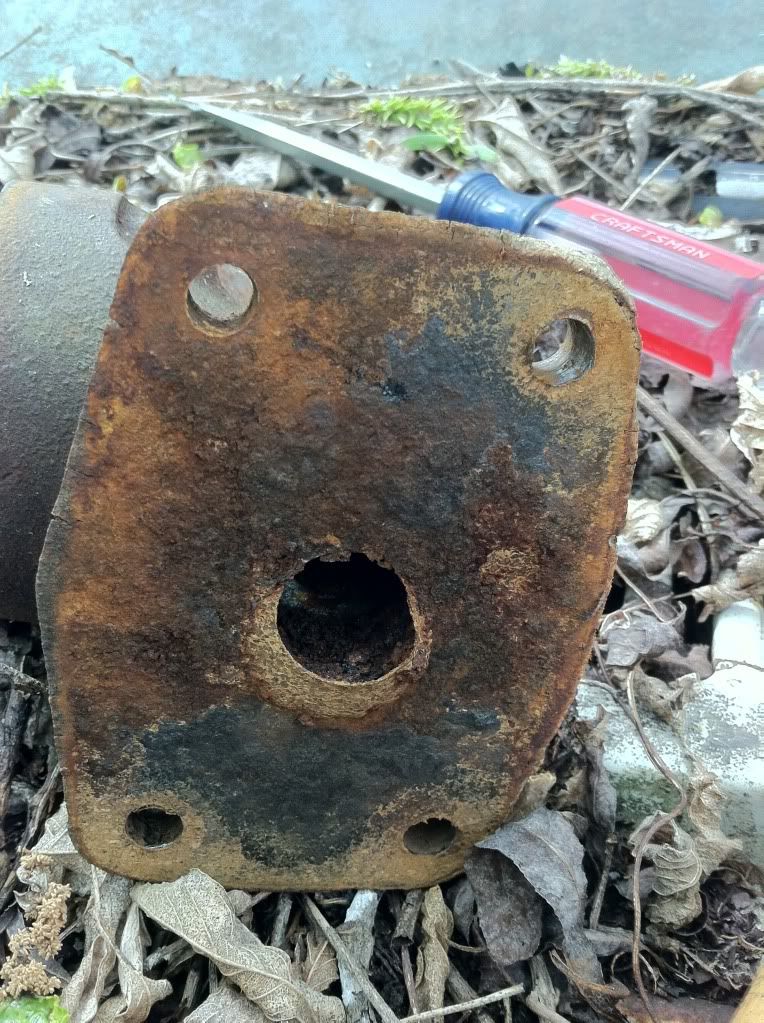
After an hour of assembling the parts back in place the rear brakes are done and ready for the rear axle when it shows up.
 

Attachments

  • 001.jpg
    93.8 KB · Views: 664
That looks great! I'll use that picture as a guide when I start my rear brakes.
 
Good for you, Don. Let me know if you need more detailed pictures. I also have a bunch of springs, washers etc for the brakes.

Does anyone know where to buy the gaskets that are located on the inside and outside of the rear brake shields? Any input is appriciated.
 
I don't know if the 7.25 is the same/similar to the 8.75 but just did a quick search on eBay for Mopar axle gaskets and got quite a few hits.
 
Hi Ulf, here are the pics of the gasket that was mounted between the master cylinder and brake booster. The master cylinder appears to be a factory Mopar item with a part number, but wether the gasket is original or not, not sure. It is a thin cork gasket. The car is a very early 65 build, 1966 Valiant Signet, car had power drum brakes.

74A627A5-orig.jpg

637C5F87-orig.jpg

4C83A6E2-orig.jpg

FA29398F-orig.jpg

E889EF76-orig.jpg

F82FE0E5-orig.jpg
 
Thanks for the help guys. Keith! That gasket is great. I knew that it was right. That is one that I have on my brake booster. Great pictures.

Good news. My prop shaft is done in the cleaning bath. Will pick it up tomorrow.
 
Picked up the prop shaft today. What a work Emil did with it. Check out his metal work at www.metalmadness.eu. He just did a nice 71 GTX. Also he's into one of the remaining GM Futureliner.

The prop shaft got rid of the paint but luckily the paint splots is still there. Thereseems to have been one yellow paint splot on one of the rear ears. On the tuce close to the U-joint there was a black marking. Can that have been markings for the length? In that case wheel base, V8, automatic transmission and 71/4 rear end.

Started with the assembly of the shaft but I need some help from my friend Krister with he's hydraulic press to get the pin in position. Hopefully tomorrow!

View attachment 001.jpg

View attachment 003.jpg
 
Thanks for the help guys. Keith! That gasket is great. I knew that it was right. That is one that I have on my brake booster. Great pictures.

Good news. My prop shaft is done in the cleaning bath. Will pick it up tomorrow.

Cool, glad I could help confirm this!!
 
The front U-joint kit was a tuff one! To get the center pin in position was ok and worked great. The smaller band was tuff but the biggest band was insane. I had to get my wife with a horse tool to get the band in position!!!!

Anyway now it is in position. On the small casted housing is stamped Detroit.

I started with the rear U-joint but I can't get it in position!!! And it's factory stuff too!!!!!!! Well, that's tomorows problem.

View attachment 001.jpg

View attachment 002.jpg

View attachment 003.jpg

View attachment 004.jpg

View attachment 005.jpg

View attachment 006.jpg
 
OK, after two hours of trying to get the rear u-joint in place I started to go nuts. What the heck?

Before I started I had two assembly line correct not opened packages with the right u-joint. I did some measureing on the two of the and I finally found what was wrong. One of the u-joints were wider then the other. After changing u-joint it fit like a glove.

So now I just need to recreate the welding seems. I'm not sure if that would be by a gas welder or by acid. I think one of the Mopar magazines did an article of some one who did that. Does any one remember seing that article?

View attachment mail 1.jpg

View attachment mail.jpg
 
I glass beaded the ash tray on the dash board tonight. The orginal one is shot. They must have had some whiskey, acid and cigarrs in it!! I found a better one that I glass beaded but there is some rust in that one too.

Does anyone out there have an ash tray from a smoke free car? Any help is appriciated.
The ashtray seems to have been silver zinc from the factory and the two plastic "bumpers" was placed after the finish was applayed.

There are also partnumbers stamped on the sides. One number for the left and one for the right side.

View attachment 004.jpg

View attachment 003.jpg

View attachment 005.jpg

View attachment 006.jpg

View attachment 007.jpg
 
Ulf - let me take a look and see what I have for ashtrays.
 
Ulf - let me take a look and see what I have for ashtrays.

Thanks Don! I really appriciate your help.

Today I got the newly reproduced fuel lines for my car. They look just the ones that was on the car. Thanks Leif for the help.

I haven't got back the silver zinc clips yet but soon! The fuel filter is made out of plastic. That was on the car between the assembly line and the dealer. It was changed by the dealer to the steel fuel filter instead. The reason is unknown at this time.

View attachment 005.jpg

View attachment 008.jpg
 
here is the pic of oem distributor paint works ulf .
john
 

Attachments

  • IMG_1817.jpg
    98.5 KB · Views: 478
Thanks for the pictures John. The clip for the fuel line is mounted where it was on my engine. I have actually never seen the clip bolted on that spot. All the engines I've seen has it the way I have it. But I will save your picture for the reference manual.

The overspray on the distributor all varies between the engines. I just painted it the way it was on my engine. On my convertible there is almost no overspray at all. Thanks for the input John.
Great news! The carb is done by Larry Shepard. And the rear end is ready to pick up tomorrow. Yihaaaaa
 
Picked up the rear end today on my back from work. Now the rear end is done. Beautiful job. The NOS gasket isin place along with all the bearings and stuff. Now I just need to find the outer bearings......

I will start the painting on Saturday. Most of the stuff is ready. I will get the paint for the paint splots as well.

View attachment 002.jpg
 
Did they paint the rear axle or should it be bare?

What I know of the rear end was painted. The plates on each side was not. It was black phosphated. The front kick up bumper as tumbled with sandstones before it was mounted. Probably to get rid of the grades.
 
OK,after some coats of paint the rear axle is done and ready for assemble. I need to reproduce the gaskets so hopefully on Thursday when I have a day off I can start. Everyting else is there EXCEPT the plug on the rear cover. Does anyone know where to find a NOS one? Any help is appriciated.

View attachment 001.jpg
 
-
Back
Top