You are using an out of date browser. It may not display this or other websites correctly.
You should upgrade or use an alternative browser.
You should upgrade or use an alternative browser.
1970 Swinger 340 Hemi Orange 4 speed
- Thread starter Hemiorangeswinger
- Start date
-
813Demon340
Well-Known Member
Yes, its pretty rust free. Its going to need a small patch on the drivers 1/4 and thats it. I'll start a resto thread on it once I gather up some parts and $. I love your attention to detail and that your going the extra mile to take care of all the unseen areas on your dart.
Attachments
BrokenTool
Well-Known Member
Thanks for detailed documenting of your restoration, great work.
340sFastback
Well-Known Member
I like the idea of using panel bond for that skin, that will keep moisture out. Any tips on how to bend that skin around that door frame appreciated. I have an extra door laying around that needs a skin....
Hemiorangeswinger
Dodge Material
Thanks guys!! I need all the motivation I can get for starting the other side, so I'm glad this thread is motivating people to work on there projects.
813Demon340 that is a beautiful car! I seen that car on CL a few months back? I was contemplating on making a trip down to the states and grabbing that car! I can't wait to see your resto thread on that car.
I finished sealing the quarter up. I made a contraption for injecting epoxy into all my welded seams and it worked great! I ran it in until it started pouring out everywhere. I'm sure this car won't rust ever again!
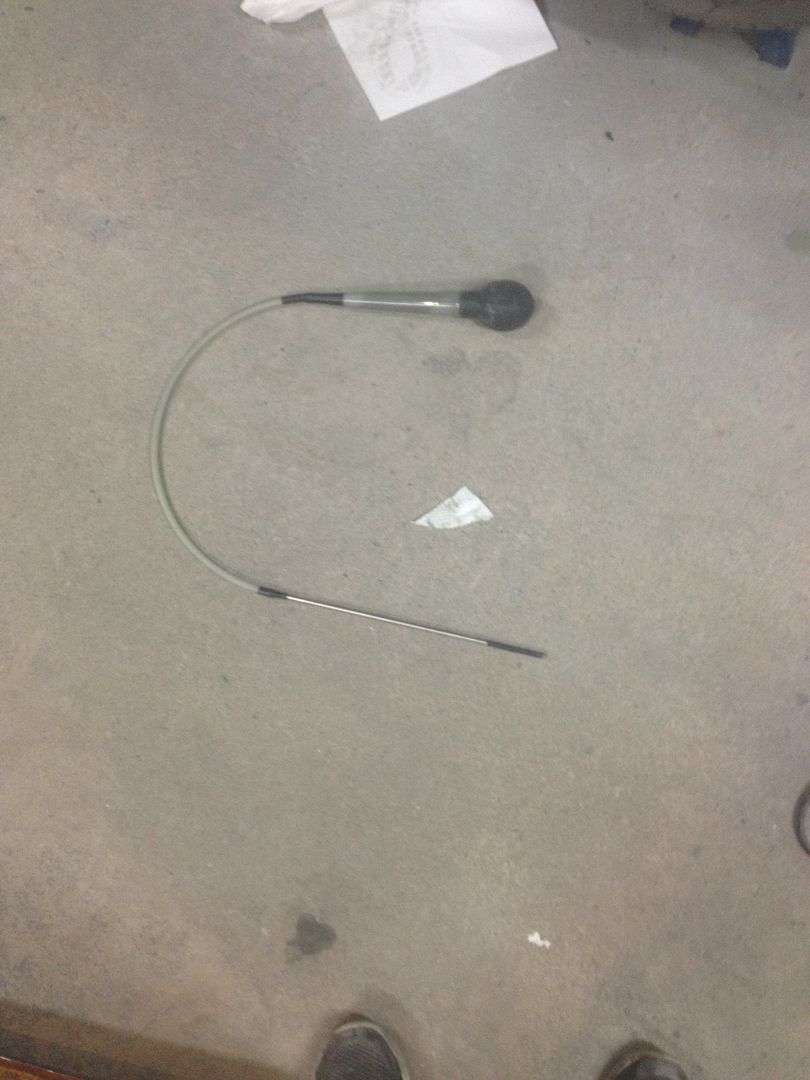
Applied just like the factory
813Demon340 that is a beautiful car! I seen that car on CL a few months back? I was contemplating on making a trip down to the states and grabbing that car! I can't wait to see your resto thread on that car.
I finished sealing the quarter up. I made a contraption for injecting epoxy into all my welded seams and it worked great! I ran it in until it started pouring out everywhere. I'm sure this car won't rust ever again!


Applied just like the factory

Hemiorangeswinger
Dodge Material
I like the idea of using panel bond for that skin, that will keep moisture out. Any tips on how to bend that skin around that door frame appreciated. I have an extra door laying around that needs a skin....
I will get some tips from my Dad on folding the seam over. He will be doing my door skins because he's pro at doing them and doesn't get any hammer marks. (I would most likely dent the skin if I attempted it) he just uses a dolly and hammer, he's been doing bodywork for over 30yrs and has done tons of door skins and still does so he has the technique.
Hemiorangeswinger
Dodge Material
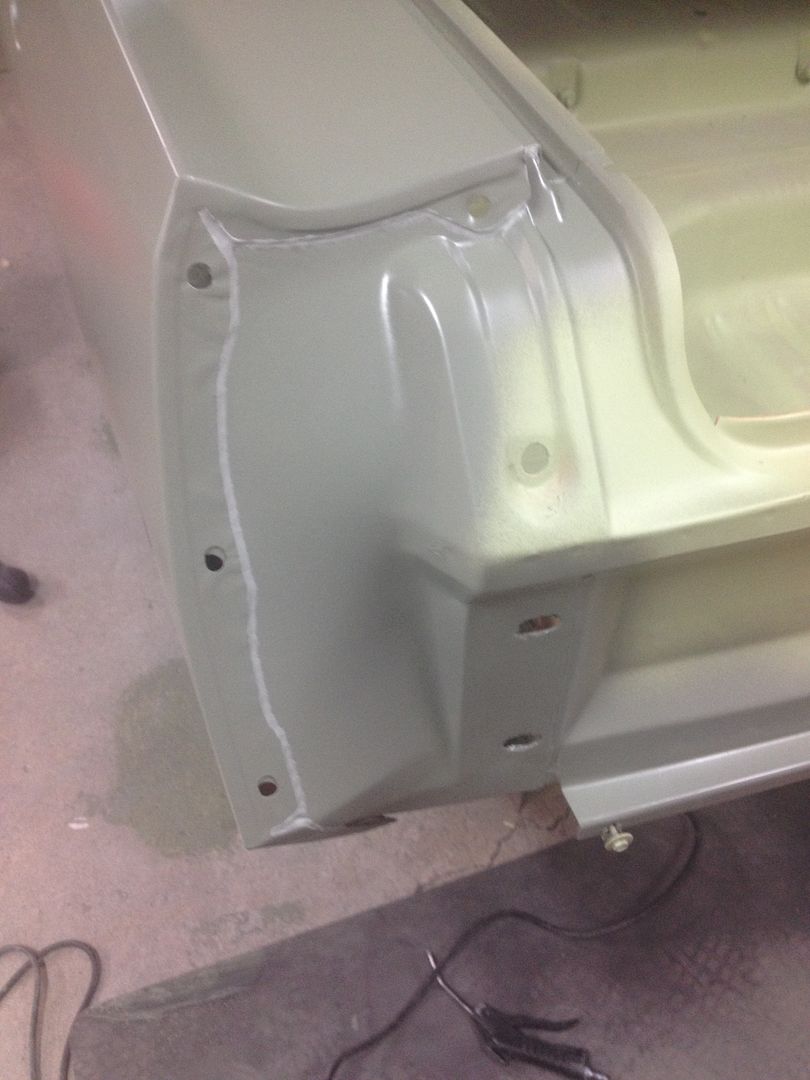
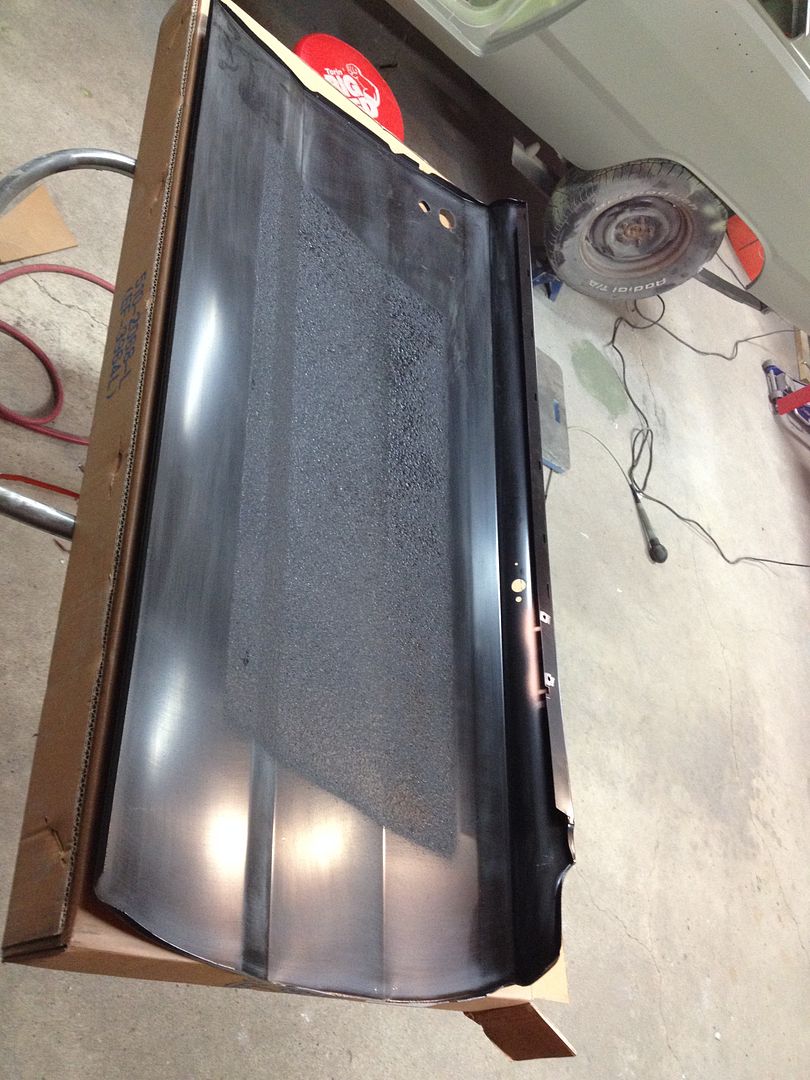
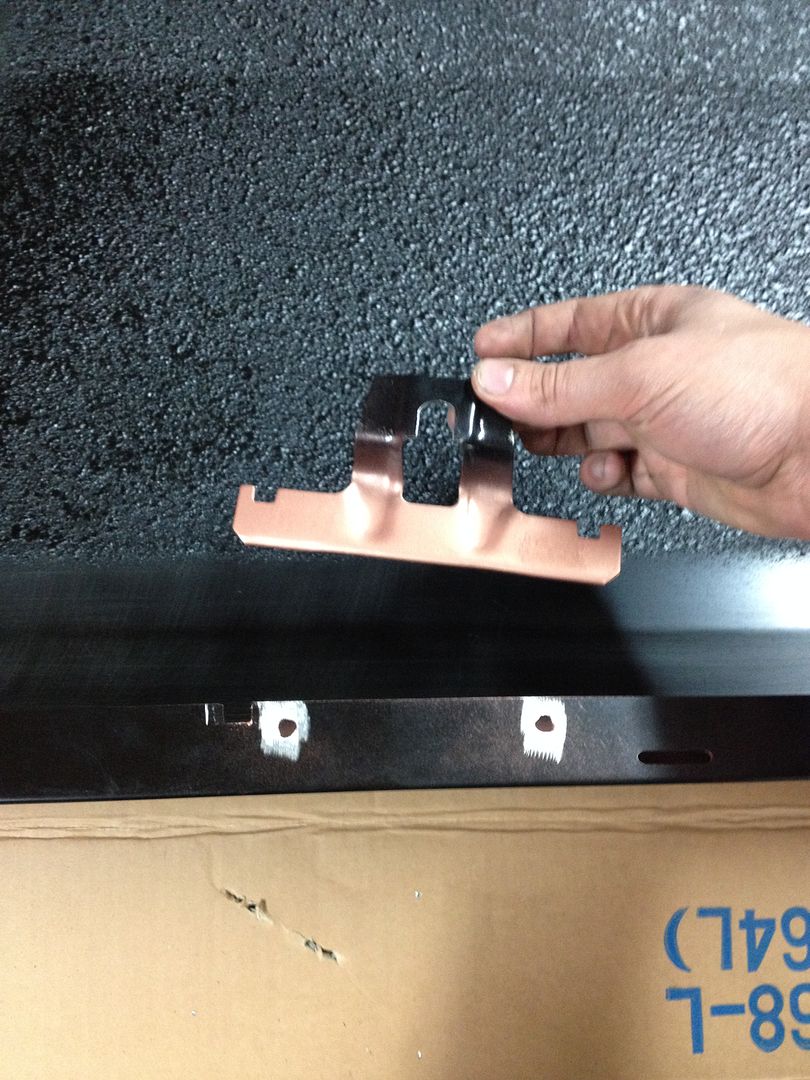
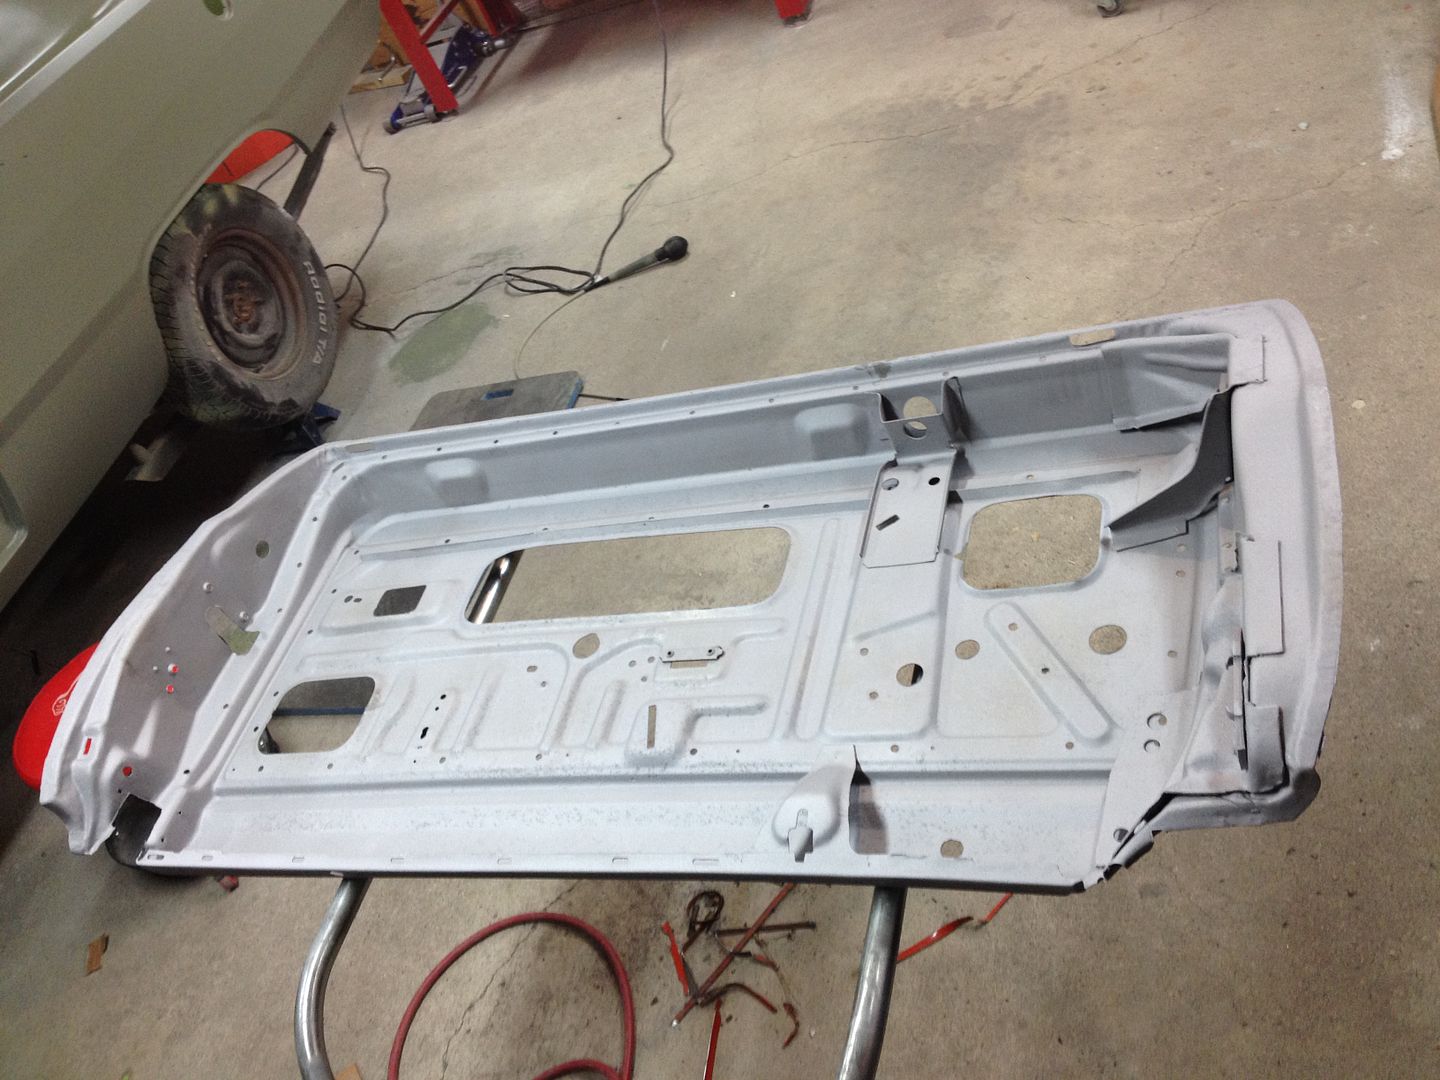
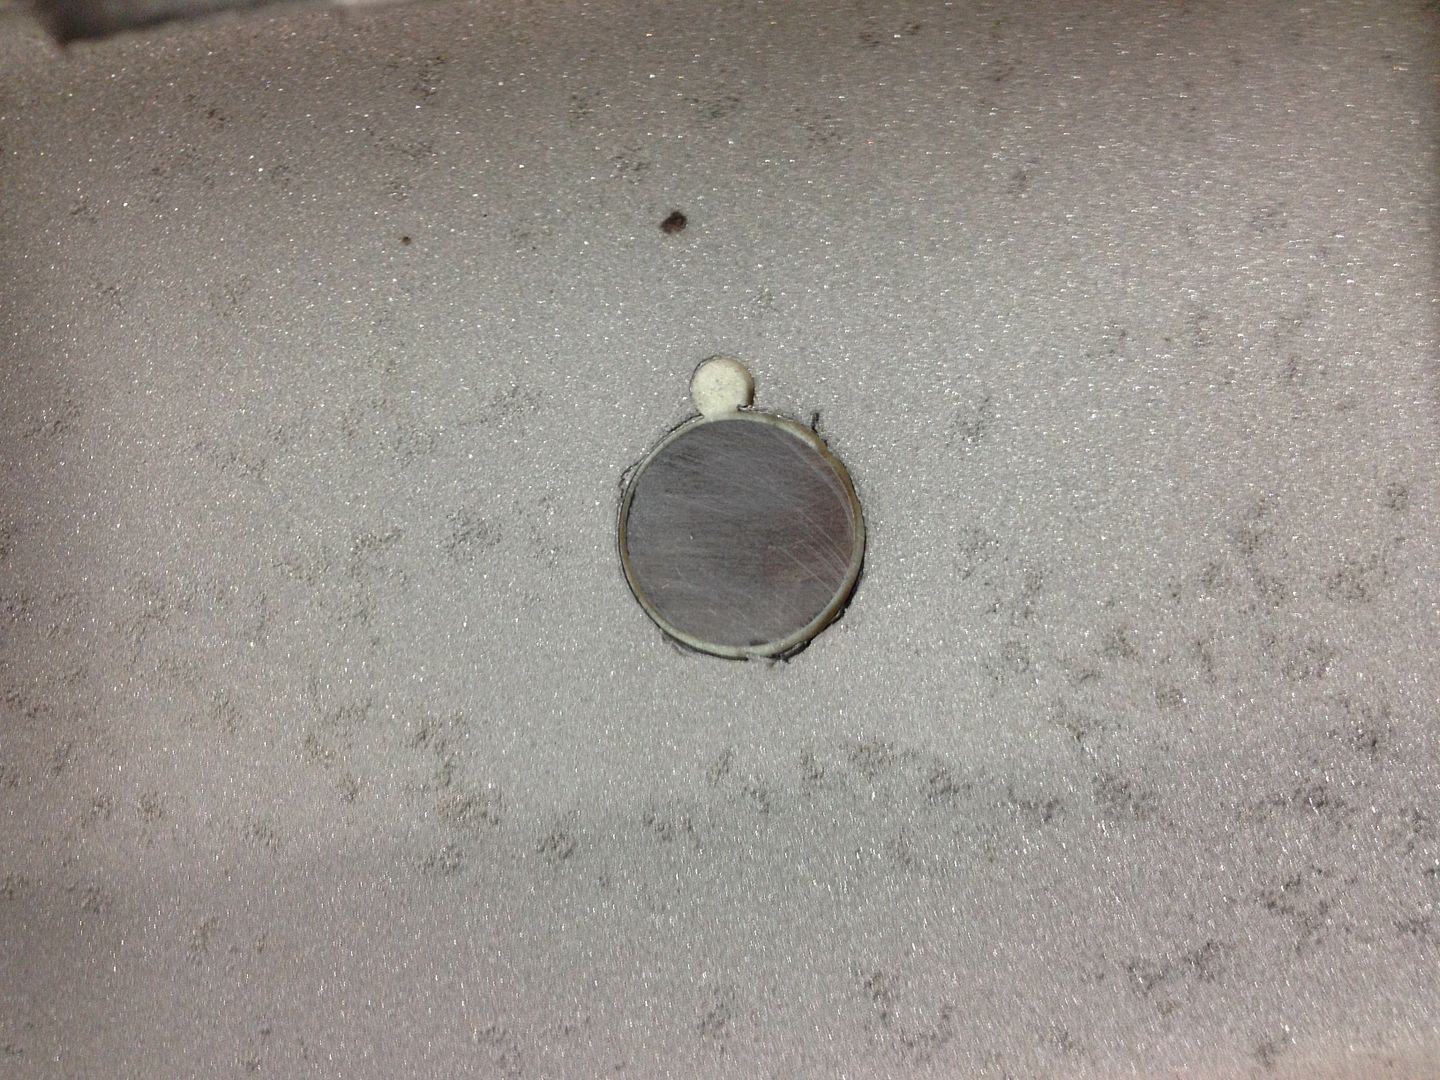
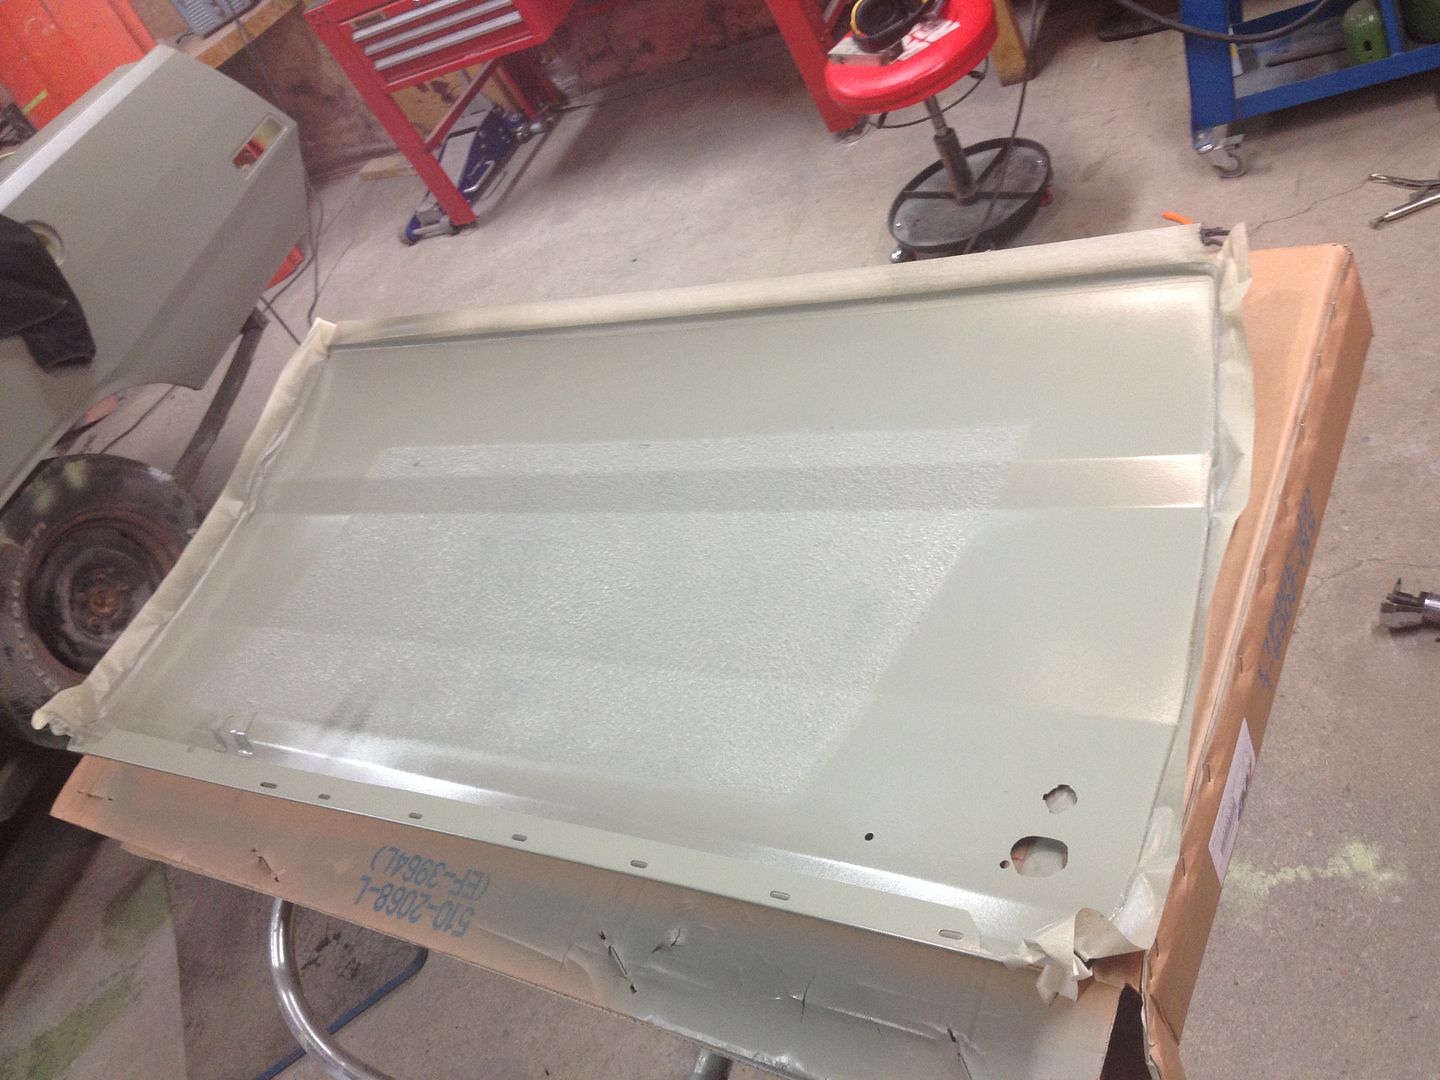
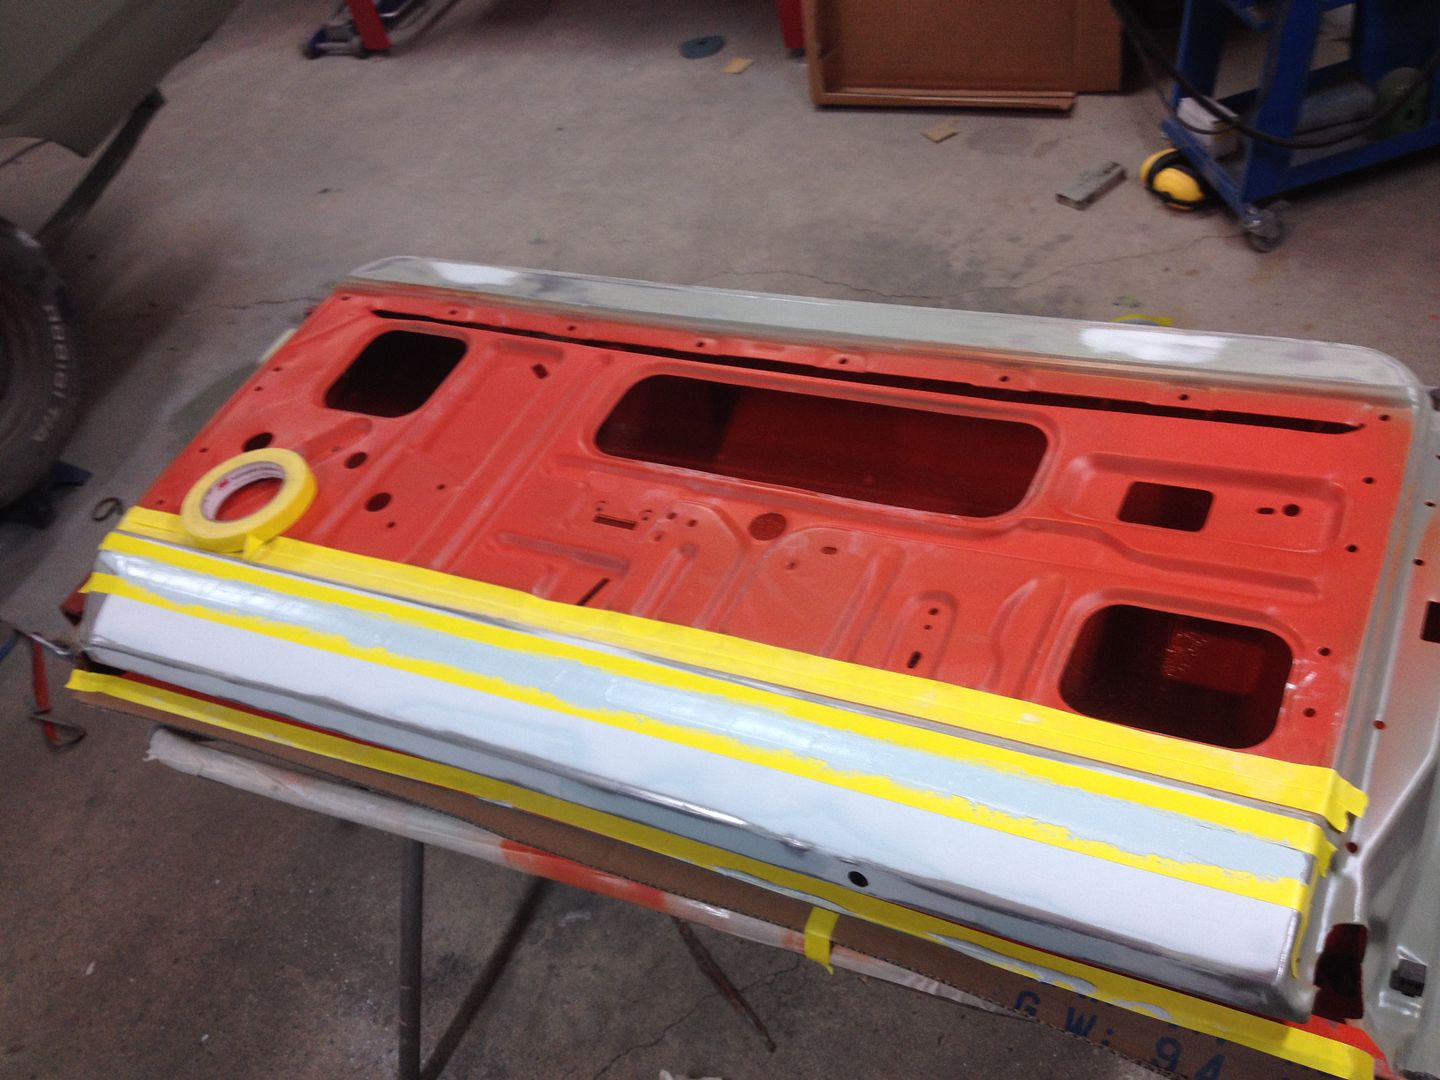
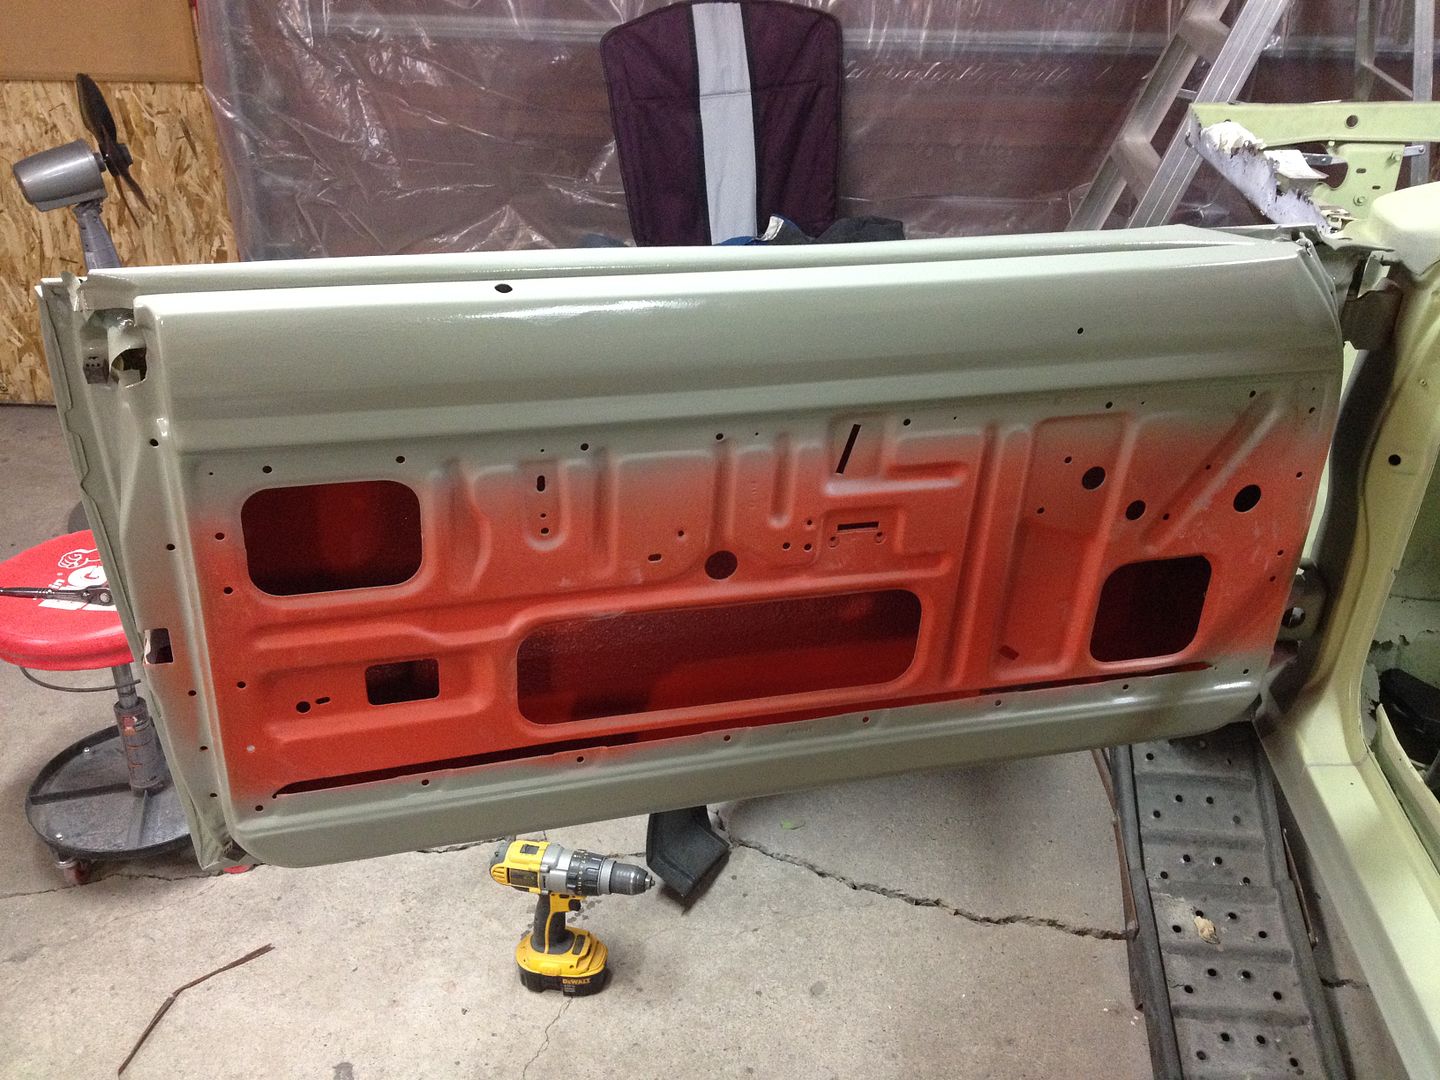
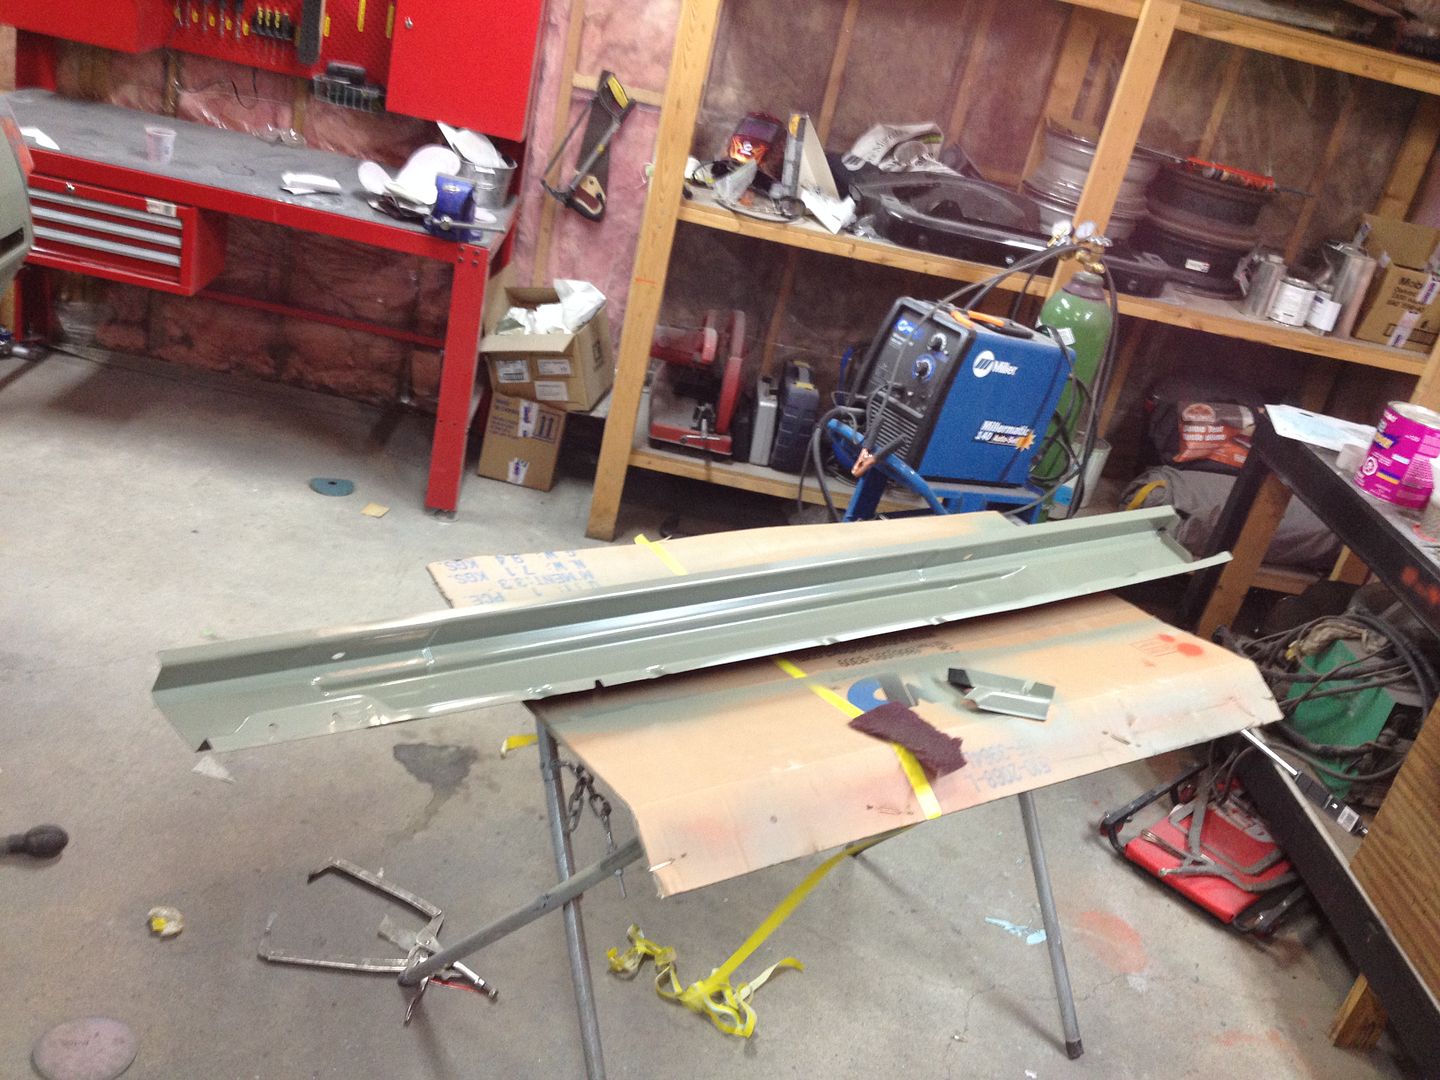
More progress! I got the door shell acid dipped and sandblasted, so tonight's goal is to weld up the remote mirror hole (made piece for that) weld up a couple pinholes and epoxy it. I also sprayed some sound deadener on the new skin just like factory. Tomorrow I plan on painting some hemi orange on it, so my Dad can come and do the door skin.


Hemiorangeswinger
Dodge Material
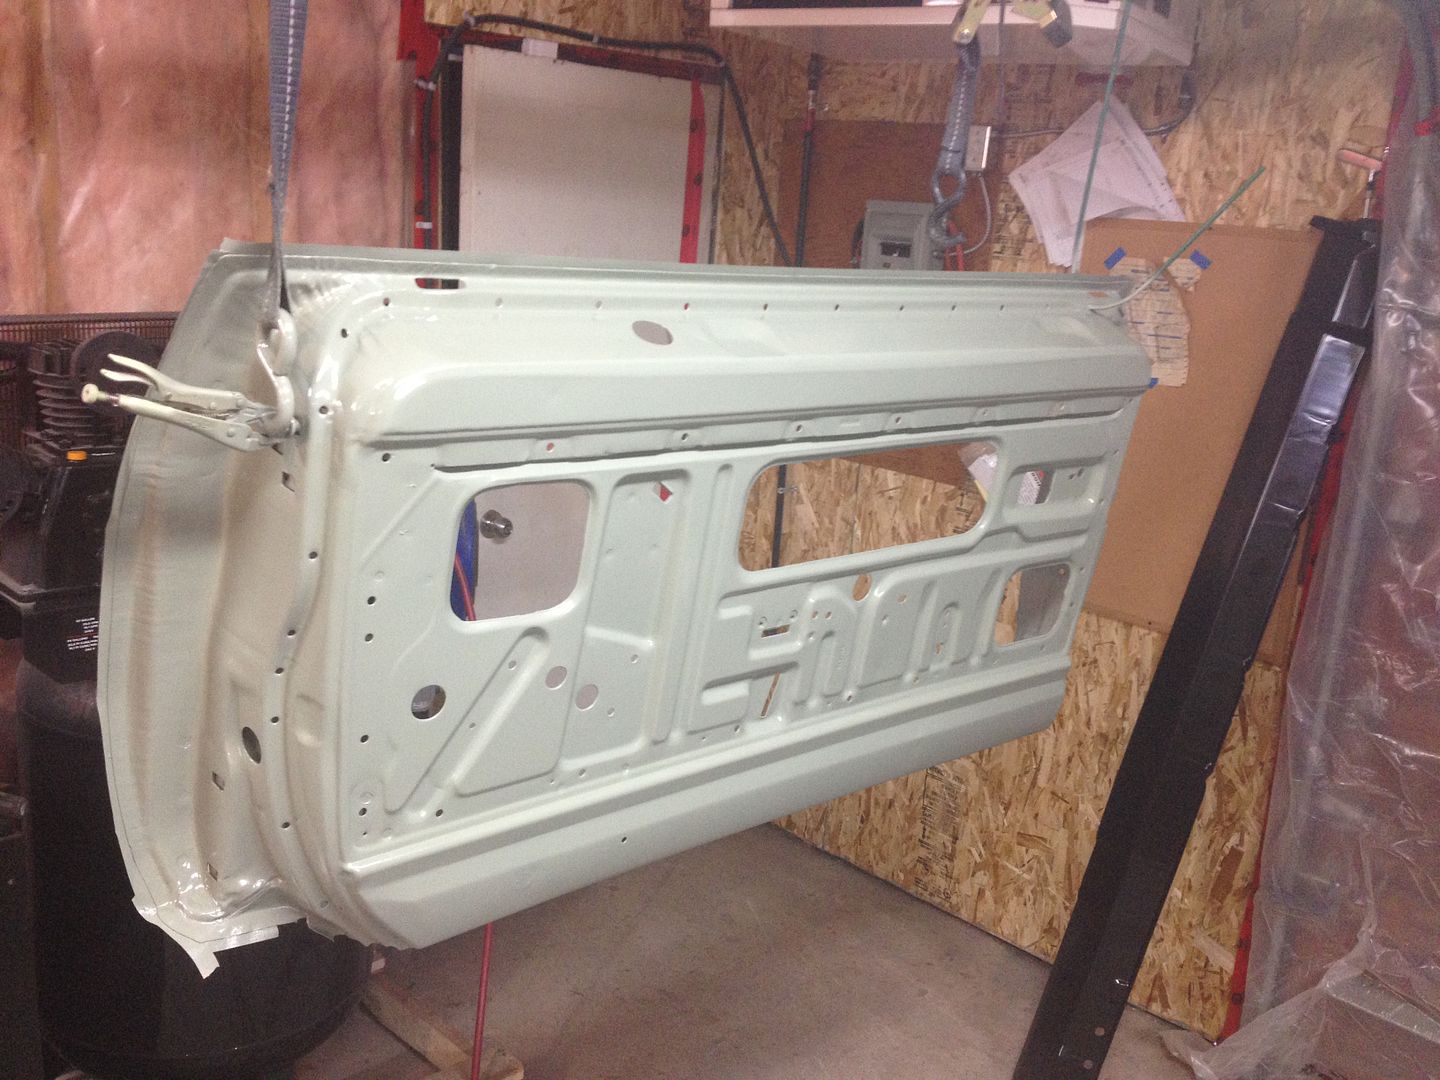
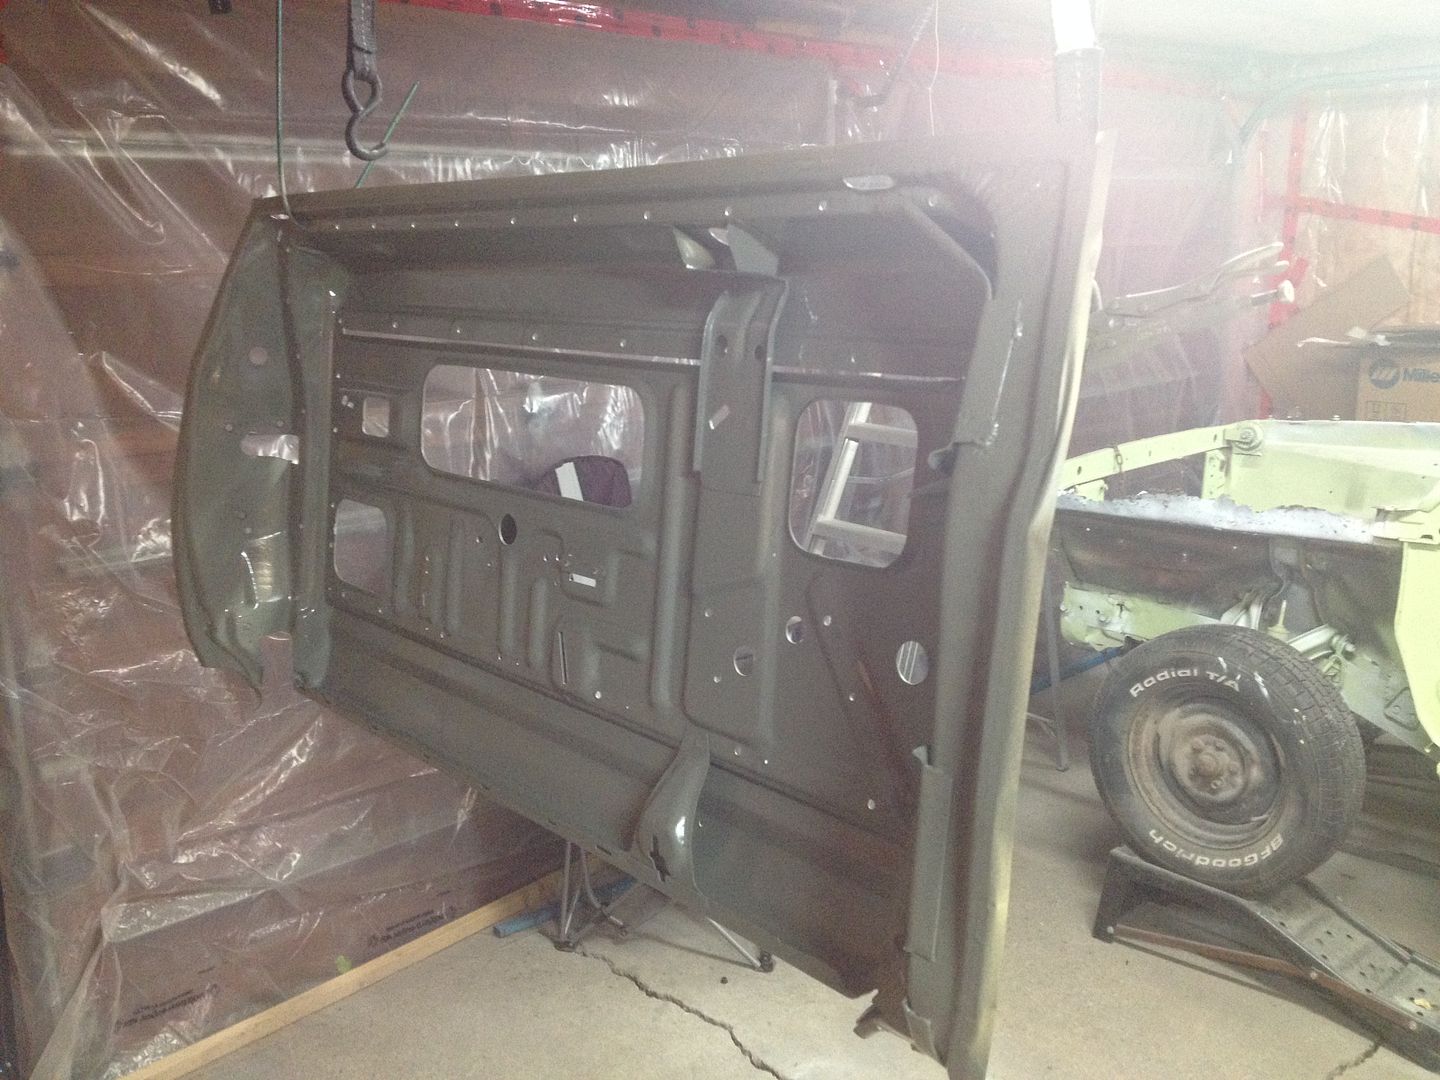
Epoxied!


Hemiorangeswinger
Dodge Material

Hemiorangeswinger
Dodge Material
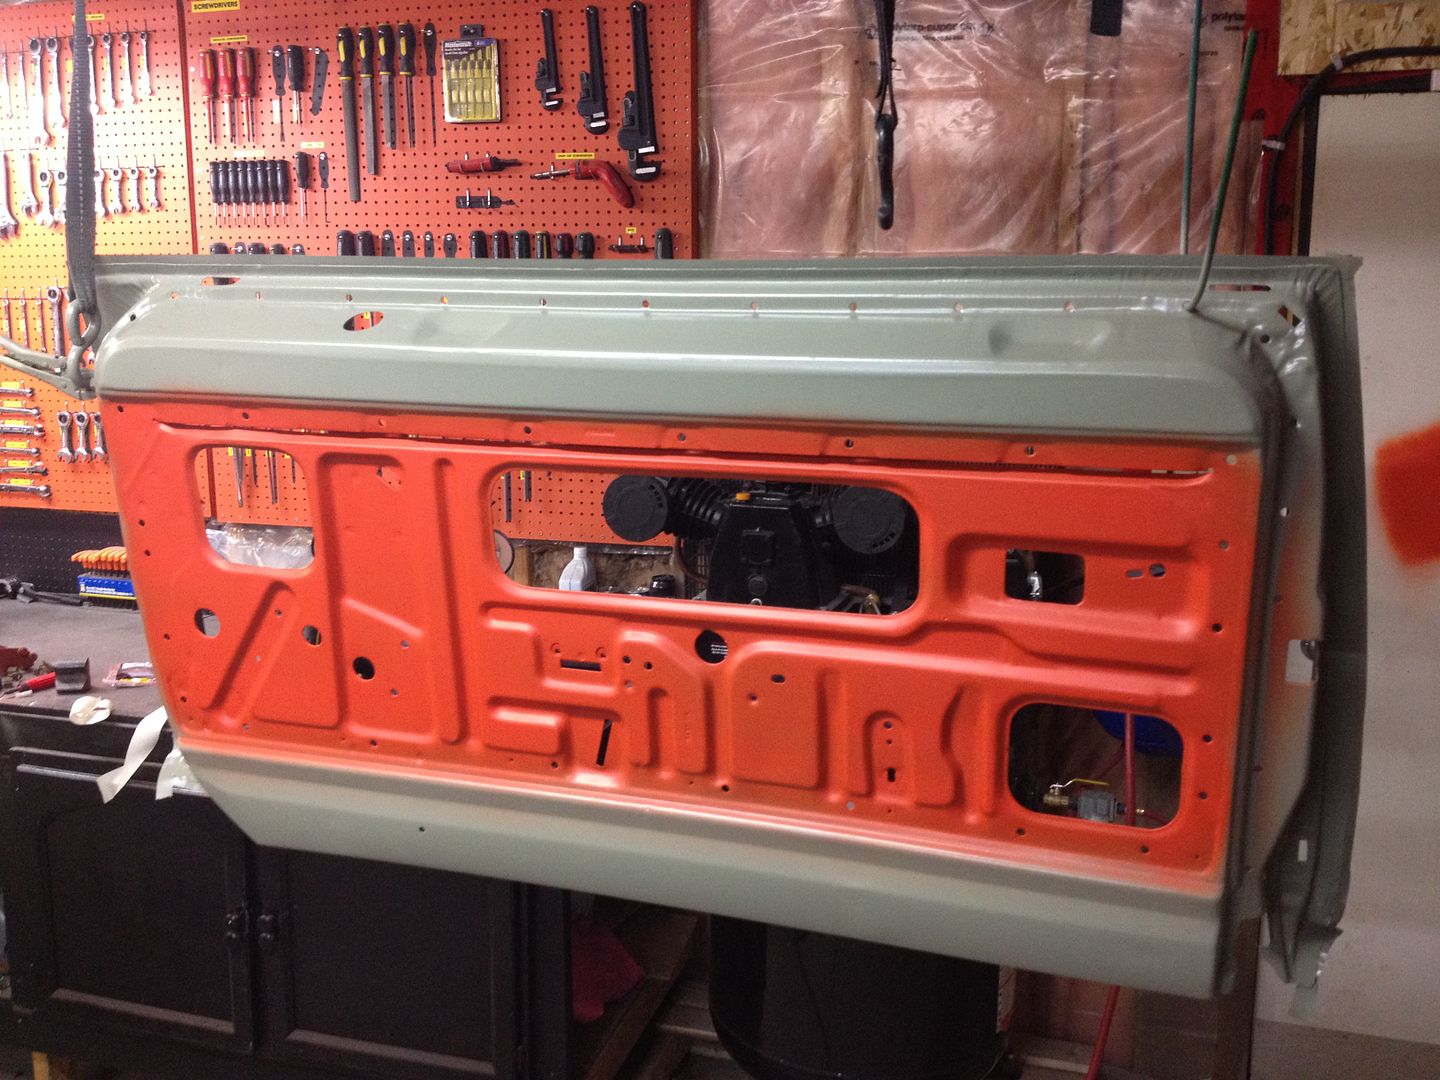
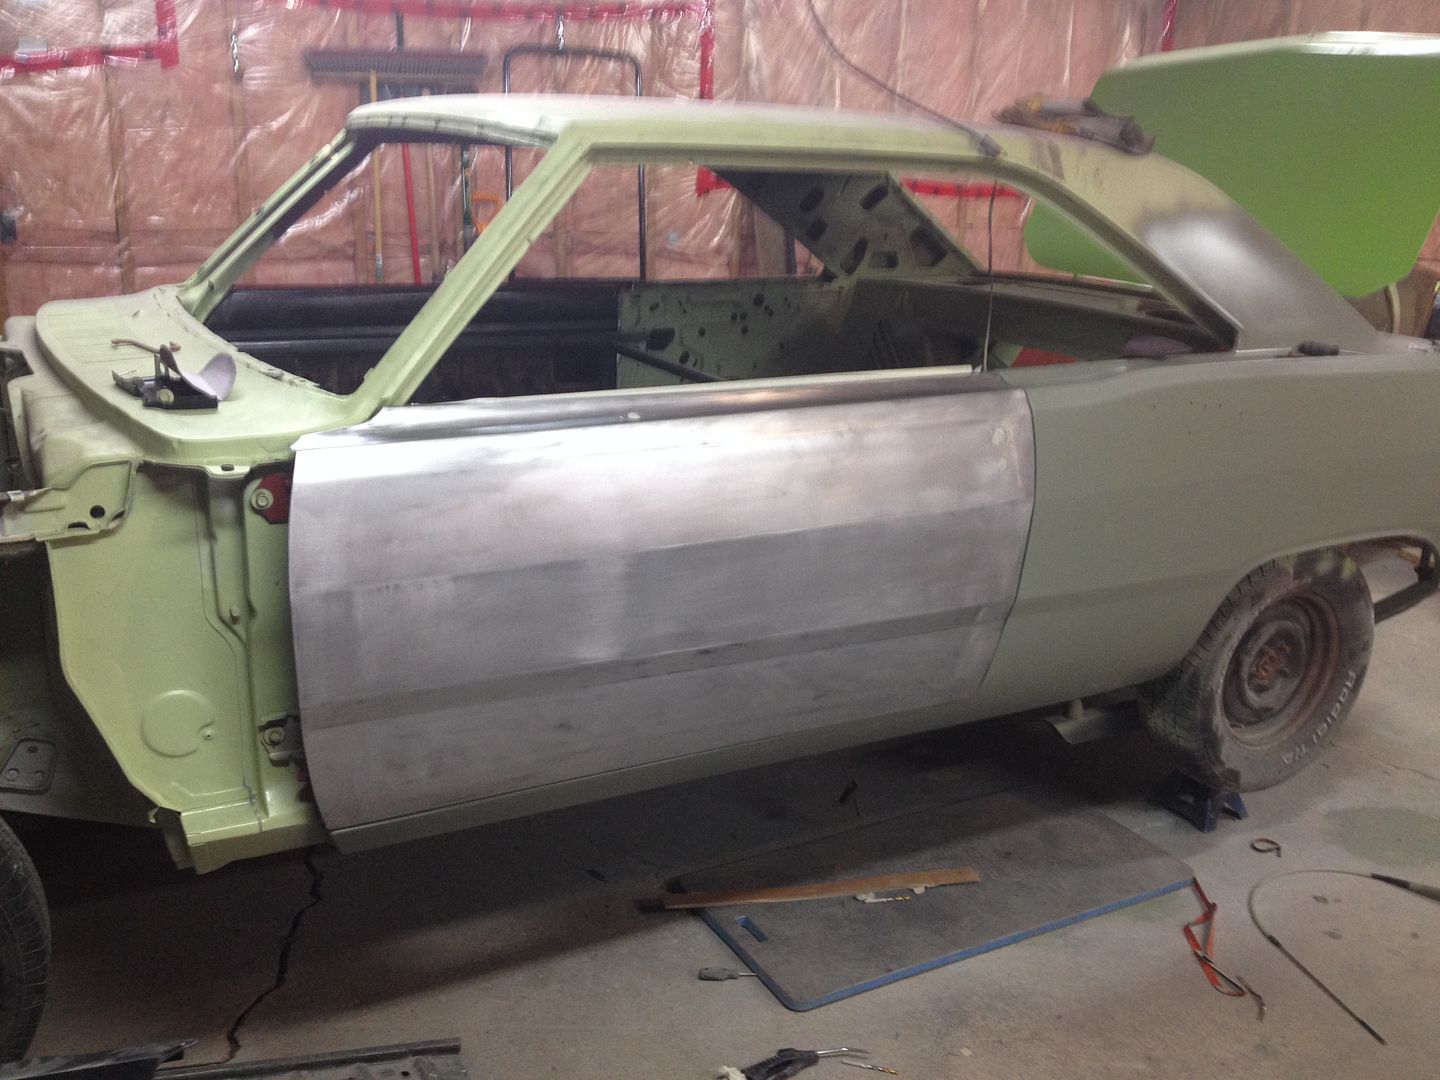
Door skin is on and perfect! I test fit it on the car and it's gonna take a little bodywork to make the door to quarter gap perfectly even again.. The AMD door skin doesn't follow the quarter like the original skin, but it's to be expected for tiawan parts. The rocker gap and door to fender gap are nice and even, which is a bonus. Tomorrow I'll finish the bodywork on the upper door frame and epoxy it.


Hemiorangeswinger
Dodge Material
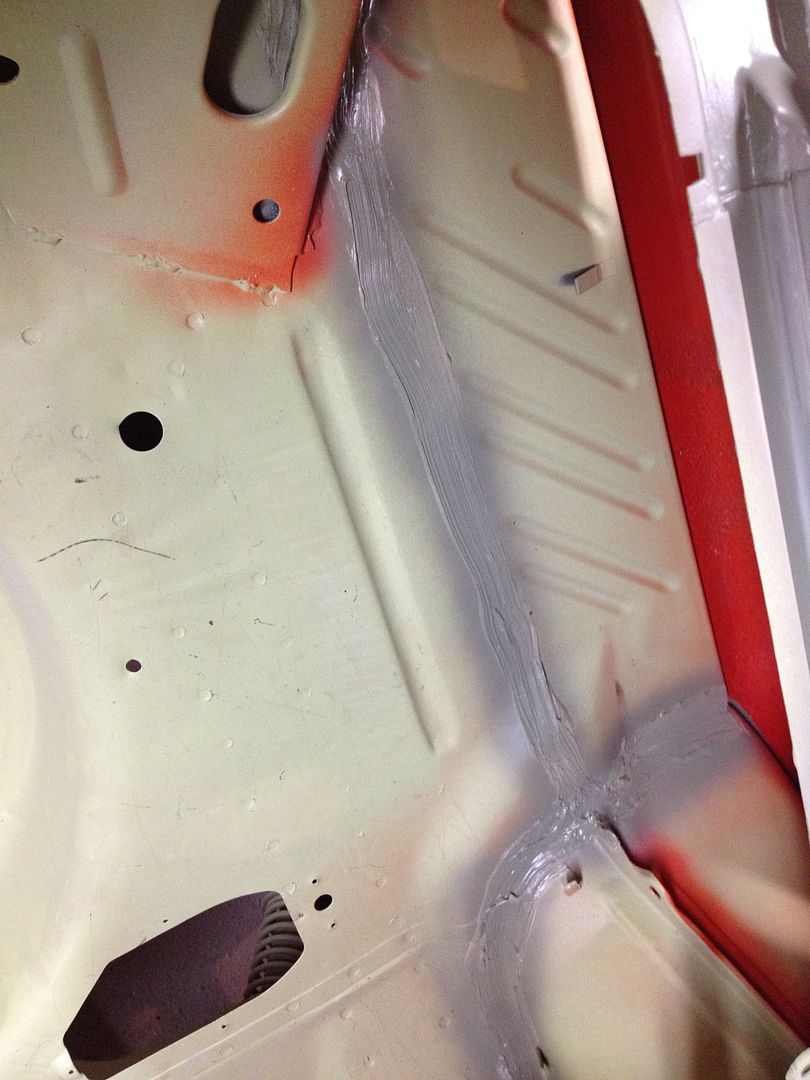
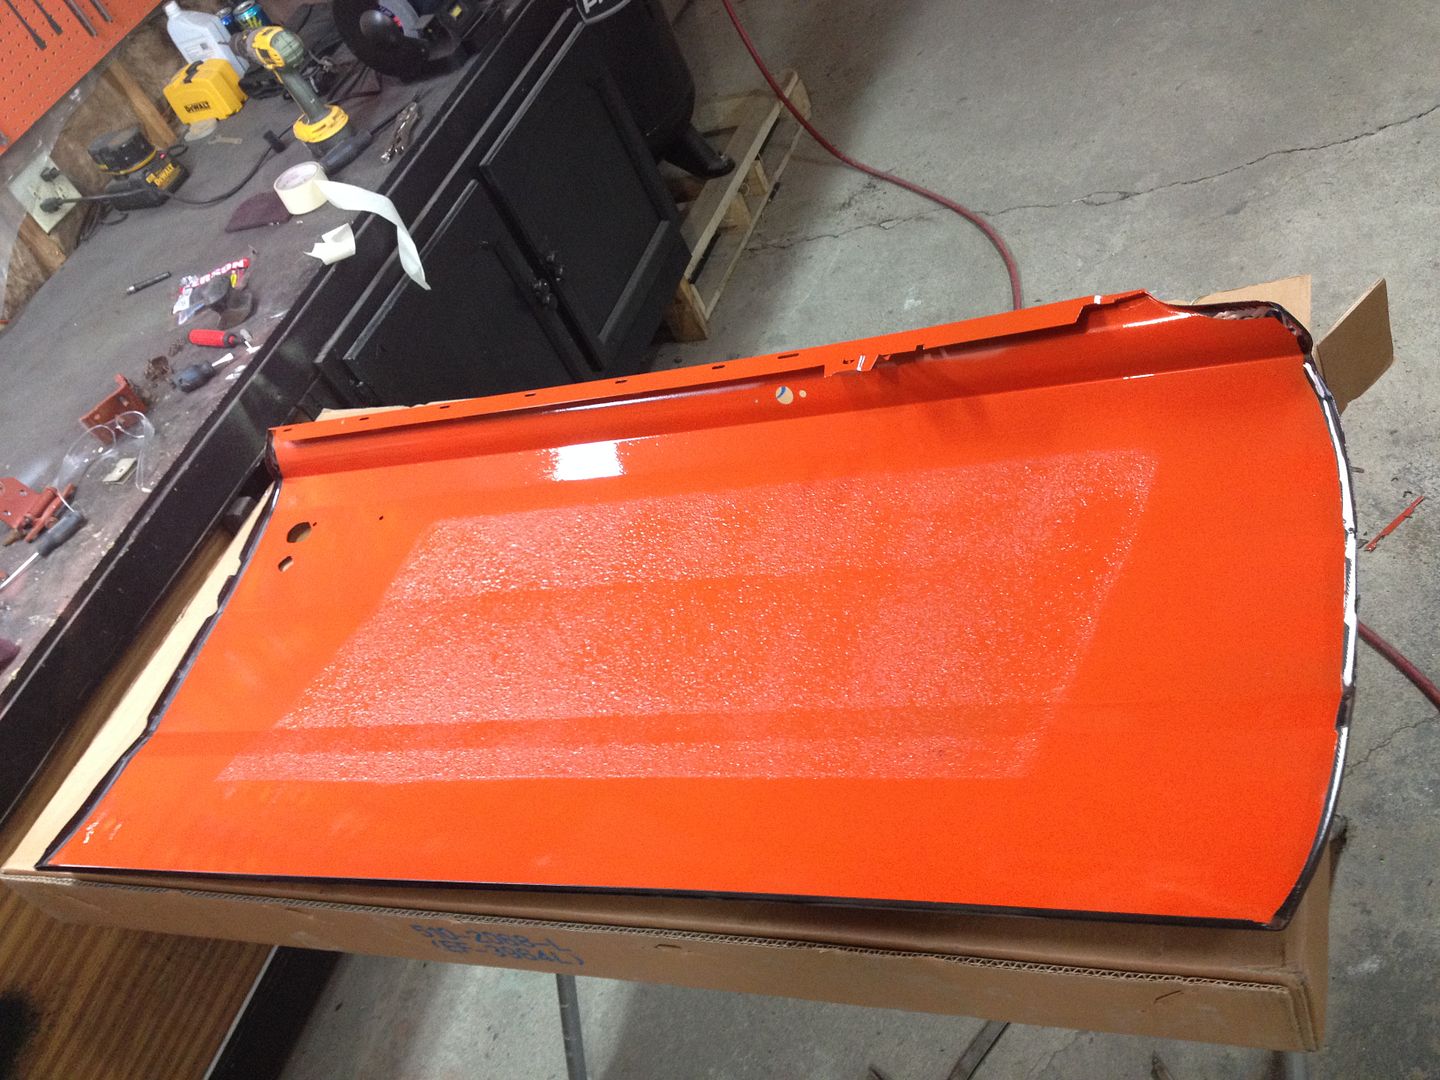
Door is done! I did the bodywork on the upper door frame because it was pretty bad! It's all epoxied, so now I'll clean the garage and let the car down and spin it around. I mixed up to much epoxy so I did inside the outer rocker as well.


muddacres
Well-Known Member
Looking Good!!!!!! I better get busy. LOL :toothy1:
Hemiorangeswinger
Dodge Material
Looking Good!!!!!! I better get busy. LOL :toothy1:
Thanks!! Haha yeah you need to start posting some updates!
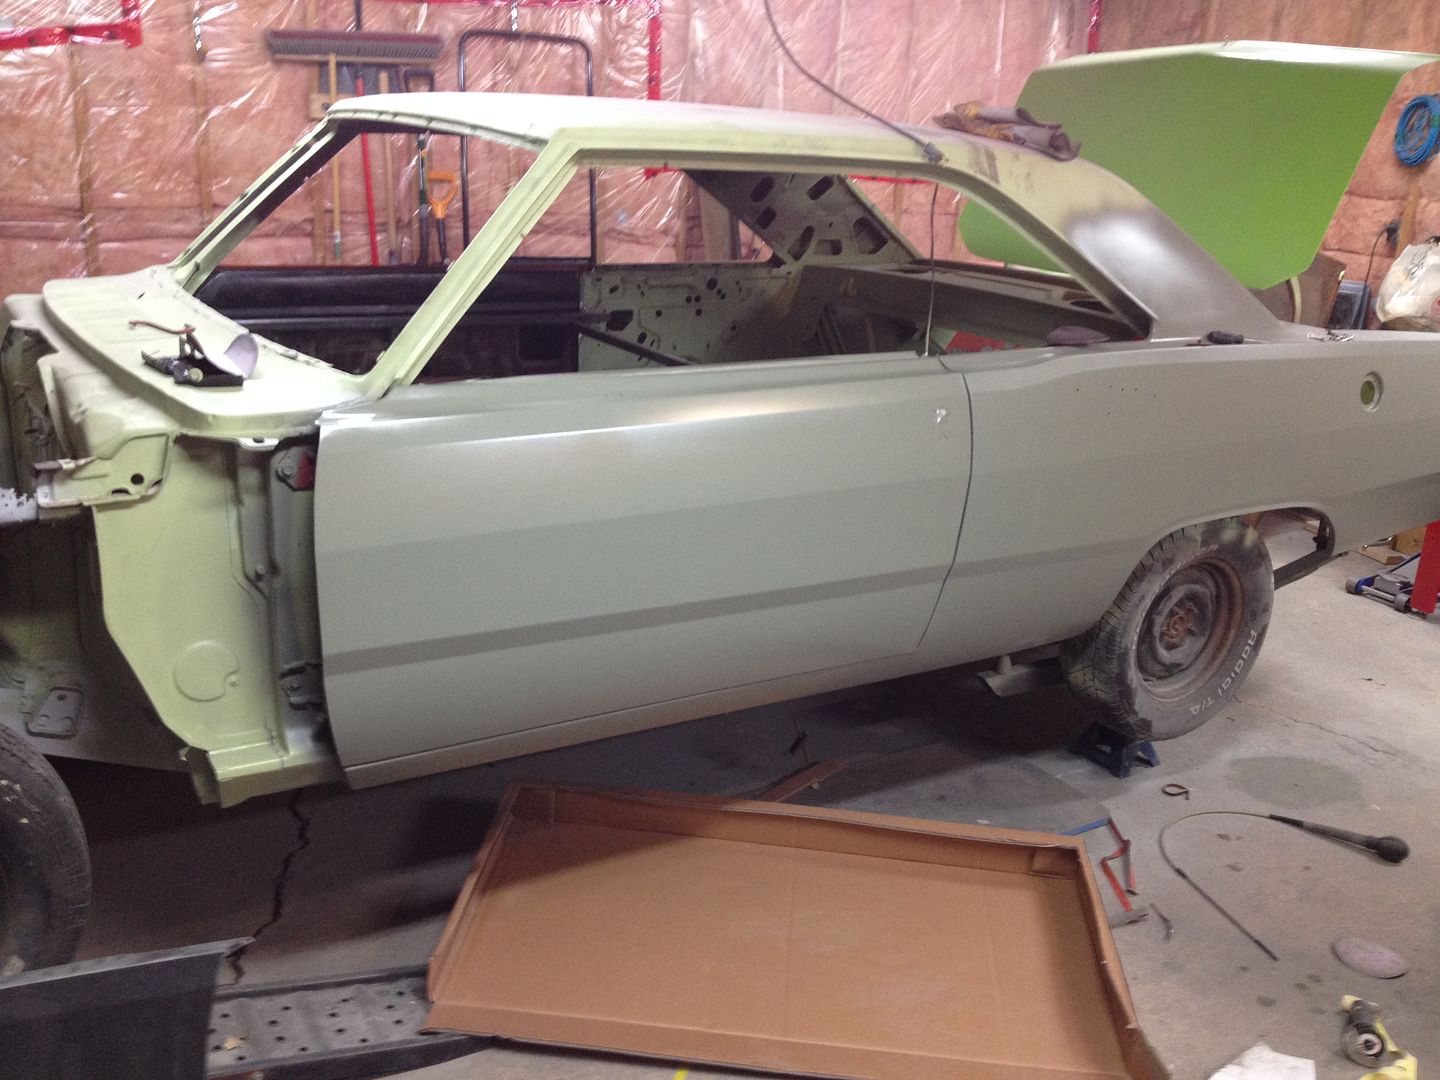
I cleaned the shop up, so hopefully this week I'll get started on the other side. Here's a few more pics to show my gaps... I got them a little better, I have to adjust the door a little more so the back corner of the door sits in more, which is no big deal... I know I'll be spending hours adjusting all the gaps on this car. I got it a lot closer then it was before... It will take very minimal filler to make all the gaps perfect when it comes time to start the bodywork, I think I'll be at that stage by the end of summer.
I'm very happy with how it's looking so far!!!


Swinger340Canuc
72 Swinger 340 Special
Great progress Randy, and your workmanship and hard work really shows, Dan
Dartnut
Don't hate me because i'm beautiful
Looks great!
bluetrane
Well-Known Member
I'm about to be doing the same thing to my 70 dart soon. Your very detailed step by step pictures have been quite the blessing for me. Thanks for posting your work
Hemiorangeswinger
Dodge Material
I cant wait till I get this far keep up the good work
Thanks! I saw your build and it looks like you're ahead of me.. It looks great so far!
Great progress Randy, and your workmanship and hard work really shows, Dan
Thanks Dan! Have you started on your Swinger?
Looks great!
Thanks!
I'm about to be doing the same thing to my 70 dart soon. Your very detailed step by step pictures have been quite the blessing for me. Thanks for posting your work
I'm glad these pics help, I hope to see your car on here too. Is it a 340 car?
I finally let it down for the first time in a few months and spun it around and jacked it back up... I took some detailed pics of what I have to deal with for rust. It's about the same as the other side was so there shouldn't be to many surprises.


dbphemi
Well-Known Member
Your Swinger is looking good. Your pics are motivating me to get back to work on mine! lol
Keep up the good work.
Keep up the good work.
bluetrane
Well-Known Member
yea it's a 340 car (LM23 HOR ). it started life as an automatic  , but it's gonna be a manual
 ")
, but it's gonna be a manual Rush4x4
Well-Known Member
I am truly impressed with the work you're doing to that car. Very nice work!
Hemiorangeswinger
Dodge Material
Your Swinger is looking good. Your pics are motivating me to get back to work on mine! lol
Keep up the good work.
Thanks! I hope to see some updates soon! I was going to work on my car this weekend, but I have some other things to do, so the car will get no attention this weekend... I'll probably start cutting the rocker off this week, after work.
yea it's a 340 car (LM23 HOR ). it started life as an automatic
Awesome! You got any pics?
I am truly impressed with the work you're doing to that car. Very nice work!
Thanks for the compliment!
Swinger340Canuc
72 Swinger 340 Special
Thanks Dan! Have you started on your Swinger?
Not yet Randy, I didn't want to start until I completely redid my garage and finally after getting screwed around for a couple months this fall on the furnace my good bud scatpacker helped and after Christmas he installed it for me. Picked up my compressor a couple of weeks ago, just need to paint my cabinets and get them up and should be ready to start but it looks more like a spring start. Its been busy as hell at the body shop this winter so not a lot of jam left at the end of the day. You would ***** slap me if you saw how much I've got to deal with compared to what you've been dealing with. The old girl is patiently sitting there wait for me to get the lead out! Dan
Not yet Randy, I didn't want to start until I completely redid my garage and finally after getting screwed around for a couple months this fall on the furnace my good bud scatpacker helped and after Christmas he installed it for me. Picked up my compressor a couple of weeks ago, just need to paint my cabinets and get them up and should be ready to start but it looks more like a spring start. Its been busy as hell at the body shop this winter so not a lot of jam left at the end of the day. You would ***** slap me if you saw how much I've got to deal with compared to what you've been dealing with. The old girl is patiently sitting there wait for me to get the lead out! Dan
Attachments
Hemiorangeswinger
Dodge Material
Thanks Dan! Have you started on your Swinger?
Not yet Randy, I didn't want to start until I completely redid my garage and finally after getting screwed around for a couple months this fall on the furnace my good bud scatpacker helped and after Christmas he installed it for me. Picked up my compressor a couple of weeks ago, just need to paint my cabinets and get them up and should be ready to start but it looks more like a spring start. Its been busy as hell at the body shop this winter so not a lot of jam left at the end of the day. You would ***** slap me if you saw how much I've got to deal with compared to what you've been dealing with. The old girl is patiently sitting there wait for me to get the lead out! Dan
The garage is looking good! I know what you mean about not having much energy at the end of the day... I think now that the weather is changing it will up the motivation levels! I've gotta spend more evenings on my car to meet my goal of paint this fall/winter. Haha, your car doesn't have much rust I take it?
I decided to do the door skin first on this side to make sure my gaps will be the same on both sides, since the new door skin on the drivers side changed my gaps compared to the original skin. Tomorrow I'll drop the shell off at the dippers and get it blasted/dipped and do the same process as the other side.

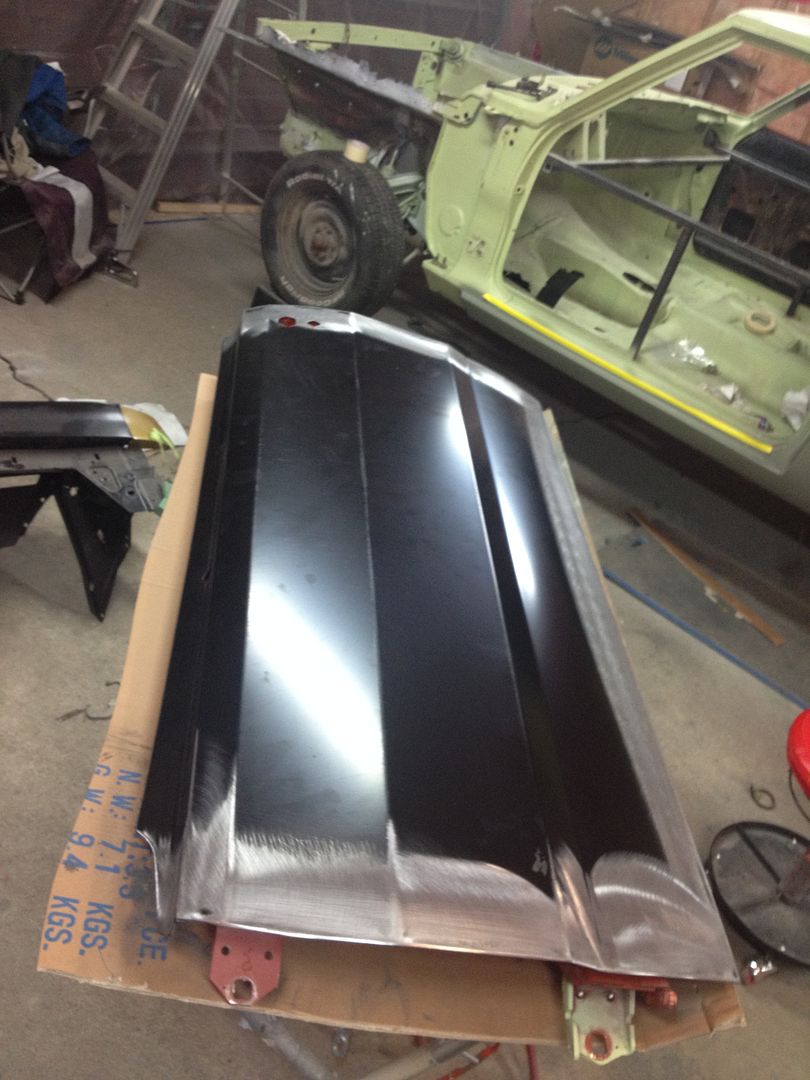
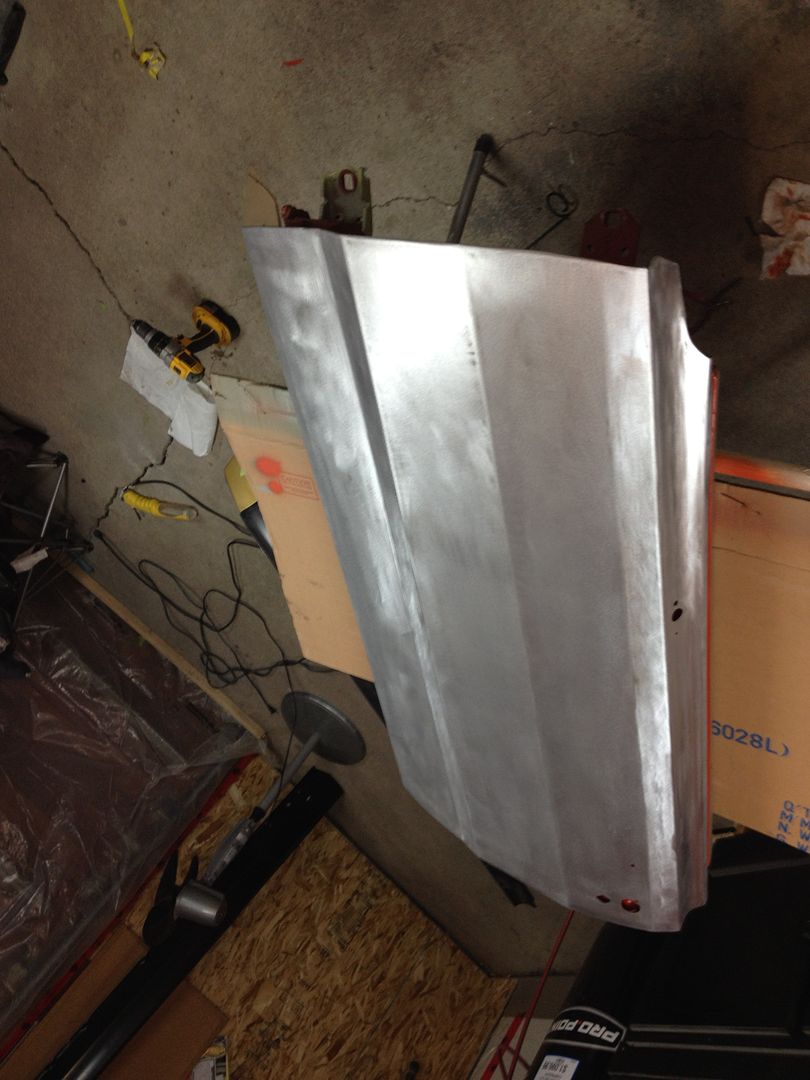
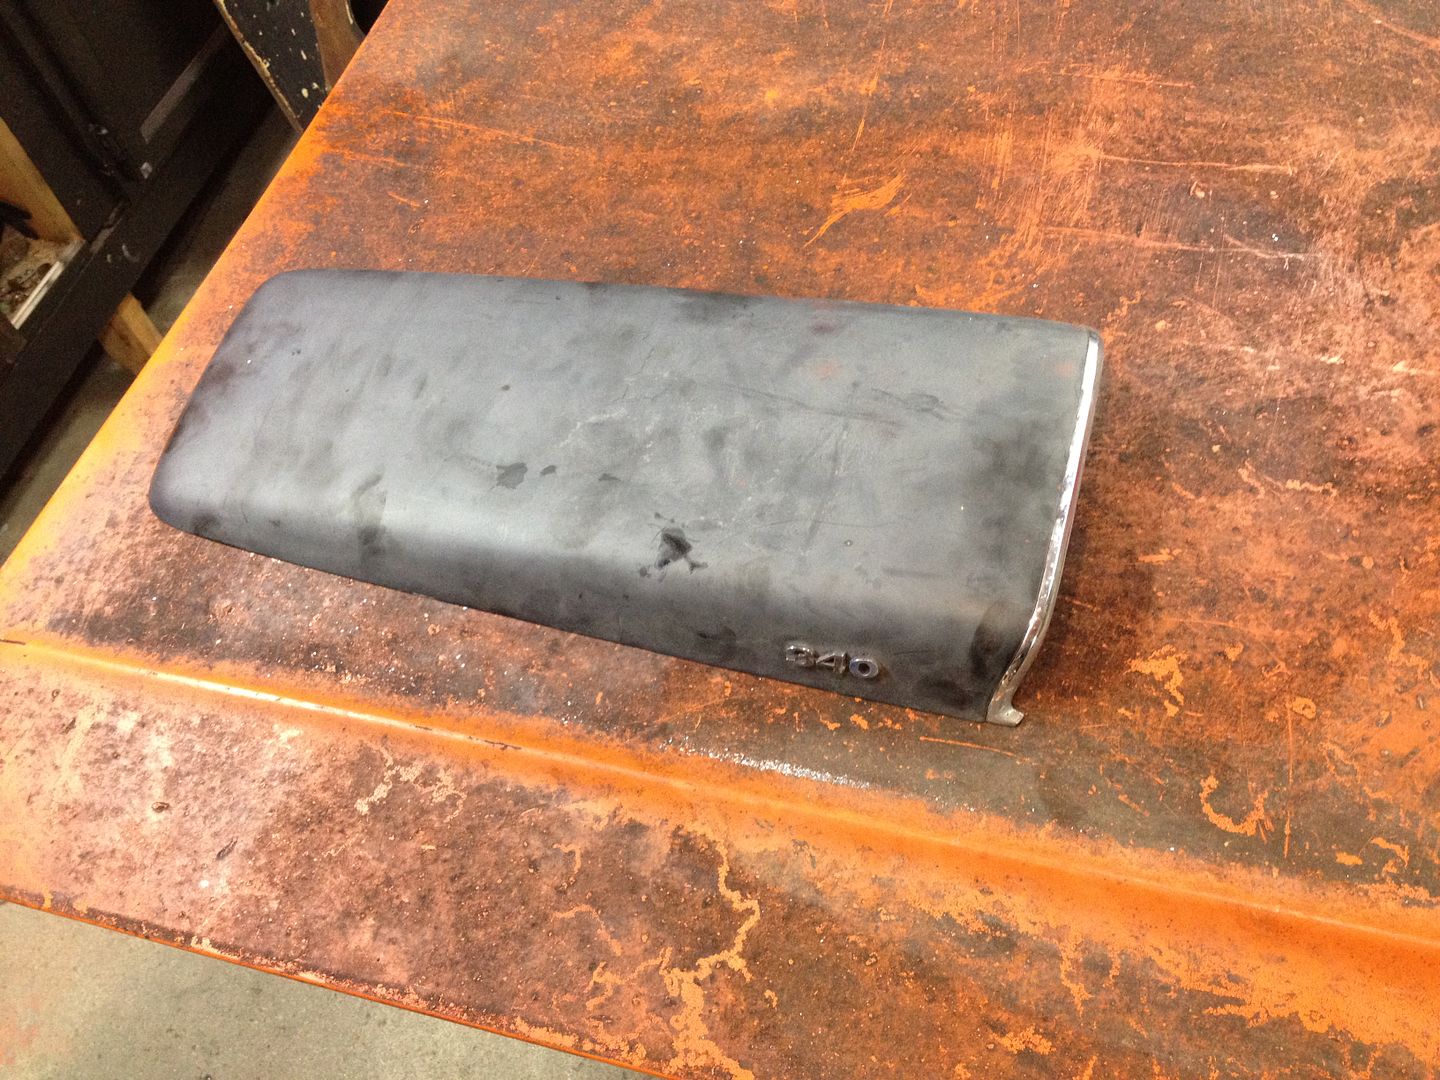
I also picked up a 1970 dart hood from Marilyn and Chris over at the Classic Car Ranch. They were a very nice couple and do some very nice resto work! I will get them to redo all my stainless when the time comes. The hood is in very nice condition and has no rust. (Two little dings at the front) I have a template to cut the holes (Thanks Greg!) and once that is done I will bring it to get dipped.
Original paint. It appears the car sat under a tree for a while!


Hemiorangeswinger
Dodge Material
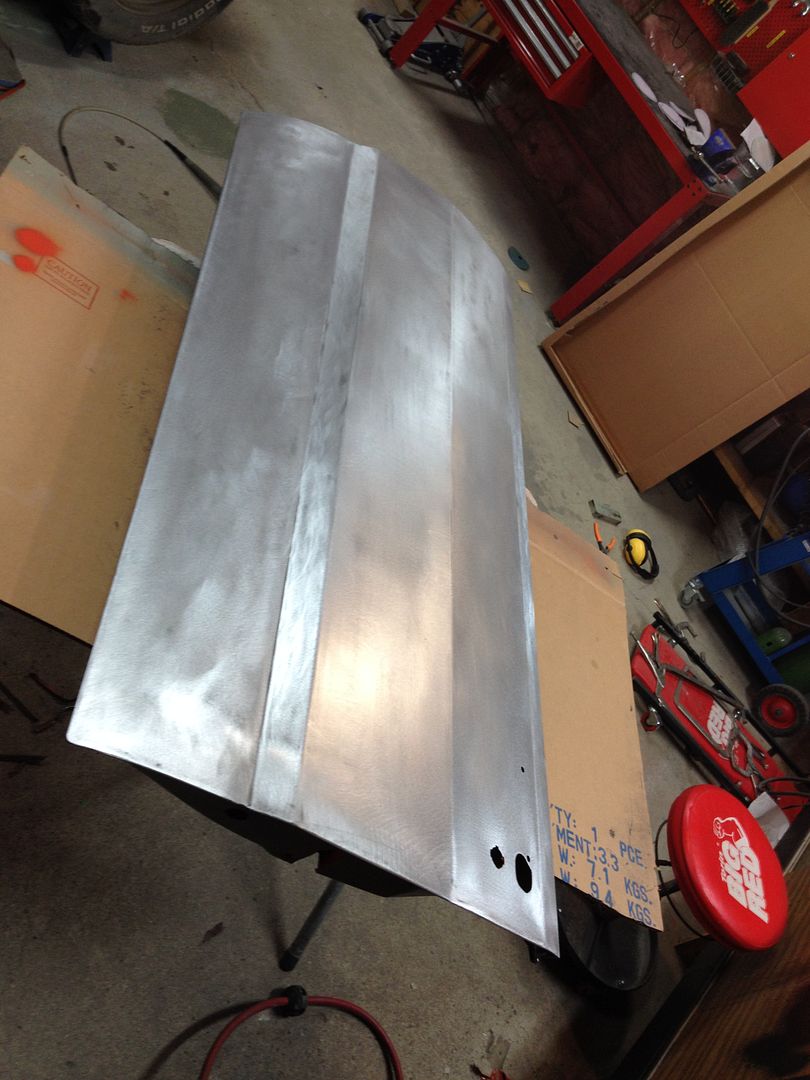
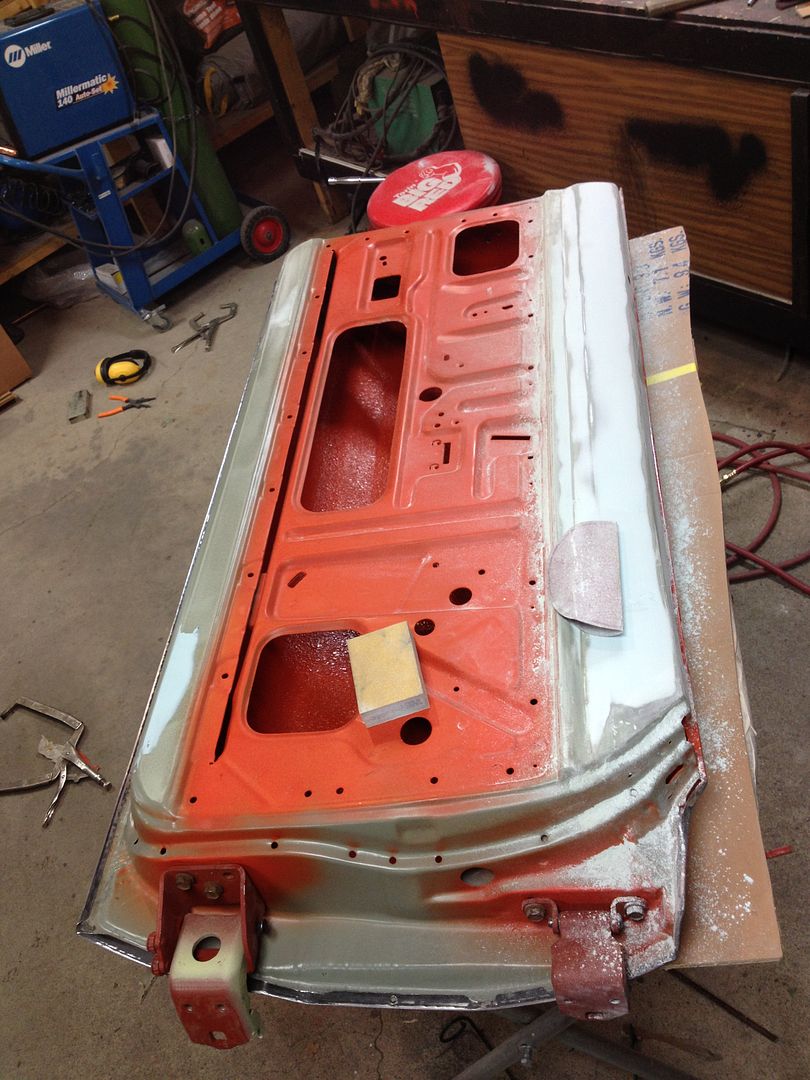
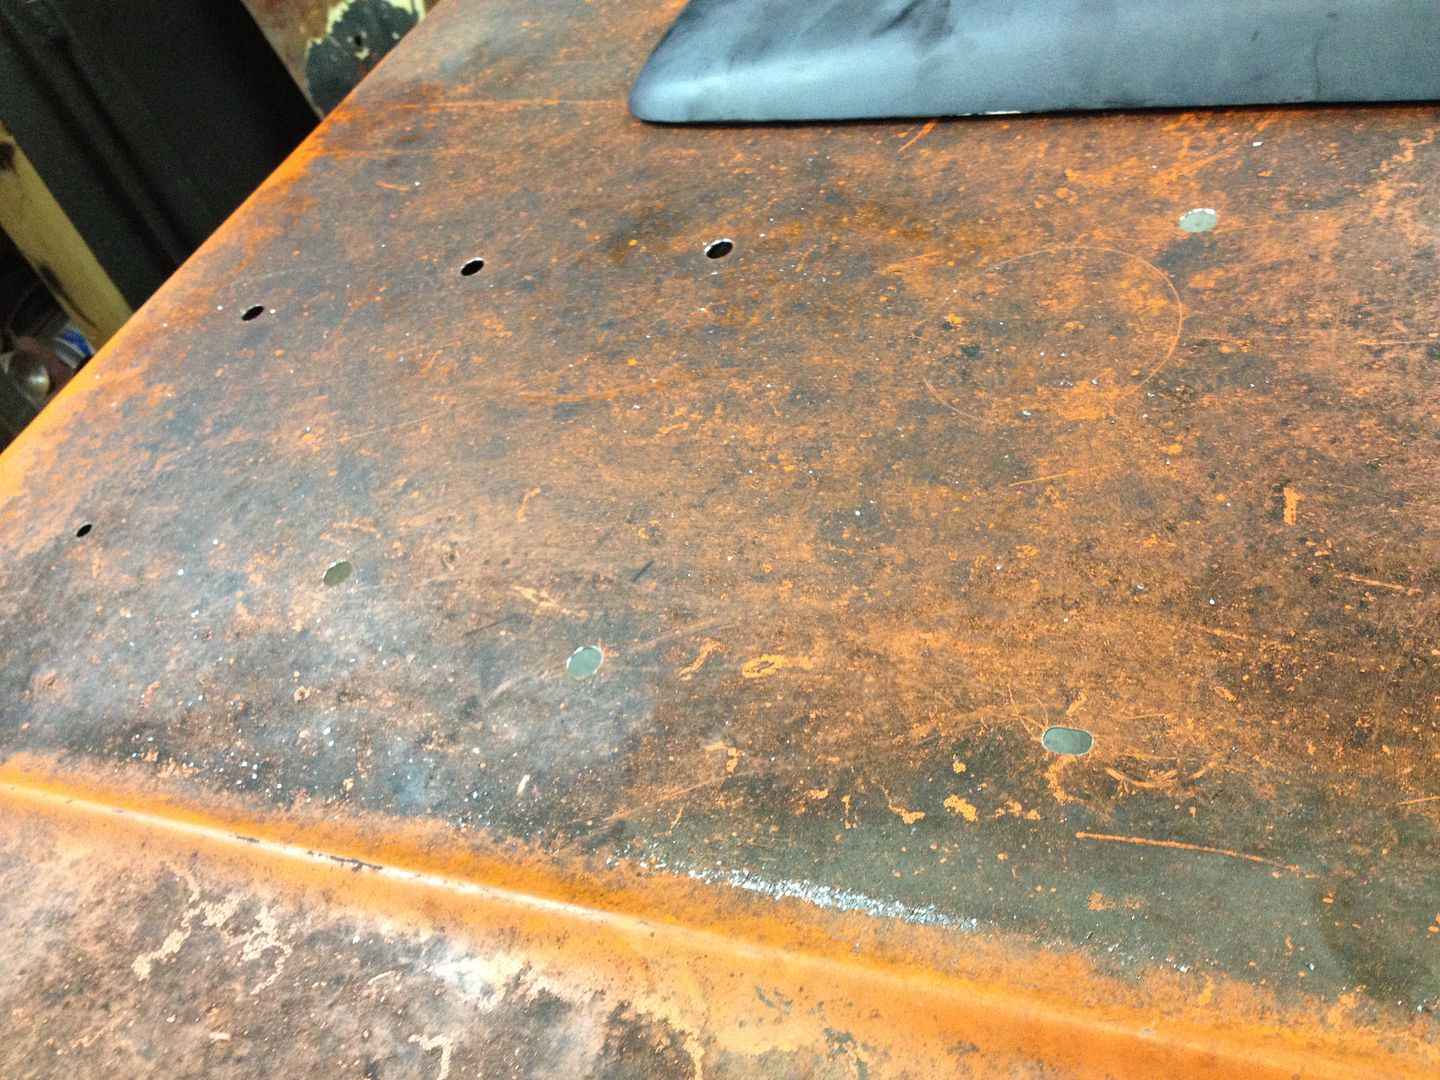
Started drilling the holes for the scoops... Even with the template it's pretty tricky! I got one side drilled. I'm gonna see if I can find a hole saw for the 4" hole and if not I'll see if laser tech here will cut them for me.

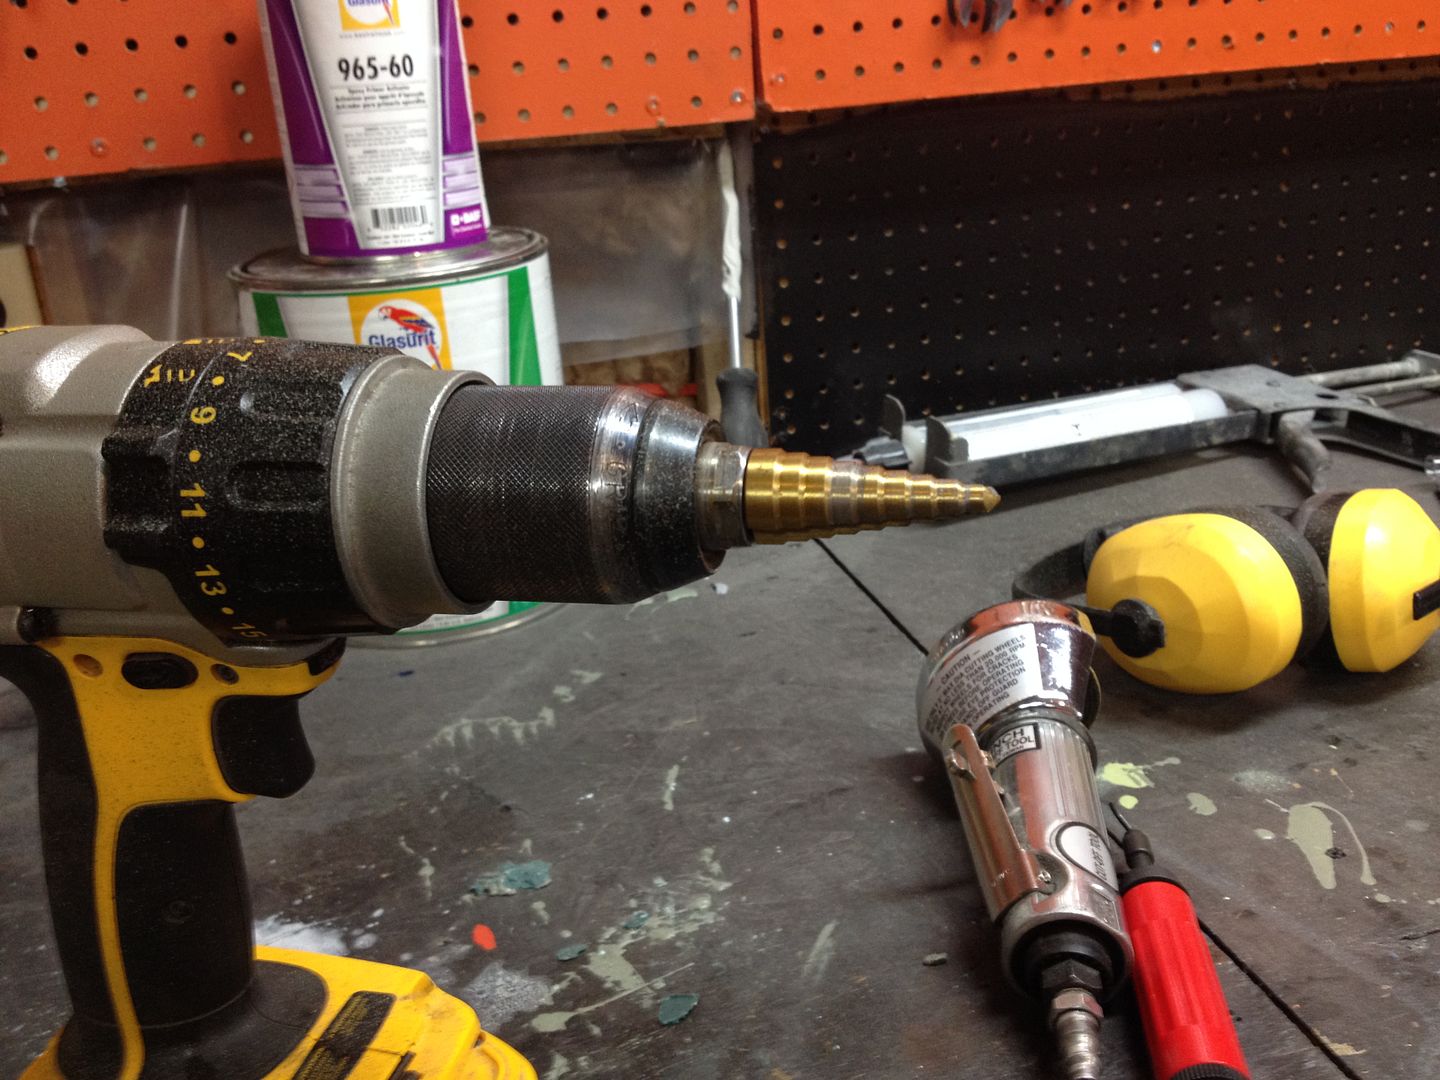
Be sure to use a step drill like this for drilling the mounting holes... This will give you a perfectly round hole unlike using a regular drill bit which gives you a triangulated hole.


Be sure to use a step drill like this for drilling the mounting holes... This will give you a perfectly round hole unlike using a regular drill bit which gives you a triangulated hole.

-
Similar threads
- Replies
- 38
- Views
- 1K
- Locked
- Replies
- 11
- Views
- 2K
- Replies
- 0
- Views
- 109


