1971 Plymouth Duster project

-
Got the frame connectors to home.


Planning to paint them with POR15 before installation.

I also found the angle finder, might be able to measure the pinion angle next weekend.
 
Change of plans...

I just bought a freshly built 340 engine with Ross Racing pistons and purple shaft (292) etc. Once I plant that tunnel ram on it, this Duster should go fast enough for me :)
 
Finally got around to work on the Duster again. Summer is over and the carage time starts :)

I have started with checking out the rear end for any clearance issues. I did not pay any
attention earlier for the springs but I seem to have 7 leaves, so no clearance issues:


Now that the car was on wheels again, I wanted to clean the engine bay and prevent it
from rusting more in cold carage. So sandblasted and then painted with black.


Next was the K-frame and steering. Dropped that out and dismantled all. Seems
that the lower control arms are shot and the other one is changed earlier as
it had had sway bar.


The spindle on the left side was interesting. The hole for the upper ball joint is totally on different position than on the right side. It is so close to the edge that it is impossible to
move the nut with a socket. Is this normal?

Right side (the hole is almost in the middle):


Left (way off the center):
 
I looked through your thread and your project is progressing nicely. I did not see where anyone answered one of your original questions and that was about a fitting in the fender. That fitting is for air shocks that some one must of had on the vehicle at one time...Bill
 
Tip for setting the pinion angle is have all the weight in the car, with 4 tires supporting the car.
 
Tip for setting the pinion angle is have all the weight in the car, with 4 tires supporting the car.

I came to that conclusion as well, especially now that I am targeting the real eighties look with the tunnel ram and raised rear end. The current angle might actually be quite close.
 
The tunnel ram manifold was painted orange by the PO and it did not fit into my plans, I am
painting the engine turqoise. At first I tried to remove the paint with chemicals.


It worked out ok to some limit, but the paint was very well attached to aluminum.


I decided to try soda blasting, the tool was not expensive and that worked like a charm :)


The next thing is to sandblast the dash, I will then have plenty of things to do with the
new wiring package during dark winter nights. And put the engine together...


The instrument cluster is in pretty rough shape, got me thinking to go to
custom cluster totally.


And as the new wiring kit includes the switches, it might be even easier.
 
The dash and other smaller parts are now sandblasted.


The dash had been green originally and painted black later on. The worst part is this speaker net:


Someone has done some hacking for the radio hole, but that will not be an issue
since I am putting some new DIN sized stereos on it.


I was also preparing the engine for paint and took the water pump out,
not sure if I should go with this or not. At least sodablast it outside.


The engine builder had put some tapes to cover the holes in the
engine for shipment, but I need to cover them better before painting.
Not sure though how well the exhaust side should be protected before
the paint.

 
The project proceeded again during the Christmas break.

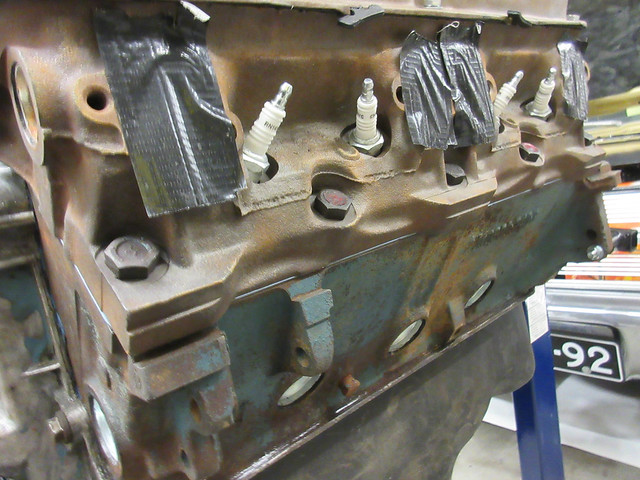
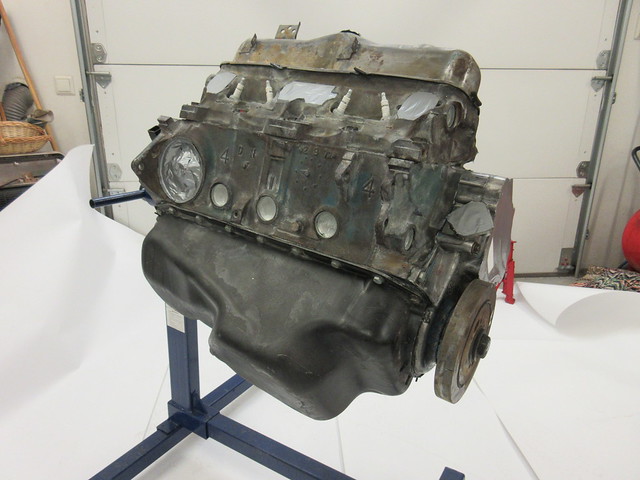
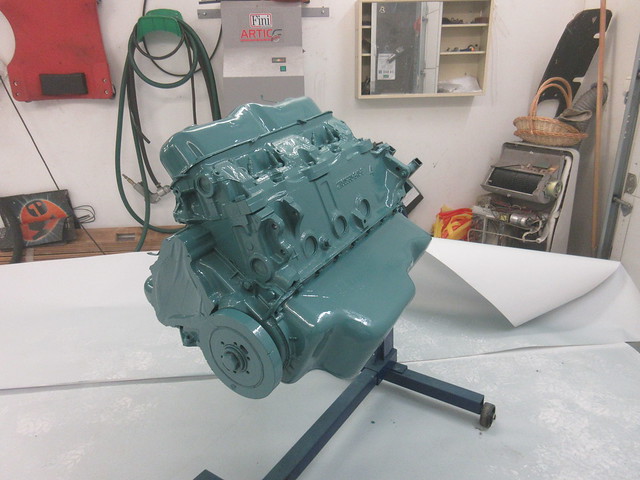
I got the engine prepared (used POR15 Metal Ready) and painted.


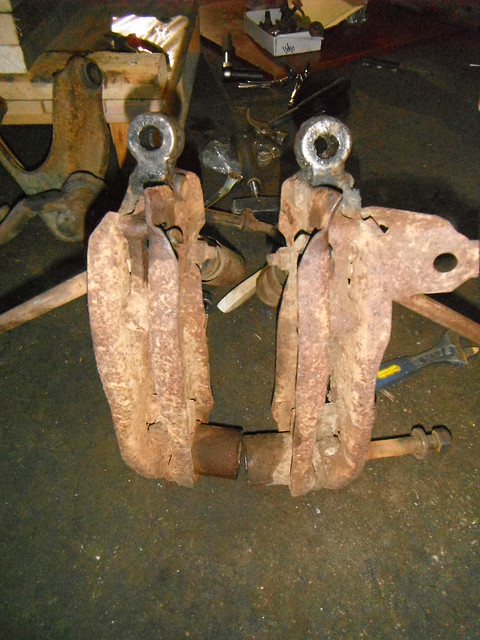
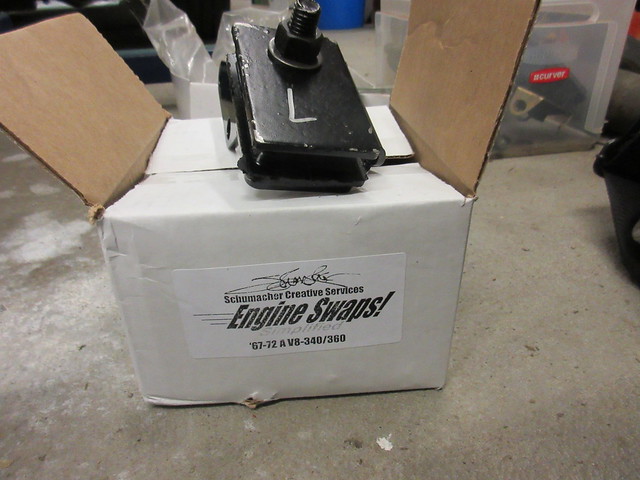
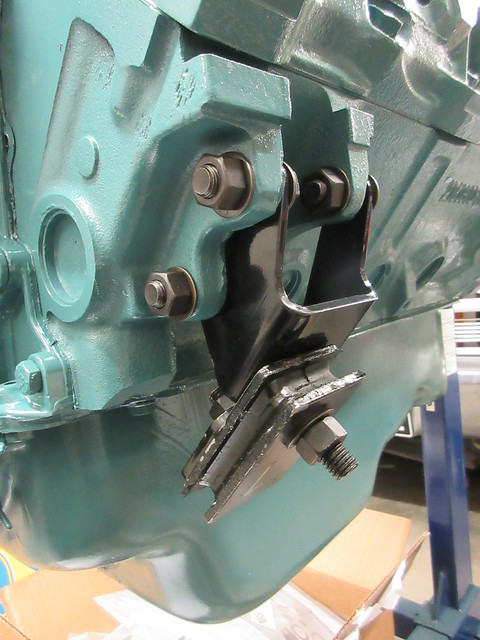
Got my Schumacher engine mounts, seems to be perfect :)


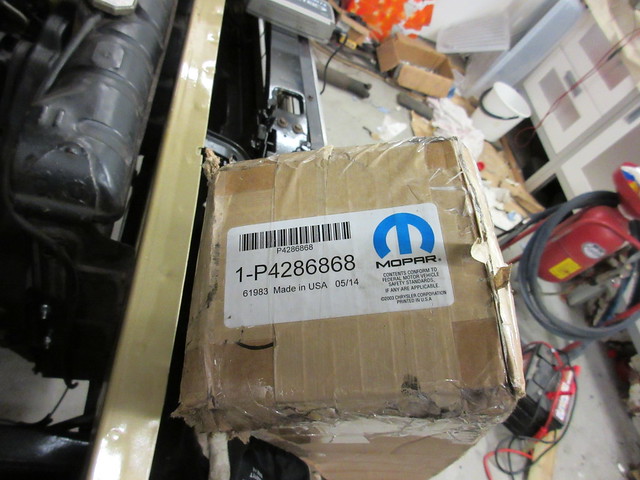
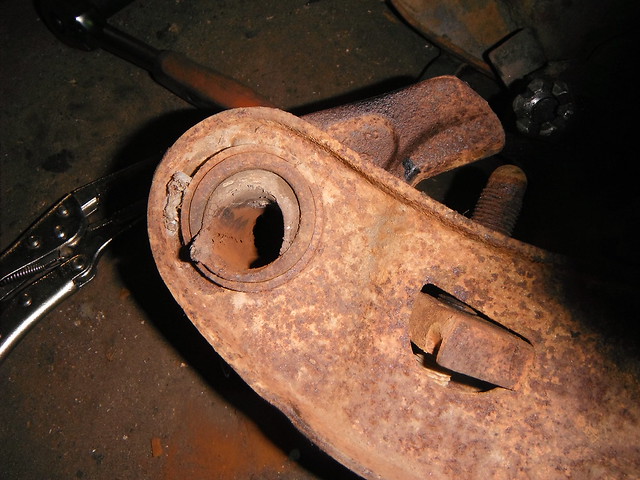
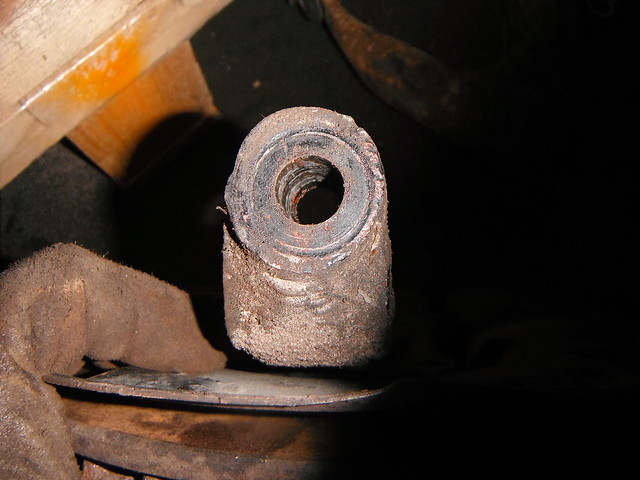
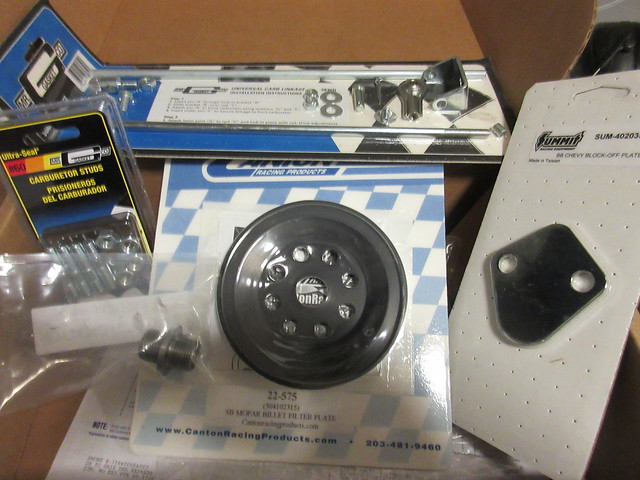
The engine was missing the oil filter base plate and fitting, seemed to be pretty rare
parts. Luckily available from Summit and not with too bad price. Also ordered
the fuel pump block off plate, carb studs, carb throttle linkage.


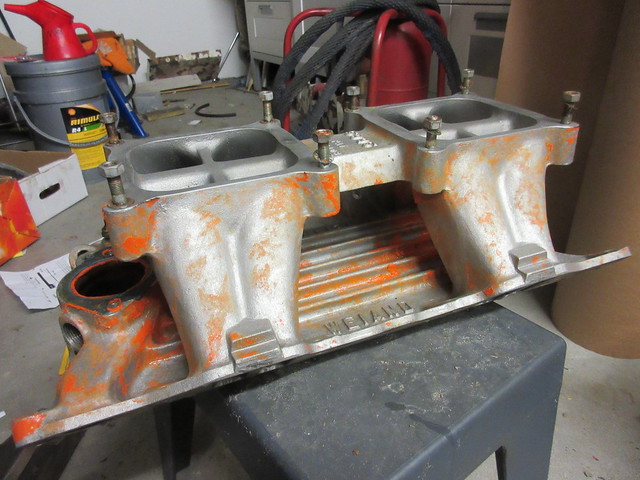
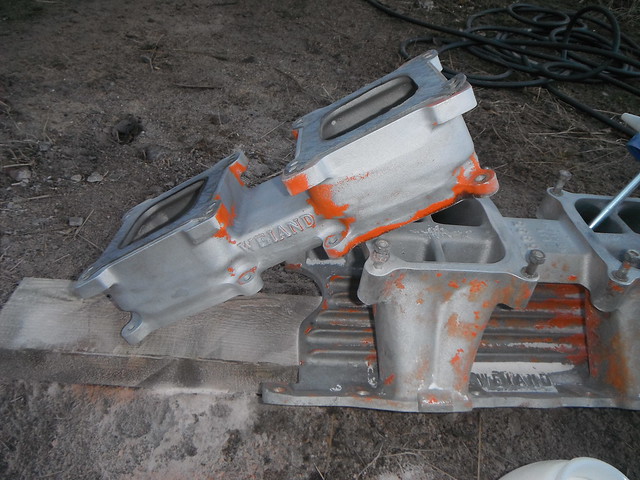
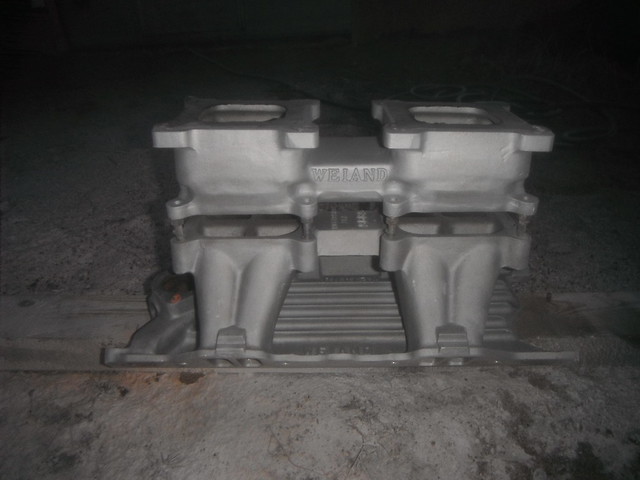
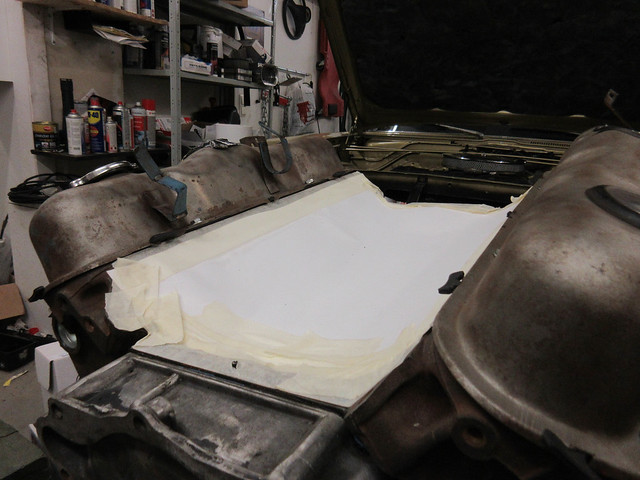
Then the bigger effort to install the intake manifold. I read several threads
in this forum and I think I got it now. And of course I had to test how it looks in full height :D


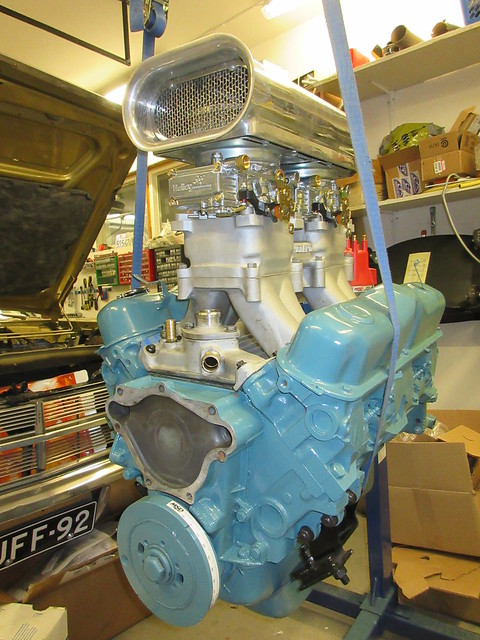
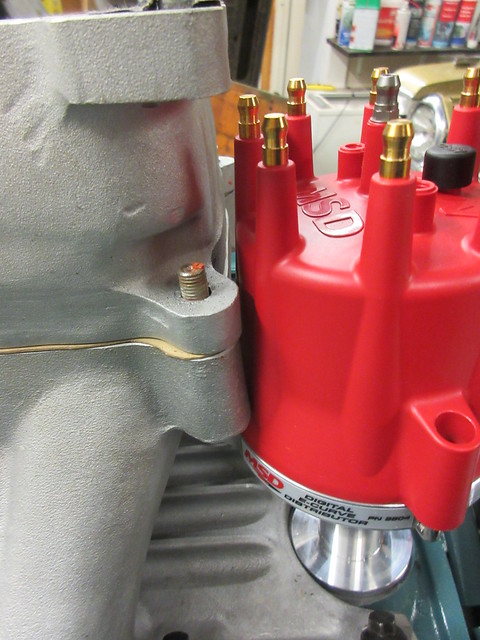
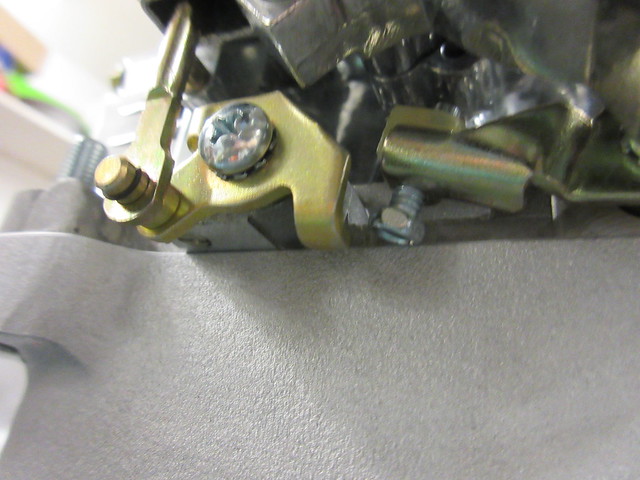
The distributor seems to be a tight fit. The carbs would propably be better off with
side way installation, the throttle does not open fully on the carb with the choke as one lever is rubbing the intake.


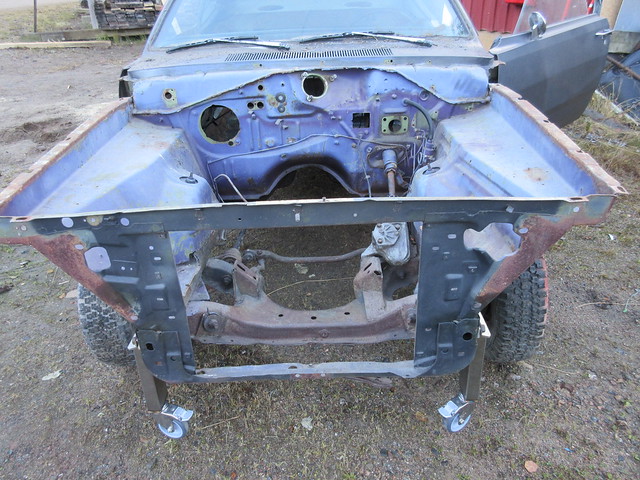
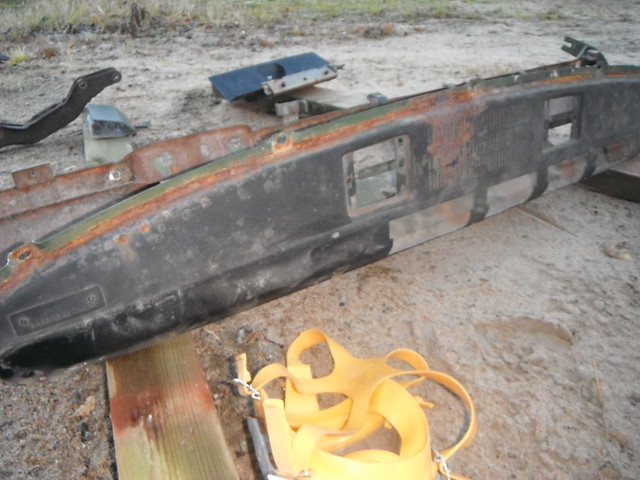
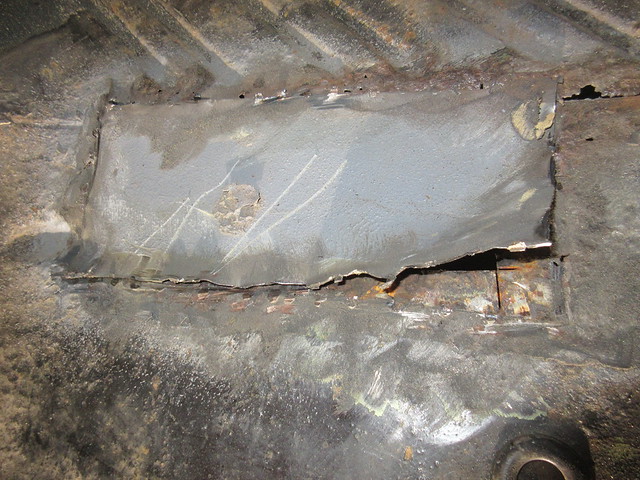
I had also some time to start planning the sheet metal activities in the trunk.
This is how it looked inside the trunk:


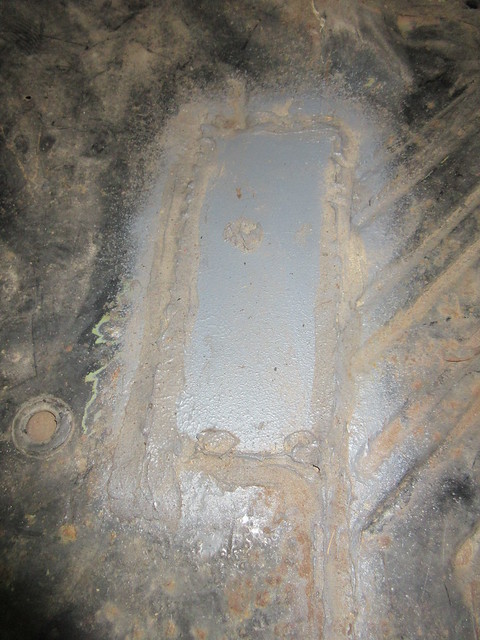
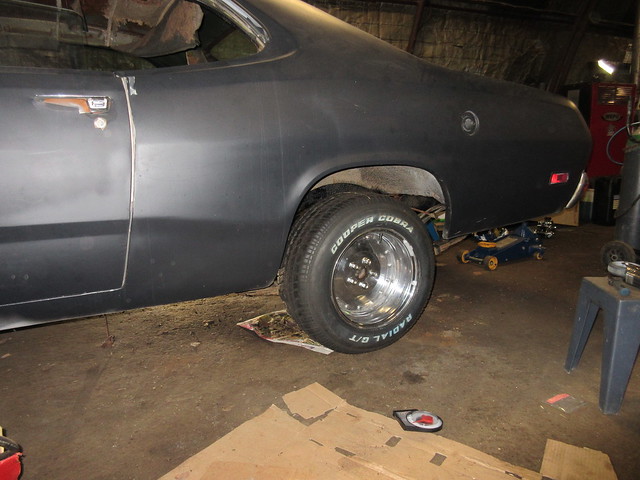
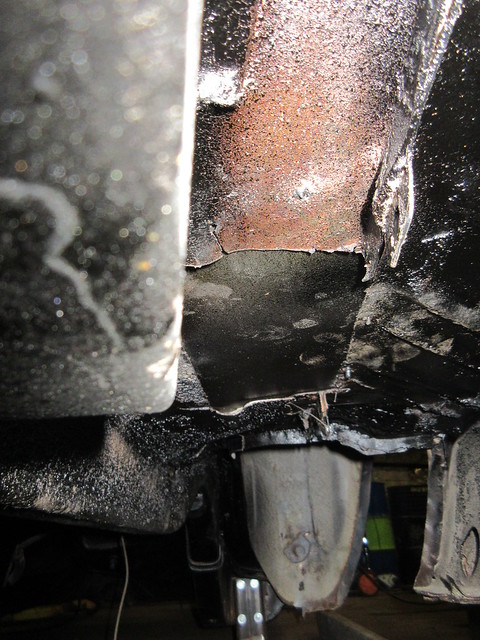
And this is how it looked under the car:


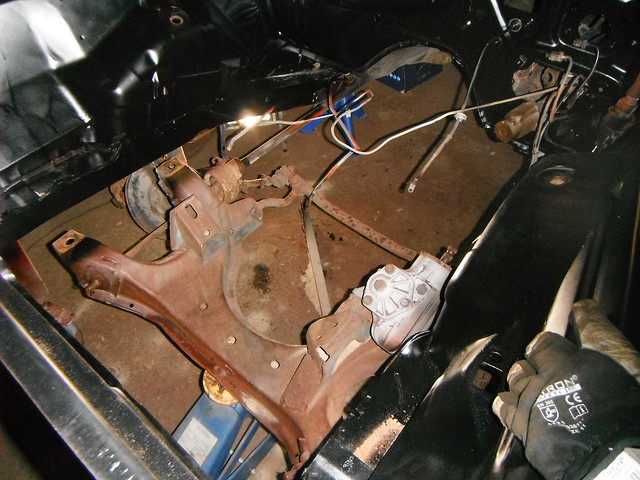
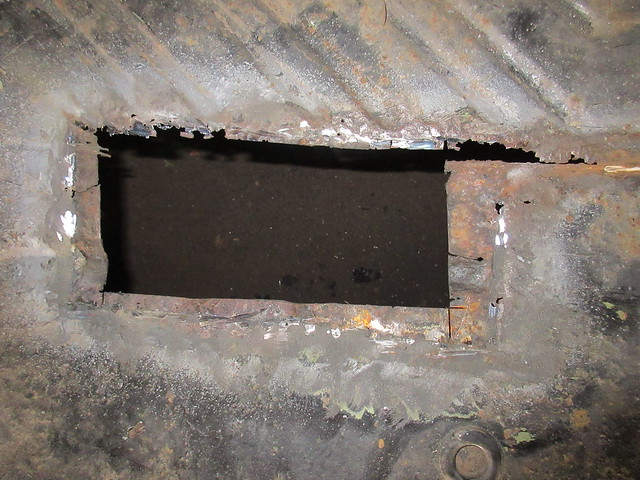
I grinded the patch weldings and the end result is like this. A bit better to continue from this :D


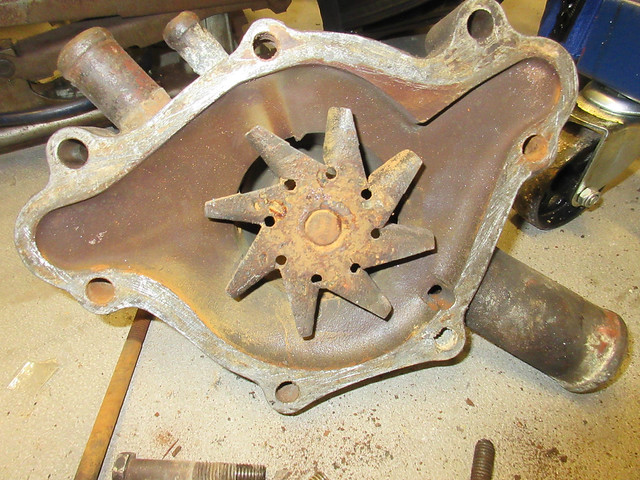
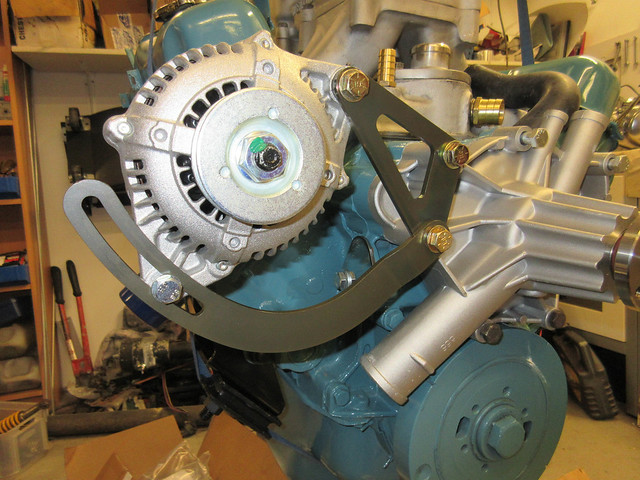
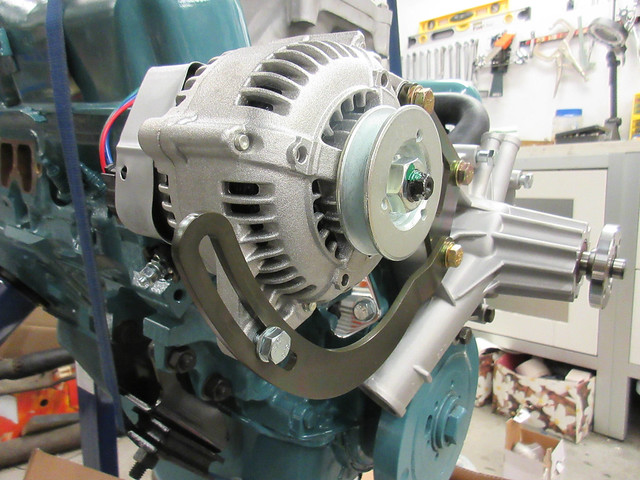
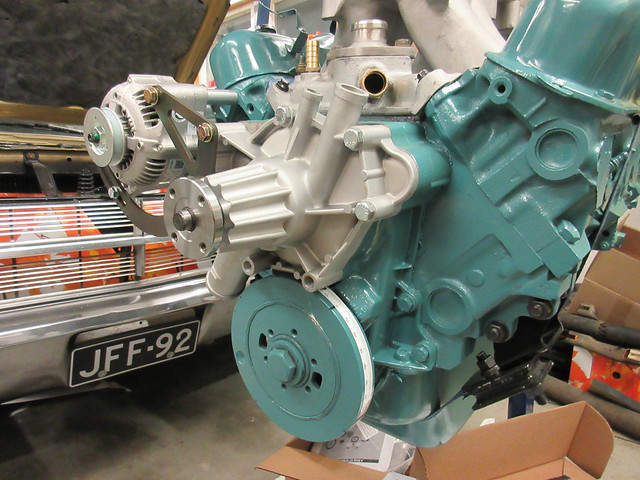
I also got the new water pump, but I am currently waiting for the alternator bracket kit from AREngineering (http://arengineering.com/products/denso-60-amp-kit-for-small-blocks/).

I decided to use the Denso 60 Amp type alternator as the American Autowire kit prefers the voltage reg internally.
I managed to find such an alternator from Finland too so I should be ready as soon as the package arrives. Should be next week.
 
Almost finished with the engine, the only things missing at the moment are the waterpump and crankshaft pulleys. I got the AREngineering brackets for the Denso style alternator and it looks great. I still need to glue the water pump on its place, but I needed a couple of fresh bolts to do that.


I got also the front and back benches from a Finnish -73 Duster, this one to be exact:

[ame="https://www.youtube.com/watch?v=qGFuIGr2H-g"]Plymouth Duster 360 ss wheelie - YouTube[/ame]

That Duster has been a drag racing car for all of its life. Earlier it was mandatory to keep the original seats in the Prostock class and these benches have been in use for that time. There are cuts made in the drivers seat for the belts. Otherwise there has not been anyone sitting on these earlier. They are even heated seats.


Seems that the -73 seats fit the -71 perfectly :)
 
really nice build:) I've also got a 71. I want to replace all my front bushes, can anyone recommend a vendor?
 

Attachments

  • P8300006 (Medium).jpg
    50.5 KB · Views: 231
Gonna be awesome. Very cool build you got going!

Alex

really nice build:) I've also got a 71. I want to replace all my front bushes, can anyone recommend a vendor?

Thanks guys. I need to get high stall converter and have been reading about it through several forums and facebook.
I was first thinking of TCI converter, but ended up reading a lot of bad feedback about it. I decided ask an offer from SMR transmissions.
Pat over there custom makes the converters and the price is not bad at all compared to those TCI converters.

I have to also rebuild the transmission. Seems that I got a 1974 transmission with build date May 3, 1974:


I got the transmission cheap, legendary "it worked when taken out". Someone did not need the speedometer :-k


I took a punch of A-body parts from one of our club members, he wanted them gone and there were several items
I needed and several items I have already sold. I am installing a B&M shifter bought through the FABO and the tranny was
missing the lever. By luck I had exact lever from that parts pile :burnout:

 
Slowly but steadily progressing, let's see if this will run next summer.

I have all front suspension parts and the rear end at the powder coating, hoping to get them this or the following week back.

Now been working on these tiny things...

31396547406_21189fcd4f_z.jpg


30611234694_2d305aafaf_z.jpg


Got the rebuild kit from DMT again, used the similar with my Fury earlier. Just started to restore this, here are some "before" photos.

31063457890_1c91cbdf74.jpg


31432969945_fc85ebc274_z.jpg


31317827271_1b55bba71f_z.jpg


Now I've got quite many things I can progress with, I'll be updating more frequently :)
 
Pressure testing the heater core... had to order a new one...

 
Heater box proceeding, waiting for the heater core to arrive next week so I can finish it up.

31428043462_b8ab18857b_z.jpg


31428048592_71998792f9_z.jpg


31428055022_16e8280342_z.jpg


In the mean time I changed the axle shaft bearings to modern versions.

31536792416_bb19cddf34_z.jpg


31536799066_f033398bdb_z.jpg


31536806706_1f0fc7b50d_z.jpg


Finally received the LH floor panel, the RH has disappeared somewhere on the way. Should start planning how to cut the hole for it...

30733747104_511ae4568b_z.jpg
 
Wow, the parts came from powdercoating, something just unbelievable. The control arms are like new, holy **** :D And look at the K frame :D

31661473516_42fde25932_z.jpg


30888376493_6ce82d1427_z.jpg


31551999482_bd14174456_z.jpg


I started to work on the control arm bushings, first the upper. I use K7103 offset bushings.

31552005972_95c140b1cc_z.jpg


31552009622_c9d74a0f74_z.jpg


I also got the new heater core finally, but the other pipe is slightly in wrong position and I cannot get it fit properly. I need to get it a bit closer to the other pipe, but will probably do it in professional shop.

30856779844_ef70c6ff85_z.jpg

31583255911_2452c6cb85_z.jpg
 
humm.. found this old thread searching for something else... I wonder how it's going......

Thanks for asking :) The project is proceeding, slowly but steadily...

The driver side floor pan is now fixed as well as the small extra holes.
The front floor is painted with POR15.
38186306335_c7c162cd56_z.jpg

39068038461_bd90b310a6_z.jpg

38186305935_0d2947583a_z.jpg


I have put the car back on its wheels, so the frontend suspension and steering is all back together.
I decided to go for Borgeson steering box and so far so good. I changed the steering column bearing to more robust solution too.
25201393678_de00777776_z.jpg

24206995517_bf6f06d0fe_z.jpg

38357681324_0676c30ac8_z.jpg

39037162082_e03d73d2cb_z.jpg


The steering column is from floor shifter a-body and I changed also the ignition switch while at it. I refurbished the gauge cluster with new gauges and got the carbon fiber look to it. For the speedo I ordered the white label to it.

39068038311_ca2e7c77ea_z.jpg


Lately I've been working with this passenger side door, which has been beat up pretty good...
39037164332_56ccecfd51_z.jpg


After hammering it for one day, I got to this point. Pretty smooth now, nothing that bondo cannot hide. Still some dents, but after another day of hammering it should be ready :)
24207002067_196d98c8f8_z.jpg


Some testing of the hood and fan. Still a lot of work, but perhaps runs next summer...

25201390268_c27e7c3e4e_z.jpg


38357684414_d7cdcd0e4f_z.jpg


The plan is to get the brakes done next and after that I can plant the engine on its place and start working with the exhaust. I still haven't done anything for the transmission. I just yesterday got my Black Friday order from the mail, the side exhaust pipes. I haven't opened the box yet, but I'll post an update of those soon.
 
Some nice work done!! Glad to see you're still on it - good stuff too.. oh and wow - old school Cragar SST wheels - too cool :thumbsup:
 
Nice work on the floor! Keep it up!

Are you planning on running that fan shroud on front of the radiator like that? If so, it'll definitely block air flow from a good portion of the radiator.
 
Some nice work done!! Glad to see you're still on it - good stuff too.. oh and wow - old school Cragar SST wheels - too cool :thumbsup:

Thanks, love the wheels too. Happened to find a set of very nice 14” small bolt pattern Cragars only for 300 euros

Nice work on the floor! Keep it up!

Are you planning on running that fan shroud on front of the radiator like that? If so, it'll definitely block air flow from a good portion of the radiator.

Thanks. I saw somewhere an example and thought it work as a shroud. But now that you mentioned it, I took a second look and it was open from both sides, attached only from top and bottom. And now thinking of it as it is in the front, it doesn’t improve flow as shroud does on the other side. I’ll have to cut it then a bit :)
 
-
Back
Top