Thank you. I hope it is. What a job, though. Whew!
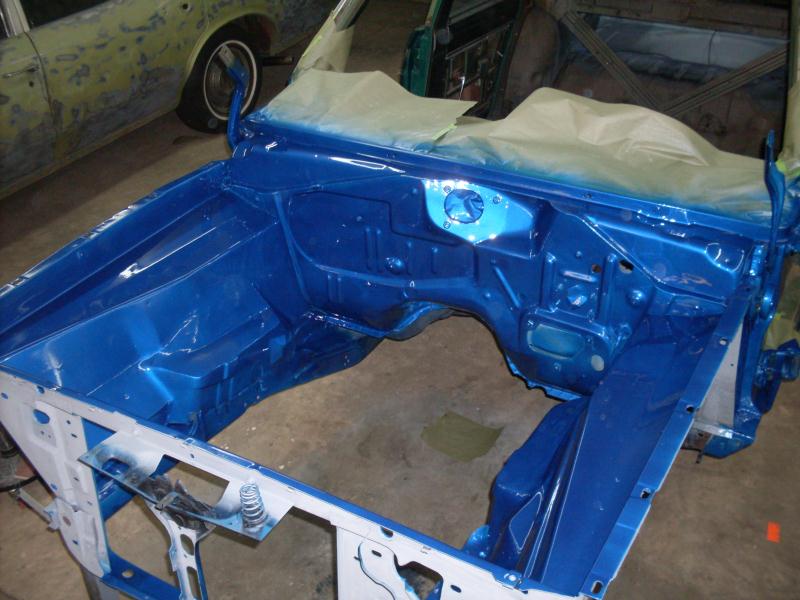
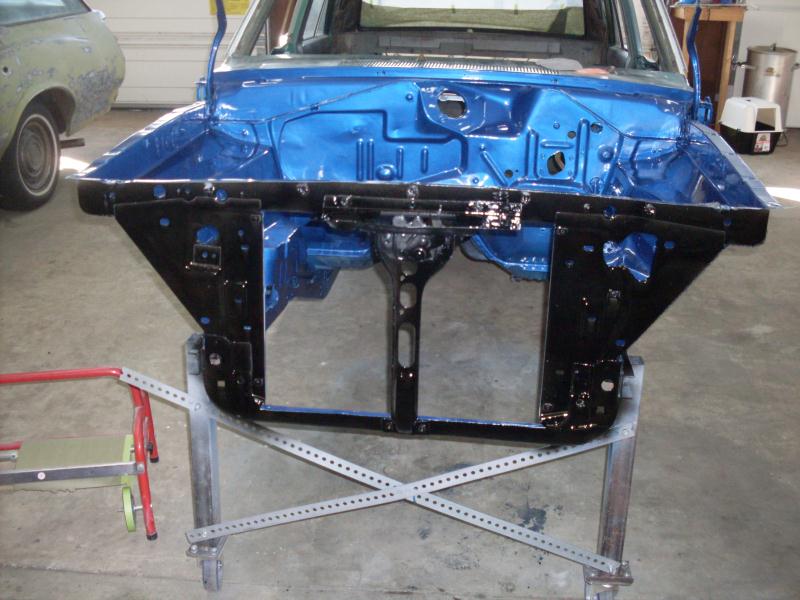
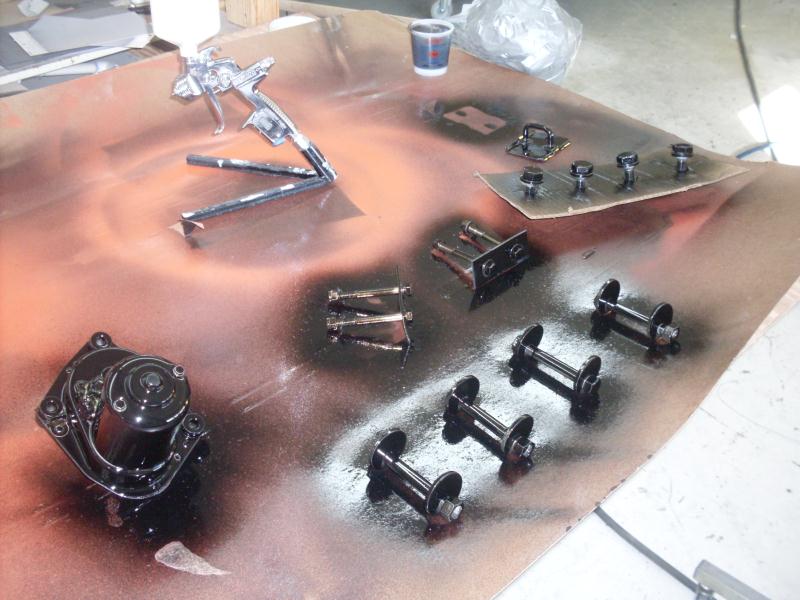
I have several projects going on at once. While I am waiting on parts, or waiting on paint to dry. I move to a different project.
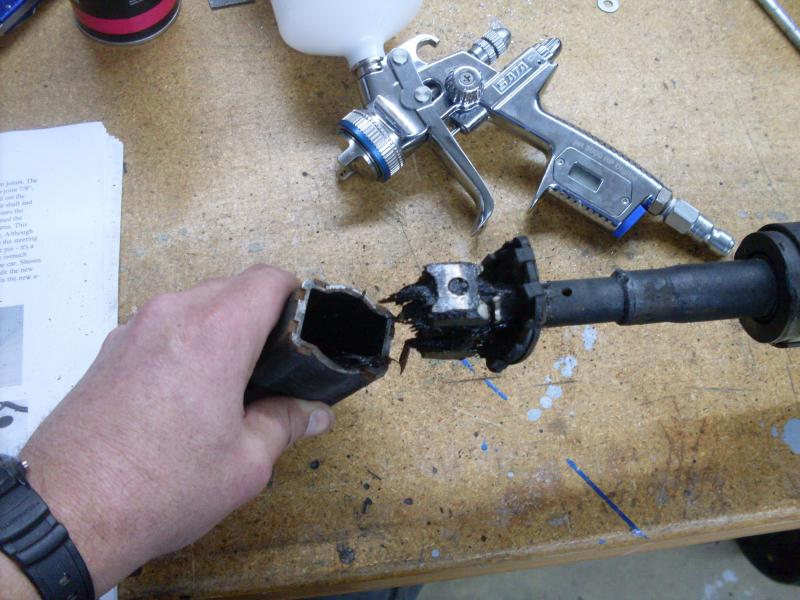
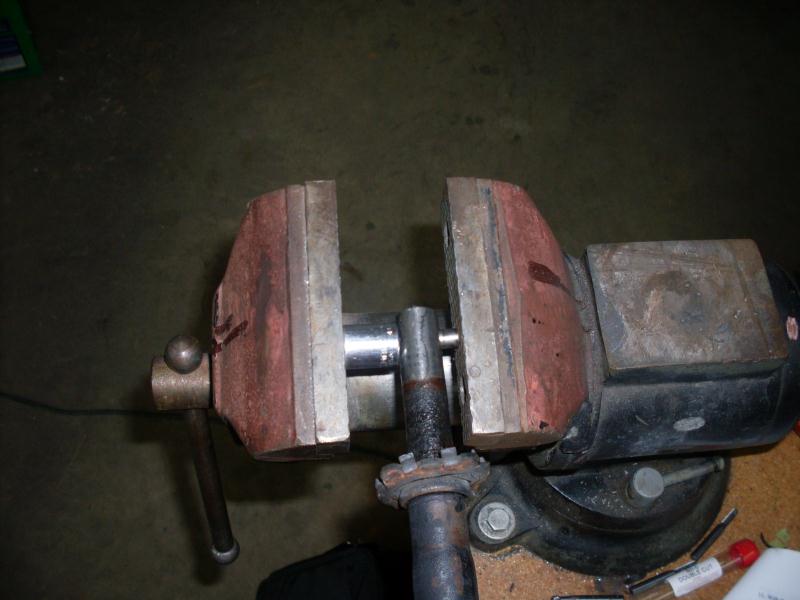
Anyway, I started working on the steering and the brake lines. First, I removed the slip joint.
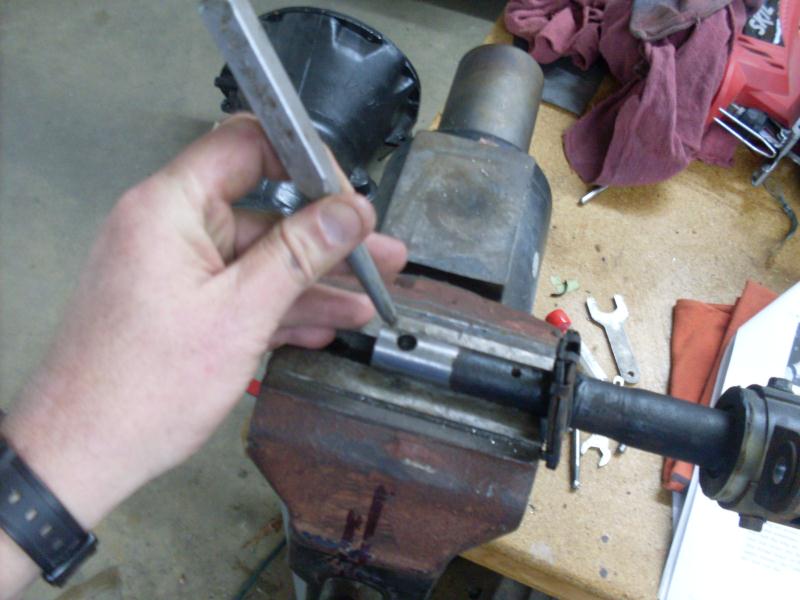
The pin is really pressed in. There is no way you could remove the pin without taking out the steering column. I put a socket on one side and pressed it out most of the way in a vise.
I was able to get it the rest of the way with a punch.
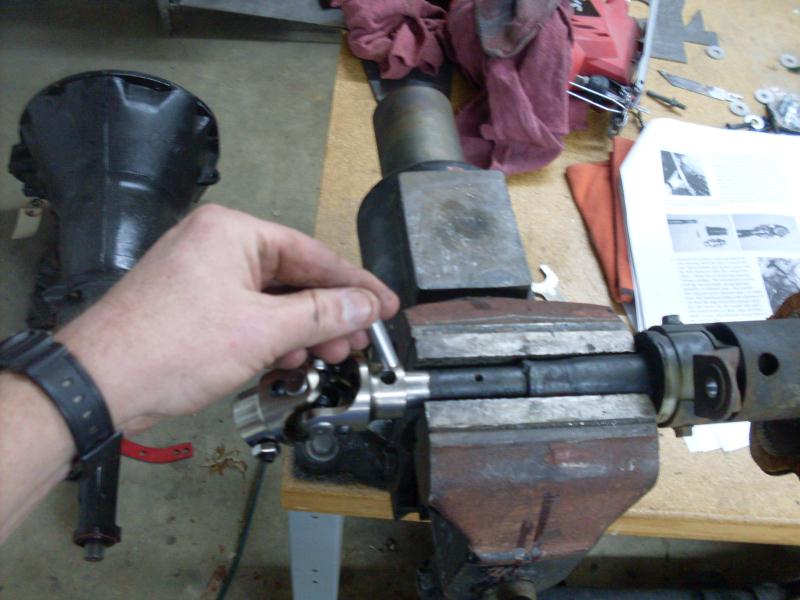
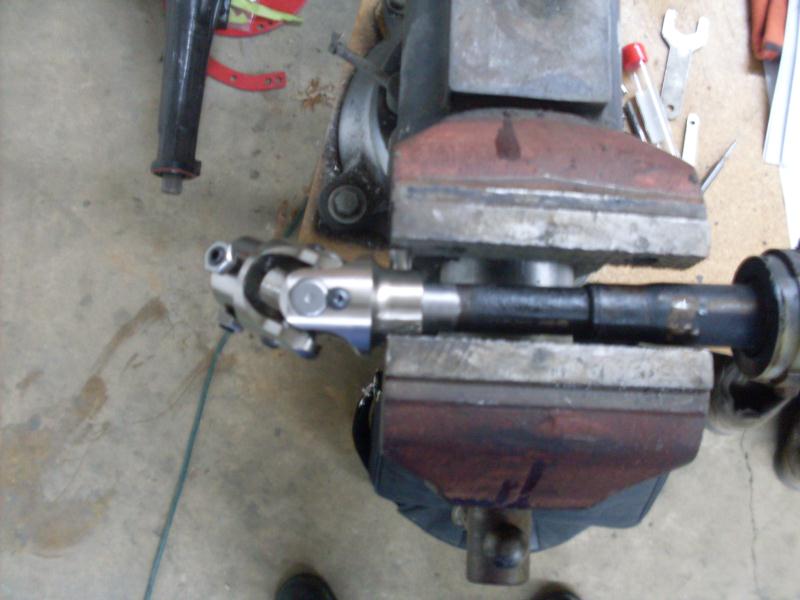
Next, I installed the Flaming River U-Joint by reinserting the pin.
I pressed it in most of the way in the vise and used a punch to center it.
I discovered that the turn signal return was broken and wouldn't return to the "off" position. So, I ordered a new turn signal switch. I also started painting the steering column. I am going to go with a black interior. Black matches everything.
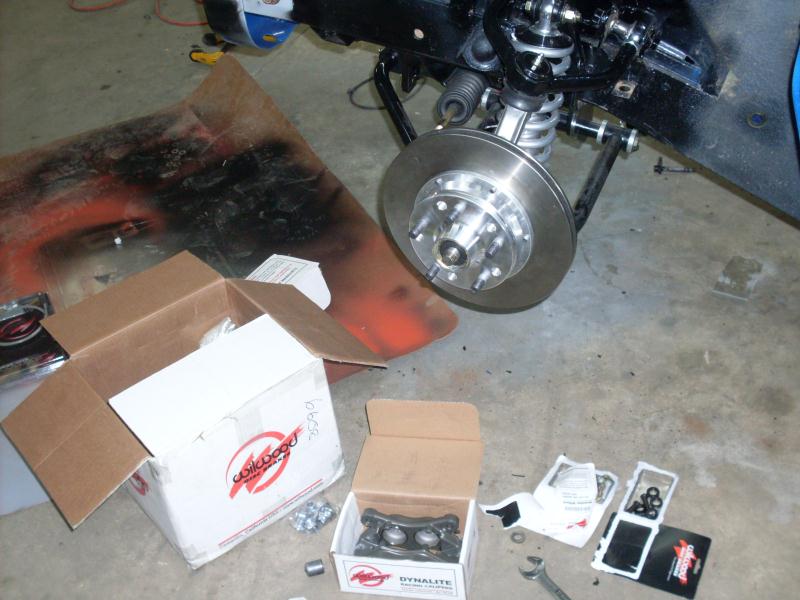
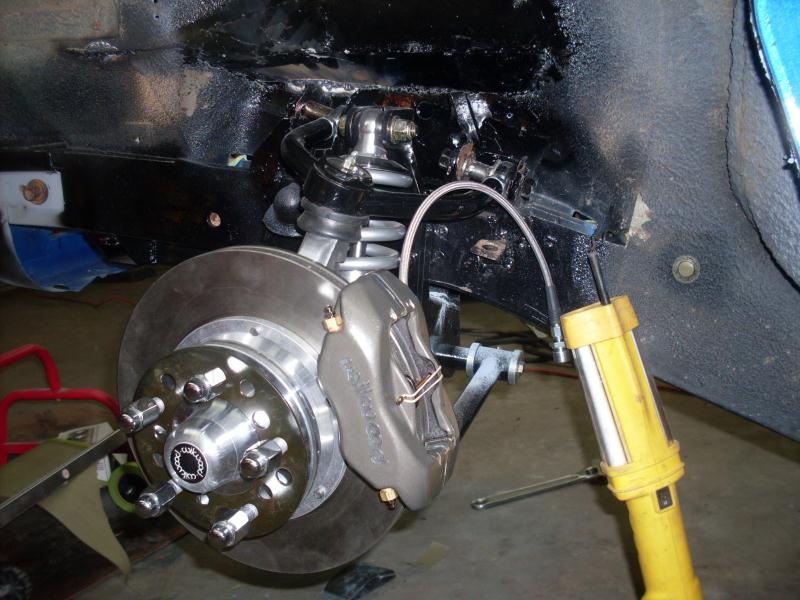
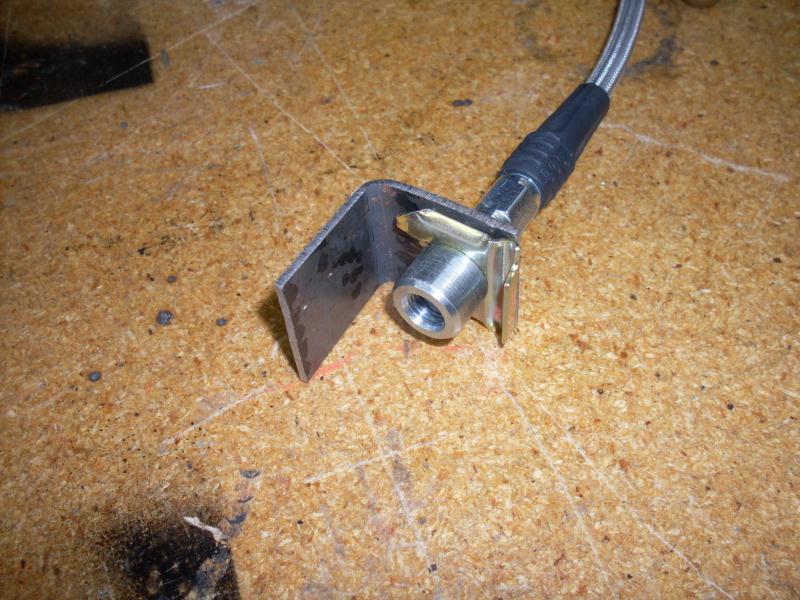
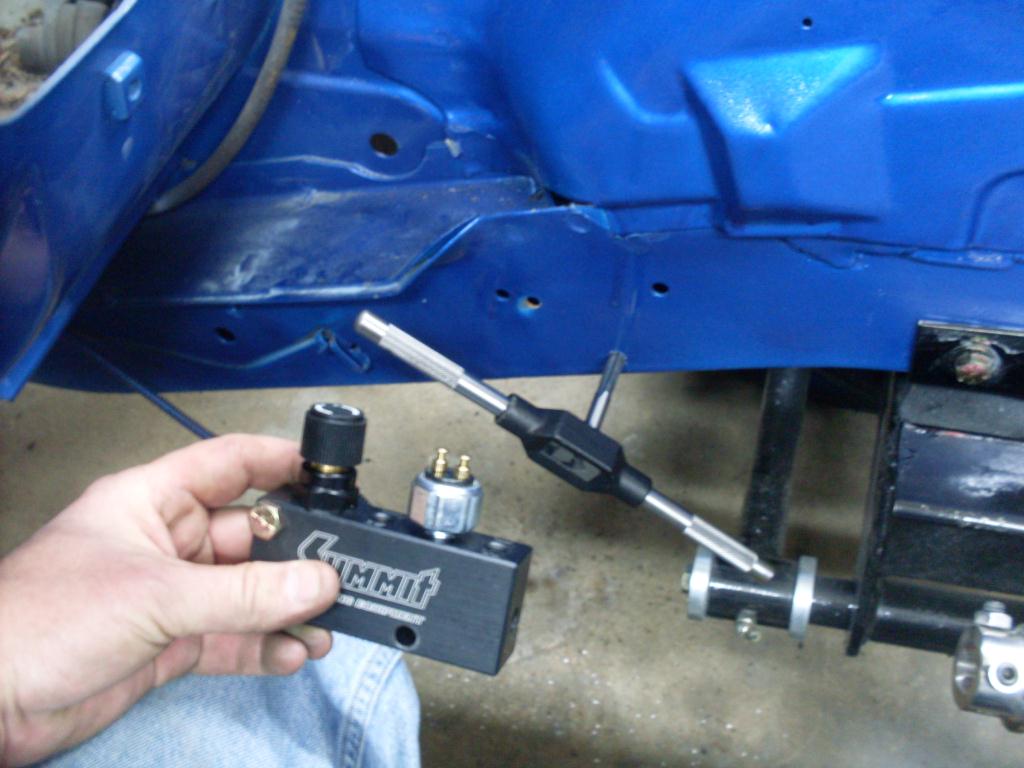
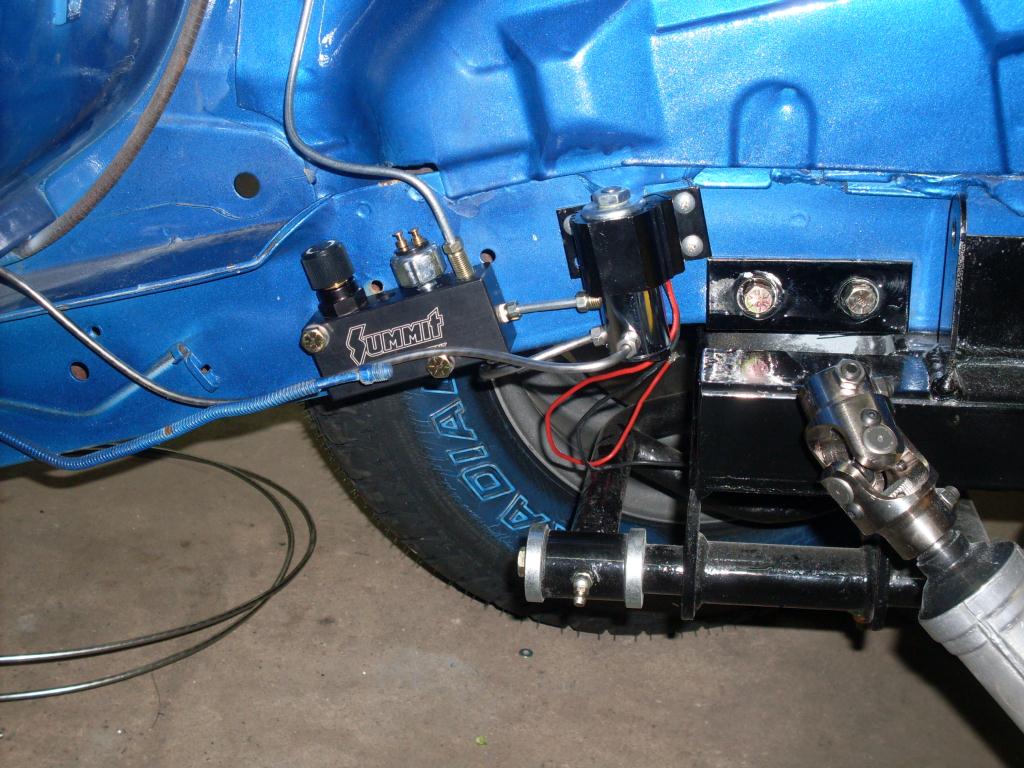
While waiting on paint to dry and parts to come in, I started working on the brake lines. I bought an adjustable proportioning valve from Summit. (It looks EXACTLY like the SSBC proportioning valve). I marked the frame where I am installing it with a punch. Then, I drilled and tapped threads into the frame.
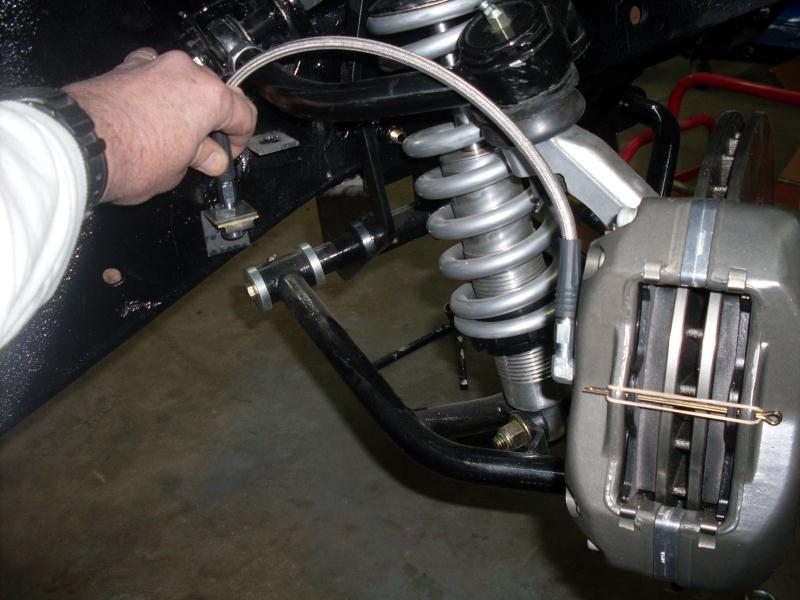
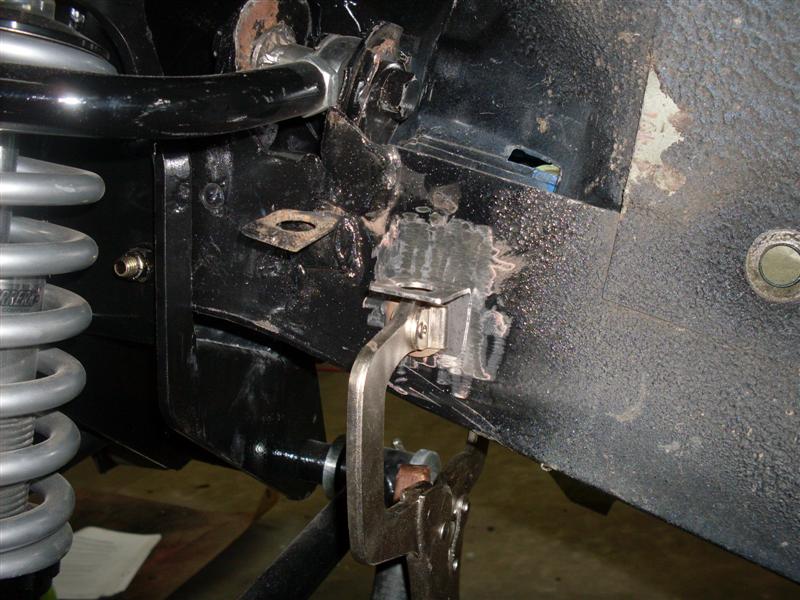
I also bought a Summit Line Lock. I just bought it because I thought it would be cool. I may not use it often since I don't plan on drag racing, but I like the idea of knowing that I have it... just in case. I drilled and tapped the frame for this, too. I am mounting everything low so that the engine bay will have a clean, uncluttered look.
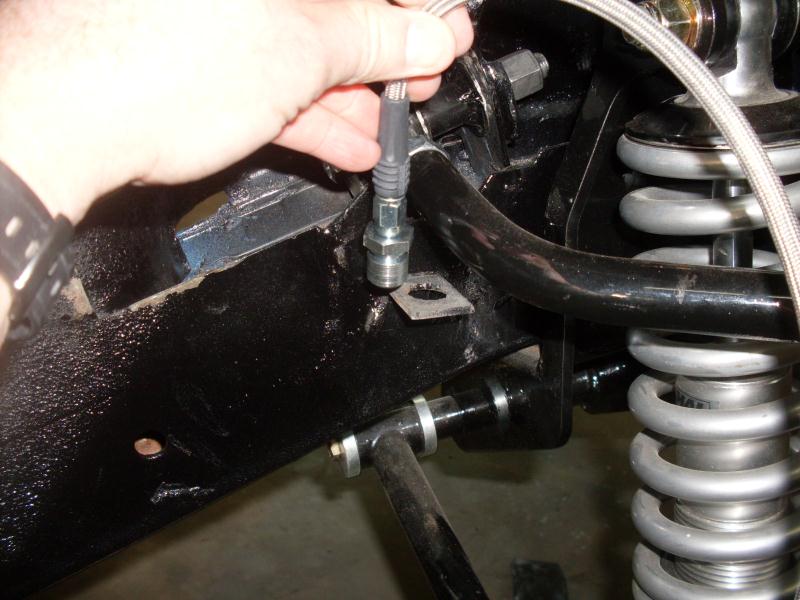
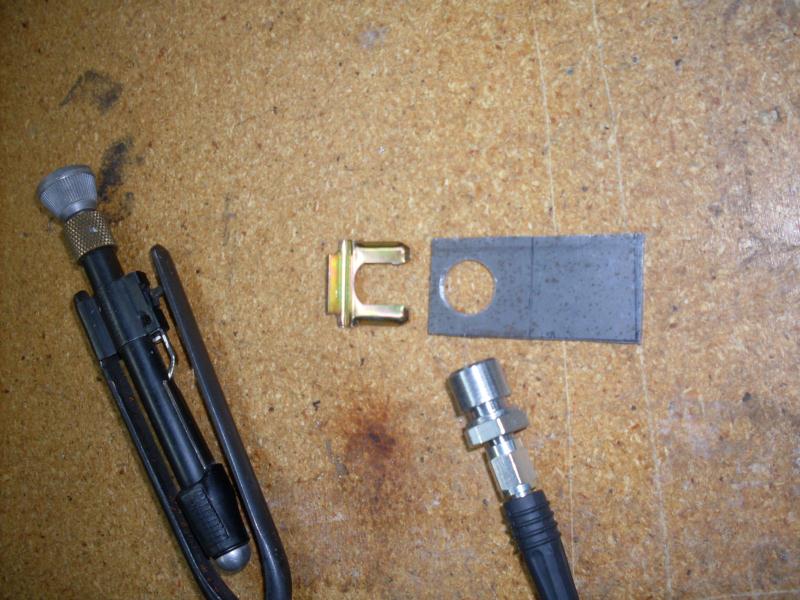
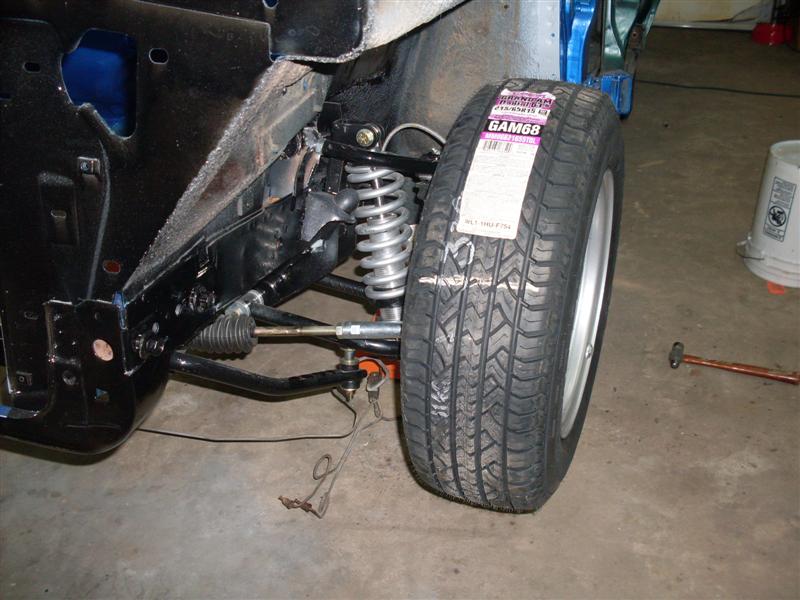
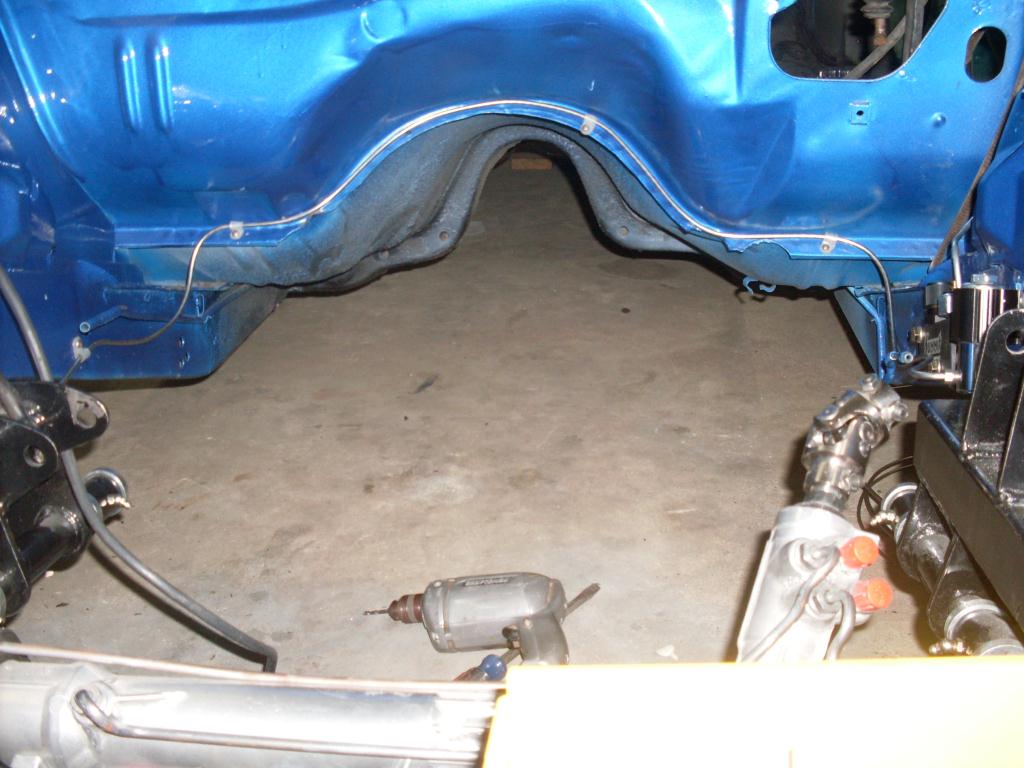
I also routed the brake lines as concealed as possible by running it along the top of the transmission tunnel along the pinch weld. (Check out the 50 year old Craftsman drill on the floor.)
I will post more progress pics as more progress takes place.

")


