68 4-door "Sleeper"

-
Having a sleeper wasn't my original plan. But, after reading through other FABO builds and, finding an available hemi, I though "What the he double L?"

Im planing on making my duster in a sleeper......just was a 318 haha8) I just love the thought of someone asking me whats in it and I say a 318 and he laughs and then I smoke him. Just to see the look on his face while he cleans the himself would just be priceless:snakeman:
 
I am still working on the engine bay. I cut out the passenger-side shock tower and welded in some sheet metal. I spent about 2 hours sanding the bondo that I applied to smooth things out.

I will be honest here. I HATE body work. It's not that I can't do it, it's just that I am not good at it.

It reminds me of the times that I have had to do drywall. I can do it but, it takes me about 10 times longer than someone who does it for a living.

When I watch someone spread bondo or drywall mud, I think to myself "I can do that".

The problem for me is that I spend SO much time sanding. I really think that I will spend more time sanding bondo and doing body work than anything else.

SDC10597.JPG


On the driver's side, I had some low spots that I had to fill with more bondo. It looks like another night of sanding for me.

SDC10596.JPG


In the meantime, I removed the wiring harness and heater to get the engine bay ready for some dark blue pearl paint. :crybaby:

Progress is slow.
 
My intake manifold, throttle body, wiring harnesses, FAST computer, and fuel rails came in today from XV Motorsports. I set the intake manifold on top of the engine. I don't know if I like the black finish, though.

IMG_20101109_162031.jpg


I am undecided.

Should I....
(A) Keep it black?
(B) Sand blast and polish it to make it silver?
(C) Paint it hemi orange like the rest of the engine?
 
Intake hemi orange.
with black wrinkle valve covers.

I like this configuration too. You could lightly wrinkle paint the coils as well, so they blend with the valve covers.


If you stay black, I would cover the XV logo, and detail the coils and any other black components in the same finish, so they are all matching in shade, and sheen.

What color for the plug wires?
 
this is one SWEEET build, man! can't wait to see it finished, a four door sleeper is my favorite compared to some of the fates many of them meet ( Getting painted flat black, being jumped, having the roof cut off, or meeting a crusher without being stripped, etc.)

just goes to show, too, that with money and motivation comes progress.
take the money out and you still have progress, just sooo much slower.
 
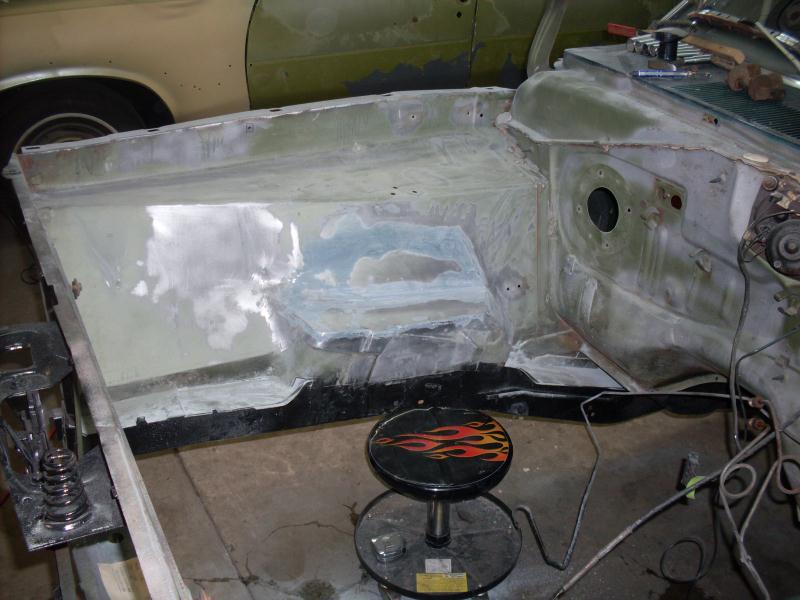
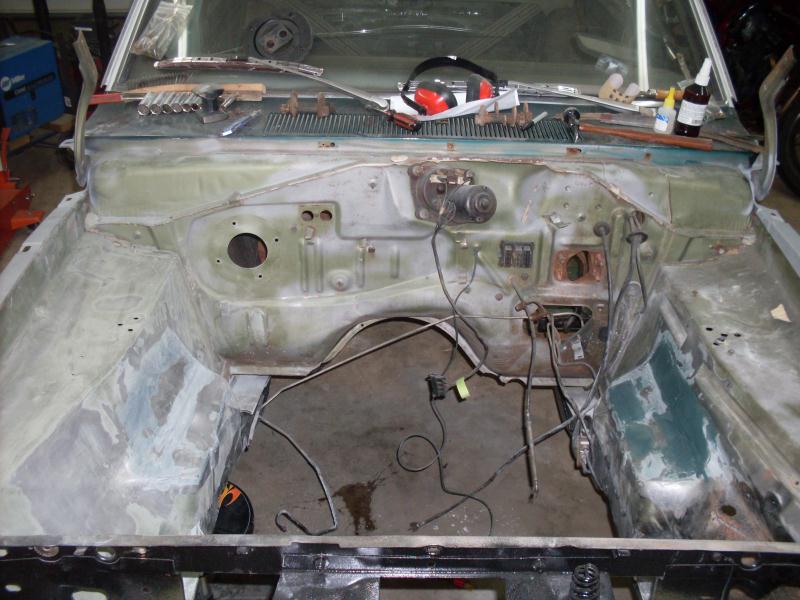
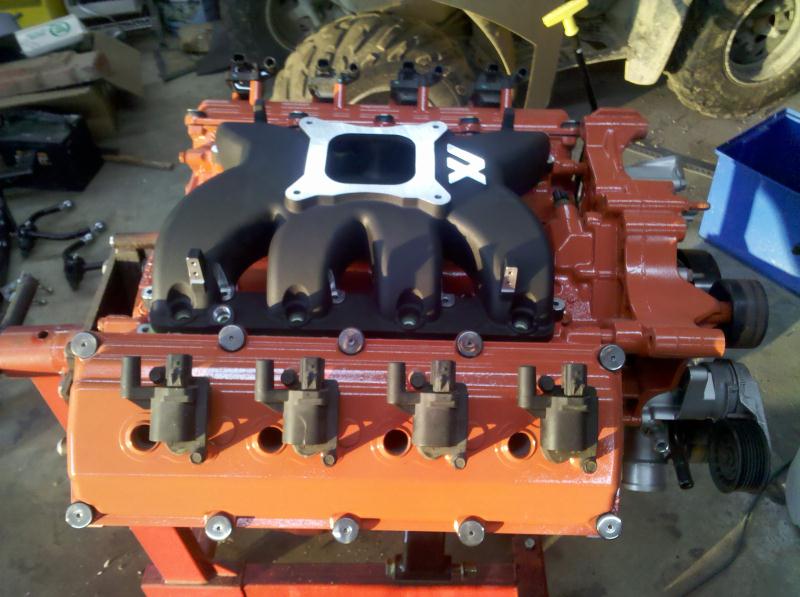
I have been working on the new generation hemi swap into the 4-door Dodge Dart.... unfortunately, I forgot to bring that camera home. I will try to remember and bring it home and post pics.

It has been difficult to find time to work on it with the holidays and all.

Until I get time to post new pics, I will leave you some pics from this year's Emerald Coast Cruise In in Panama City Beach Florida.

Mopars were under-represented at this event but, I did manage to find some to take pictures of and, to get ideas from.

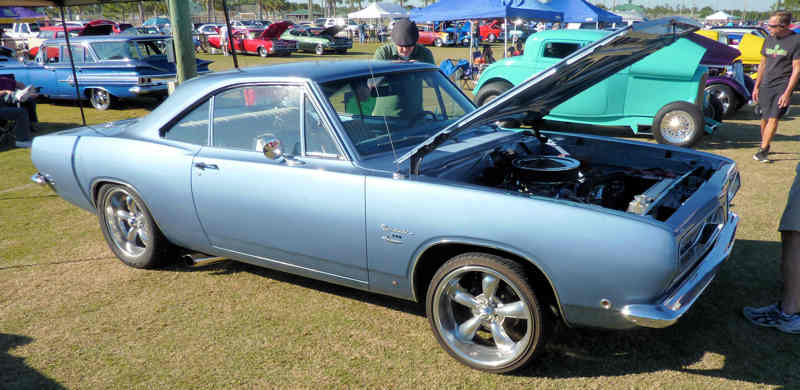
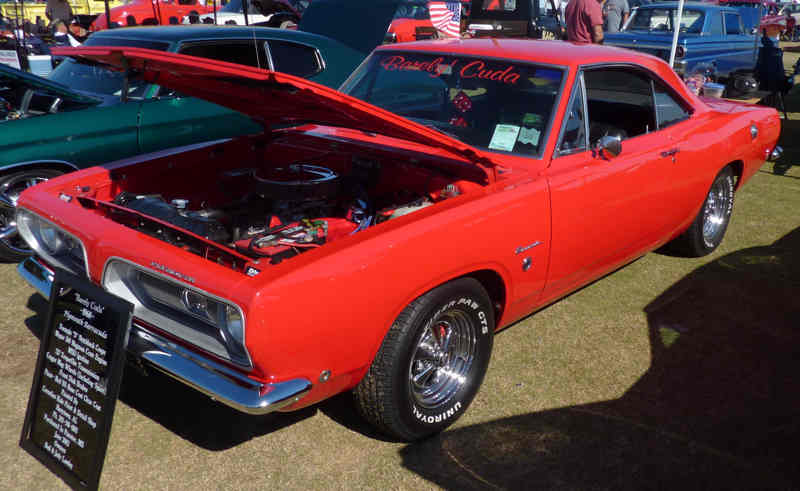
This is a 68 Barracuda with a crate 360.
emerald01.jpg


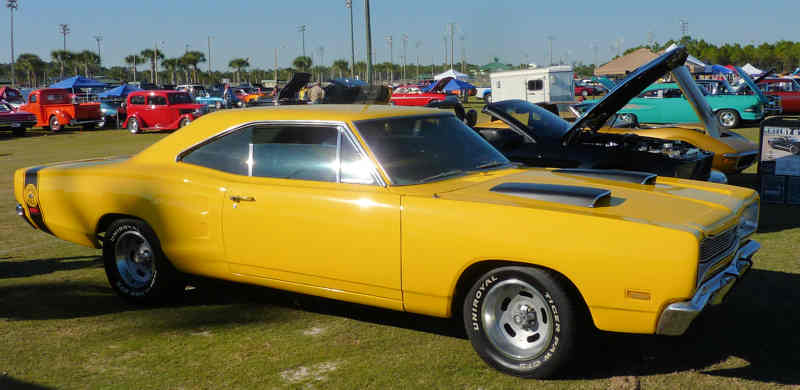
Not and A body, but it is a nice Super Bee
emerald02.jpg


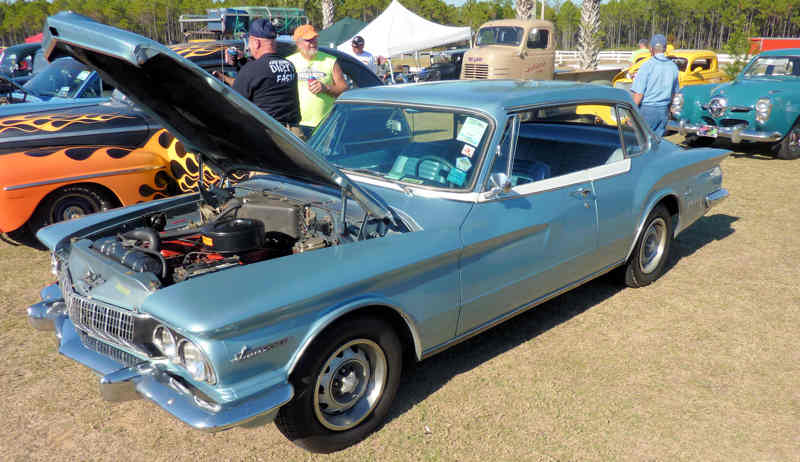
This was a REALLY nice 62 Lancer GT.
emerald03.jpg


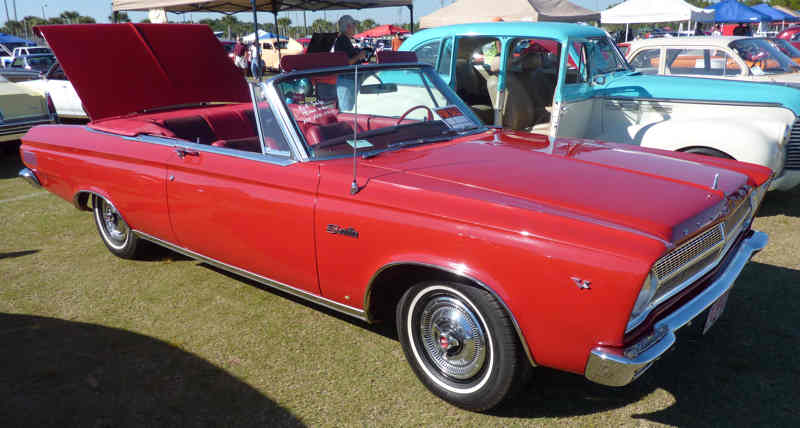
I could have bought this already-restored Satellite for less than what I have into my car already. He wants $19,000 OBO.
emerald04.jpg


Here is another nice 68 Barracuda with a crate 360.
emerald05.jpg


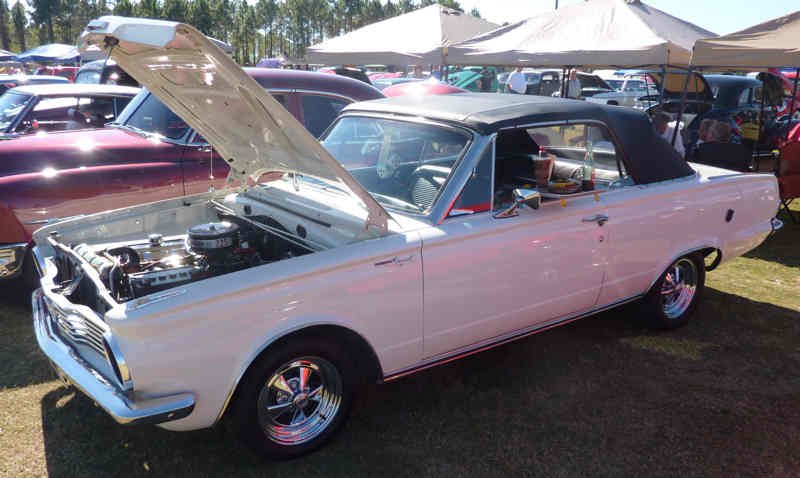
This was a really nice Valiant Signet convertible.
emerald07.jpg


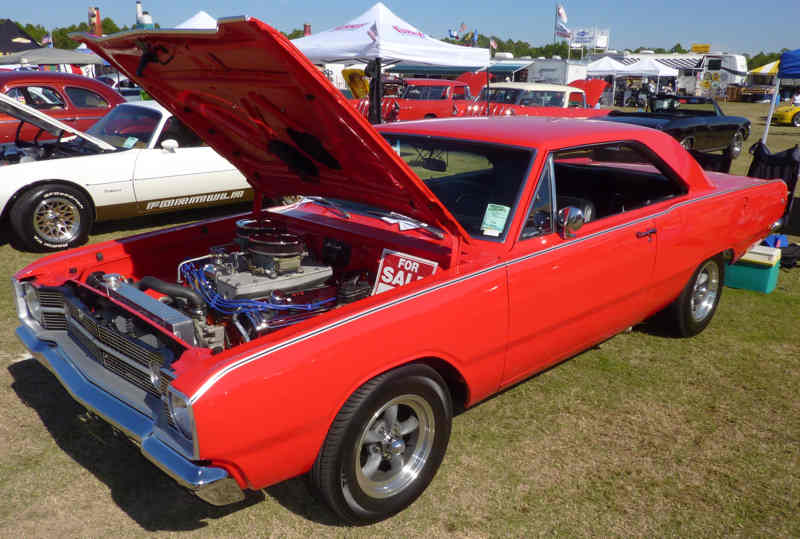
This 68 Dodge Dart with a 472 Hemi was really nice and, it was for sale. The asking price? Sit down before reading further...

He is asking $69,000!!!
emerald08.jpg


A 440 Duster.
emerald09.jpg
 
I removed the front windshield. The windshield was already cracked and I will be getting a new one. I just wanted to see if I could remove the windshield without breaking it. First, I removed the trim using 2 small flat tip screwdrivers. (Sorry. I forgot to take pics of that part). I discovered that the clips that hold the trim are very rusty. Does anyone know where to buy these clips???
SDC10599.JPG


Next, I separated the rubber molding by using a phillips head screwdriver. I went all the way around the windshield ("windscreen" for you Brits) using a phillips scredriver.
SDC10601.JPG


Once I got all of the rubber separated, I used about 5 or 6 putty knives to get the rubber away from the glass. I was able to remove the windshield without having to break it. However, the crack that was already there did "grow" substantially.
SDC10603.JPG


Also, I removed all of the insulation from behind the dash. I will be using dynamat or eastwood or Summit or some other type of aluminum-backed, rubber sound deadener. And, I will also be getting a vintage-air system. I wanted to fill in the holes from the existing heater. That way, I will have a "blank slate" to work with when it comes time to install the new heat and air. I taped a piece of paper to the backside of the heater-motor hole. Then, I lightly "dusted" the hole with some black spray paint. That gave me the template to cut out the sheet metal. With just slight grinding, I was able to run a nice bead around the heater motor hole. Now, all I have to do is grind. :sad:
SDC10606.JPG


There aren't too many followers for this thread but, I am doing it more to document my progress that to "brag". Hopefully, someone will be able to get some good advice or good ideas from what I am doing.
 
justmopar.com sells them. I cant remember how much. maybe someone knows somewhere cheaper? I am definately following this thread. alot of people watch and don't comment much
 
I am still working on the engine bay and engine. I filled in the unneeded holes in the fire wall and smoothed it out with some bondo.
SDC10608.JPG


I also finished sanding the entire engine bay and put on a coat of 2 part urethane primer. Of course, you always find hidden flaws after applying primer, so I guess I will be doing a little bit more work before applying the single stage urethane top coat. I am going to apply single stage urethane in the areas where it is difficult if buff/polish... i.e. door jambs, engine compartment, trunk, etc.
SDC10644.JPG


While waiting for bondo to cure or paint to dry, I took some time to paint the air cleaner and intake manifold. I decided to go with hemi orange on the intake manifold. I taped of the areas that I did not want paint applied to. I used and exacto knife for clean lines.
SDC10611.JPG


SDC10609.JPG


Although it is not ready, I wanted to see what the engine looks like with the intake manifold, throttle body, and air cleaner.
IMG_20101205_112900.jpg
 
What a good looking engine bay and engine! You will be proud to pop the hood on that badboy!
I'm following the thread, and it is already inspiring me! I want to do a restomod project and put a 6.4 Hemi into my Coronet, so a lot of your ideas for your car already have my mind going "Hmmmm..." Keep on posting, I'll be here watching!
 
I ran into some problems with the XV intake manifold. The oil filler is in the intake manifold. The oil filler that XV provides interferes with the fuel rails. There is no way to put the "cap" on without hitting the fuel rail.
SDC10640.JPG


My first thought was to grind away at the solid aluminum part of the rail with a carbide burr. That way, the "cap" (if you want to call it that) would be able to turn.
SDC10642.JPG


However, it still did not work. I would have had to grind away at the tube where the fuel flows to get the "cap" (if you want to call it that) to be able to turn freely.
SDC10645.JPG


I decided to make an extension. I went to Lowe's and bought some brass to extend the filler "cap" (if you want to call it that) away from the fuel rail tube. I will paint it orange to make it look more "factory".
SDC10646.JPG


The other problem I had is with the throttle body. I think this throttle body was designed for the rice burner tuner crowd where you put a tube from the throttle body to a cone-shaped air filter. But, I want this to look "factory" so, I want to put a standard round air filter on it. The problem I discovered is that the "throttle-body-opener-lever" hits the bottom of the air cleaner.
SDC10647.JPG

SDC10648.JPG


I bought from JEGS an air cleaner extension so that the "throttle-body-opener-lever" would not hit the bottom of the air cleaner.
SDC10649.JPG


Now, I am worried that the engine will be too tall to fit under the hood. :sad7:
 
Nice trick with the lowes pipes. Polish'em up. LOL
Just kidding. The Orange paint should make it look good and stock.
Nice job dude.
 
you coud always cut the throttle cable bracket down....


youd think for what you spent on the XV stuff that you wouldnt have these problems.
 
You have a great build going!The fact that you are doing all that you can is great.You should be proud of all the work so far.I look forward to more progress.
Andrew/Kidd
 
Great progress, man. One of my favorite threads.....

I met a Ford guy a few months back with the same problem. He ended up cutting a slot in the air cleaner base to clear the throttle lever and throttle cable. He used fiberglass to make a 'hump' on the inside of the base that cleared everything through out its range of motion and sealed it up. After a little filler, some sanding and paint, it ended up looking like it was suposed to be that way.
 
-
Back
Top