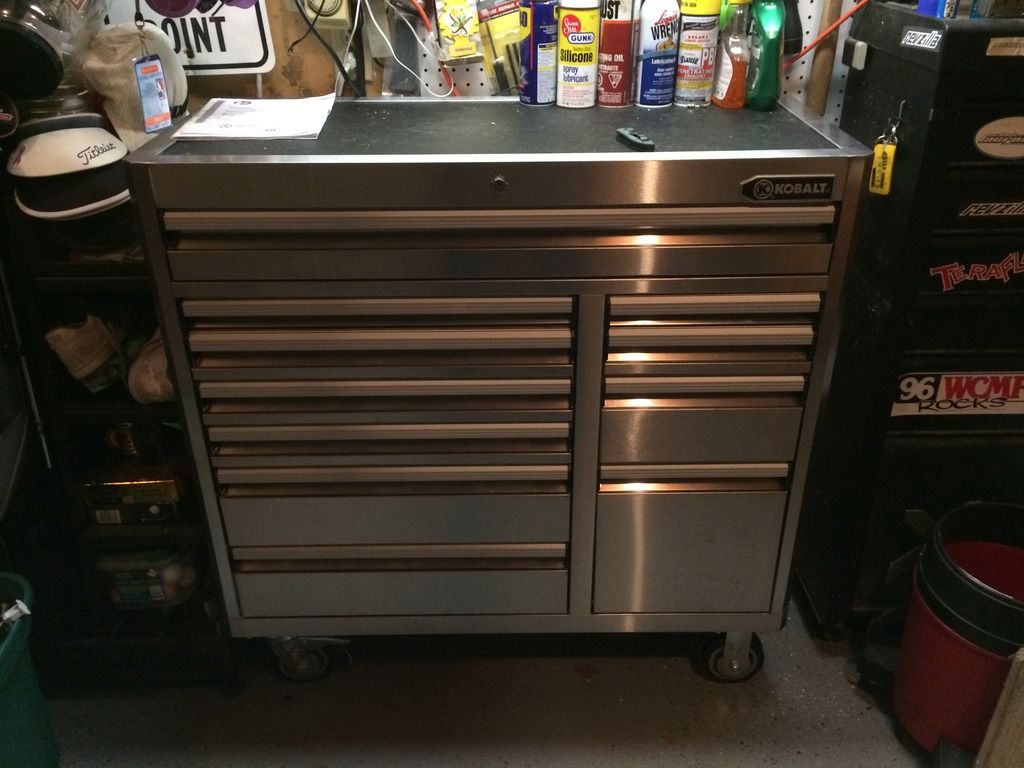
Figure I'll throw up a pic of my new tool box, spent some money on new tools over winter.

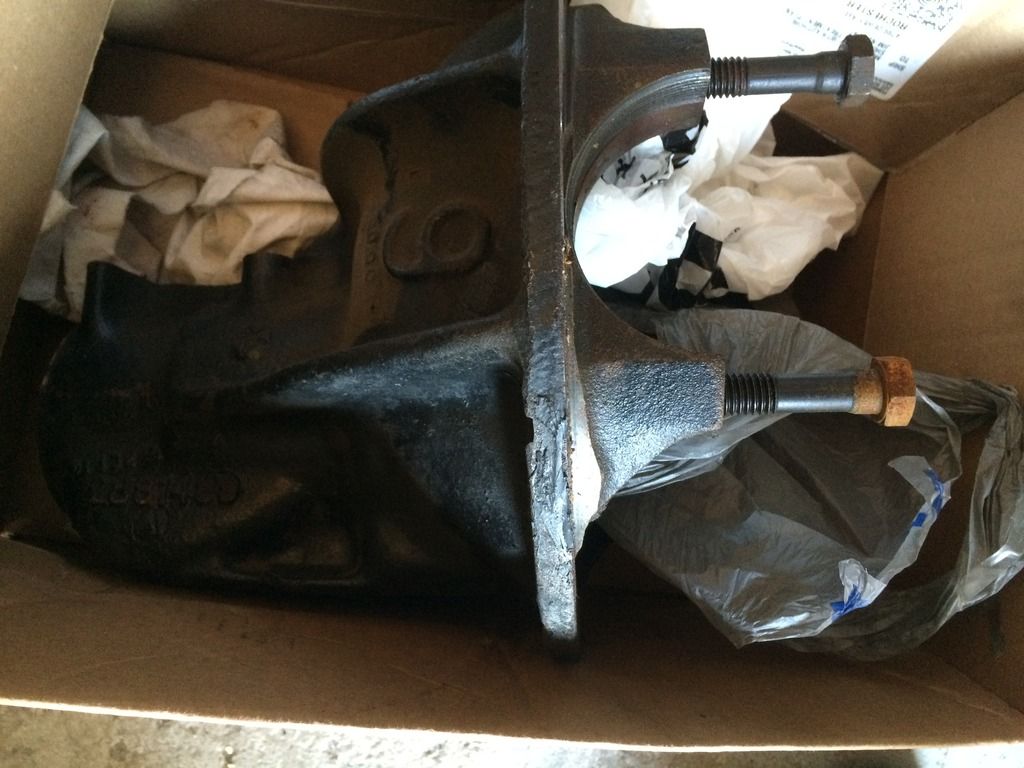
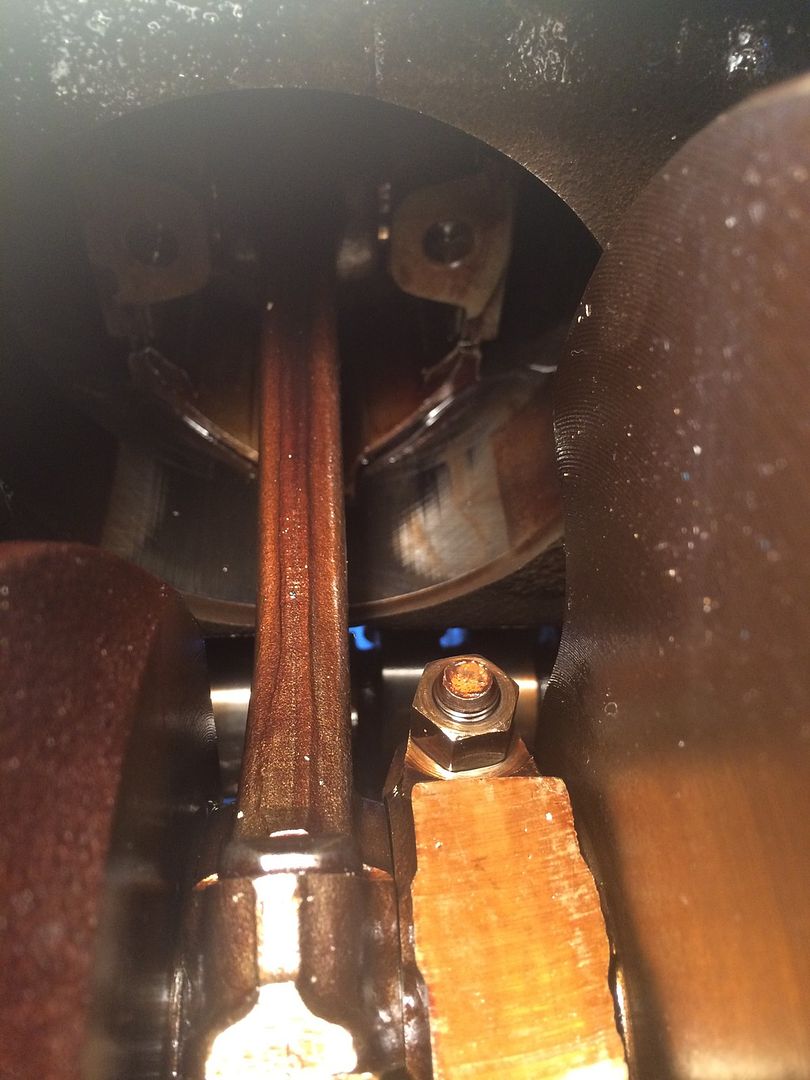
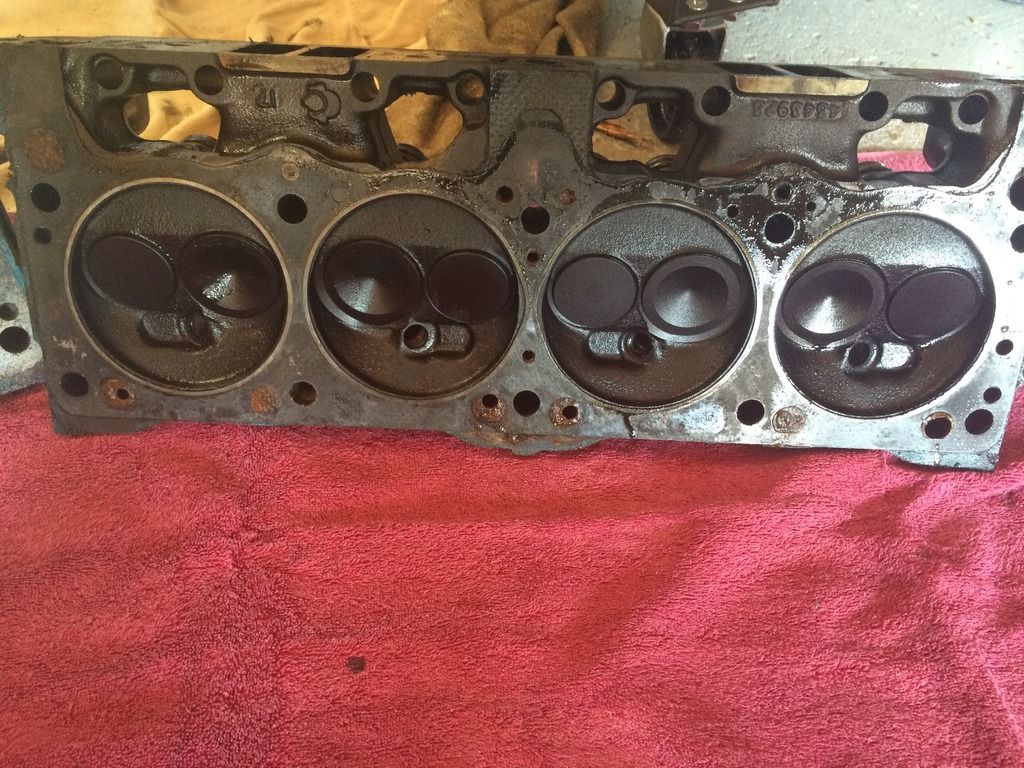
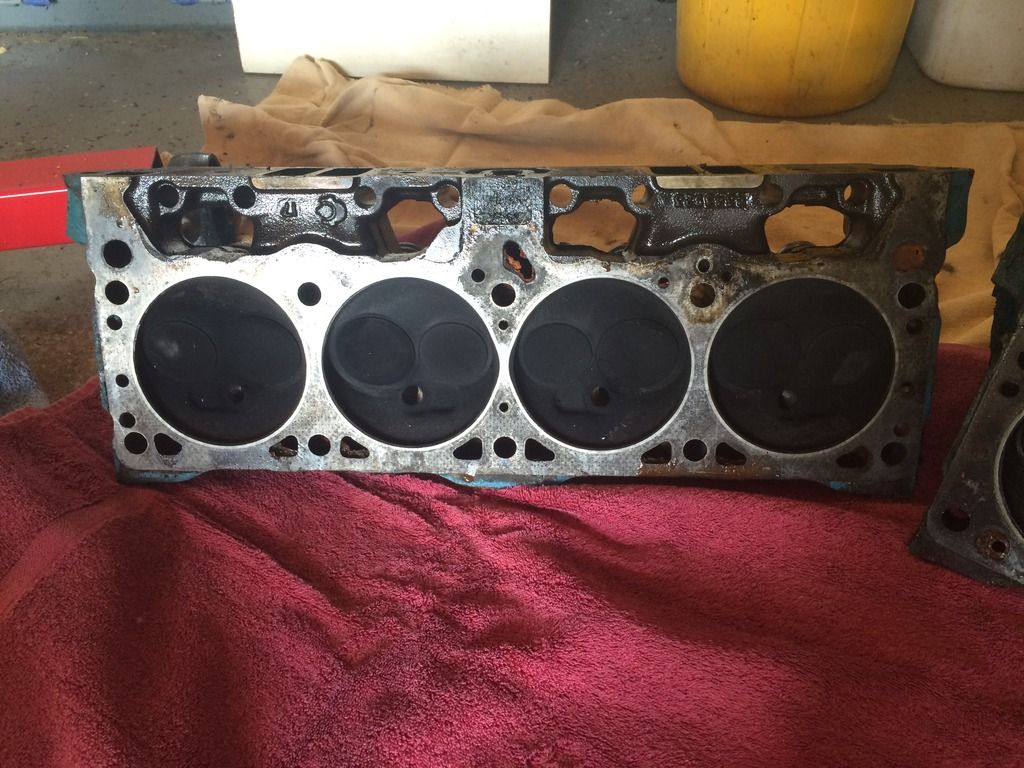
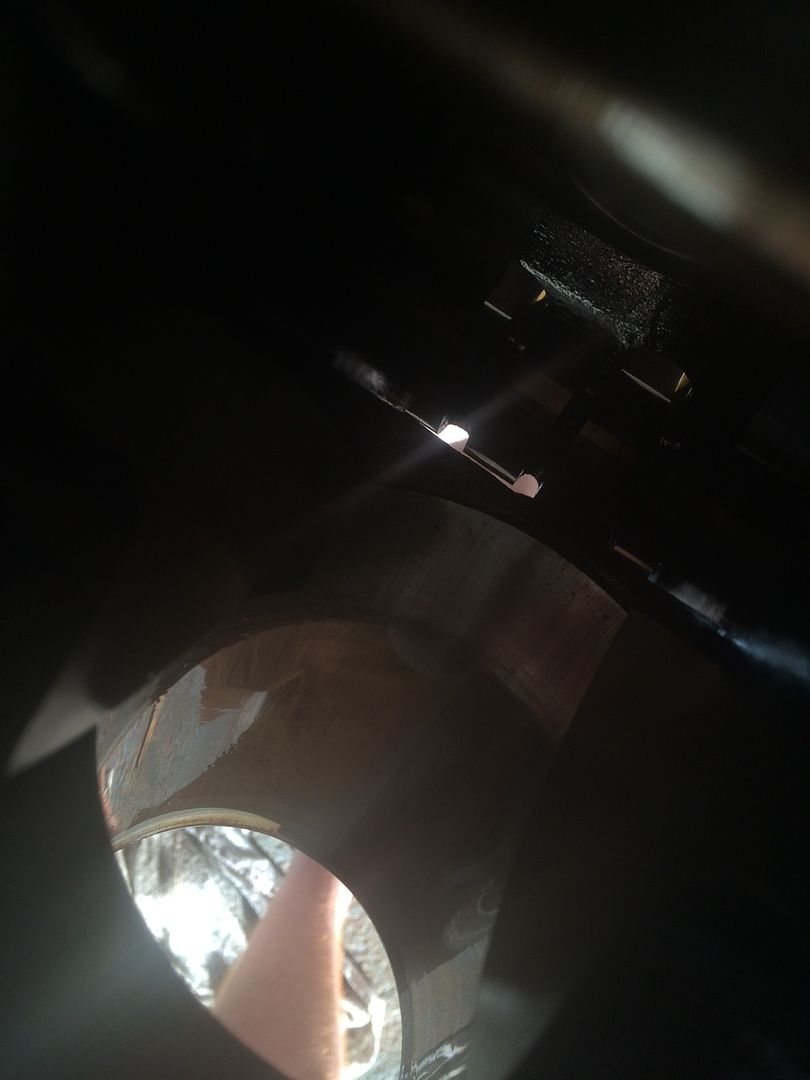
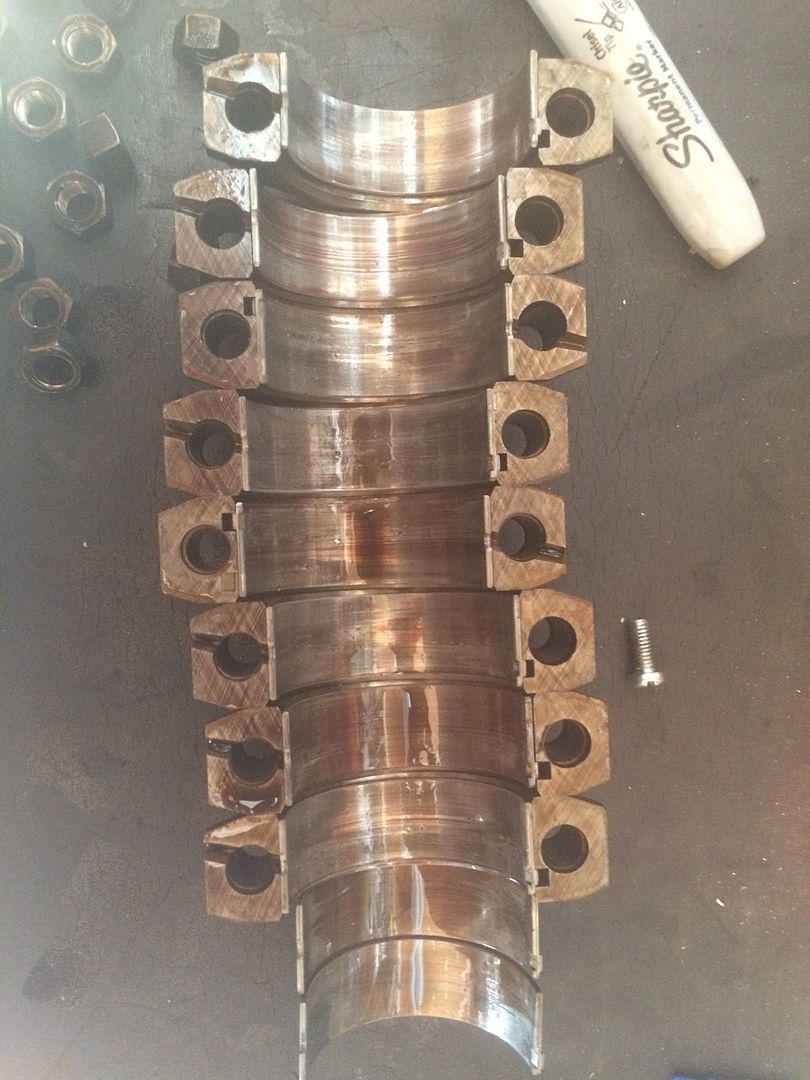
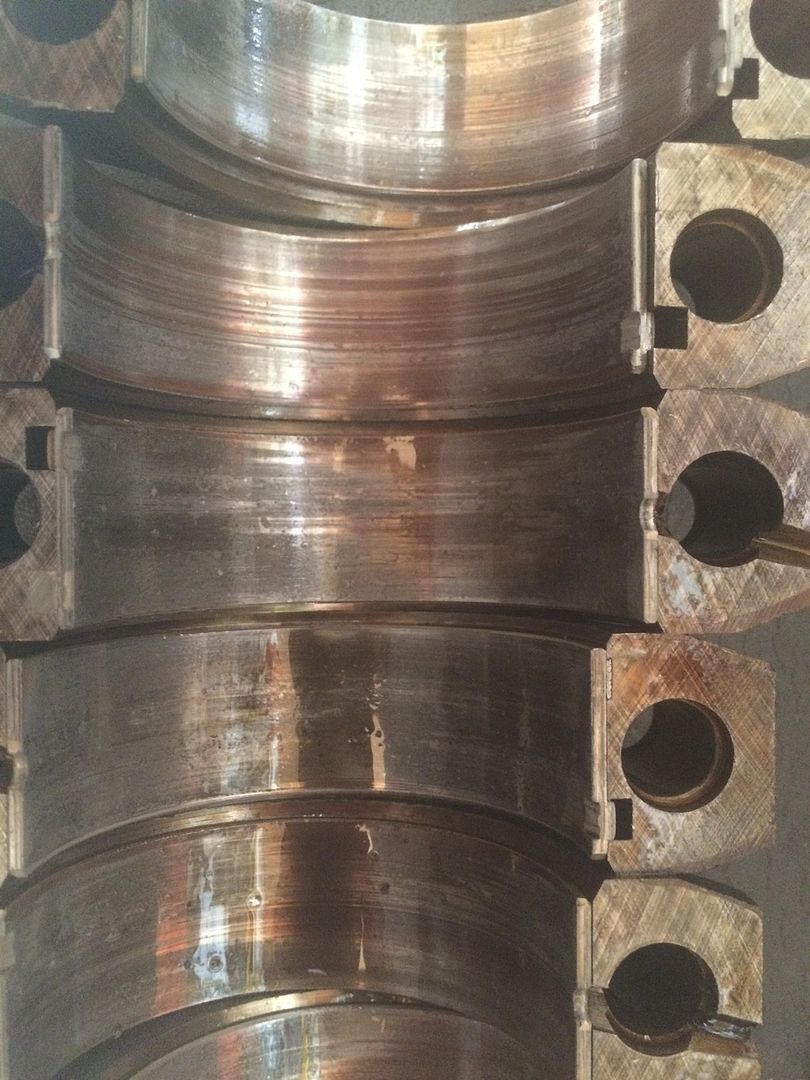
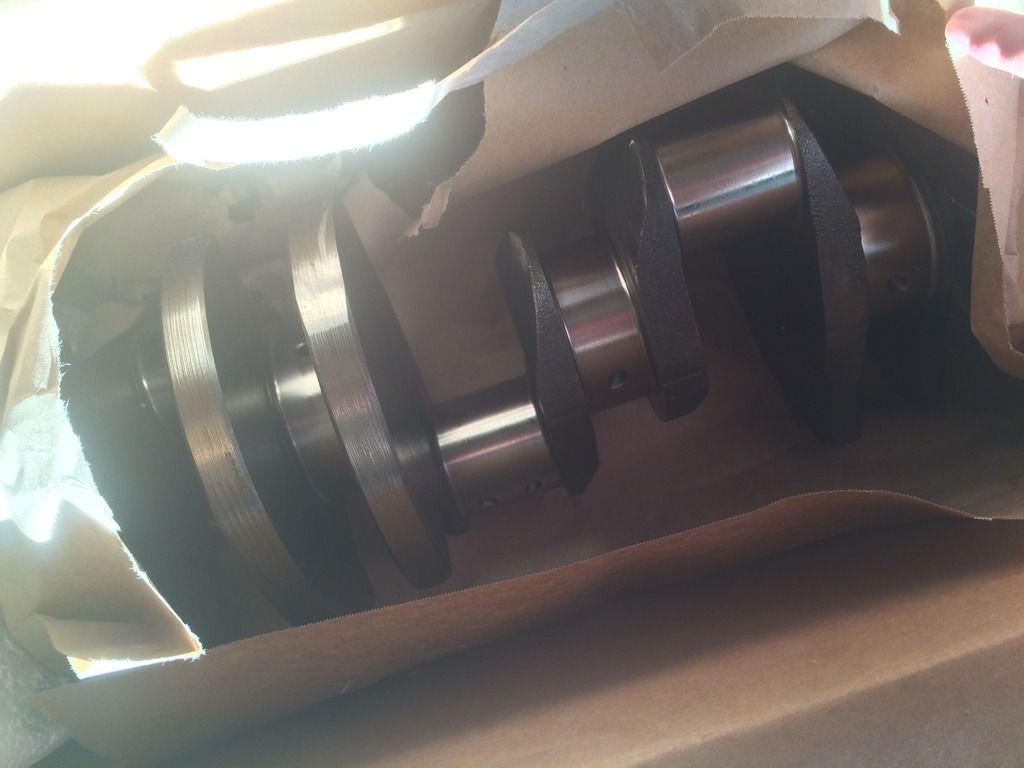
May be pretty tough getting a bearing cap to fit your pumpkin. If the bearing bore lines up you still have to get the adjuster threads to line up.
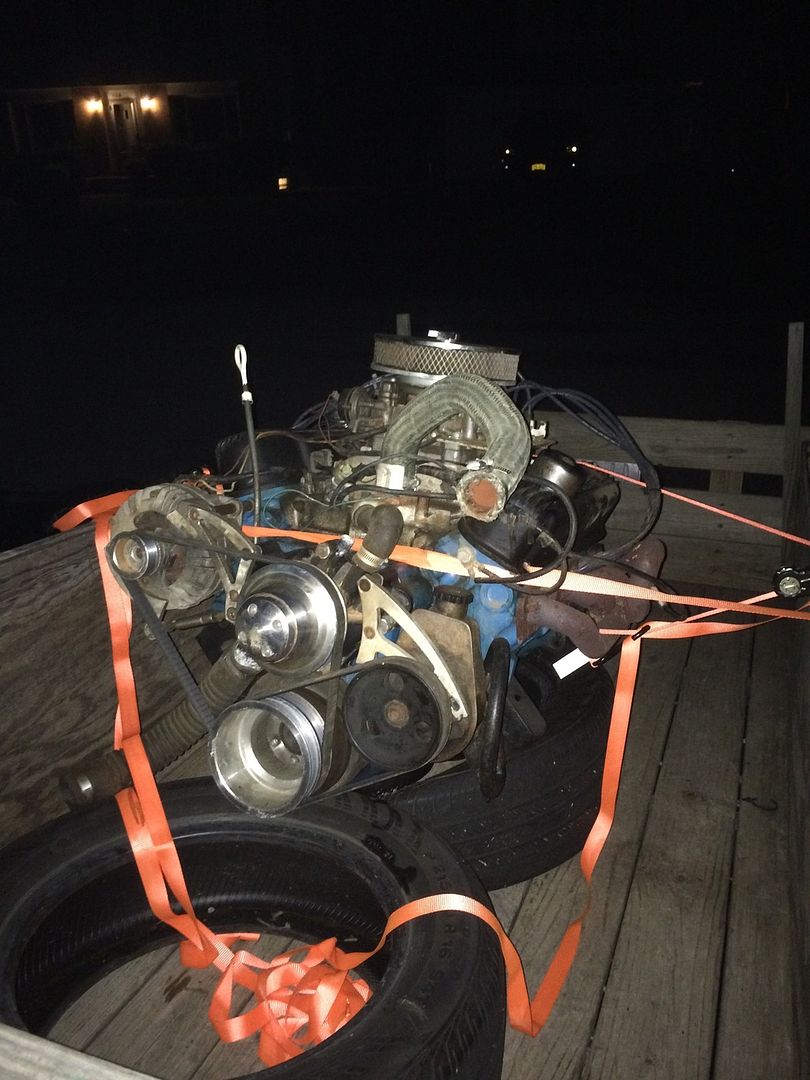
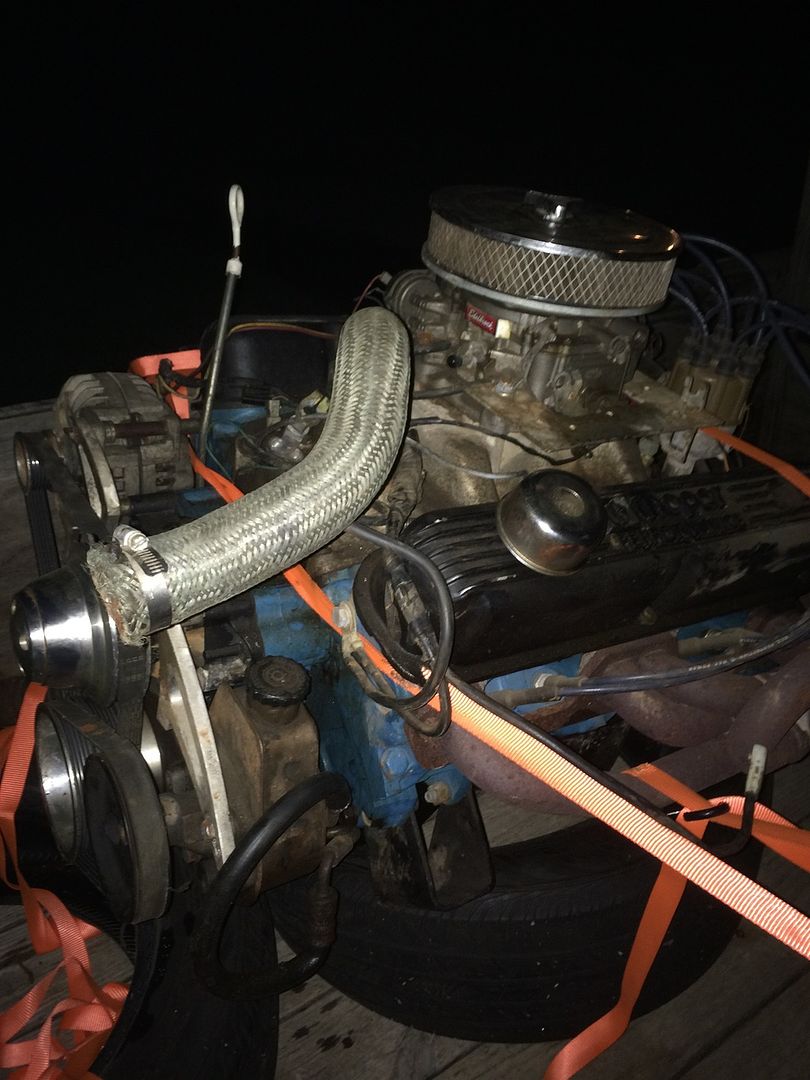
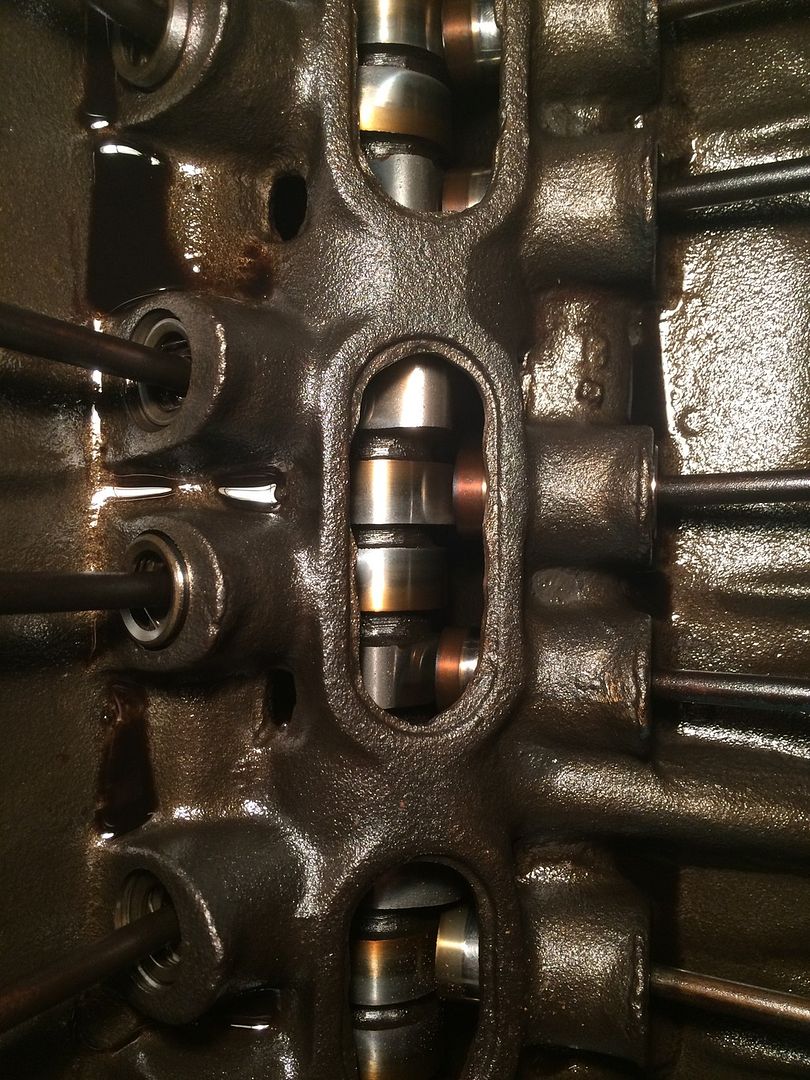
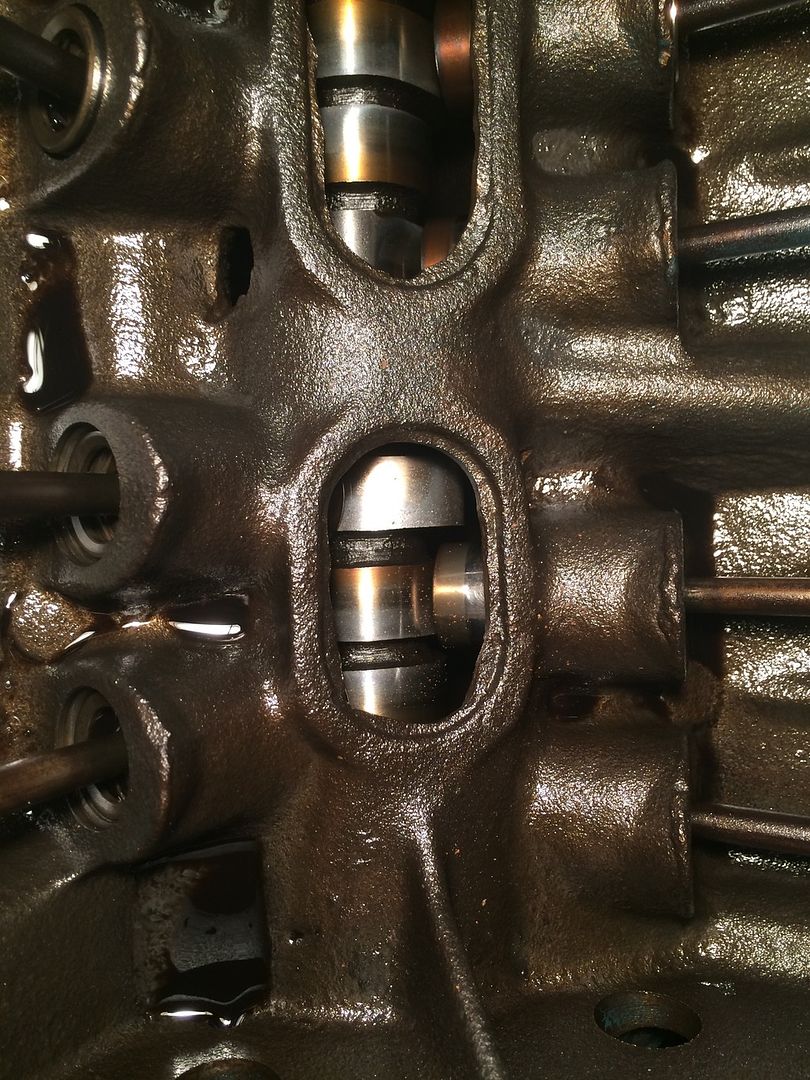
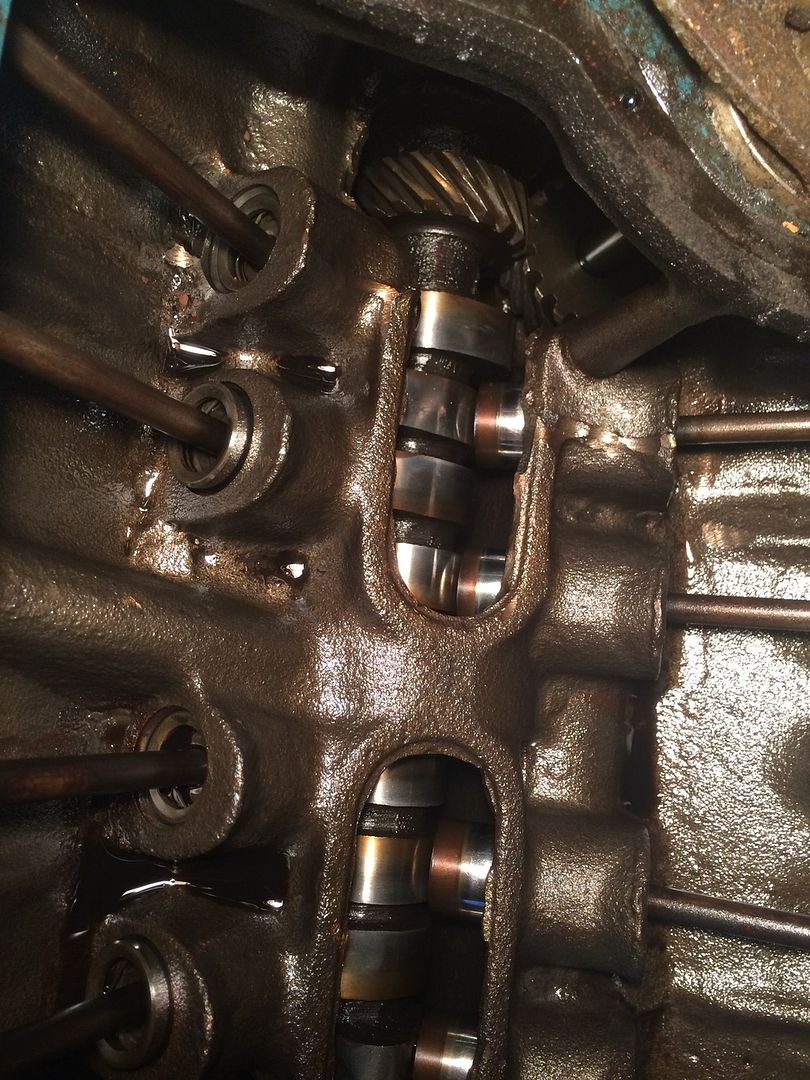
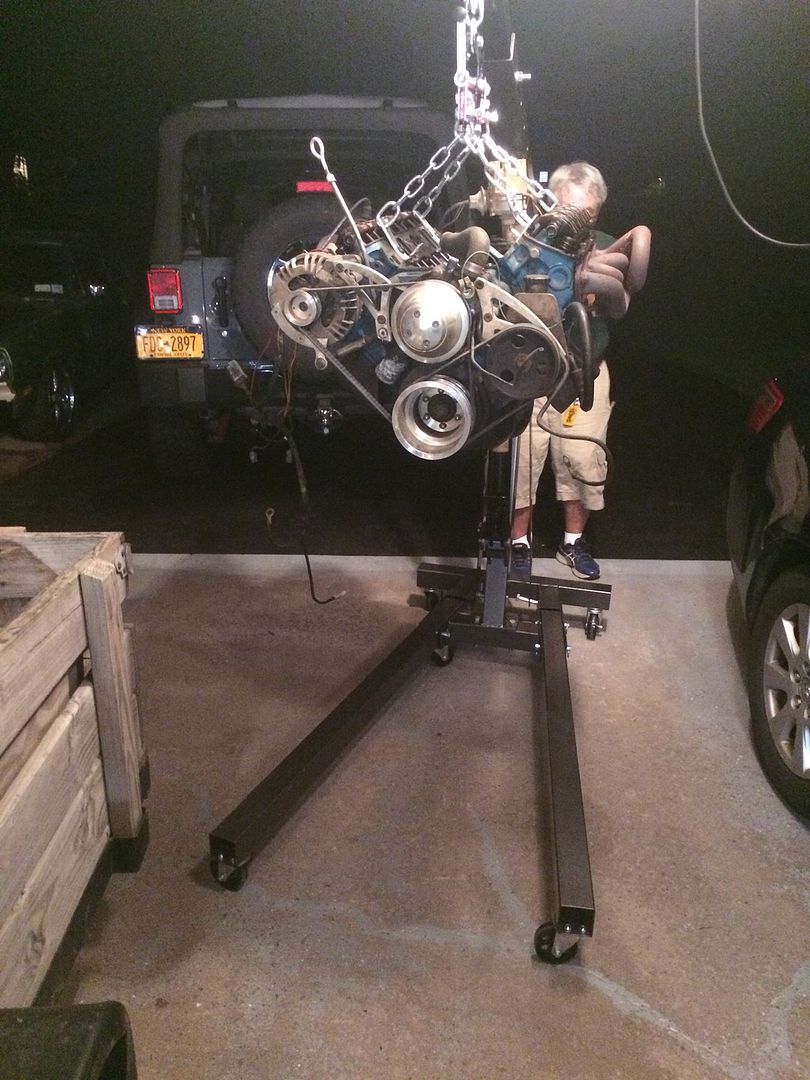

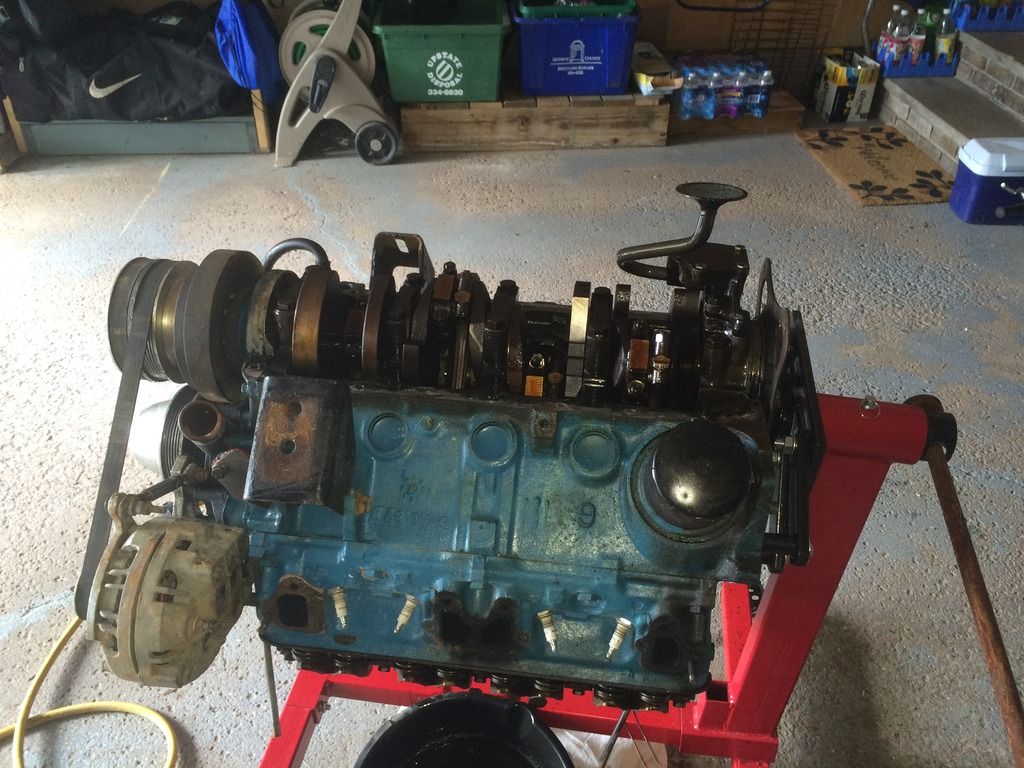


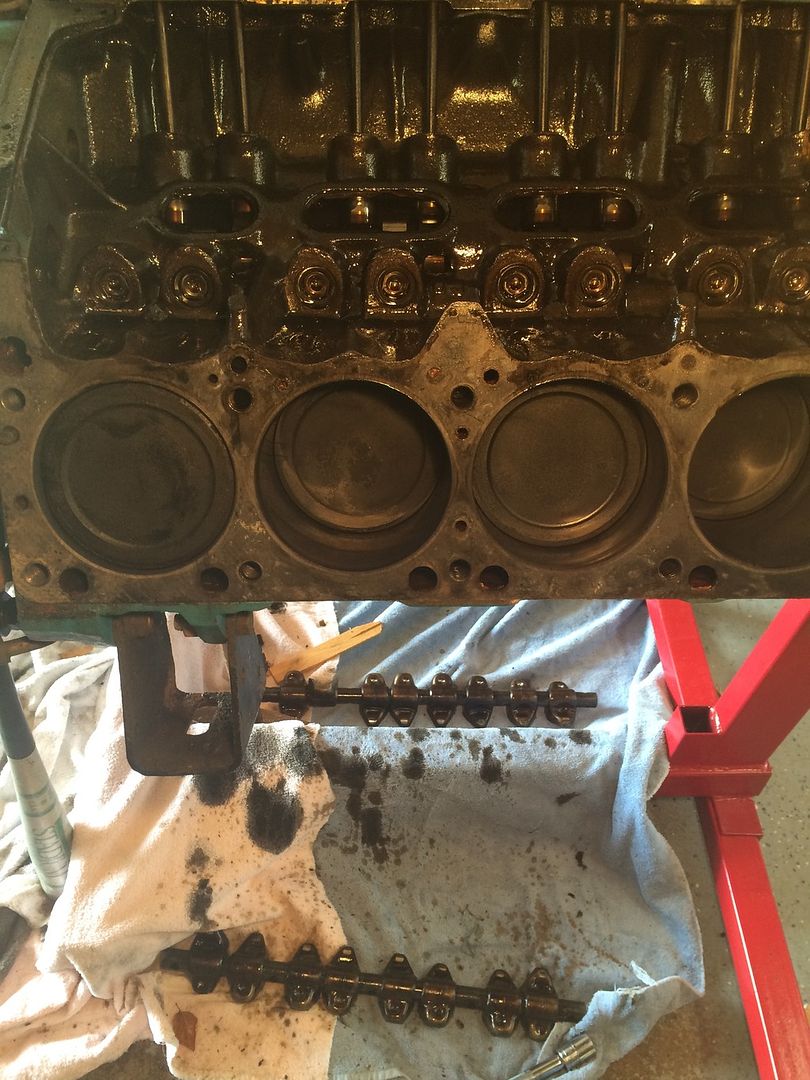
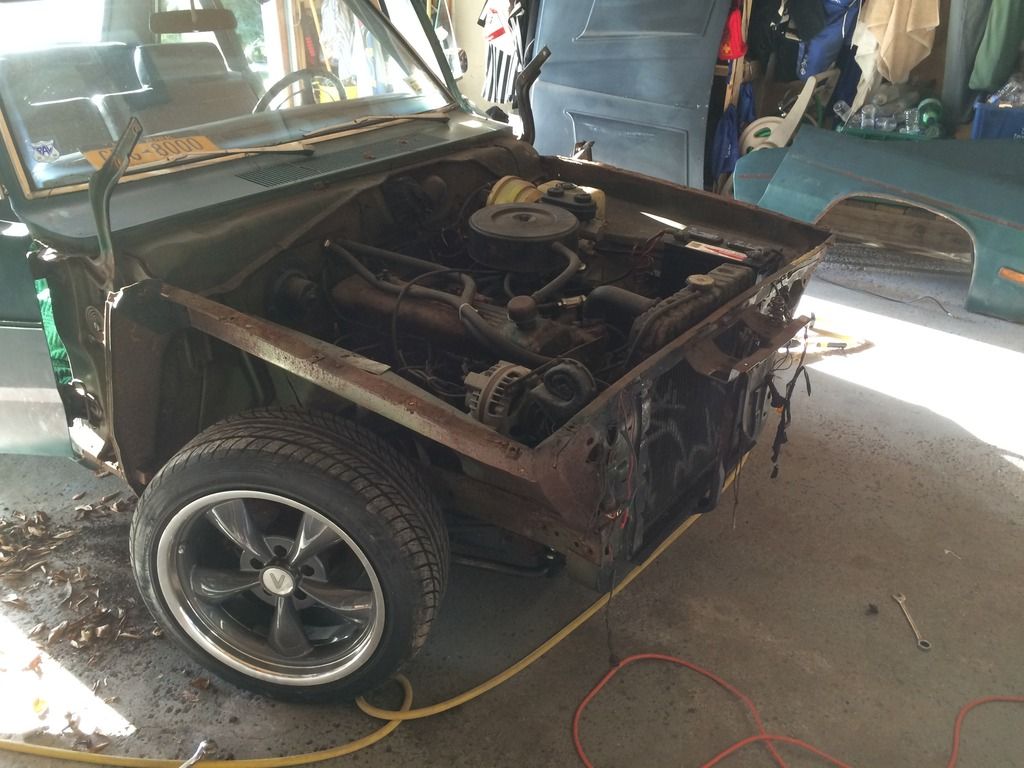
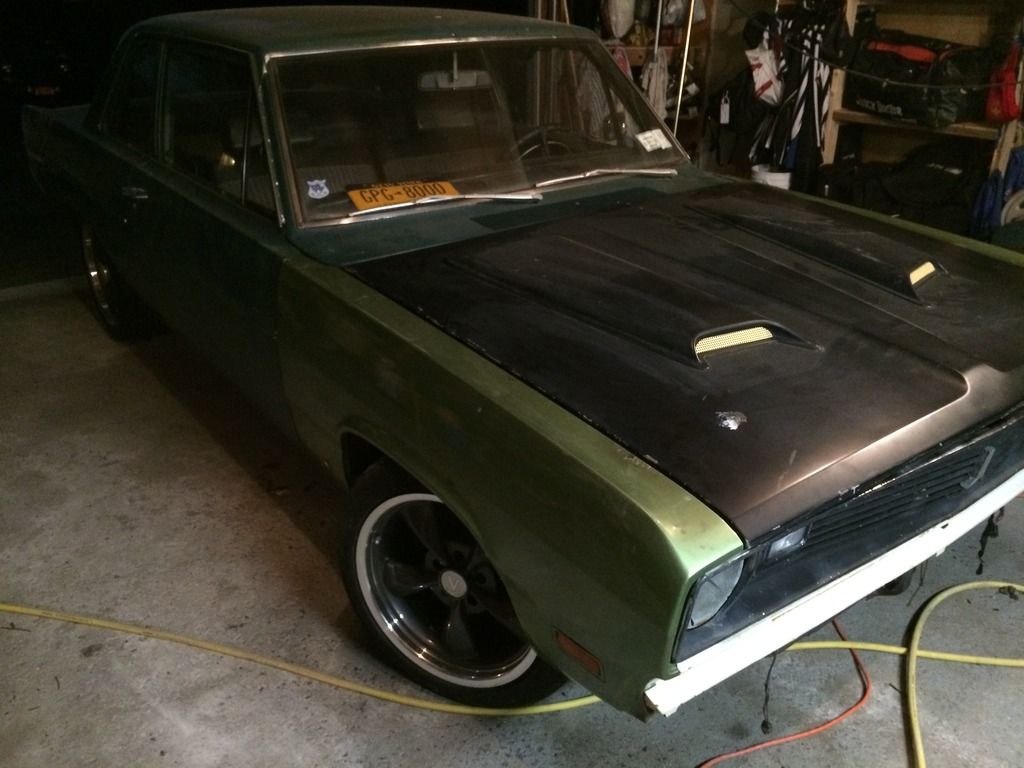
NICE progress! Motor looks clean for $400 and looks like you're off to a good start! Is the grille aluminum?
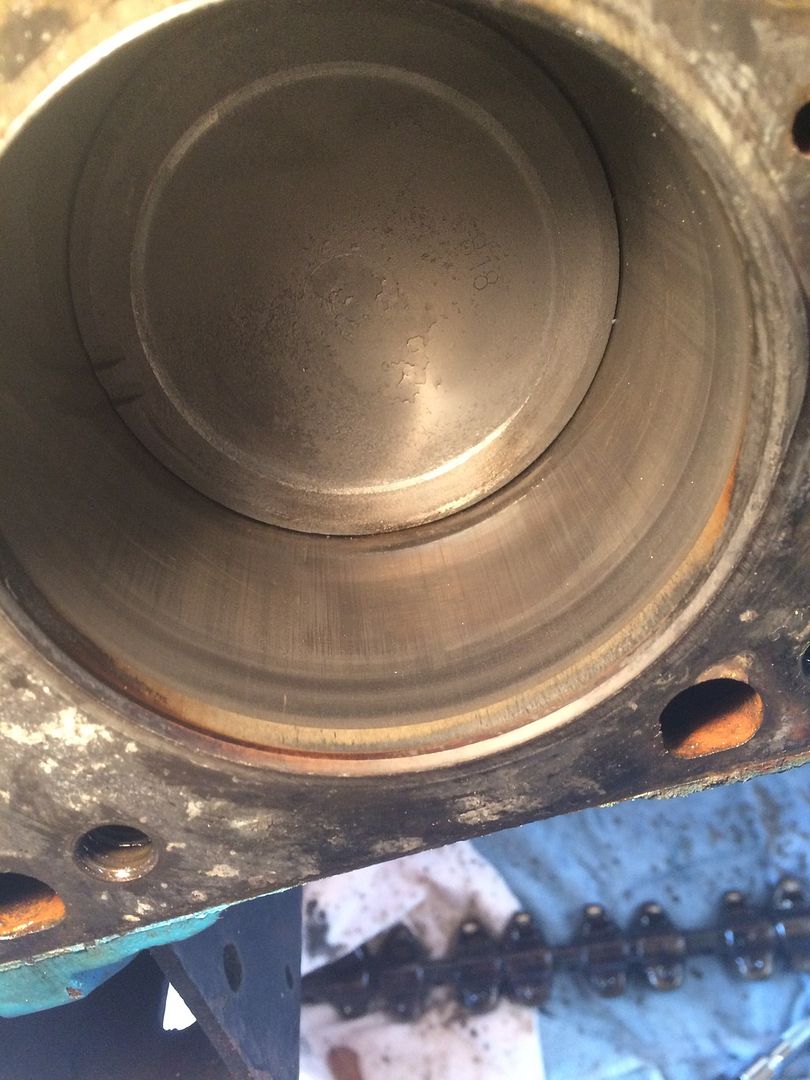
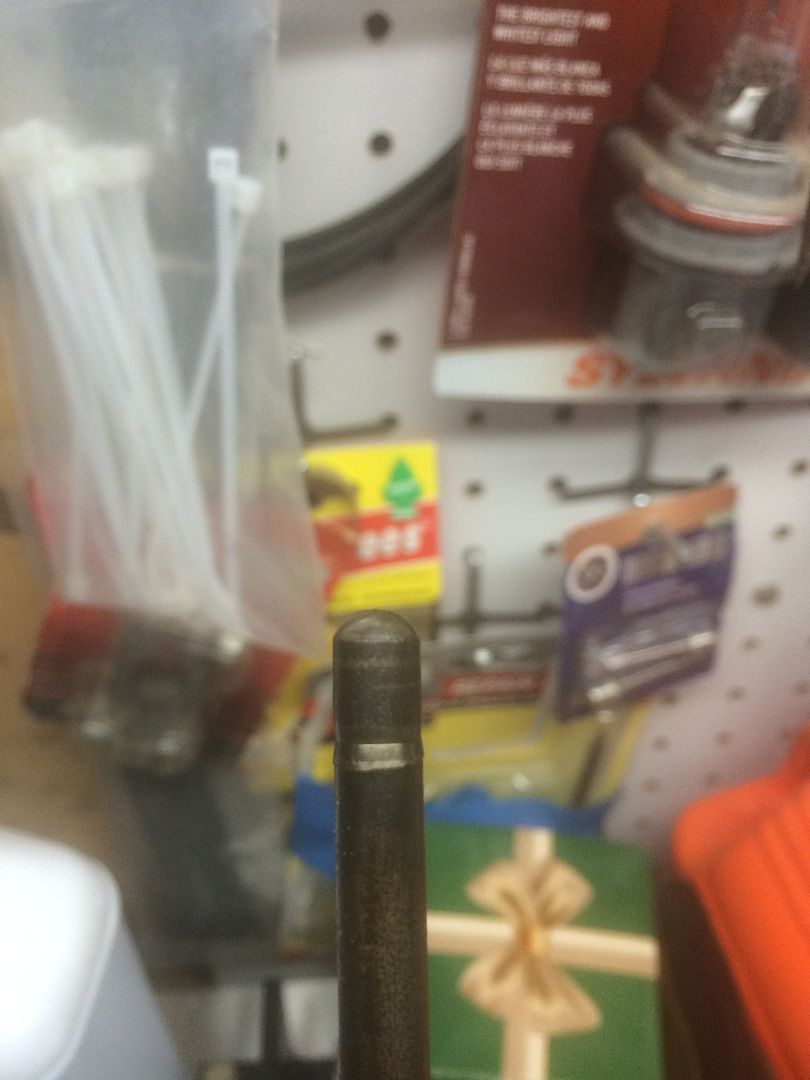
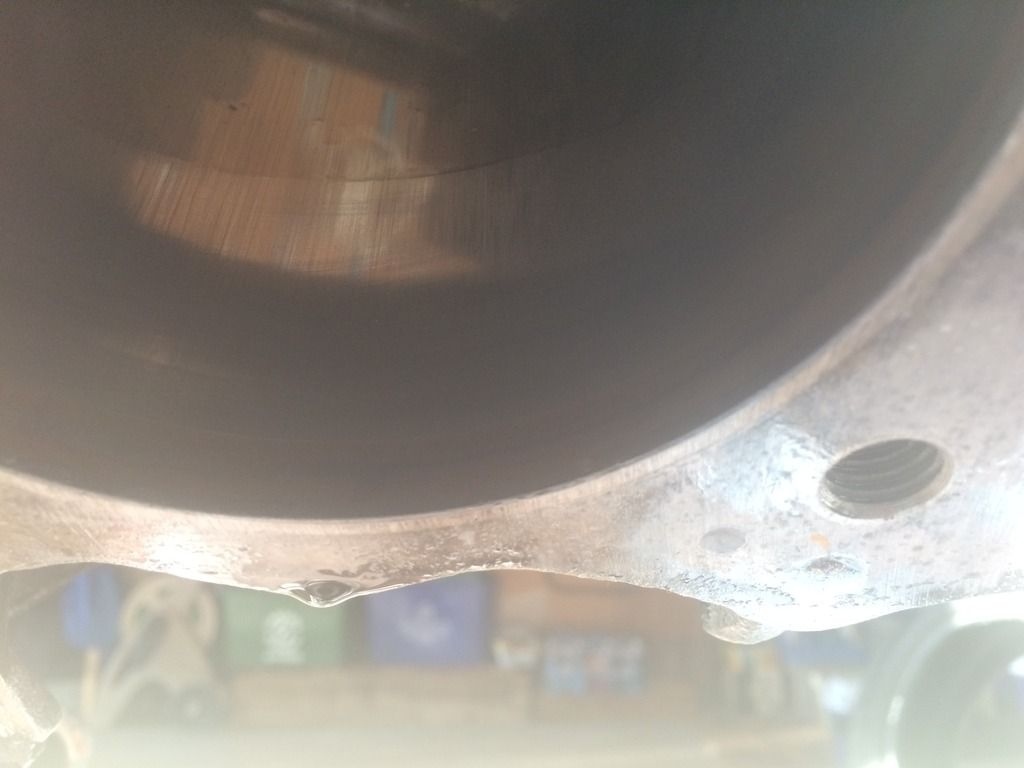
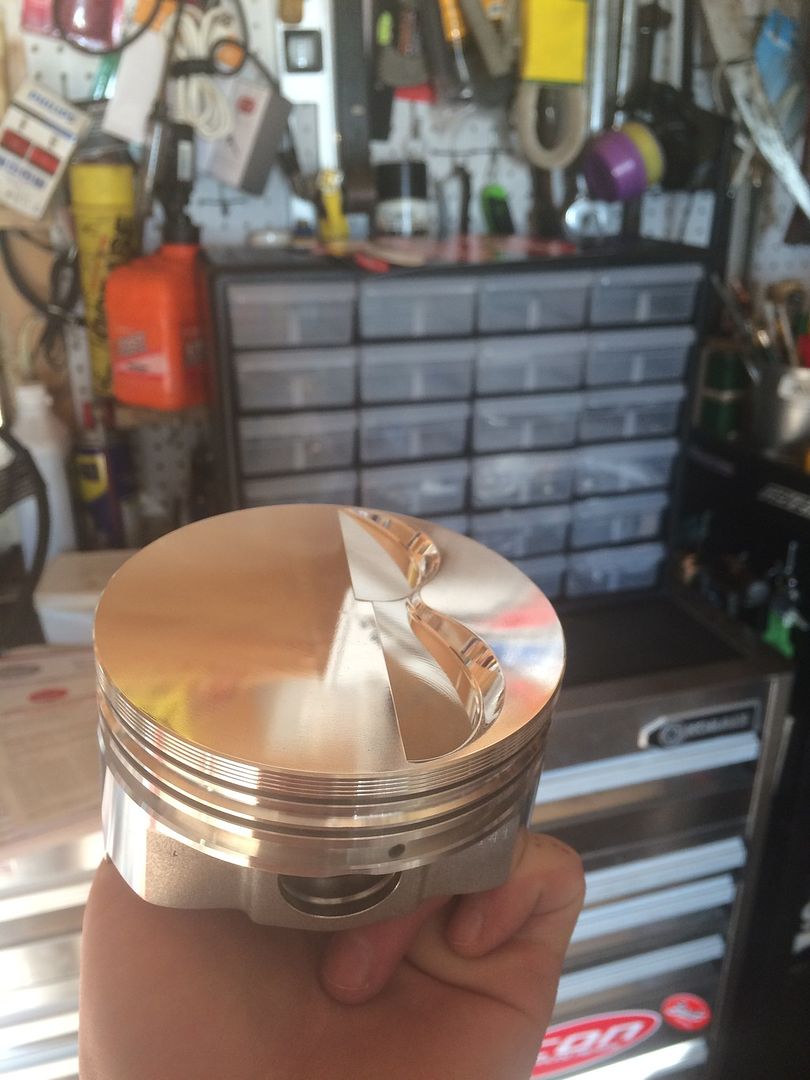
Get a feeler gauge if you don't have one and gap the new piston compression rings before they go in.. (the top 2 rings) PM me if you need help..


