70 duster: updating, and a no-dough pro-touring makeover

-
I had a similar problem with my upper control arms. I bought some cheap new UCA's on ebay for 100 bucks with all the bushings and had somebody install them. They had to grind the lip, too and when I changed to the wider 5.5" wheels I had to grind some more. I wish I had put new bushings on my original control arms. I still have them and may swap them out one day with new bushings.
 
weekly update time.

short version:
the AC is almost finished. all i have to do is wire it, and get a cooling fan in it.
budget: add 13 for brackets, 38.17 for two pulleys and tow electric fans, 169 for an intake, 27 for paint, and 97.56 for a fuel pump block off plate, intake gaskets, and AN fittings, and 9.88 for a belt.
total: 4513.75

long version:
my wife and i were talking about what to do with the ac compressor situation. i shared with her my plans to go with a fabricated setup. i also shared my eventual plans for an intake swap, but that i really wasn't ready to spend the 279 for an eddy RPM air gap.
she wanted me to have a backup plan in case my fabbed setup didn't work out. so while looking on ebay, i stumbled across the pro-comp Chinese knockoff of the RPM air gap. really started debating it, and my wife said shed buy it for me if i agreed to take off the nitrous kit and give it back.
so i bought it, with a little bit of nervousness. these have had bot ends of the spectrum on reviews. from great, to serious porosity and core shift.

mine is actually better from a casting perspective than my victor Jr was. much cleaner and more consistent ports.
i was also surprised by the hardware they sent. instead of cheap freeze plug style things for the magnum pattern like i had heard about, i got stubby wheel stud looking plugs. knurled, with a nice domed top.

heres pics, with port pictures matched to fel-pro 1213 gaskets.
the manifold will get a little porting and cleanup before install, as well as a coat of blue paint. has to match.....

003-2.jpg

004-2.jpg

006-2.jpg

007-2.jpg

008-2.jpg


the 27 was for a quart of POR15 Chrysler blue. and i WILL have it shaken at the paint store before use this time.

i also finished my accessory drive build. surprisingly, it all went according to plan, and a little better than i had hoped.
the most exotic things used in this accessory system, are, in order of oddity:
1. AC idler pulley and adjuster from a Honda D16Z6
2. heim joints and tube

other than that, it was all standard stuff.
for alternator support, i used a parts store Mr. Gasket alternator arm. by the way, the Taiwan chrome on those is CRAP. comes right off with a coarse scuffing pad on a zizz wheel

001-1.jpg


for all the spacers, i used some 1/2 ID steel tube that my dad had under the workbench. also used a little aluminum 3.8 fuel line for a couple of the spacers.
the major thing i had to find was AC/smog/PS pulleys. 4 groove crank, 2 groove water pump. got those for 8 each at pull-a-part this morning from an 85 new yorker that never went a mile without dripping oil. and the odo read 256,***. nasty, nasty car.

anyway, you can get the power steering dipstick out to check the fluid, too.
010-1.jpg

011.jpg

012.jpg

014.jpg

013.jpg

015.jpg

016.jpg


and then i got the lines in. i did change the location of where the rubber hose comes through the core support. classic air has it coming at the top of the core support, and it looked ugly. so i passed it through the same hole that the metal like comes through, and built a little aluminum plate to keep the two lines in place.
did not have to adjust any hose lengths. this is how they were delivered, just the routing has been changed considerably.


017.jpg

019-1.jpg

021-1.jpg


still have to find a cooling fan that fits. bought a set from a 2.7 dodge intrepid, but they are about .5 too deep and contact my water pump pulley.
the k-car fans i had on there, the motors contact my new accessory locations
i do still have this HUGE ford s-blade fan that i found one time. no lie, this thing is about 18 in in diameter. it was sitting on the hood of a crown vic at pull-a-part, and i bought it just because i had never seen an electric fan that size. heres to hoping it clears.
also have to do some wiring
fill the cooling system
finish my fuel pump regulator replumb and relocate
vacuum and charge the AC
add drivers side AC duct

hopefully ill get most of that knocked out tomorrow, so i can have it charged and cleaned up Wednesday on my day off. next weekend were supposed to meet up with our old group of friends from college, and id like to take the duster.

Michael
 
so all has not been well in the world.
i blame murphy. and his law. pictures of the completed and assembled setup, pre AC charging

001-2.jpg

002-3.jpg

004-3.jpg

007-3.jpg

003-3.jpg


so, i go to get the AC charged. runs great the whole 30 miles to the shop that i have do my AC work. get it charged up, fire up the compresor, horrendus racket emionating from the compressor. aww crap.

so we figure out that its belt slippage. no biggie. just turn the AC off, drive it down to the junkyarfd to get my glovebox latch, go home, and get a wider and shorter belt. i paid my 75.04 and split.
never made it to the junkyard.

apparentyly i hooked the constant hot side of the circut to my electric fans. therefor, when my electric fans kicked on, it backfed the circuit, turning on the AC compressor and such. burned up the belt, throwing parts of it around the engine bay.
this is the same belt that also turns my water pump. remember that. its important.

so i have minimal tools other than a phillips screwdriver and a pair of pliers for getting my glovebox latch. nothing to swap a belt, no parts store within walking distance. so i call geico for my free towing, and have it flatbedded the 3 miles back to the house.

honestly thought the compressor had locked up at that point. so i called classic auto air rather pissed. i will give lots of credit to the man out there ive been dealing withm greg. very great customer service, and very thick skin,. also willing to help any way he could. id recommend him to anyone.

after the motor cools off, i figure out what actually happened. call greg back, give him an apology, and go down to the parts tsore for a shorter and wider belt.
go out for a test drive, and wind up doing 100 miles. no problems, and ice cold air. life is good. very, very good. im stoked, and rather happy.

i decided since i have AC now, and since its getting close to RTTH, ill daily the car this past week to give it a real good shakedown so i know its solid for the event. dont want to take a car the whole way to pigeon forge, break it right out of the gate, and spend the weekend trying to keepp it together and salvage the weekend. thats just not my idea of fun.
so monday, i only made it 15 miles. then the new belt was thrown. oly noticed it when my AC stopped blowing, and my water temp got to 230. at least i caught it before i cooked something.
belt stayed in the car. still no tools, but im only a couple hunred yards from a shop thats run by some guys in my sunday school class, endy imports.
borrow some wrenches, put the belt back on, fire it up, go up the way to make the u-turn to get to their parking lot, and thrw the fricking belt again. now im pissed. really, really pissed. put it back together AGAIN 200 yards later (from first throw to stop after second throw), so i can go home. i tighten the ever living snot out of the belt, and pray it gets me the 8 miles home. it does, no problem. go to get in my camry that i just replaced an alternatopr in and charged the battery fully so i can get my daughter picked up. im an hour late already.

the camry wouldnt start. battery wasnt holding a charge.

i was beyond livid at this point.

get my wifes car. it needed gas.

finally got my daughter picked up 2 hours late.

when i got downstairs, i took a look at the belt problem. did a nut and bolt check, and came to the conclusion the the pullies were not lined up properly. shimmed the compressor out 1/8 inch to get everything square, and ran it around a little bit. no problems.

so the next day it makes in 19 miles to red cross before destroying the belt entirely. and spattering belt goo and shards all over my engine compartment.
my dad picked me up, took me up to o'reillies to buy another 19 dollar belt. put it back together on the side of the road. 2 hours late to pick up my daughter again. decide toleave the car there and take the CRX home.
dad and i check all the alignments again, and find that the nose of the compressor is pointed down. so i buy a 3 dollar bolt to make a sturdier mount, put it back together, and try it. doesnt even make it the 10 miles to oakboro friday for the cruise in before the belt turned itself inside out. WTF???
so i spend the time at the cruise night fixing my belt. got it back together, and prayed that it would get me home. it didnt.
only this time, it was the belt that drives my power steering and alternator.

ive gotta say, wide 17's, agressive alignmnt, powerless steering, and a small diameter steering wheel dont mix well when all put together unexpectedly. when the belt let go, it ripped the steering wheel right out of my hands in the middle of a turn. that was a seriou oh **** mmoment. i managed to save it from the ditch. it wasnt poretty, but i saved it. did tap a mailbox with my outside poassengers mirror. only chipped the chrome. i got damned lucky.
i drove it home the rest of the 15 miles with no charging system and no power steering. at night. in the country.
when i got to town where there were streetlights, i turned off my lights to conserve electricity to get me home.
got escorted by a cop for the last two blocks. when i explained in my driveway, he was cool with it. probably figured something, which is why he didnt light me up in the neighborhood.

and oh yeah, the water pump/AC belt turned itself inside out and ate itself to shreds too. dammit.
so, heres pictures of where i sit now.
008-3.jpg

009-2.jpg

010-2.jpg

011-1.jpg

012-1.jpg


so what the hell is goiung on here????
i really need to figure this out, or cancel ouyt of the event. next weekend is my go/no go date. any later than that, i cant confirm dependability, button up all the little details, and detail the car.

theres gotta be a reason that the belts keep going like this. i think the power steering/alt belt died due to old age. i have no idea about the AC/WP belt other than maybe the compressor is moving around or something.

gove me some ideas, things to check, something. I NEED HELP!!!!!

Michael
 
that sucks. im going to do some kind of ac on my duster, i jsut need to decide which route.
i think its the idler setup, that didnt look like it was going to work out to me, but it was worth a shot. i try not to add anything negative to some ones build thread or attempt. it looks crooked in every pic, but hey maybe its just the pics. i dont like the serpentine grooves on the idler, running o nthe back of the belt. i know they used idlers on v belts, but did they run on the back side of the belt? i think ive only seen them in side the belt pushing it out, i dont know if a v belt is made to run that way.
 
Don't have any really ideas, but i wonder if you put it back together and had someone blip the throttle and run the rpm's up, if you wouldn't see something, moving around. Maybe you've done that, just a thought.

I do know that for some reason, getting a belt alignment is tricky. Seems like it all looks good, but it's an optical illusion, and it's not. Maybe things aren't lined up as they should be? Just a theroy, but that might explain the twist in the belt.
 
ive seen it done plenty of times on industrial equipment and lawnmowers. had no reason to believe it wouldnt work in an automotice application. with that being said, i cannot recall ever seeing it done that way in a production car. do y'all think a notched belt would solve it, as they flex in tighter radiuses both ways?
 
yeah i guess its done on lawn mowers but dont they use a different type of belt?
 
umm....

slightly? its more woven than rubber. that may have something to do with it. but the industrial equipment ove worked on seem to have similar to automotive belts.

wonder if i could use a lawnmower belt?
 
with the ac swap, i guess you lose the passenger side fresh air door?
 
yes, and one of these days ill be removing the drivers side as well. it lets in a hot air draft, and ill gain a little boot room.

im OK not having it anymore, but it WAS a reaaly cool feature. the AC more than makes up for the loss, though.

the AC swap that i used only uses cabin air. no outside.

hope that helps.
Michael
 
so i wound up remaking the compressor mounts entirely.
figured out that everything was fine with the old one, UNTIL you put tension on the belt or turned on the compressor. then it moved about 1/2 inch in any direction it wanted to.

i also triangulated it in the process. added a lower rear mount, and moved my turnbuckle adjuster to the front side, lower portion.

lined it all up in every plane i could think of, making sure that it was as square to everything else as possible.

Ive put 200+ on it since Friday night with no problems. so i think Ive got it nailed down.

i also discovered why the power steering belt went.
the ride home, when the compressor belt came loose, it went rearward on the crank pulley, only being retained by the power steering belt. over half of the belt was ground away before it snapped. over half of my AC belt was ground away as well. so i think that was my failure point. been keeping an eye on it anyway, though.

wound p costing me 17 in new belts, and another 12 for another ,r. gasket chrome alternator bracket, which i quickly took a hammer and sawzall to to make my triangulation mount.

i may still make it to RTTH, but I'm undecided right now. depends on what the insurance company does with my daughters medical bills from where we had to take her to the hospital.
worst case, theres always next year.

heres pics of the remade mount.
005-3.jpg

006-4.jpg

007-4.jpg
 
so, i finally am caught up enough from the aftermath of my vacation to post an update.


short version: even though i broke it, i had a blast at RTTH7.


long version (get a cup of coffee and sit. it may be long)


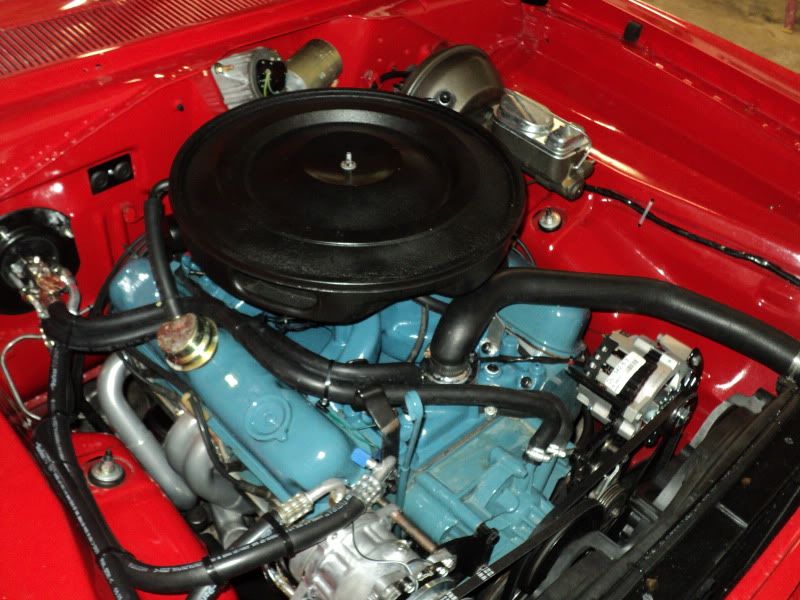
i spent about 4 days after my last update getting the car as clean and detailed as it has been since the full resto. its really quite sad how neglected i let this car become. cleaned everything but the undercarriage. waxed/buffed it, armor all, cleaned the inside of the wheels, detailed/touched up under hood, etc. car was really looking great. i should have taken pictures then, but i didn't. theme for the weekend, really.


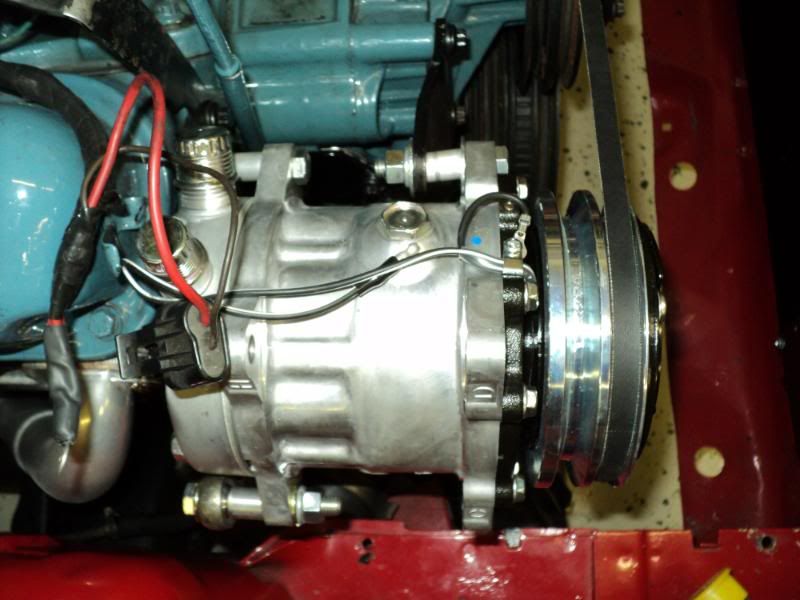
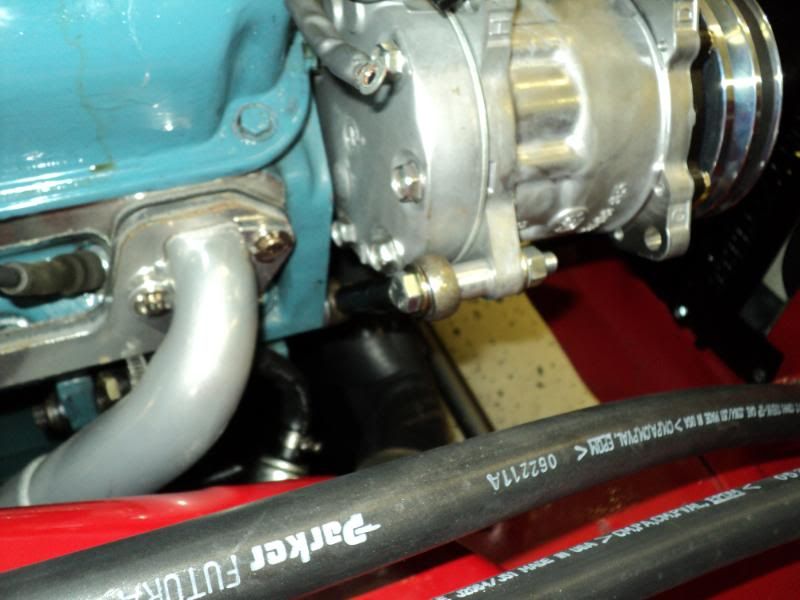
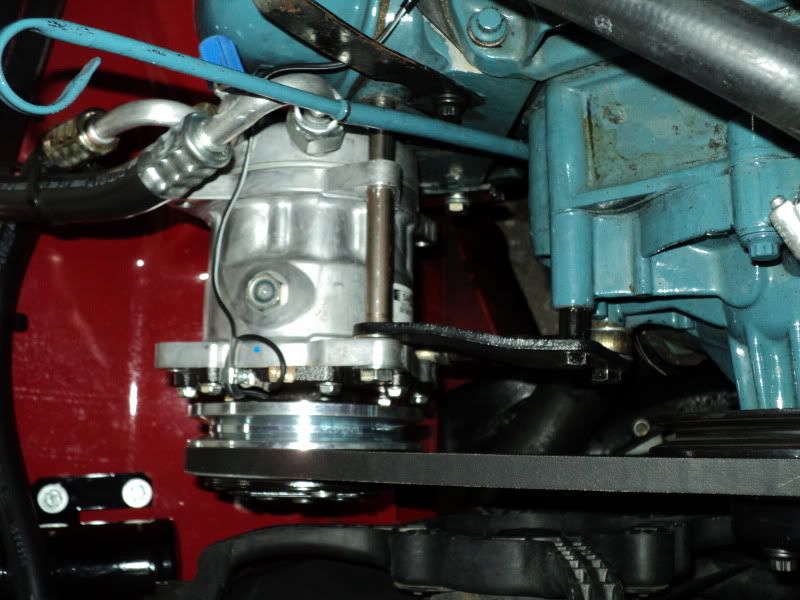
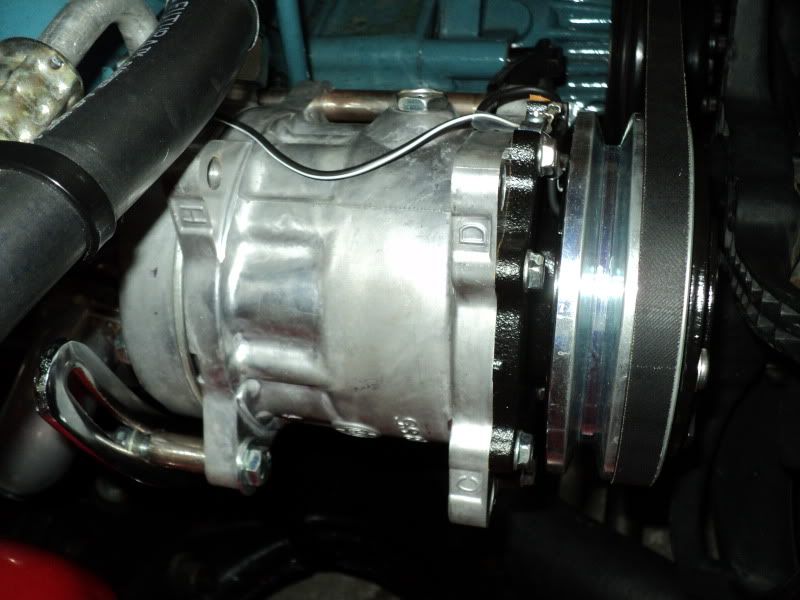
I drove the car down to my fathers shop (the one in pictures with a lift) for him to do a tech inspection on. on the drive down, found my AC compressor wasn't kicking on. so i added that to the list.

he found a LOT of play in my idler arm, so we swapped that out under the lifetime warranty. i also put the first new pair of wiper blades on the car since the late 90's. they were desperately needed (used a spare set of refills that i found in the storage, cut to correct length. free is good!!)

those were the only issues i found then. fixed them both, and put the cover on it.


Thursday morning, we loaded the truck. little cloudy, but it was nice that it wasn't so hot. about the time i uncovered the car and backed it off the lift, the bottom dropped out. driving, pounding rain. right on my fresh detail job.

oh well, i built the car this time to drive, not polish.

we got it strapped down, changed into dry clothes, and headed for pigeon forge. had rain almost the whole way. when we got up there, sun was back out.

the GPS was wrong, though. instead of the toy box, we wound up at a dead end in a cemetery. interesting getting the trailer and truck out of there.

got to the hotel, registered for the event, got the car off the trailer, and walked across the six lanes to a little diner. good eats, and nice to spend time with my dad. the other p-t.com guys started rolling in, and we sat in the parking lot swapping stories and eyeballing cars until after dark. it was nice, and work only called me three times. which was even better.


Friday morning, we got the car all cleaned up the best we could in the hotel paring lot. spray detailer, microfiber towels, and a little bit of drying with a waterblade and some spare hotel towels. car was looking good again.

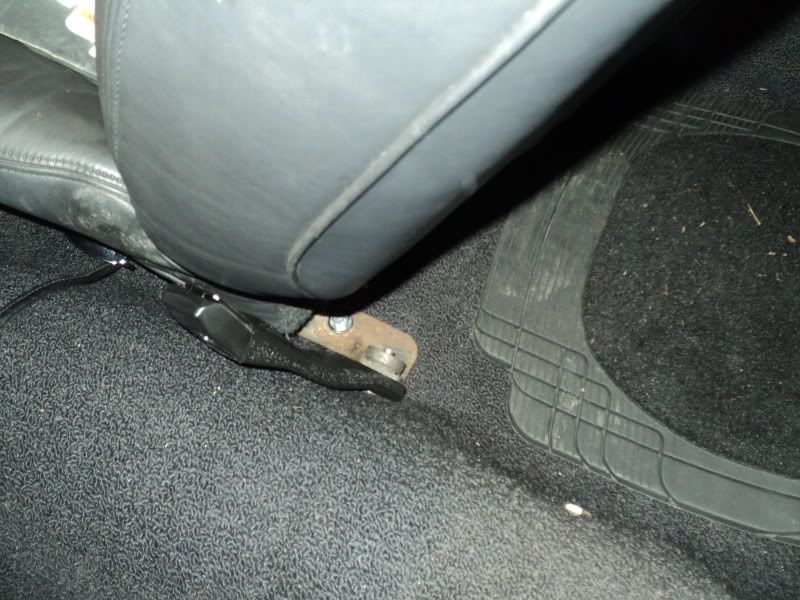
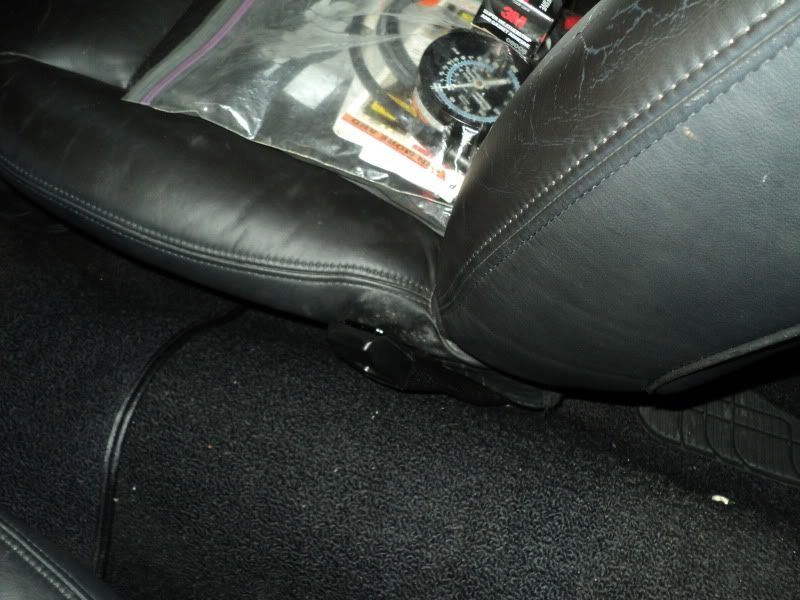
we applied the event decals, and i went to just double check everything before running tail of the dragon. learned that my AC was still not working, and neither were my cooling fans. the problem with the AC was a bad binary switch (jumped it with a piece of 8 gage wire), and the cooling fans were a bad relay. found an advance down the road about a mile, picked up a 5 dollar relay, put it in in the parking lot, and the fans worked. made it back in time for a sand which from the cooler and to meet up with everyone before the cruise. we also realized on the ride back from the parts store that the electrics in the passengers side seat were only working intermittently. turned out that my ground screw had come loose. 10 seconds with a 7mm wrench and we were back in business.


left for the cruise with a couple we had met at the diner the night before. gentleman's name was Jeff, and i forget his wifes name. they drove a 67 vette on a tube chassis with an LS7. wicked, fast, beautiful car. and very, very nice people. we hung out with them most of the weekend.

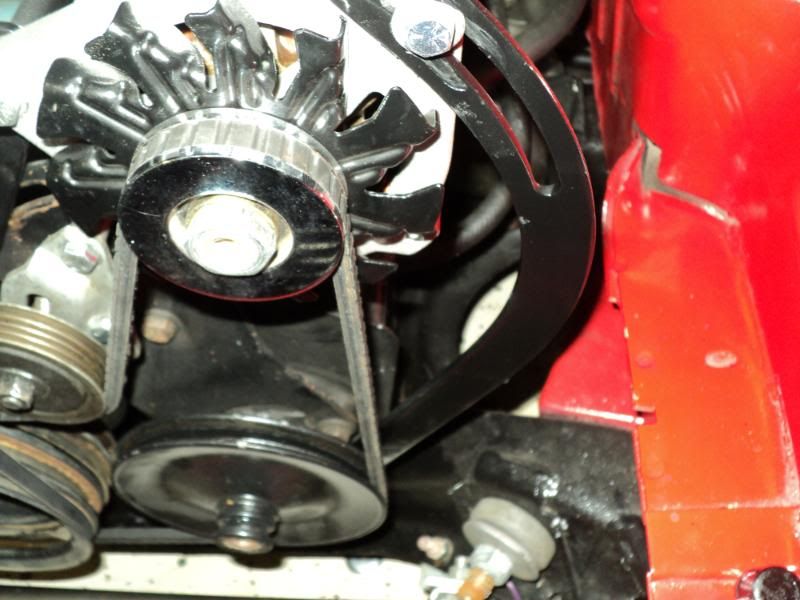
about 9 miles in, the car was running very, very hot. pulled over, and Jeff, as well as a young guy with a 67 camaro, and a 67 GTO convertible pull in to check on us. turns out the hot side prong on my snap switch for my fans had snapped off. side of the road fix was to straight wire the fans to the charge stud on the back of the alternator. just loosen the nut and pull the wire off so it doesn't drain the battery when parked. left it that way the rest of the weekend, cause i had a spare back home.

ran the whole dragon, and had fun. had lunch with dad, Jeff, and his wife, as well as a guy in a late model camaro that had joined up with us at the dragon. good eats at the gift shop, pricey though.

and that road is incredible, its no wonder so many people get hurt being stupid on it. you should see the tree of shame. truly incredible. and kind of heartbreaking, knowing how much pain and misery, and even death was involved in making that tree.

after lunch, we got flagged by a guy saying that there was a GTO broken down a little ways up the road. turned out to be the same one that stopped to help earlier. we jerry-rigged his alternator charge stud back together the best we could, jumped him off, and started back to precision hot rods for dinner. he was well ahead of us, as we were taking out time and enjoying the scenery.


about 10 miles later, we met back up with him. our patch held, but the exciter inside the one wire alternator didn't. gave him a ride to pick up his truck and trailer, and met another really cool guy. Jeff and his wife, as well as the young guy in the white and orange camaro, stayed to help as well.


dinner at precision was good, and their shop is incredible. I'm a no-talent hack compared to those guys. and you should see the industrial equipment they build in the next building. truly impressive.


got back to the hotel and passed out. long day.


Saturday morning was the autocross. cleaned the car up again, and noticed that my thermostat housing gasket had started leaking again. topped off the radiator, and went through tech. no prob.

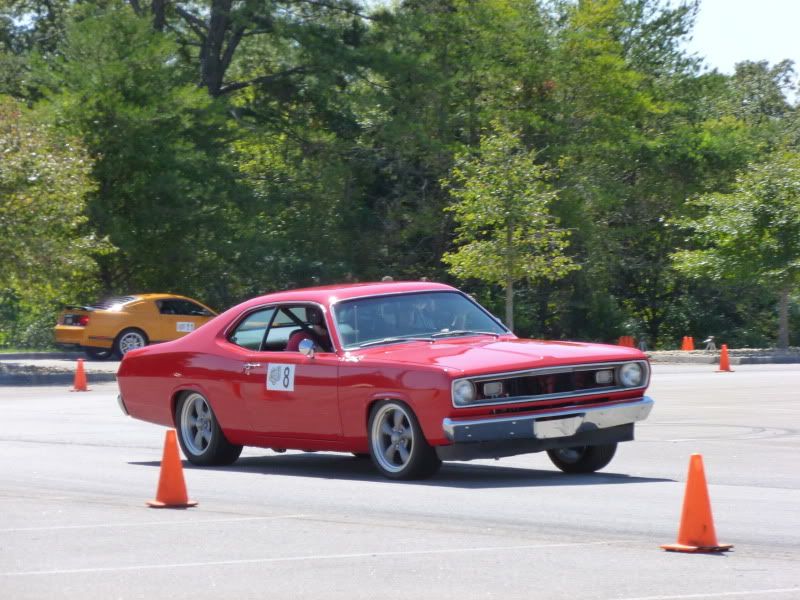
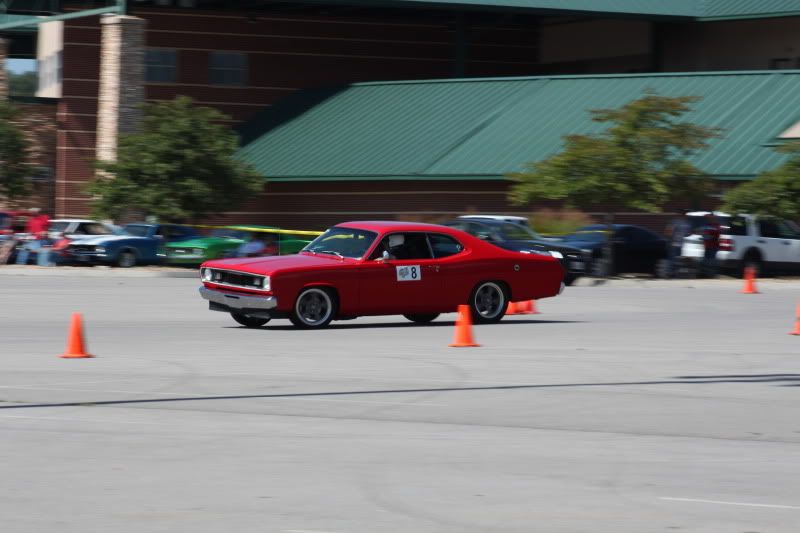
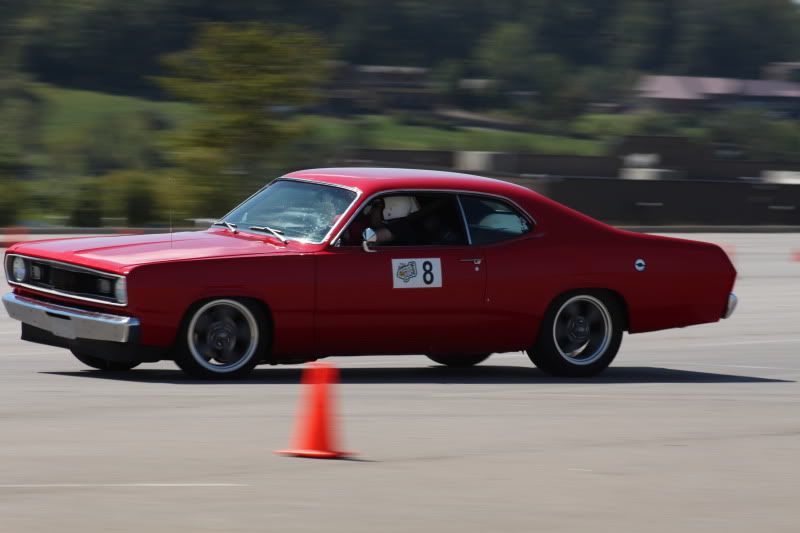
bill had the event set up so each run group got two sessions of 6 runs each. i was car #8, so i was in the first run group. the track was HUGE. more like a low speed road course than an autocross. biggest autocross course i have EVER been on. hell, it was bigger than most go-cart and motorcycle tracks Ive been on. just huge.


my first run, i broke. blew the thermostat gasket clean out from between the manifold and housing, covering my windshield and car in coolant. i didn't think the little leak was anything big, but i didn't account for the pressure spike when i pulled the trigger for WFO to 6500 RPM.

lost my whole first session getting a new gasket and the car put back together. dad jumped in the truck and ran down to a parts store, grabbed some antifreeze and a gasket, came back, and we stuck it back together.

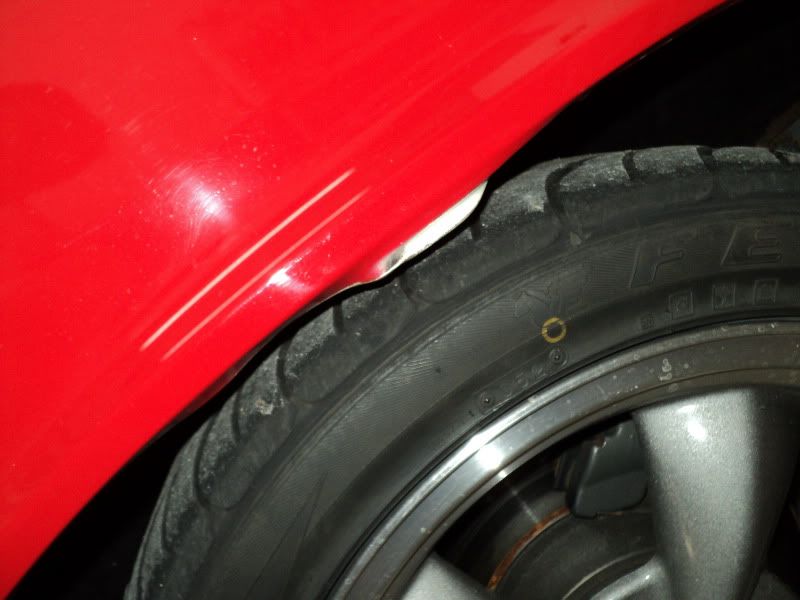
second session i was running pretty good. had a bit of trouble with tire rub, resulting in a mangled front right fender lip.

the story is pretty cool, really.

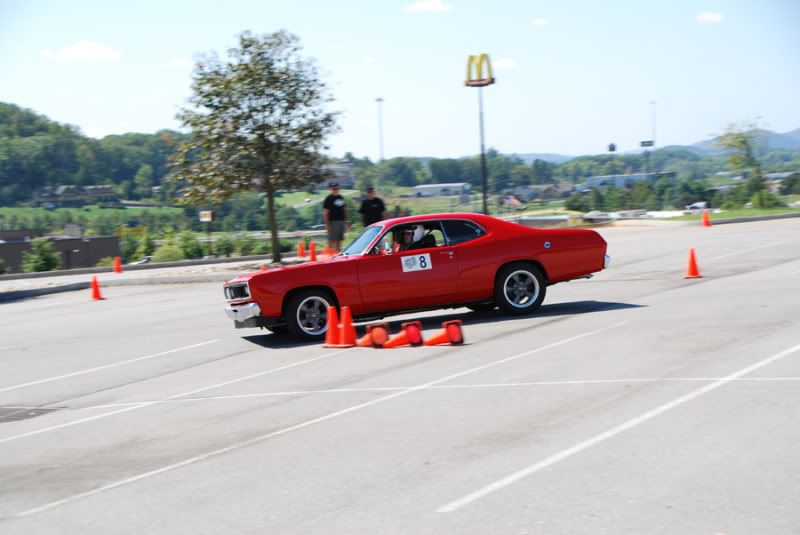
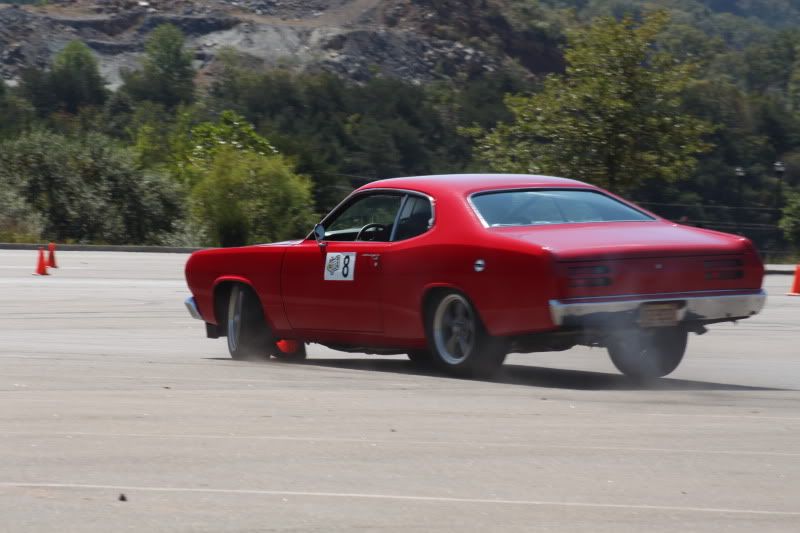
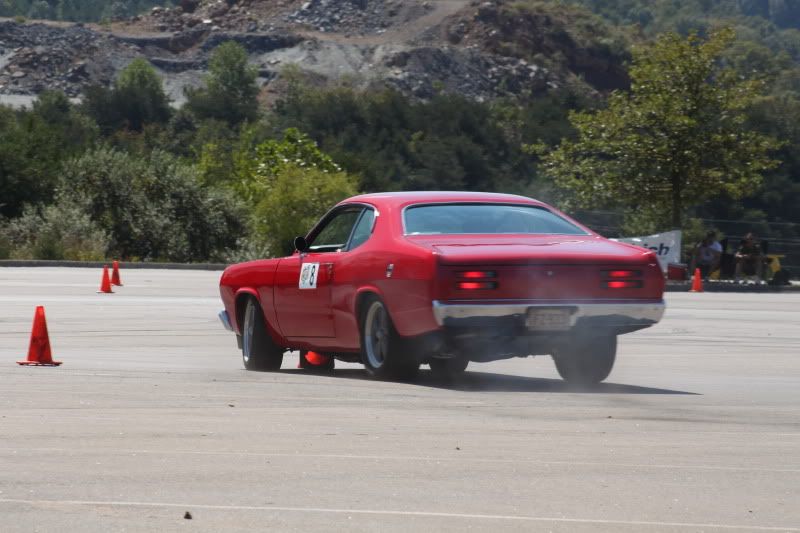
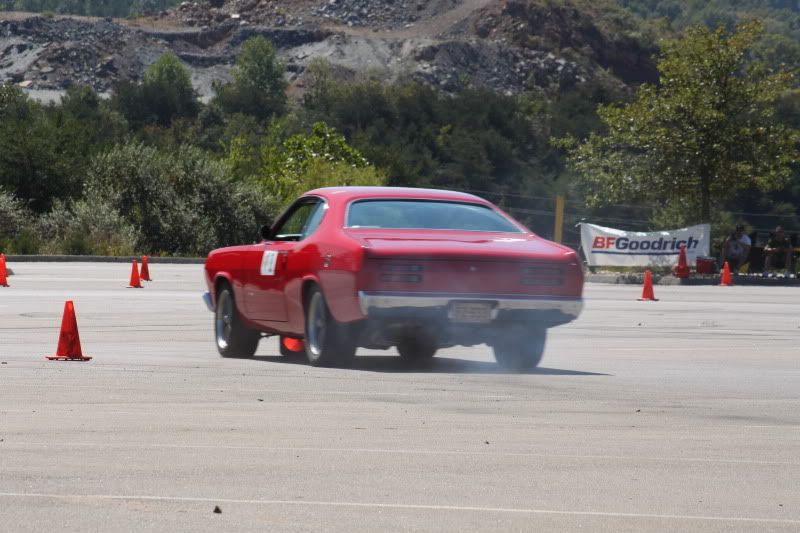
snap throttle over steer.

i backed off when the back end broke free. tires locked up, bringing the back end of the car around even more. full opposite lock four wheel drift. when the tires finally caught traction again, i was still at opposite lock. the shocks and springs are soft enough that the body rocked over HARD, catching the front tire pretty good. actually hit my passenger in the face with a rubber chunk.


got all six runs in. my fastest time of the second session (my first) put me solidly in the middle of the pack for everyones first session. so i felt pretty good about that. add that to being the only torsion bar mopar there, and i felt really good. especially with as mild as my car is. there were three other mopars. bills charger (full on XV level 3 suspension), shafi's kuda (coil overs, hemi, etc) and a Dakota RT.


had dinner at the toy box, with the best steak i have had in a very long time. thanks again, Alfred.


Sunday was the drag strip. 1/8the mile. first time i had been on a strip since the late 90's. so i was a little rusty. the car fighting me didn't help. i did not make a single clean pass before breaking.

every pass, it had a very nasty bog and layed down through first gear. only got 5 runs in, so i never had time to even think about tuning it.

launched good and straight though, and pulled like a freaking freight train in second. when i didn't miss it power shifting.

my best run was an 8.6 something. which is 14's in the quarter. best 60 ft of 2.6 seconds, with no wheel spin. that should tell you how bad she was running through first.

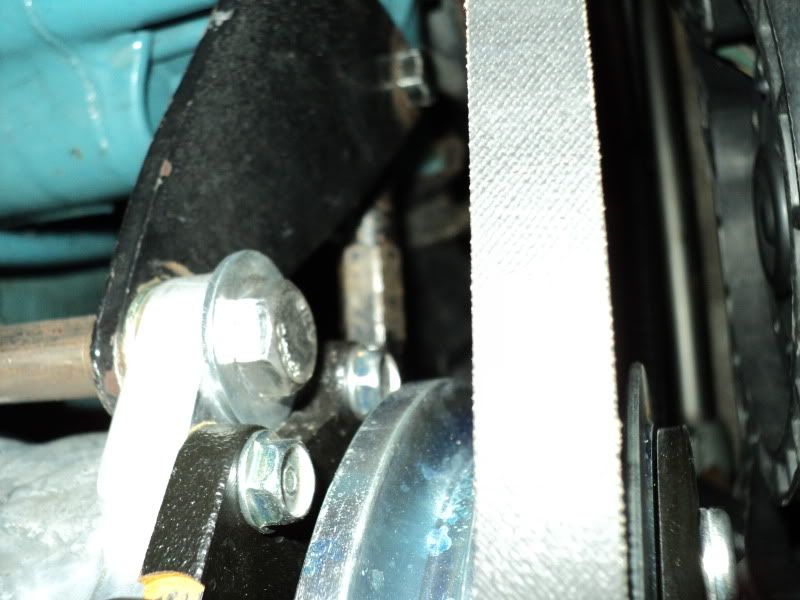
on my last pass, the car had had enough. i went to power shift second, and the clutch pedal stayed on the floor. had to get off the throttle from where i was bouncing it off the rev limiter, and kick the clutch pedal a few times. it came back, and i coasted the rest of the run. go to turn on the return road, and have no power steering. apparently while bouncing off the rev limiter, i threw the belts. with everything else, i was done. threw in the towel, parked it, and watched for a little while.

tossed my spare belts back on in the pits, pulled it on the trailer, and came home.


on the last run, my alternator also apparently caught fire. blackened, charred, and no longer charging.


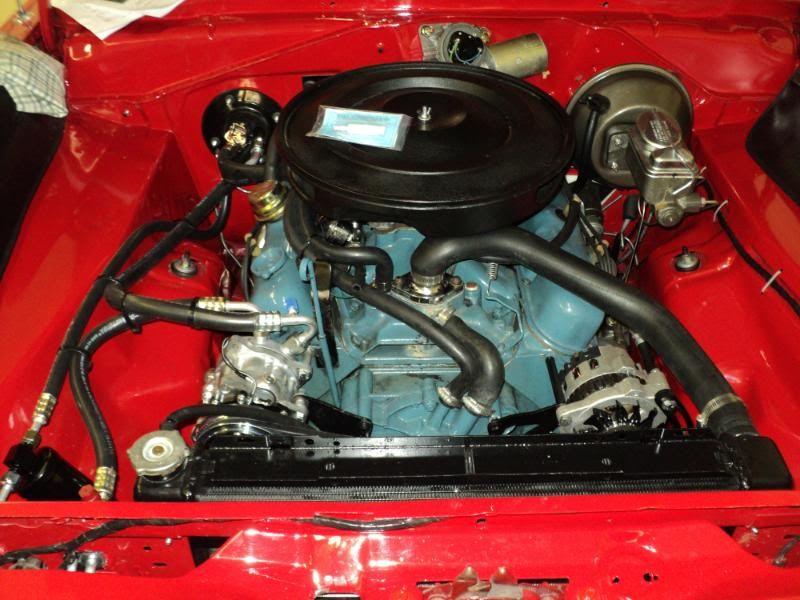
when i got it home, drained the coolant, fixed my wiring hacks, replaced the alternator, fixed the AC proper (bad connection at the binary), found my rear axle noise (drive shaft hitting muffler)

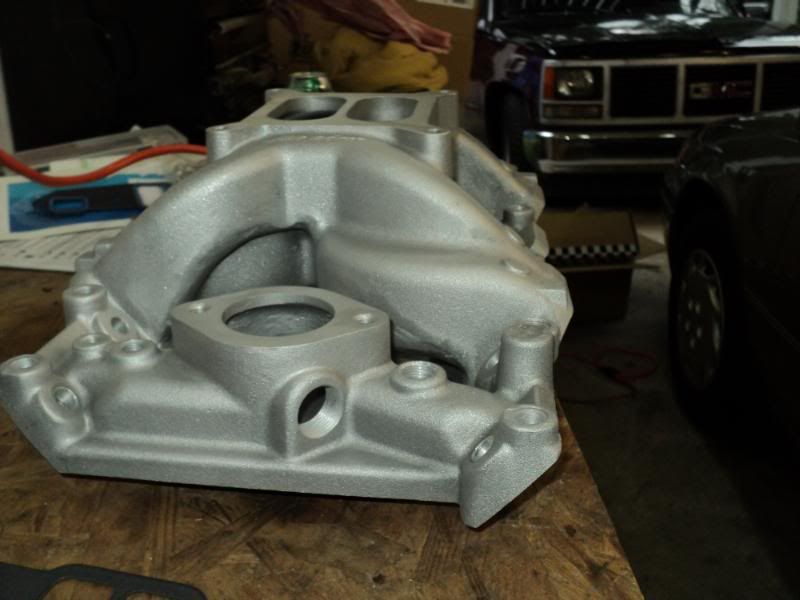
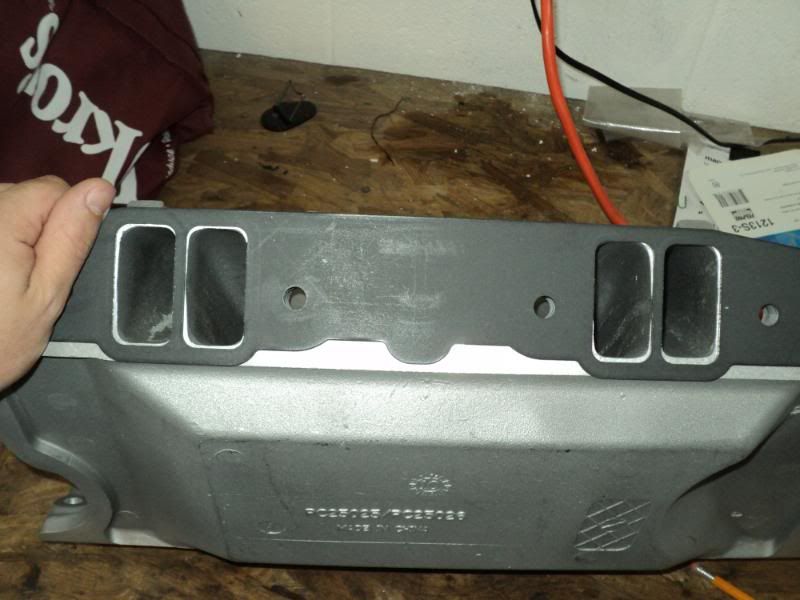
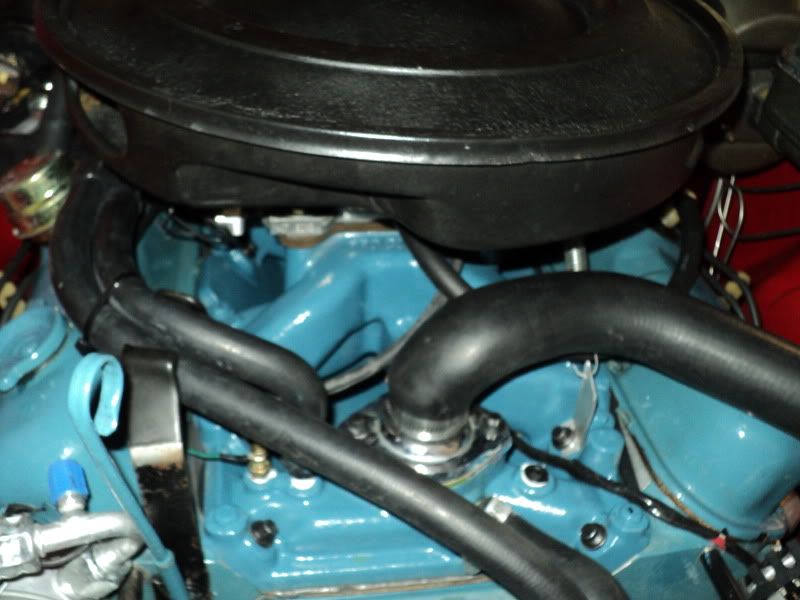
and yanked the single pane to finally put my dual plane in.


the dual plane is gasket matched, and the ports lined up very well. the bolt holes, however, don't. they are all drilled at the wrong angle. so i have to pull it back off, re machine the holes, and try it again.


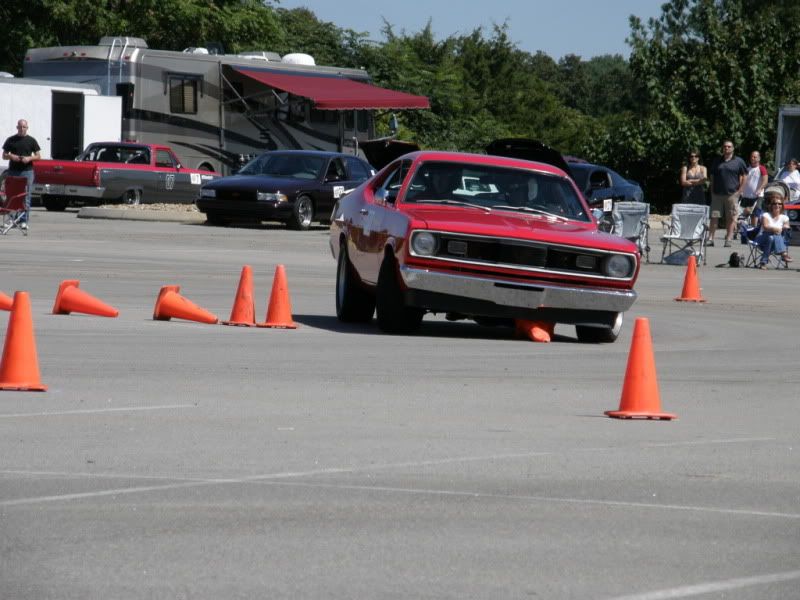
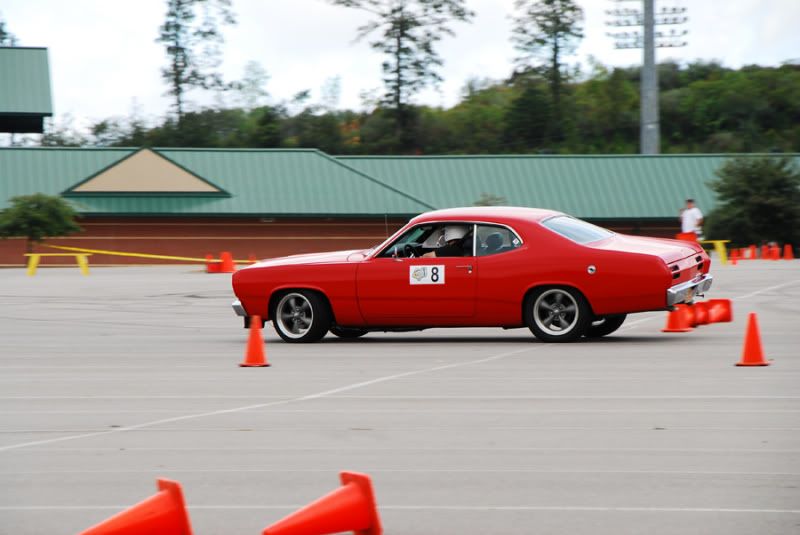
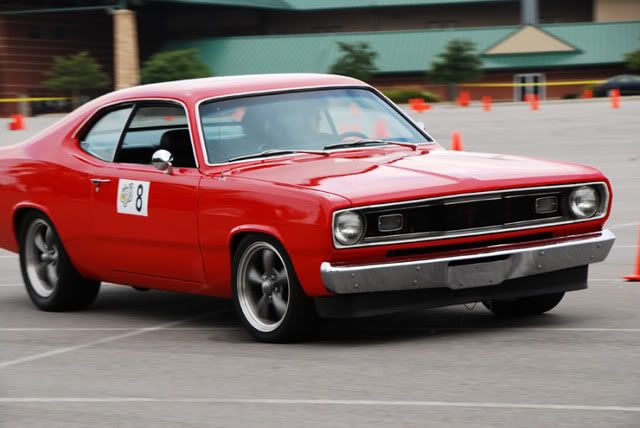
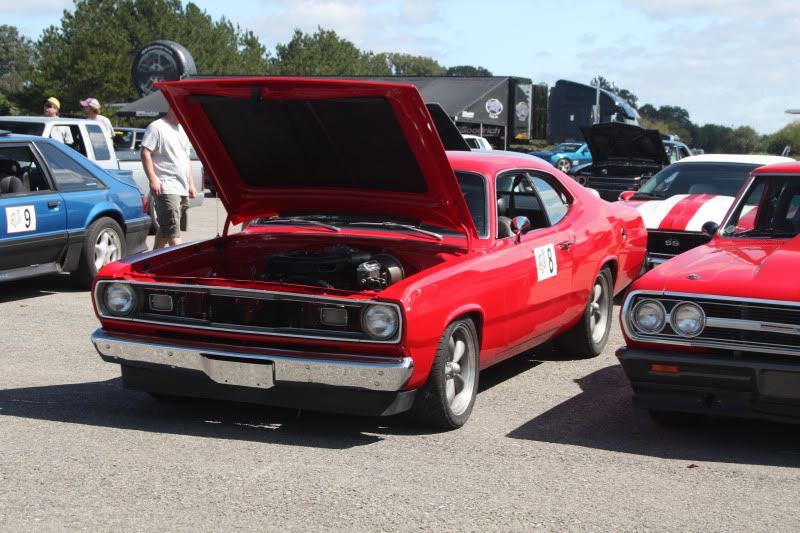
so thats where we currently sit. i also did not manage to get ANY of my own pictures at the event. apparently my disc was not properly inserted into my camera, so they did not save. but other guys did take pics, which i will repost here for the sake of those that like to look.


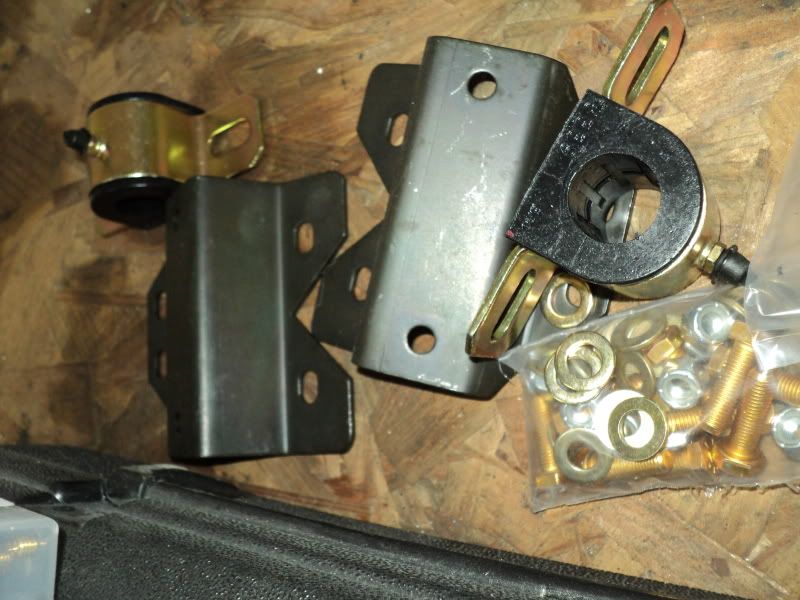
also, I'm going to be revising my sway bar mounts up front, upgrading shocks, ditching the lowering blocks for a better solution, and probably upgrading to 1 inch t-bars. she is very undersprung and damped right now. hopefully, i don't lose my incredible ride quality.
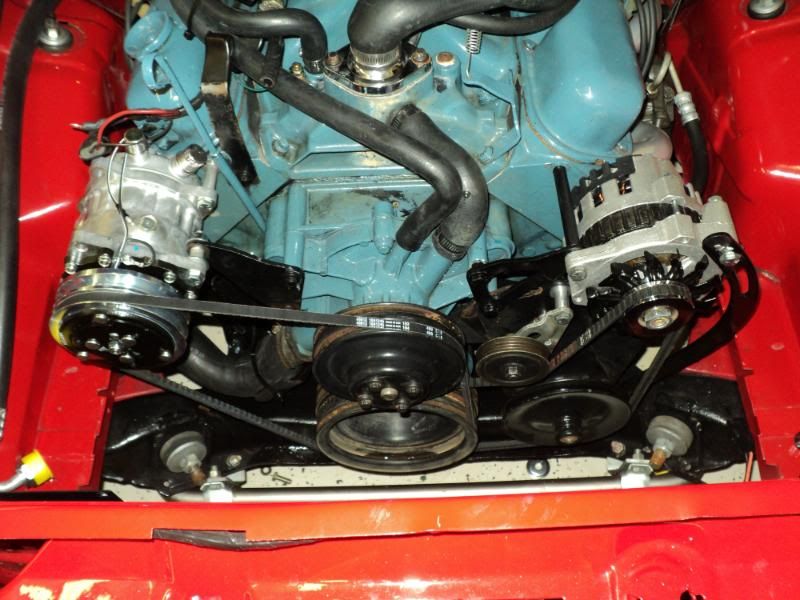
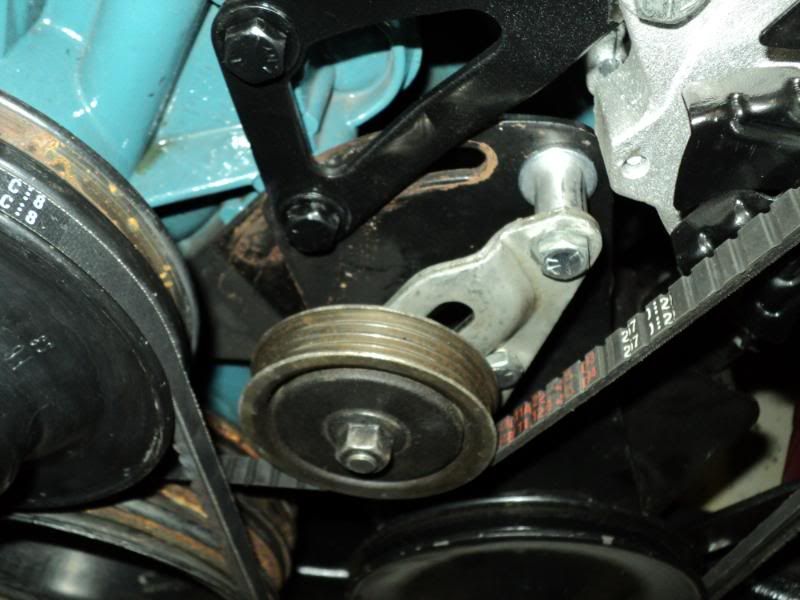
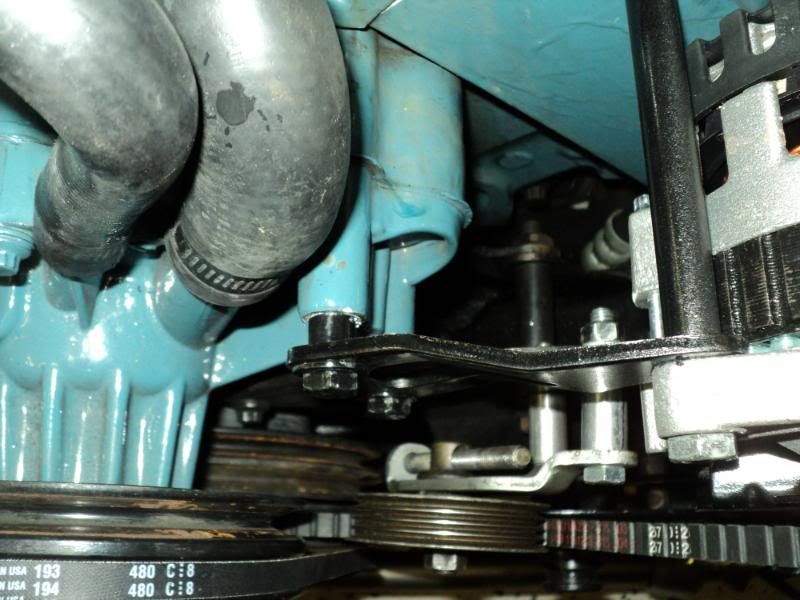
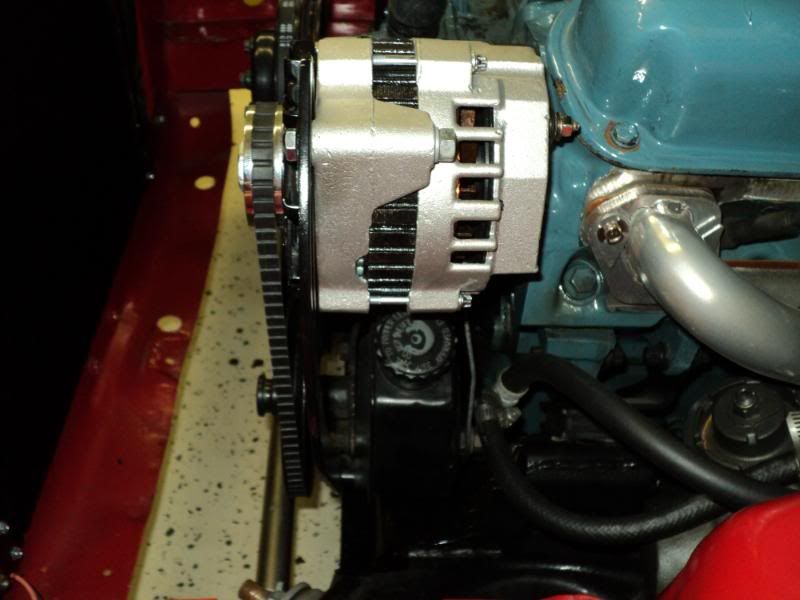
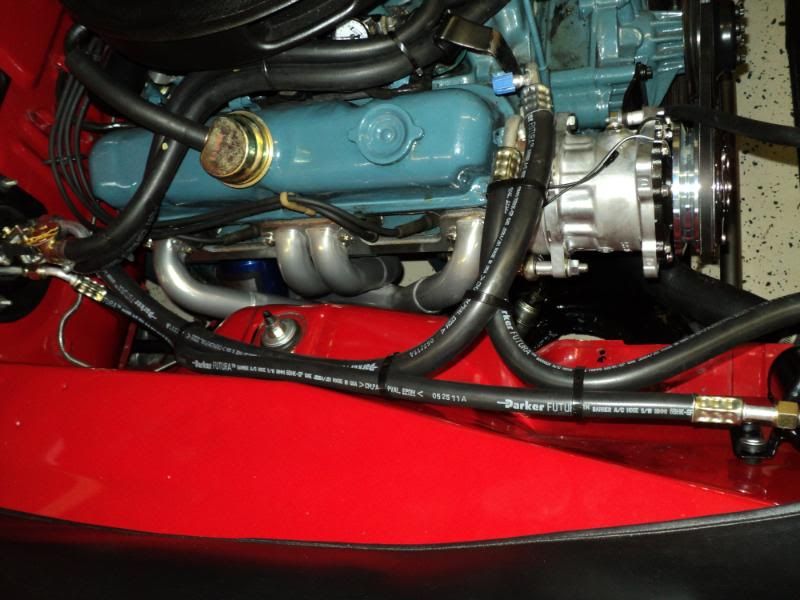
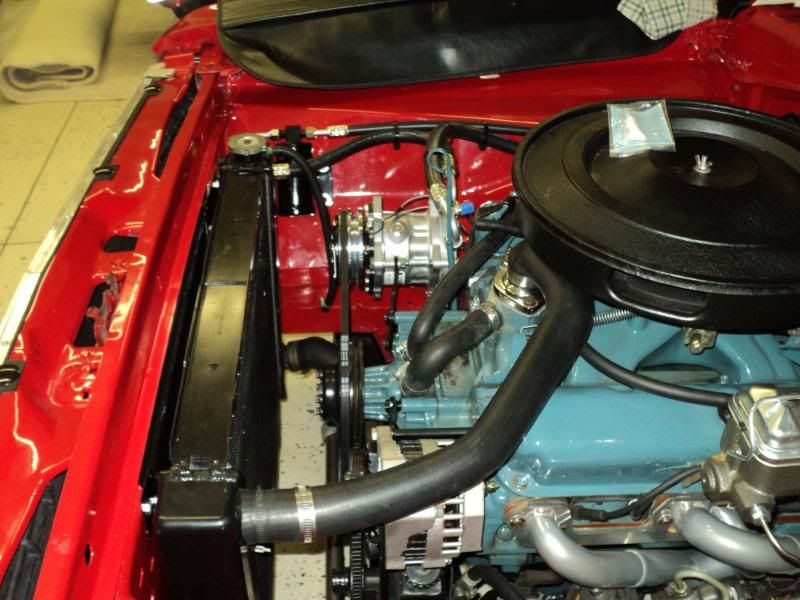
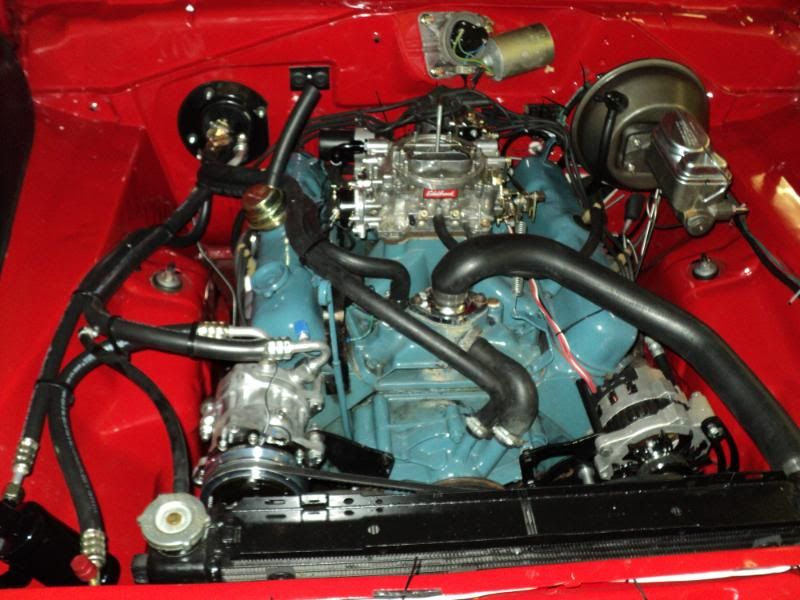
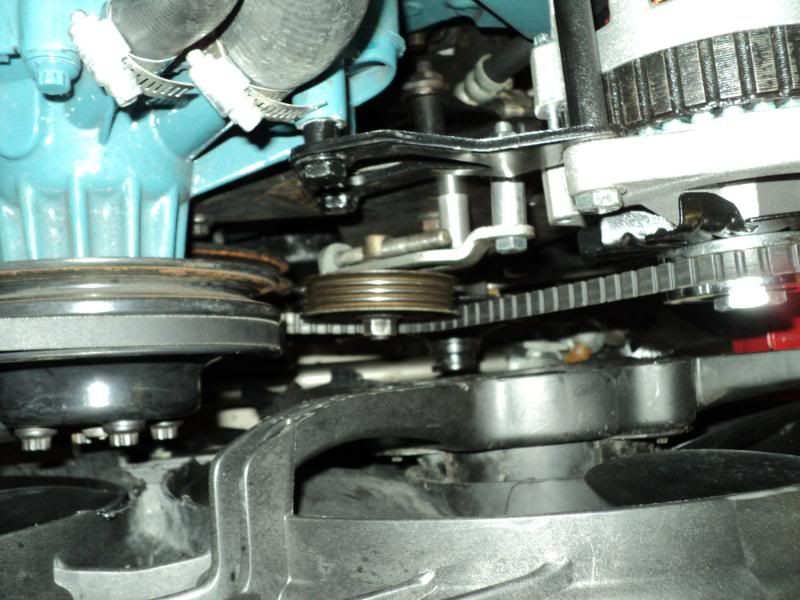
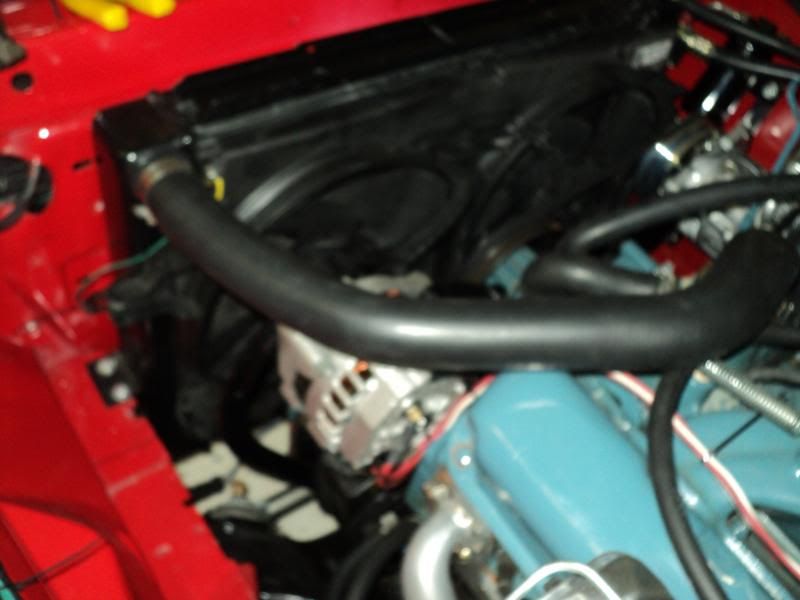
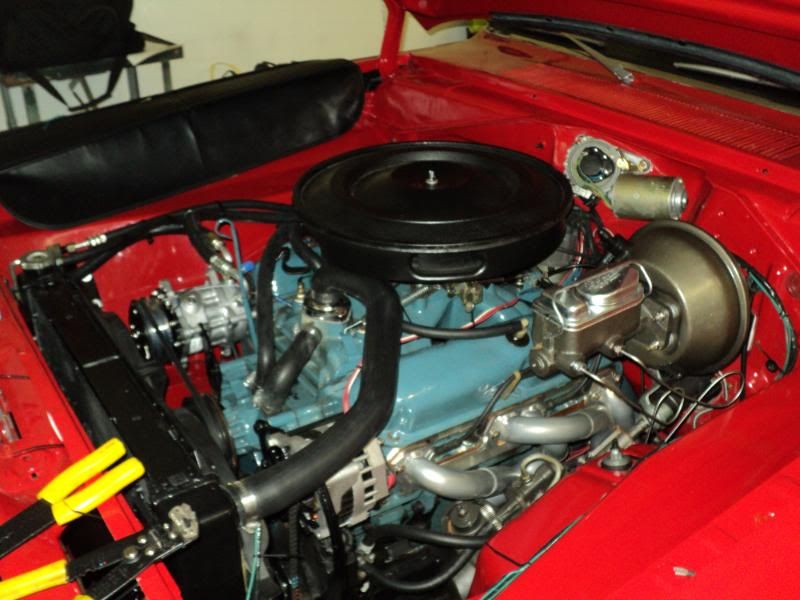
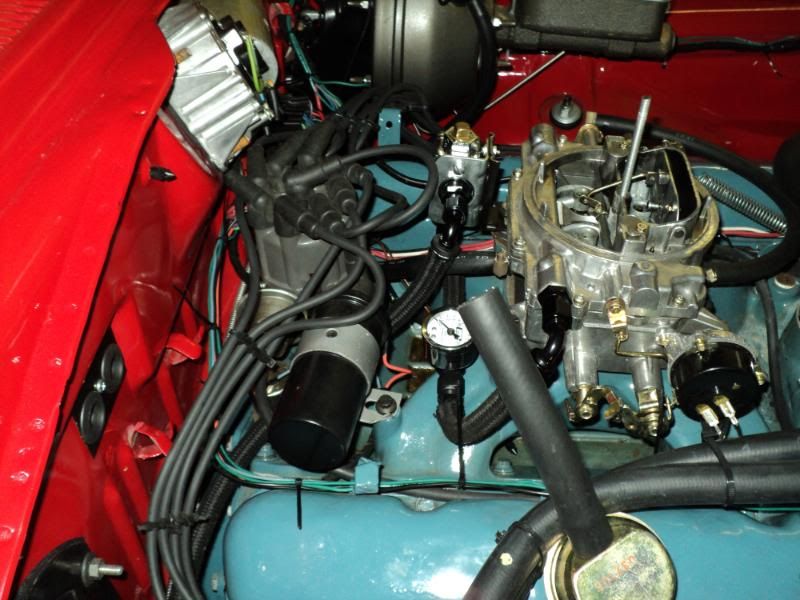
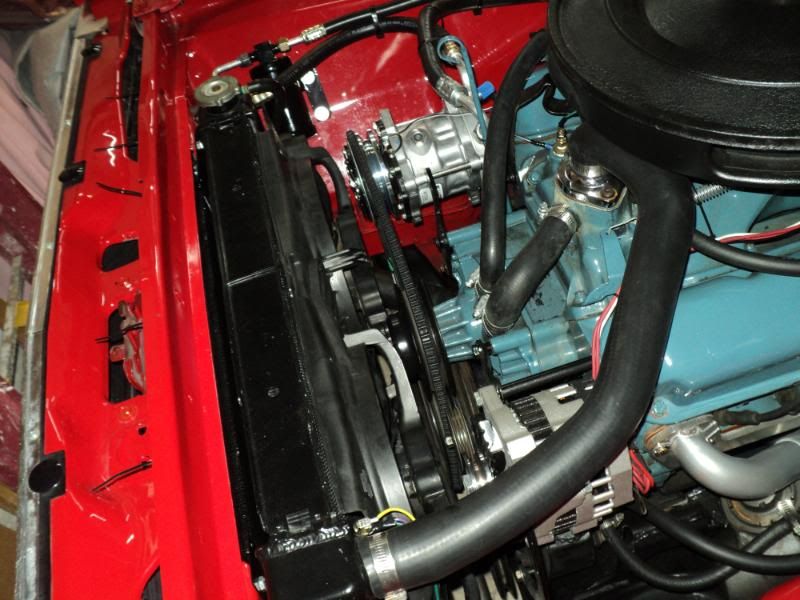
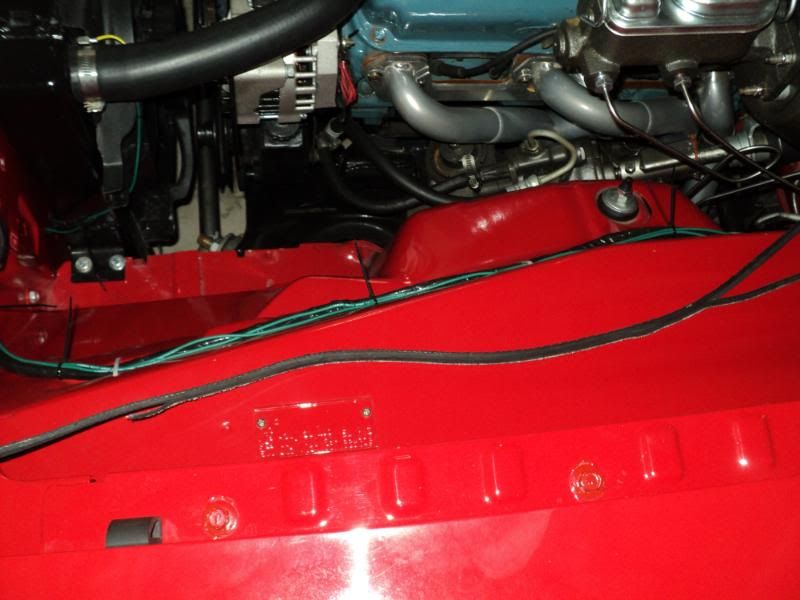
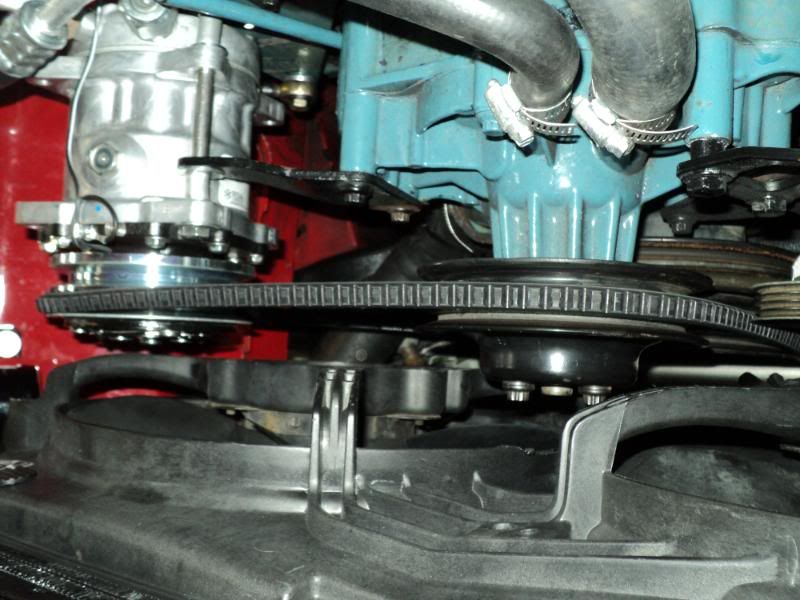
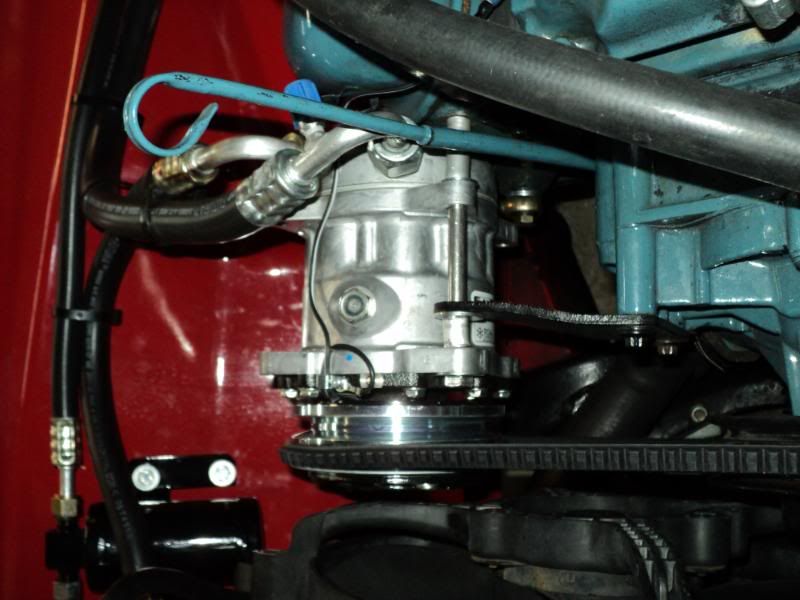
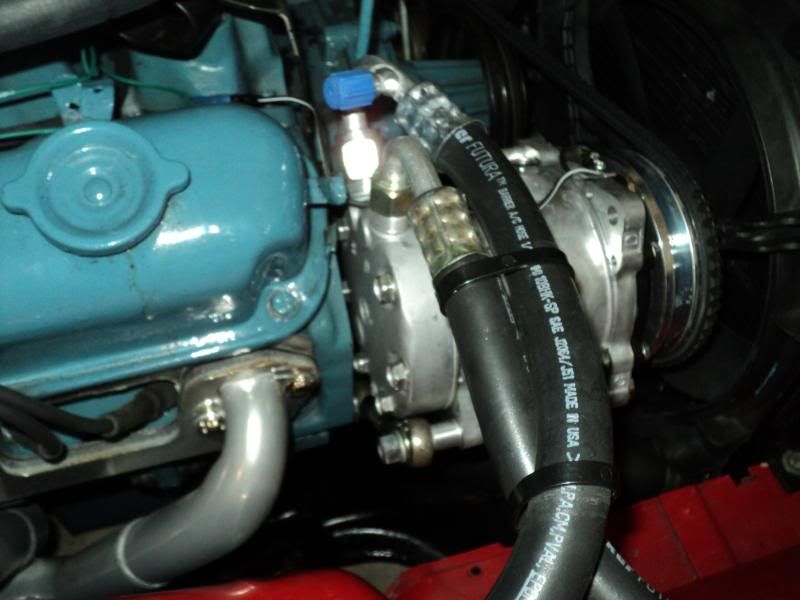
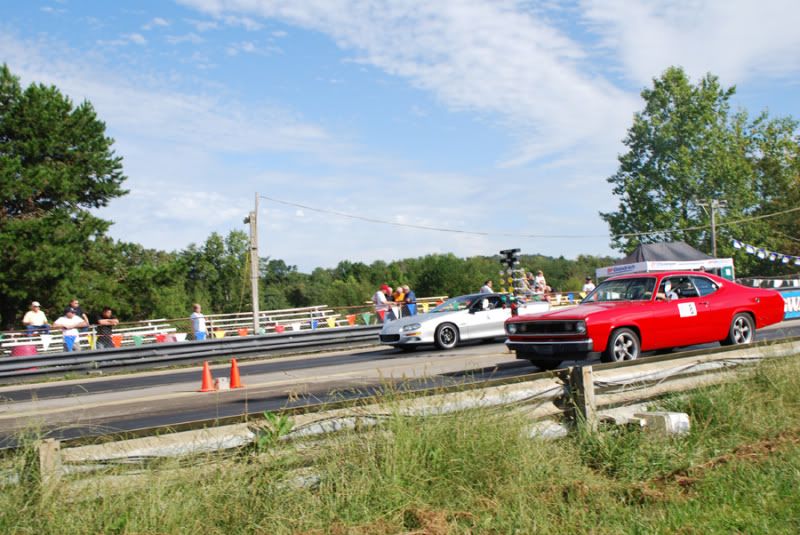
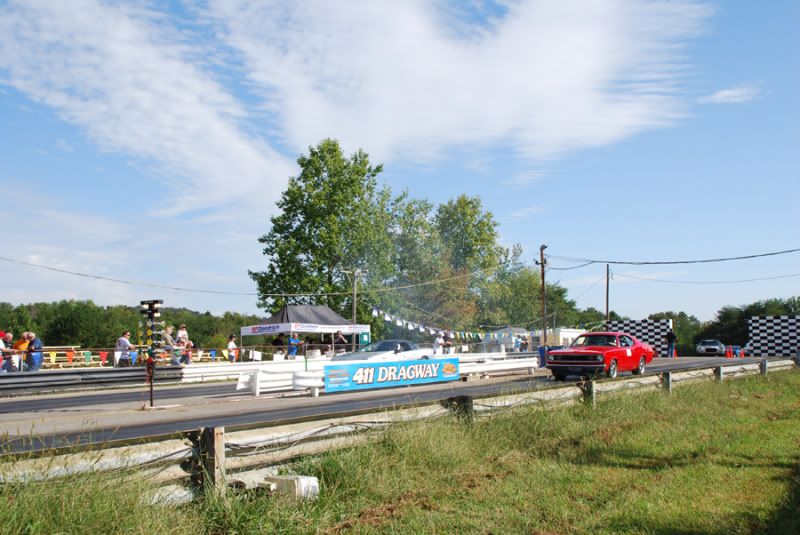
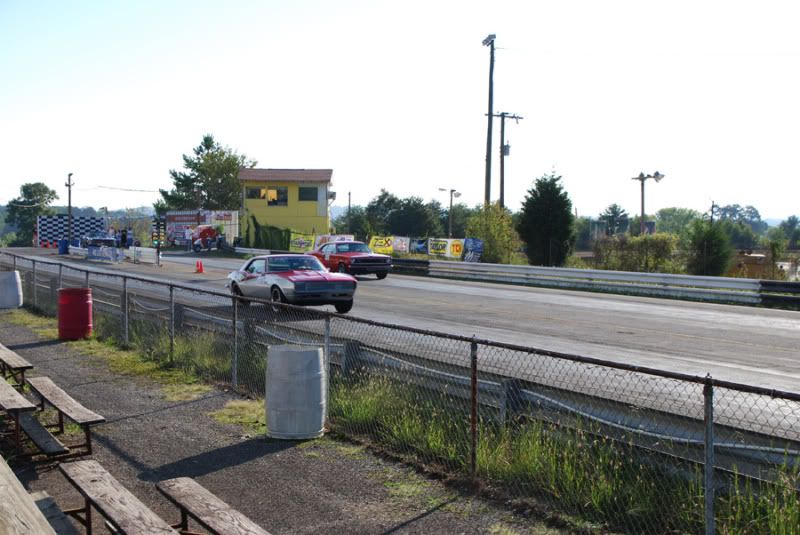

heres the pics:

rtth065.jpg


09-24-11639.jpg


6183677785_f33b86a1b0_b.jpg


6183678085_010072dcbe_b.jpg


6183698729_0a19312099_b.jpg


IMG_9075.jpg


IMG_9595.jpg


IMG_9598.jpg


IMG_9601.jpg


IMG_9604.jpg


IMG_9609.jpg


IMG_9610.jpg


IMG_9611.jpg


6183513085_51b7935151_b.jpg


6183513765_2567050469_b.jpg


6183530735_5b03c4210c_b.jpg
 
Wow, car looks great! Sounds like you had fun, despite the tribulations.
 
i had a blast, it was great to spend some father son time with my dad. we dont get to do that as much as we used to.
and it also goes to show that no matter how shaken down and finished a car is, there are still ghosts in the machine. its part of the fun and aggrevation of my life.

hell, everything i own has ghosts in the machine
2002 subaru legacy 2.5 GT: odd cylender dropping at random times. no problems found
99 camry 240K on it. will randomly not idle upon start up. no problems found
1989 GMC 1500 extended cab long bed, 75K. random miss, and random electrical gremlins. no problems findable.

the ghost in the machine is a well understood part of my life. the duster is no exception. you just have to wait for something to break bad enough to find the problem.
and its part of the fun of owning old cars for me. finding, fixing, and tweaking stuff.
 
"and its part of the fun of owning old cars for me. finding, fixing, and tweaking stuff" for some reason I can't get my wife to understand this.

Great build! Good to see you enjoying it with family.
Tim
 
ok. the car is finally back home.

spent some time getting the new dual plane re-machined, painted, port matched, and on. went pretty well, and i had to spend no additional money. still need to fine tune the carb and clean up the car, though. its filty, and the car has a nasty bog now. worse than at the strip.

011-2.jpg

012-2.jpg


i did spend some more money though, i bought a spoiler to start my cosmetic makover. it was 157 shipped from e-pay. the seller is really standup. had some issues in shipping (it came broken). so it will be a little while before its fitted and attached. also looking into the stripe package now as well. im going twister style for the stripes and hood treatment.
010-3.jpg

009-3.jpg


and the only remaining carnage to fix other than cleaning from run through the hills.
013-2.jpg


michael
 
i kept thinking of putting one of those spoilers on my duster, i never saw one on a pro touring kinda build though so i wasnt sure how it well it would look.
 
im still in the air on the spoiler myself. wating to get the replacement in, fit is somewhat, and tape it on. then ill sstare at it for a while to make sure i like it. then finish, paint, and install.
its designed o go on with really long screwsd. im thinking 3M trim tape so i dont have to drill any holes.

and thanks for the cmplimentys
 
YOUR THREAD IS MY NEW BIBLE!

Heehee.

But seriously, its like a glimps into the future of my Valiant! Every single upgrade (less the A/C) is what I have planned for my little Valiant. The fact that you have written an exceptional thread with much attention to detail, and have then flogged this thing to make sure its working as intended is effin awesome!
Love it and definitely subscribed!
Thanks for a great thread to read for the last hour!
Im not too far from ya.. Hope to catch up at some point in the future!
 
thanks!
im a firm believer in using a vehicle for its intended purpose. if the mods dont work for that intended purpose, then its not done. so a lot of trial and error. if you have any more questions, let me know.
 
more money spent, more parts collected, more effort going into the car.
spent 55.95 for new sway bar mounts and bushings.
008-5.jpg


ordered a set of 3 point retractable seatbelts from http://wescoperformance.stores.yahoo.net/conversion-van-seat-belt.html
they were delivered tonight. hopefully ill get them put in this week. they are a VERY nicely made set of belts. i think i should have orders the 11 inch fixed end instead of the 8 though. well wait and see how they work.
175 for that.

worked some more on carb tuning since the manifold swap, and i cleaned it up. the car is driving much better now, more responsive, lot more low end torque, and it takes less throttle to maintain speed. have to change my entire tuine up from the single plane, though,.
new replacement spoiler has not arrived yet.

and i started working on finally finishing my trunk. got the floor made (still have to cut the access panel for the spare), made cardboard templates for the sides, and created my back "wall".
to so this, i first make a template out of cardboard. make sure it fits right and looks right, then transfer onto appropriate materials.
for the floor, im using 5/8 birch plywood (had half a sheet), for the back wall im using 1/8 paneling (had 1/4 sheet), for the sides im using 1/4 peg board so the ignition and audio can breathe (had half a sheet). ill be covering it all with carpet, and attaching them to the metal of the car with velcro.
heres pics of how far i got over the weekend.
004-4.jpg

005-5.jpg


new total (added all upfrom previous updates)
5029.74
more later this week when the belts are installed.

michael
 
wow, its been a while since Ive updated. Ivee been pretty busy doing a partial resto on a 79 corvette pace car. 52koriginall mile car thats been outside for the last decade or so. the seals had started leaking, trashing the interior. so the wife asked me if id be willing to take it on as a resto for her husbands retirement present.
before:
009-1.jpg

014-1.jpg

017-1.jpg

008-3.jpg

during (im not done yet):
004-4.jpg

002-2.jpg

022.jpg


got my new spoiler in yesterday. finally. this one is the quality the last one should have been. seller (CNS mopar parts) stated that they think the last one popped out of the mold, and wasn't why it wasnt alldon'tt great. donrecommend id reccomend these guys to anyone or not. just....eh. they did stand behind their product and make things right, so ill give them bonus points for that,. pretty rare these days.

so i test fitted the new spoiler last night, taking a page from dartordemons play book and using blue painters tape didn'tld it on. picturese any picdidn'tm though. didnt have my camera with me.

i also FINALLY instaseat beltsestcoyou'reatbelts. if youre plannioriginaltain the origonal mounting points, get the 11 inch buckles. i used the threaded mounbuckles the ford buckels built inseat beltsts.
the seatbelts work great, and very comfortable, and lock right up when you jump on the brakes or corner hard.

installed pics:
017-1.jpg

016-1.jpg

018.jpg

019-2.jpg


and im also still working on reducing the wind noise. noticedmyoday while driving that my rear edge of weatherstripping was moving around going down the highway. that cant be helping.
so while i had my weatherstripping stuff out for the vette, i glued the rear edge into place.
023.jpg

a question:
on the roofrails, how is the weatherstripping supposed to look? up on the leading edge at the a-pillar, inside of the car, the weamoldingpping wraps around the moulding like the picture shows. further back along the rochannelctually goes up in the channell entirely. which way is correct? or are both of them?
024.jpg


budget is the same.

i hope all of you have a merry Christmas if i dont talk with you before then.

Michael
 
What is the difference in performance from the a/c system you installed and a factory a/c system

i would also like to increase the speed of my factory heater...is this possible?
 
-
Back
Top