'71 Demon Pro Street/Touring

-
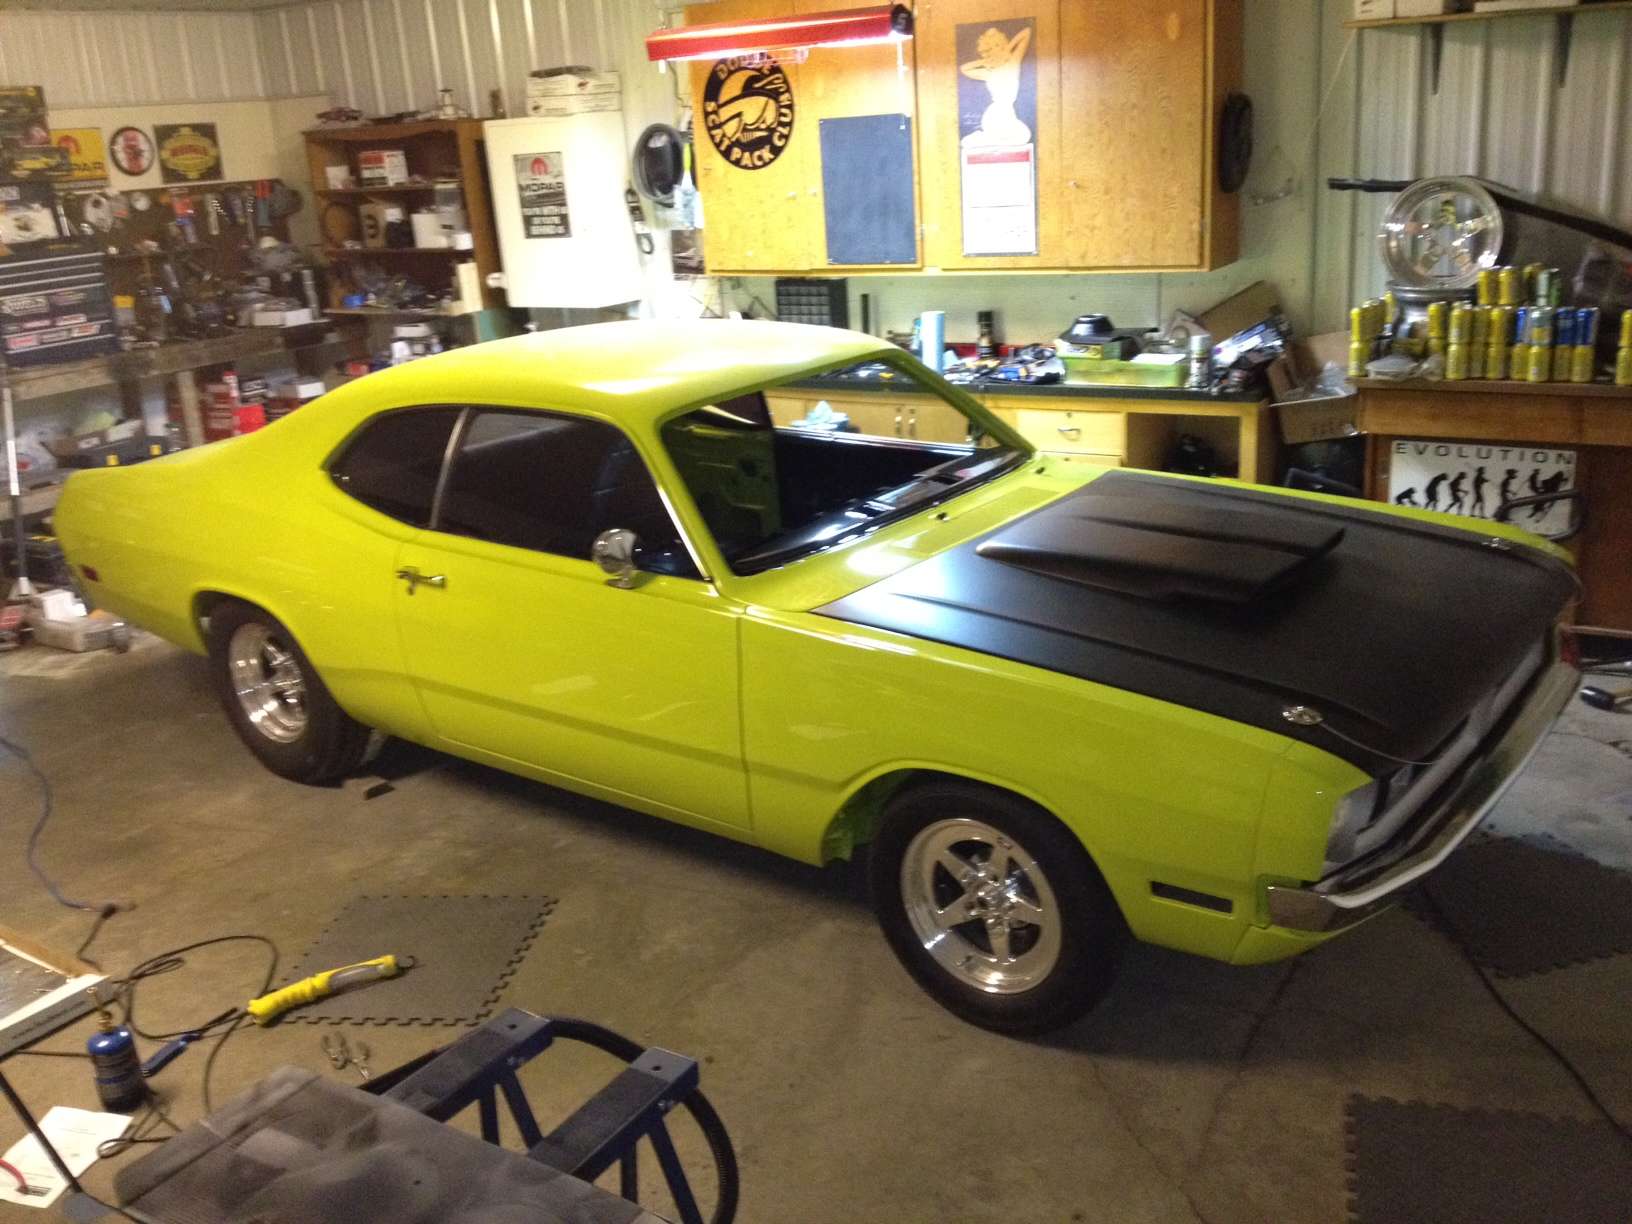
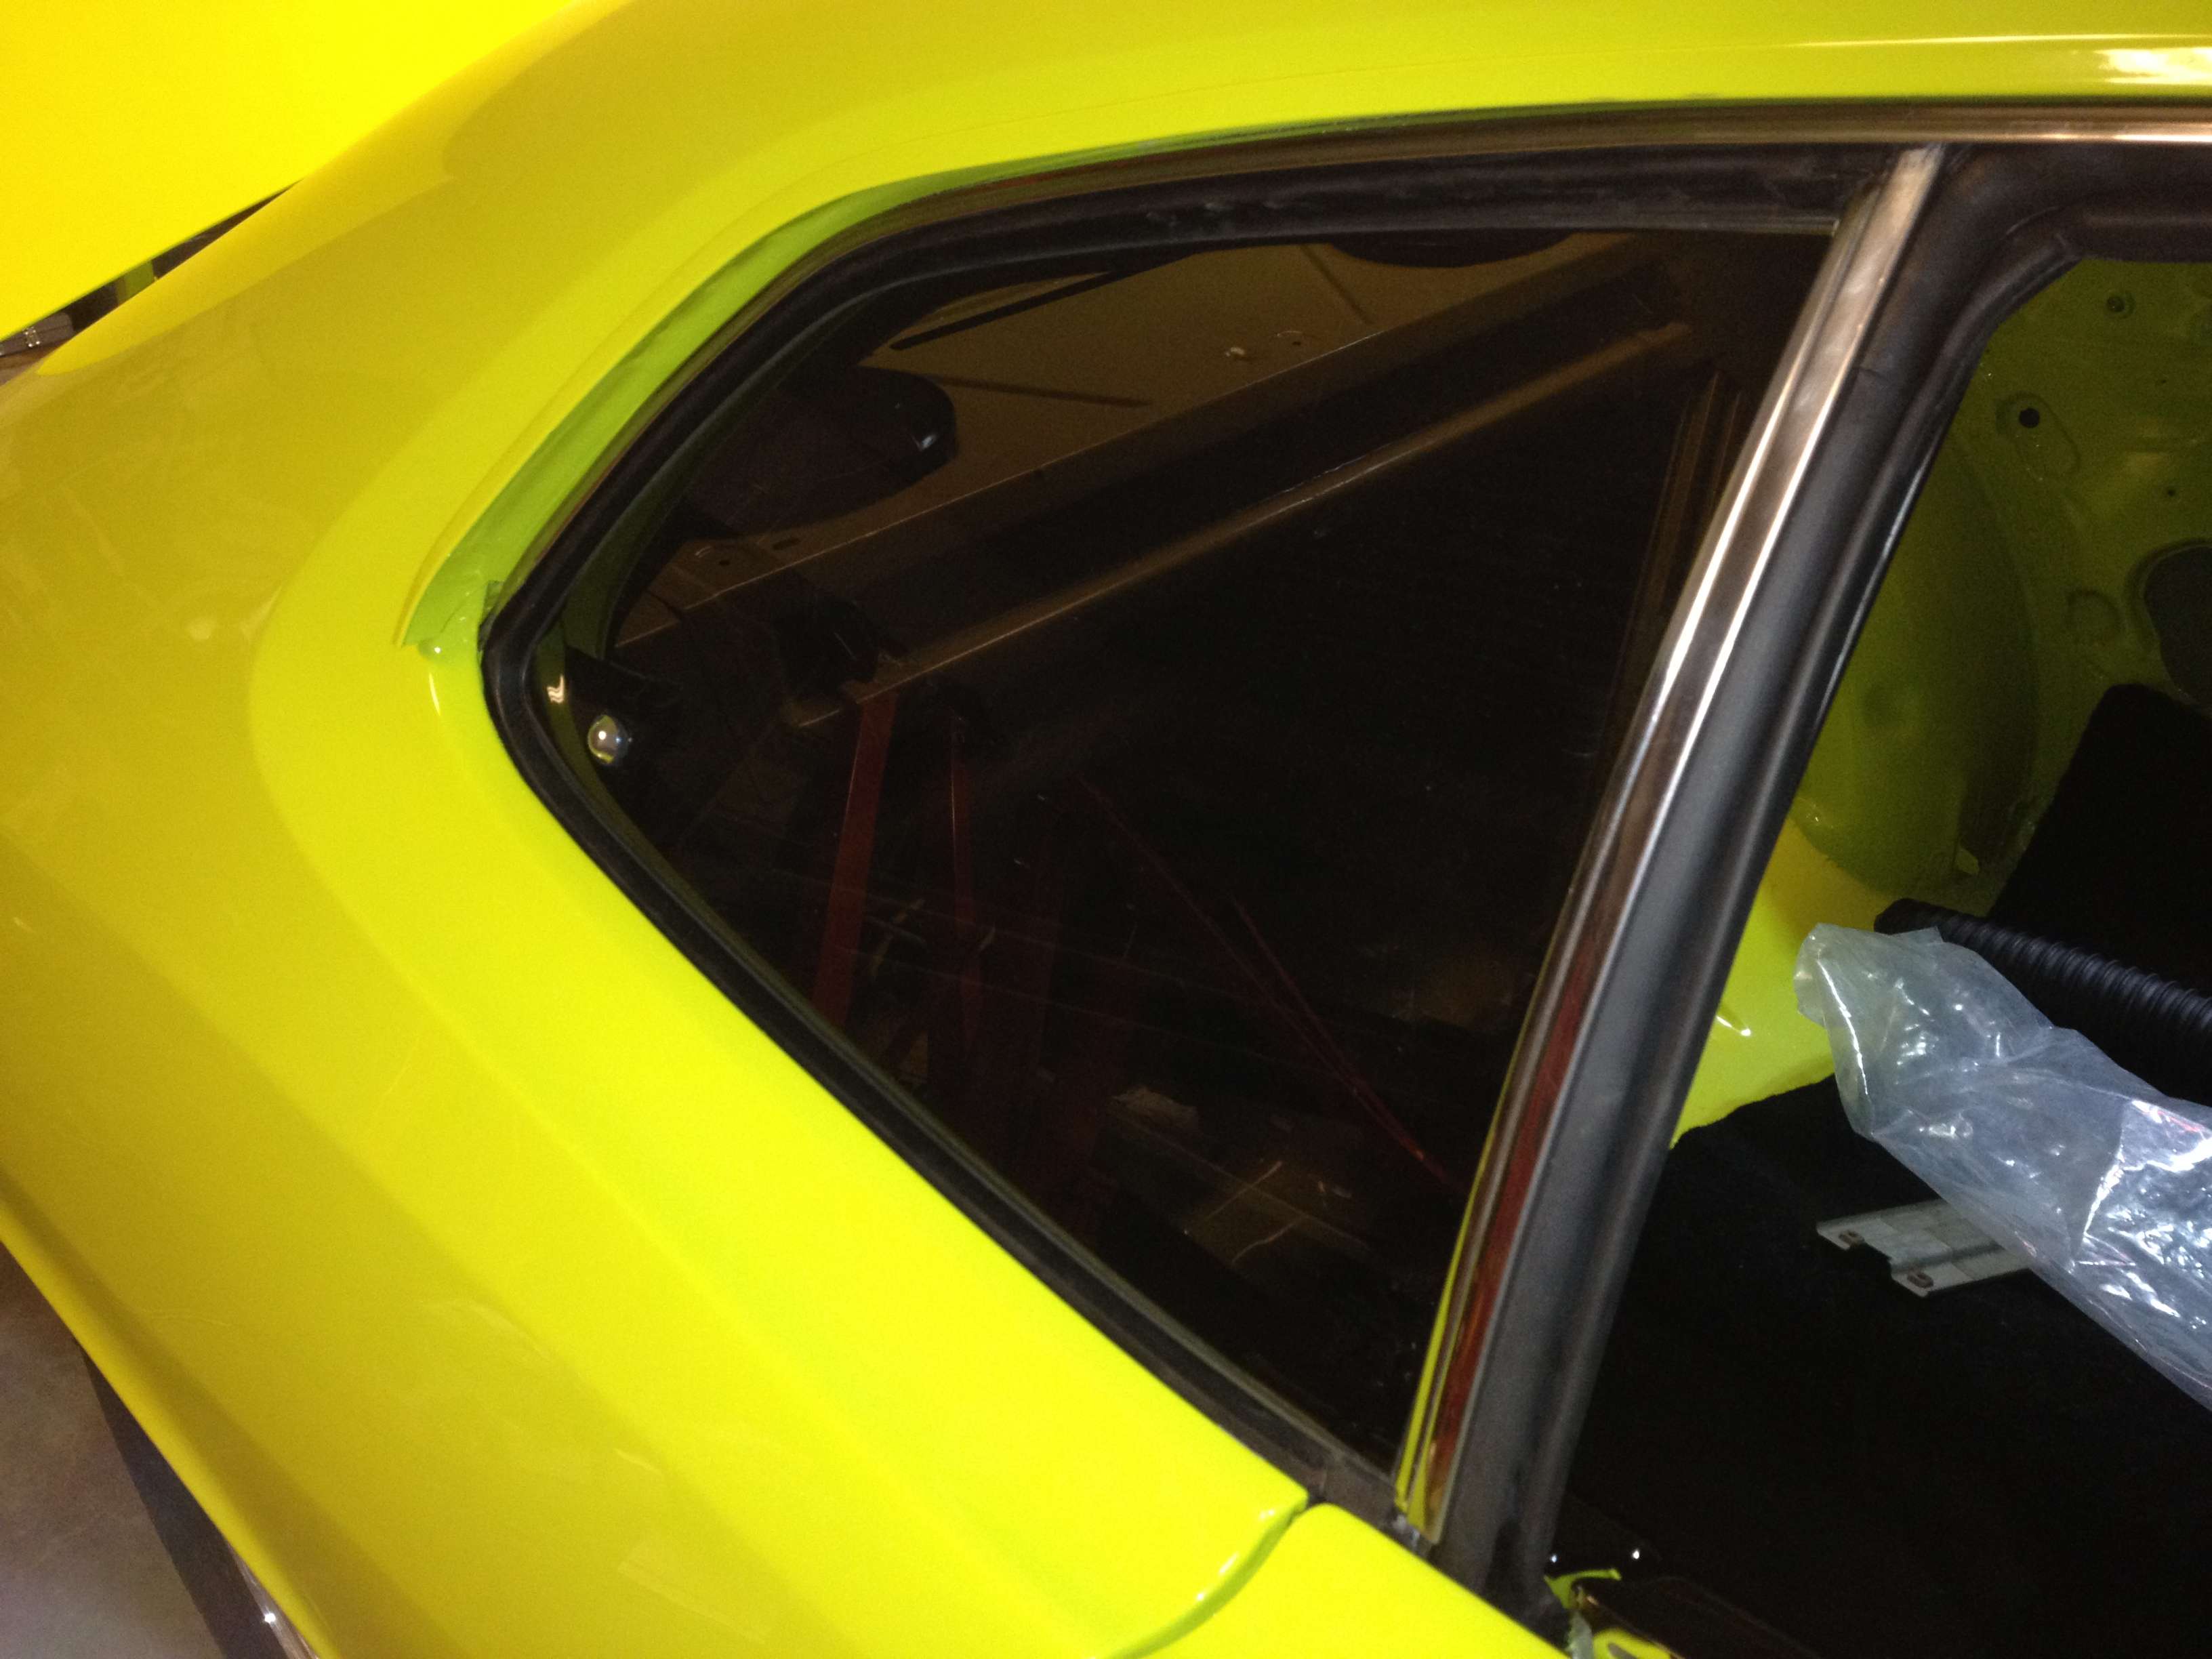
Hers a few new pics, not to much for excitement but mostly I've just been test fitting stuff. Everything with come apart again to paint a few things. Did lots of sandblasting and prepping some interior pieces today. Installed passenger window regulator to make sure I had all pieces, driver side will be much easier. Did I mention it blows assembling a car you didn't take apart?! Got my seats and cover off to the apolsterer today, and my glass to a window tinter.

Ist couple pics are shots of my gauges & dash
pic1jg.jpg

pic2ky.jpg


This pic is of brake pedal assembly, had to lose the bolts going thru the firewall cause the Hyro-Booster has bolts coming thru from other side.
pic3ef.jpg


This just a pic of the inside,,,needs a few pieces for a cleaner look :)
pic4ki.jpg


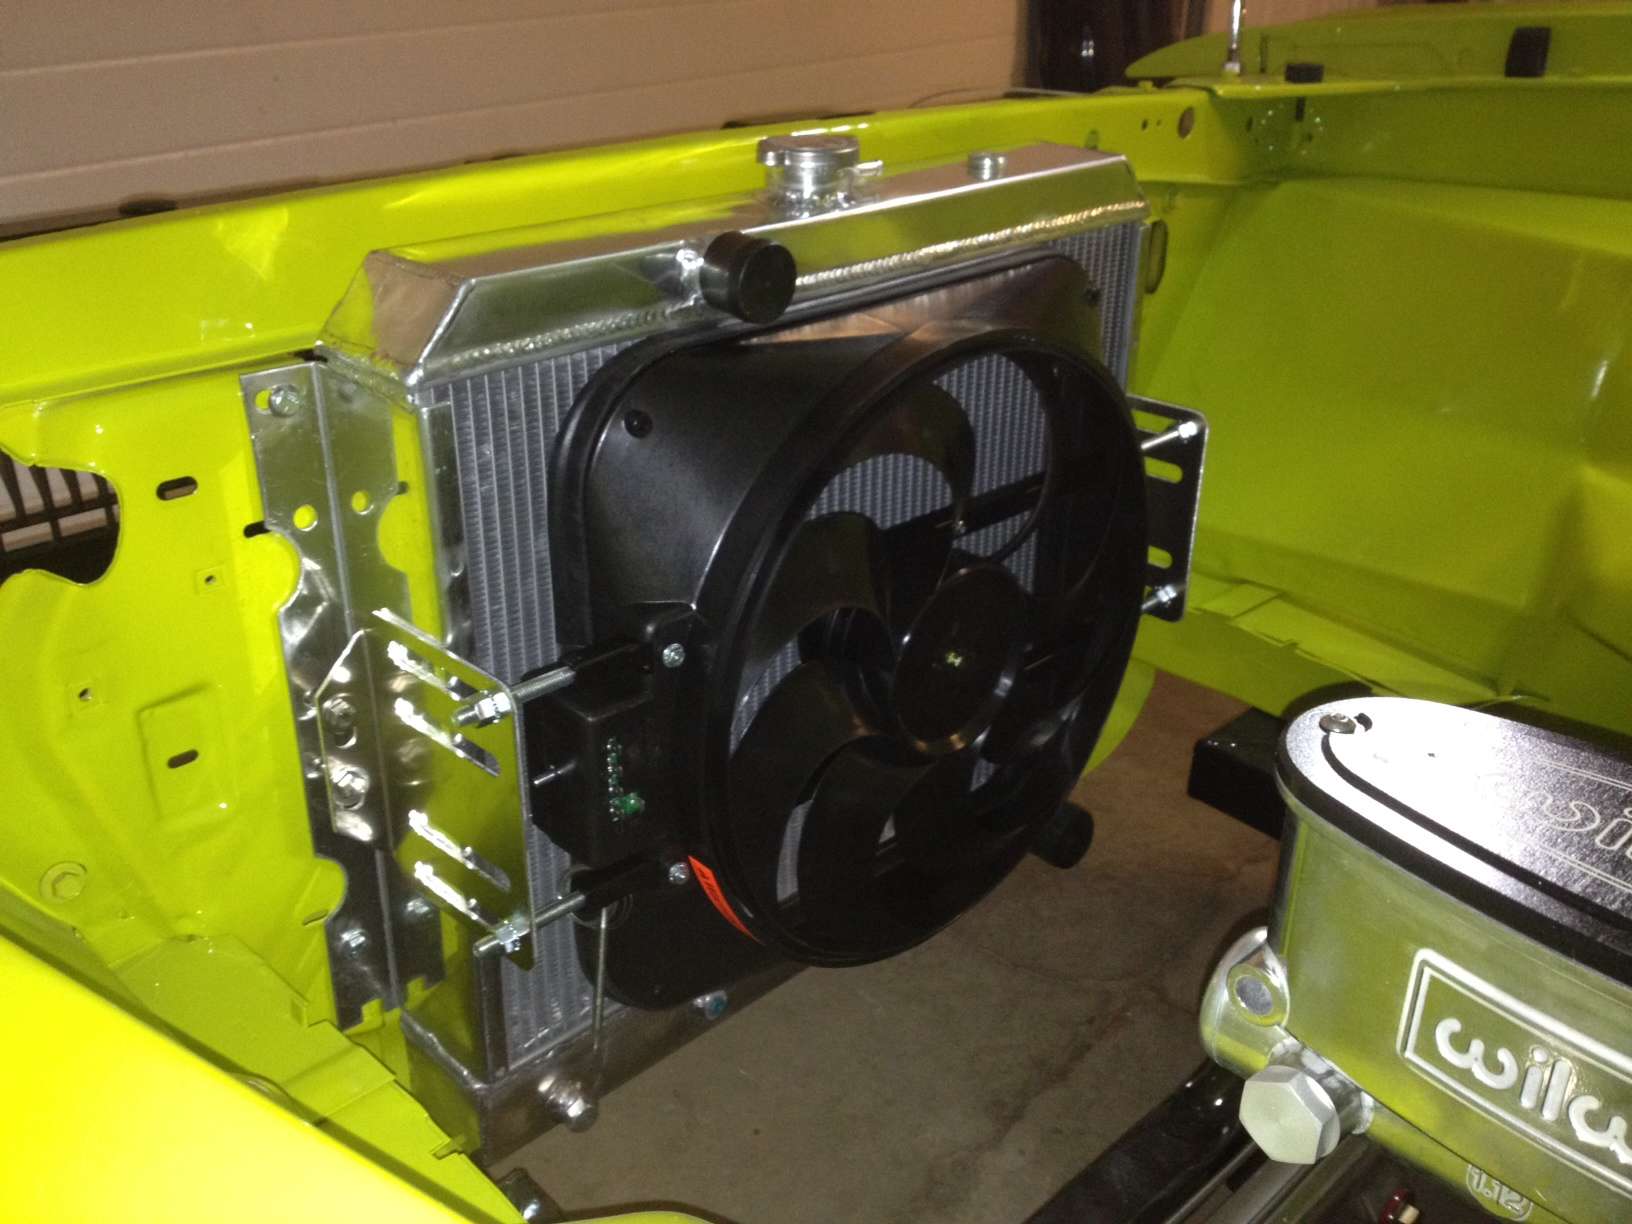
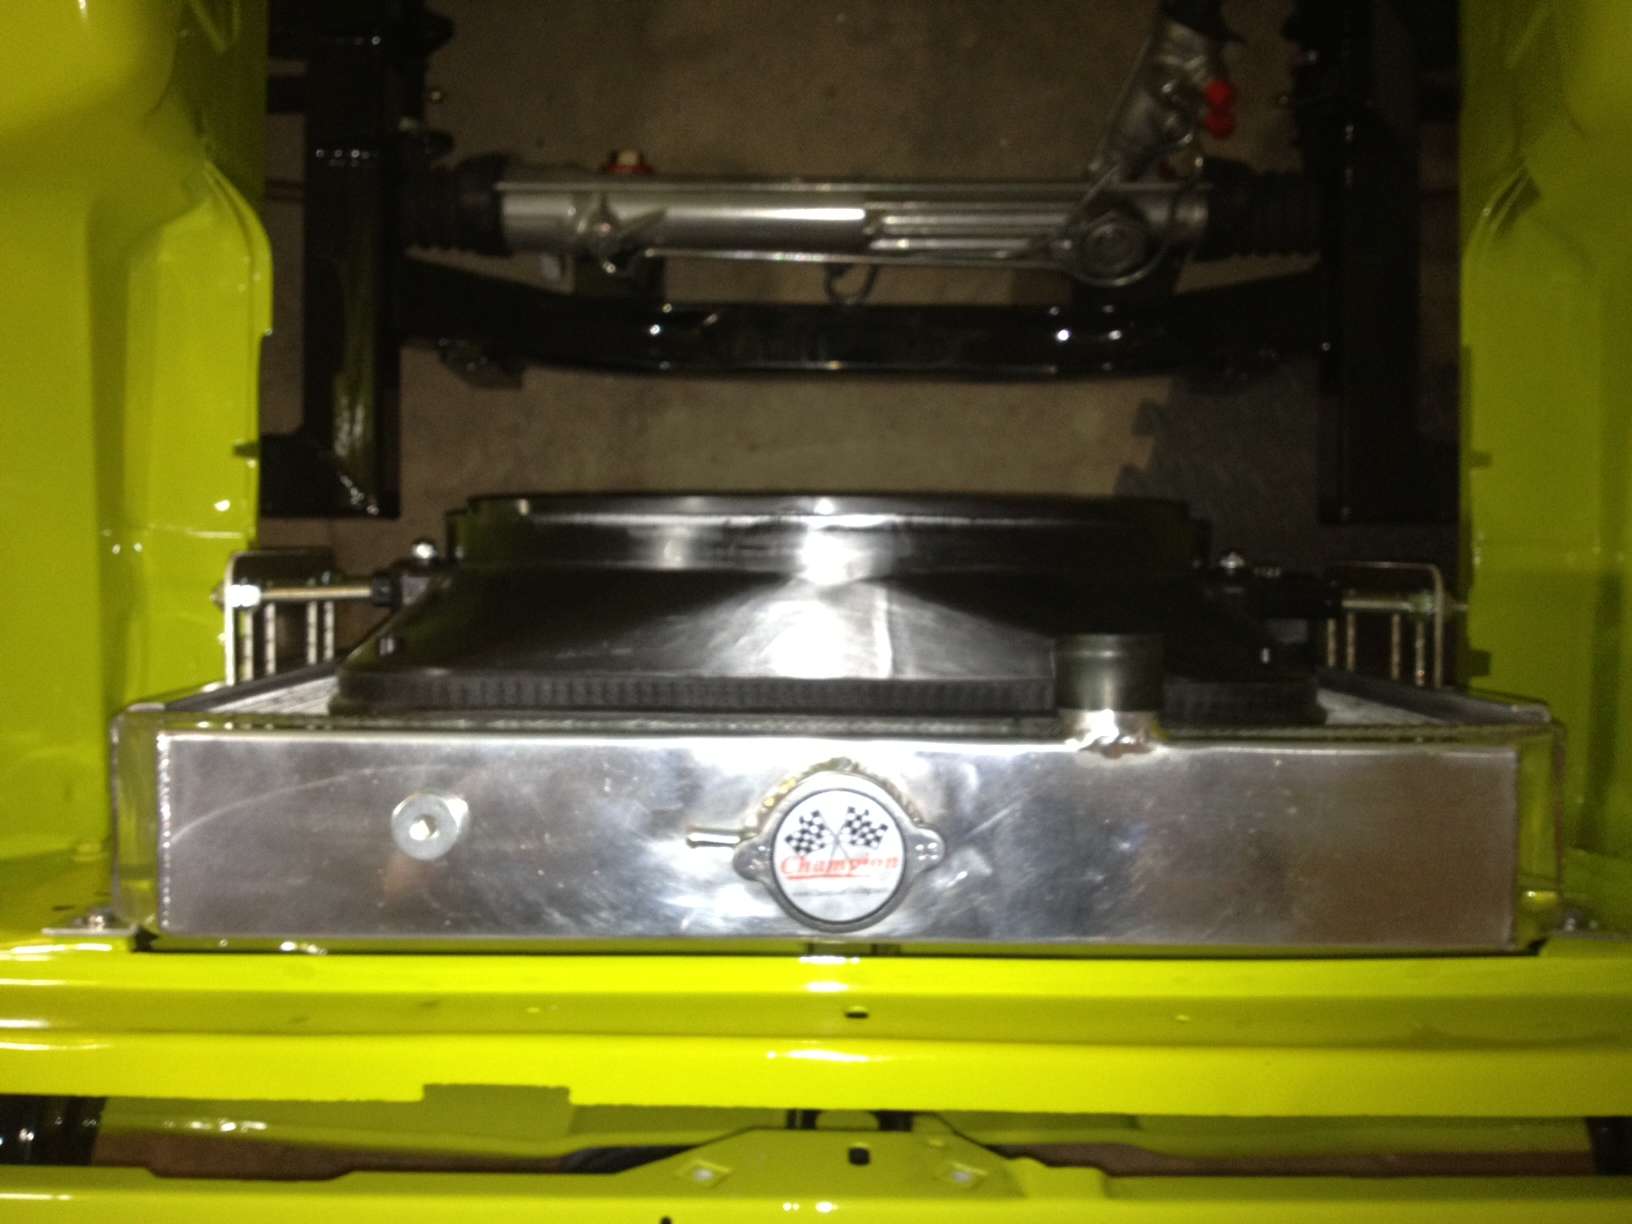
A few shots from under the hood, mocking up the rad, booster, master, & wiper motor.
pic5ez.jpg

pic6fp.jpg

pic7x.jpg


And the last shot is where part of stereo is going, stuff you see will be mounted to some MDF that is covered in black cloth and bolted to floor. They are just 8" subs, a little thump to the mostly rock/80s Rock that I listen to. Might be a waste of money once the 3" exhaust is barking.
pic8y.jpg


A couple other things I have coming are a power trunk release that the button will be in the glove box, since I need to fuel up from there. Figured it will be handy. And I'm adding power doors locks since I will be wiring up a keyless ignition that has one more function on the fob, will be handy option as well. A little ambitious and time consuming, but since I already have a keyless tilt Flaming River column I figured why not give it a try. I hate hate hate wiring so I'm not looking forward to those items arriving...lol.

More later. Thanks for looking.
 
Looks like it might be, I got it from a guy who worked at the bodyshop that painted my car, I never asked where it was from. I bought the gauges seperately. The insert is fairly flimsy plastic, I wasn't that impressed but it will do the job. Might not seem so flimsy once its screwed in properly. There is also an issue with only about half the screw holes lining up.
 
Remember it's all in the details,and it looks like you've get that cased. the longer i look at your car the more i want that color,but my wife's not crazy about YELLOW.And that would be a under statement.
 
I think this yellow would grow on her!!! It did for me, I've never been a big fan of yellow but being that its the original color and the underside was already sprayed I would give it a go. LOVE IT!!!
I will post up some more pics soon, been getting lots of hours in on the car. Mostly it seems like I walk around in circles trying to do several things at once...lol.
 
Your Demon is looking great. I love the yellow.
 

Attachments

  • 4][py63452JPG.JPG
    55.9 KB · Views: 1,338
Some updates:

Rear Bumper on and tail lights in.
img0184fh.jpg


Mocking up Flaming River Column & Tuff Wheel
img0185g.jpg


More Steering mock up
img0186gv.jpg


Quarter windows & weatherstripping are in.
img0201o.jpg

img0201o.jpg


Package Tray/Seat Divider, Alpine R 6x9 under there.
img0263yx.jpg


Wiper assembly installed
img0372uk.jpg

img0373g.jpg


Gauges and lights with other switches/indicators installed
img0374xk.jpg


Brake pedal put back in for last time, Modo pedal cover.
img0368xx.jpg


Had the grill in for a test fit, but it needed fresh paint.
img0244zz.jpg

img0378vk.jpg

img0377p.jpg

img0376u.jpg


Currently wiring up harness to the Dash gauges. Next will be Painless wiring harness going in, and painting the headlight buckets to match grill. Hoping to see my brake/fuel lines soon to install. Also waiting on a full set of headliner bowsprings from a fellow member since I seem to be short 1 and 1 other seems incorrect, hope to tackle that as well. Back to work early next week, and wont get much time to work on the car before spring.

Merry Christmas & Happy New Year!!!!!
 
Looking very nice lots of work going on, and yes the color does grow on you. What type of paint your you using for the grill. Thanks.
 
luv the guages...(and the rest)

mind me askin what that getup $$$$?...PM if you orefer

thanks,
Denny
 
The gauge panel and gauges can be had for ~$600 from Fast Lane West. They have a pretty good website, worth checking out. However, I don't think it comes with the headlight and windshield wiper switches... I'd be curious to hear what he used for those and how hard it was to reconfigure the wiring.

How do you like the panel? Does it feel fairly strong once its installed in the dash frame? I was thinking of picking one up for my swinger.

-Mike
 
The gauge panel was from fastlanewest.com but the gauges I bought off a local classified for cheap, Autometer Arctic White I think. Wouldn't have been my first choice if buying new. The wiper & headlight switches and indicator lights are from Painless as is my gauge harness, which should tie in nicely with my main harness from Painless, not sure why headlight switch couldn't come in black. The flimsy insert is feeling stiffer with everything installed. Once I have it in the dash I think it will be pretty solid. Denny, it was a $130 for the insert, pricey for what it is.

Heres a pic of the dash with head unit in and Emblem, still waiting on dash pad and need to put in a switch for Mohave Heater.
img0383kd.jpg


Heres a pic of repainted grill in place and front bumper on, still needs some tweaking
img0384l.jpg

img0385cm.jpg
 
Thanks guys! I would say its a re-assembly more then a build, like what you guys have going on, I stay tuned to your threads and the work is great!!
 
lookin good I realy like the color combo
 
looks good, like the story how you got it back. your doing really nice work and attention to detail will be the difference between a nice car and a really nice car! and thats a really nice car.
 
Spent most of my time lately with my arms stuck in my doors adjusting door locks/handles, putting glass in, adjusting regulators & adding power lock actuators and braided stainless loom for running wires. Very time consuming, like my grill that is finally finished, which I think I have about 15hrs into it between sanding, painting, masking painting & mounting. I'm very happy with the results and glad I didn't go the lazy route and leave as is. Layed down all the sound deadener too,,another projct thats time consuming. A few pics of ltest work.

The Grill:
img0391av.jpg

img0395oh.jpg


Pic with door glass in:
img0396nx.jpg


The Hushmat:
img0388j.jpg


Test fit my new fan:
img0387gu.jpg

img0393mp.jpg


Dash in for good...I think. Pad is allegedly on route to my place:
img0392xn.jpg


Seats freshly covered, rear just placed there for a quick pic:
img0390z.jpg

img0389s.jpg


A pic of kick panel w/ Speaker:
img0386fk.jpg


I think wiring is next, or brake lines. Neither look fun...lol.
 
Just read your whole 5 pages Rod, great build, the quality of everything is 2nd to none! Love the way fate turned her back over into your hands!! Price/details on the sound deadener?? Looking fwd to seeing more!
 
Thanks! Sound deadener is "Hushmat", found it at Mopac. I bought it last spring and Im pretty sure it was a bit less then $300.
 
Brake lines are easy if you use the nickel-copper lines. They bend like butter, don't kink, and they last longer.

Now that you have the gauge panel installed in the dash, do you recommend it? I'm just about ready to order one. But I might reconsider if you've spotted any serious flaws.
Thanks for the input in advance.

-Mike
 
-
Back
Top