PROGRESS UPDATE!!!!
OK so.....yesterday I didnt get much done on the duster but today I did alot of "mudding" ,hand sanding,blocking and priming.
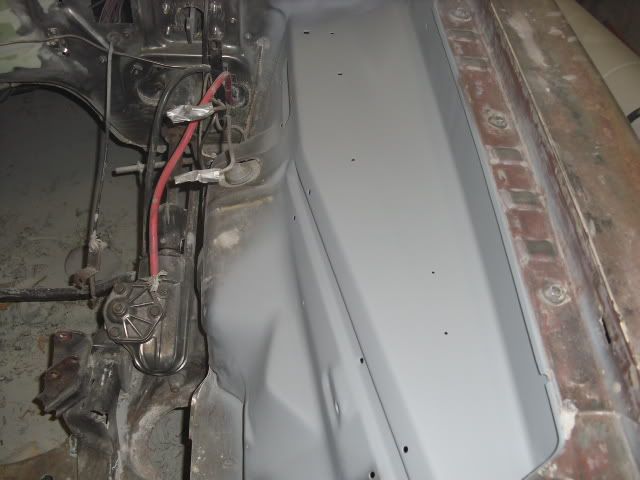
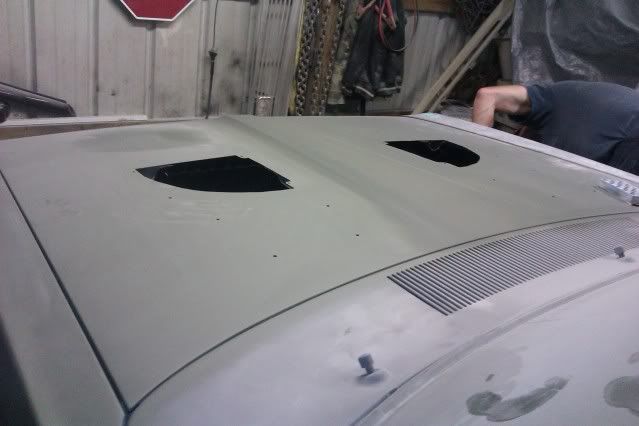
I filled in any imperfections in the metal with a smear of light bondo and sanded it out smooth....I hammered out the factory warps in the metal from the spot welds on the inner fenders so now its all nice and smooth.
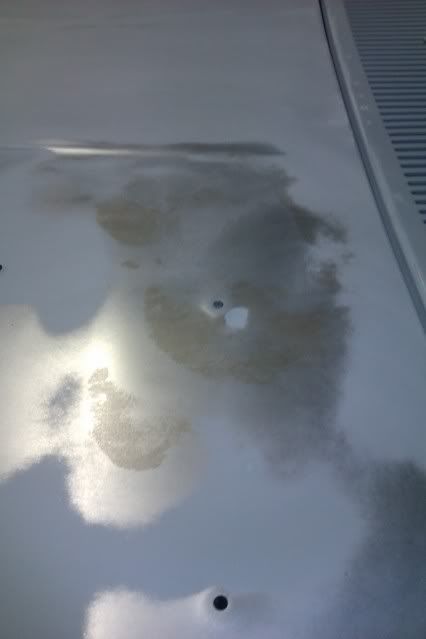
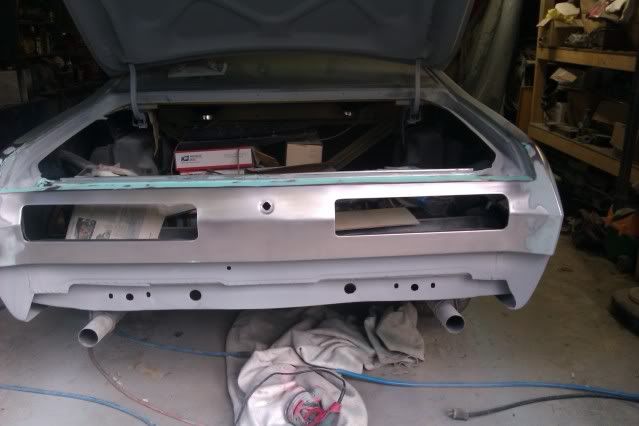
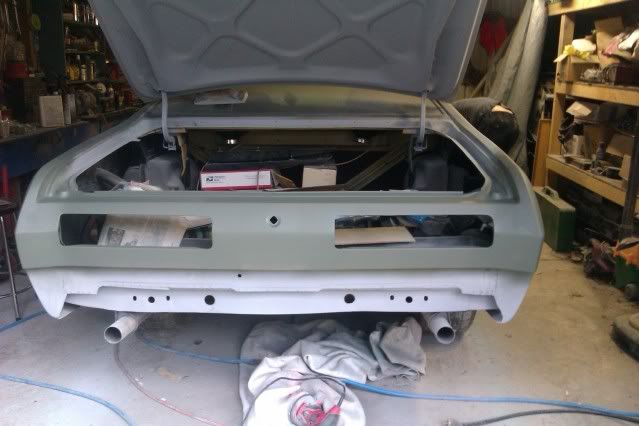
I sprayed with rattle can primer and used it as a tracer for my block sanding so I could see all the high and low spots.....I re chamfered all the factory holes in the body panels so they are all nice and clean with a gradual tapper instead of the factory jagged edges.
I then FINALLY got to try out my new paint gone I bought last summer.
normally when I sprayed before I would spray with a syphon feed paint gun....but my new gravity feed hvlp gun is SOOOO much nicer.....I can run on minimal air pressure and I get nice smooth even coats of paint and it looks very nice.....the pictures (below) dont do it as much justice as in person!.
after priming it I then re sanded it out with 400.
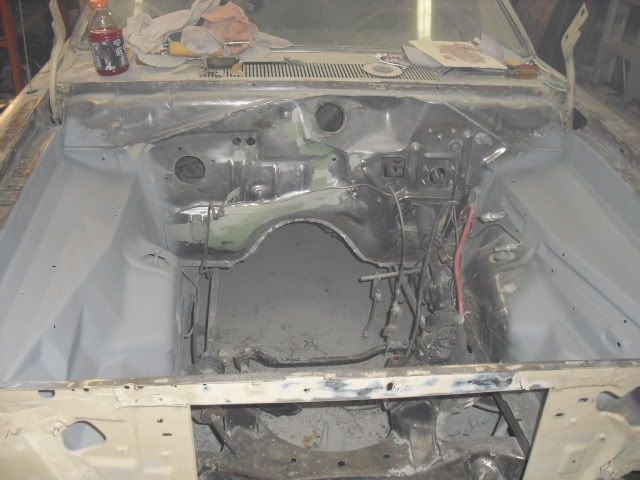
I still have to finish smoothing out the firewall as well as a few other areas (tomorrow) and then prime it up again......but this is what I accomplished today anyhow.
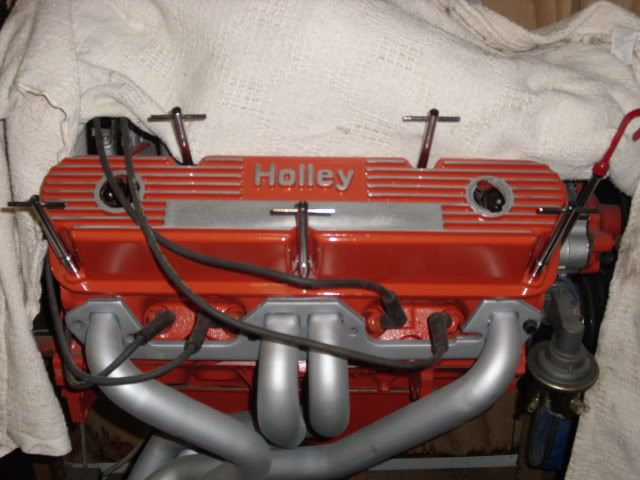
AND I picked up a nice new set of valve cover T-bars!!!!
of course ...I have mopar 5 bolt valve covers and everyone only cars about chevy and sells 4 t-bars in a package...so I had to buy 3 packages just to get the 10 I needed (with two spares left over) but it looks nice and was worth the $50.00 I suppose.
tell me what you guys think so far!
Nice shiny new t-bars
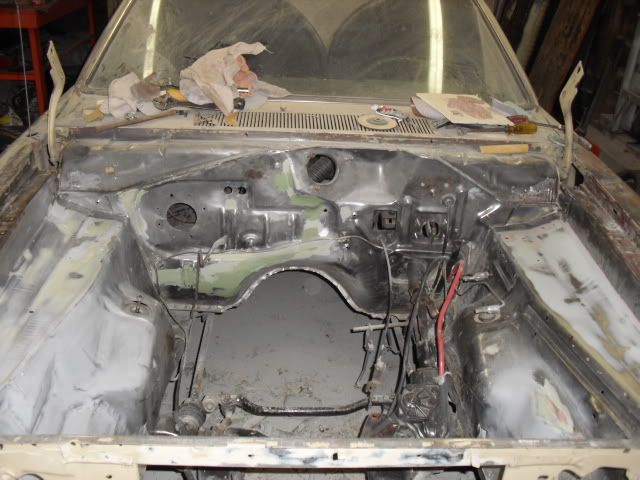
during body work
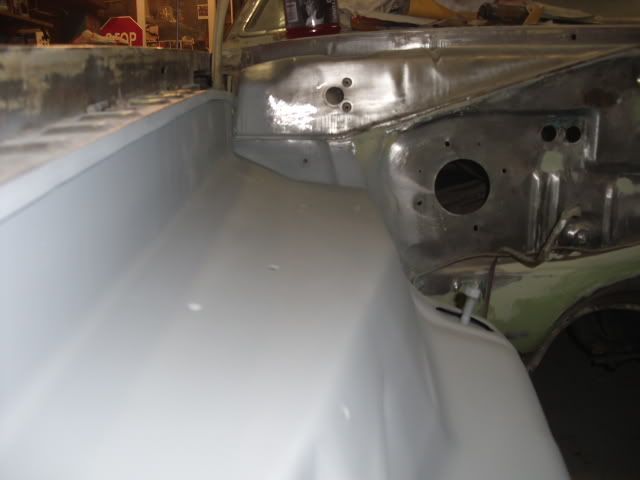
after priming
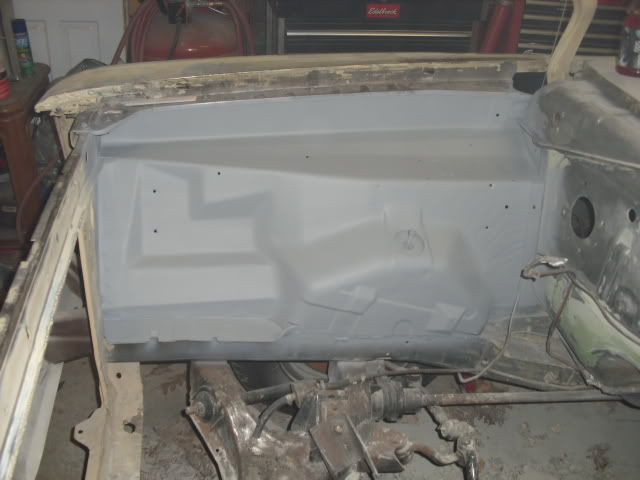
side shot at that super clean steel (fresh off the stamping press clean lines!)
drivers side inner fender top...also you can see how clean the spot where I welded in a patch panel to cover the old battery tray hole was
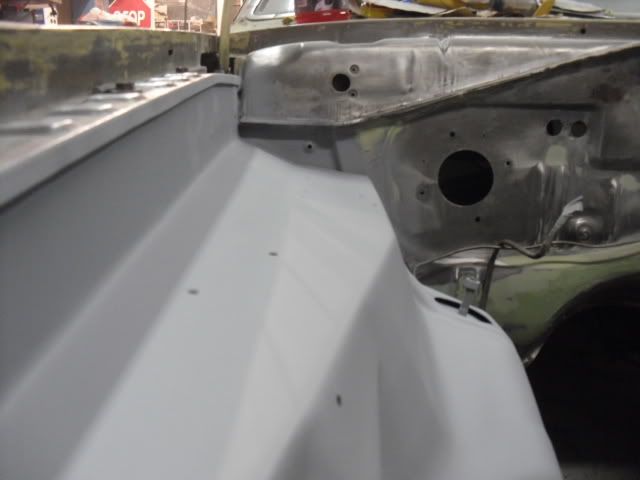
and a couple of pictures sighting down the passenger side top to give everyone and idea at just how "crisp" looking it came out
another
")