How bright should gauge lights be??

-

B5BEE

Well-Known Member
Joined
Jul 19, 2014
Messages
129
Reaction score
1
Location
Long Island,NY
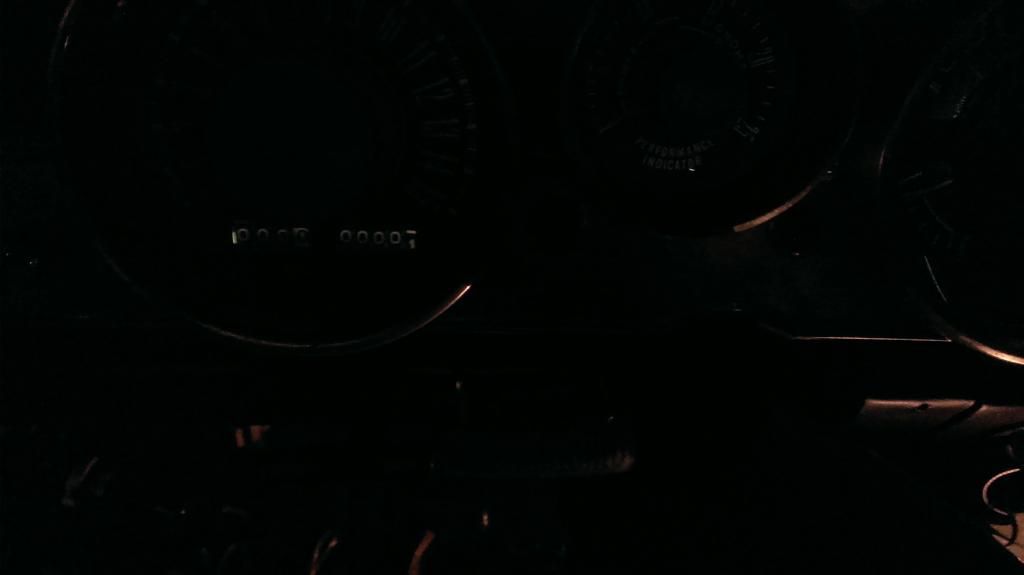
So I rebuilt my dash with all new bulbs tested the circuits and all worked fine and seemed bright when it was on the bench, hooked everything back up and this is what I got. I can see the gauges ok at night with all the lights off in the garage but they seem dim to me. They weren't working before so I have nothing to go by. It seems my turn signal lights are brighter than the gauges. Yes the headlight switch Is new from advanced auto and the dimmer is all the way up. ????

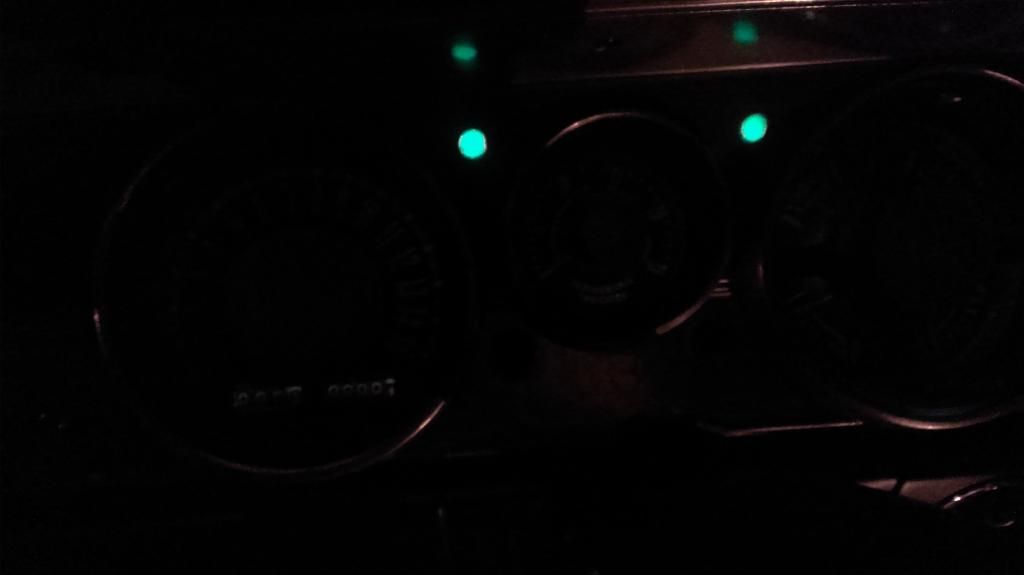
[/URL[URL=http://s876.photobucket.com/user/joe19812003/media/67%20Barracuda/IMAG1338.jpg.html]
 
The car was not running, not sure if that matters but I will try it running tomorrow night
 
Of course it matters. If the battery is at 12.6 (and it MAY be lower) when at rest, it runs right near 14V when charging. That's a considerable change, about 12%

Also, what part no did you use for bulbs? There are several wattages, the original no's are in the service manuals
 
Should've put LED bulbs in it. They'd be brighter, last longer, and majorly drops the heat in the dash. Just sayin.
 
When I redid my dash a couple years ago I put LEDs in thinking it would be the bomb. They looked great...at first. Within the two weeks they started one by one flickering on and off. Really annoying. After half of them were doing this I finally bagged them and went back to the incandescent lamps. Thankfully I have a daughter with tiny hands to change the inner ones for me. No problems and I can always see my instruments now. I usually run them at about 3/4 brightness.
 
Of course it matters. If the battery is at 12.6 (and it MAY be lower) when at rest, it runs right near 14V when charging. That's a considerable change, about 12%

Also, what part no did you use for bulbs? There are several wattages, the original no's are in the service manuals

Yup, exactly.

Should've put LED bulbs in it. They'd be brighter, last longer, and majorly drops the heat in the dash. Just sayin.

I keep thinking I want to convert my dash over to LED's. Less power, less heat, brighter. That's all good right? But the reality is I don't even run my regular dash lights turned all the way up. And LED's can't be dimmed either, they're pretty much on or off. Which brings me back to my car isn't that short on amperage, the lights haven't melted anything in the last 40 years, and I really don't need brighter.
 
Dad n I converted his.dash to Led. Not all.work. But.the one that do look great. I.should have bench tested it before the.dash went back in. Ill be fixing that over the winter.
 
When I redid my dash a couple years ago I put LEDs in thinking it would be the bomb. They looked great...at first. Within the two weeks they started one by one flickering on and off. Really annoying. After half of them were doing this I finally bagged them and went back to the incandescent lamps. Thankfully I have a daughter with tiny hands to change the inner ones for me. No problems and I can always see my instruments now. I usually run them at about 3/4 brightness.
I've heard this several times and posted it in other threads. Not only do the LEDs bottom out inside the blue tint diffusers but their bayonet base doesn't fit the bulb sockets very well either Keep in mind that not all applications are the same. Later model standard panels have a sheet of blue tint film attached rather than the half ball shape plastic diffuser. As for this members statements. Each indicator has it's on bulb focused to that lens.There are only 4 bulbs illumining the entire cavity so there is no comparison there. Having said all that, there are ways to get better or like new gauge illumination. Electrically starting at the dimmer rheostat and ending at the panels chassis ground. Physically addressing how the light is handled inside the cavity. The only bulb I will recommend or install is Sylvania #2825
 
If you haven't done the relay upgrade for the head lights yet, that will take a huge load off the light switch and one of the benefits is that the dash bulbs brighten. We have done 3 cars now and on everyone of them, the dash lamps are almost twice as bright as they were before.

Keep in mind that when you do this stuff or anytime your working with electricity, clean connections, good grounds and proper wire size is key. Check, clean and tighten everything while your doing the conversion

Good luck.
 
I'm not sure why anyone is having issues with LED's unless they are buying cheap e-bay stuff or have poor grounds.

I have used Superbriteleds.com's lamps in 3 cars. I have them in my fat blu fish and Pam's Jamaican Blue Baby and they work awesome. Have had them in mine for 5 years now and none have gone out. They do not bottom out, at least not on my dash and they fit the bayonet base perfectly. They are slightly longer but if you check out the site you will see it's only by a couple mm's.

I think some folks here must have gotten cheap led's.

https://www.superbrightleds.com/cat...uge/filter/Cross_Reference_Number,194,21,201:

4 styles with different beam patterns and intensity for your consideration.
 
Here is a pic of blue LEDs on white face gauges. This is a day time pic. If you go black face gauges then I would use a white light.
 

Attachments

  • 100_2480_00.jpg
    22.4 KB · Views: 277
I used the bulb kit from year one for interior replacement bulbs, they matched the originals
 
I forgot..........what year you working on?

Depending on the year, the cluster may not be well grounded. Run a separate pigtail to a good ground point on the cluster. The PC boards mount in several spots to the metal casting. These must be tight. Run the pigtail to a bolt / nut in, say, your column support

Also, on mine, there were several problems with the board (and the sockets)

The harness connectors were loose or broken. You can repair them. Mine were in bad shape, I soldered pigtails to all the connections on the board traces and used aftermarket "Molex" style connectors

Also, clean the copper where the lamp sockets make contact, and either replace or clean and bend the contacts on the sockets. Inspect them for corrosion inside. "Work" the bulbs in/ out of 'em several times.

You have to remember these girls are getting old

Also, the power comes FROM the dimmer control and TO the instrument fuse. Check for voltage drop there at the fuse clips. They can be rusted, loose, or believe it or not, even the fuse can be defective, that is, resistive. Usually, they eventually blow if that is the case.

All great points and have been done. I put some solder on all the pin type connectors cleaned the copper where bulbs go, re spread the light housing connectors for tighter contact, my fuse box was corroded to ****, completely disassembled and wire brushed ground with dremel and put back together and tested, new headlight switch, connectors cleaned and reassembled, Also took apart the firewall connectors, cleaned and reassembled. Iam going to check the ground I attached to the back of the housing, I put it to the radio noise condensor, not sure if that was a good spot?
 
The condensor ground tab and the cluster ground wire need to both be directly attached to a physical, metal ground to the chassis. (You can't just connect the guage cluster to the condensor case, in case that is what you have done.) And, did you put dielectric grease on all contact that you cleaned?
 
X2

I have a dedicated ground wire back to a main buss for each electrical device rather than relying on chassis grounds and I never have ground issues.

I have a #6 Cu ring around my entire car that's bonded to the chassis, engine and sheet metal. I use it for lights, fuel pump, air pump, etc.....it terminates at the battery negative.
The ground ring is in addition to the normal grounding.

100% no ground issues ever guaranteed. :cheers:
 
The condensor ground tab and the cluster ground wire need to both be directly attached to a physical, metal ground to the chassis. (You can't just connect the guage cluster to the condensor case, in case that is what you have done.) And, did you put dielectric grease on all contact that you cleaned?


The ground wire runs from the condensor to the frame of the dash below the stereo. Yes dielectric grease wasused on all connections except fuses
 
No change while running.
Geez there SHOULD be What is the battery voltage running?

Get your meter and measure voltage at the tail light fuse with everything off

Then turn on the park / tail lights and remeasure it.
 
Geez there SHOULD be What is the battery voltage running?

Get your meter and measure voltage at the tail light fuse with everything off

Then turn on the park / tail lights and remeasure it.

yep thats the next step....tomorrow
 
-
Back
Top