I've been a busy boy, Lotsa pics.

-

cudaspaz

Well-Known Member
Joined
Feb 9, 2005
Messages
13,377
Reaction score
245
Location
In a tree near you.
Got some work done on the cuda.

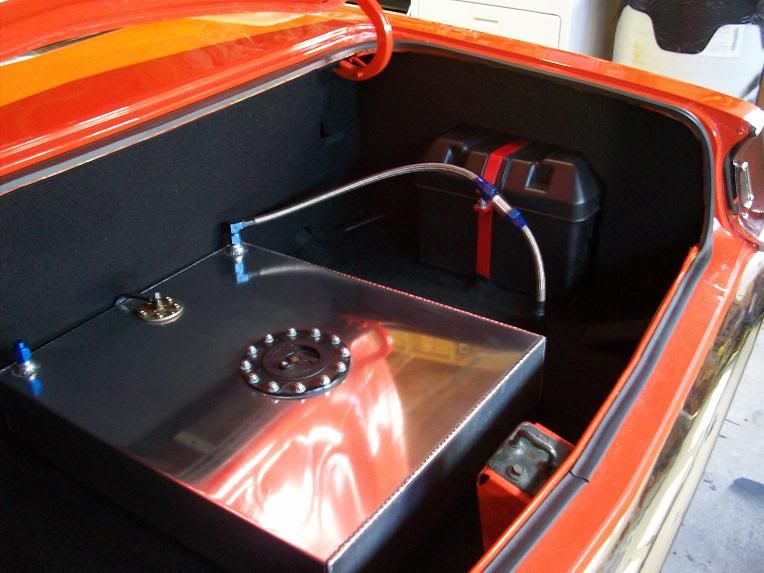
Got the trunk panels built and carpeted.

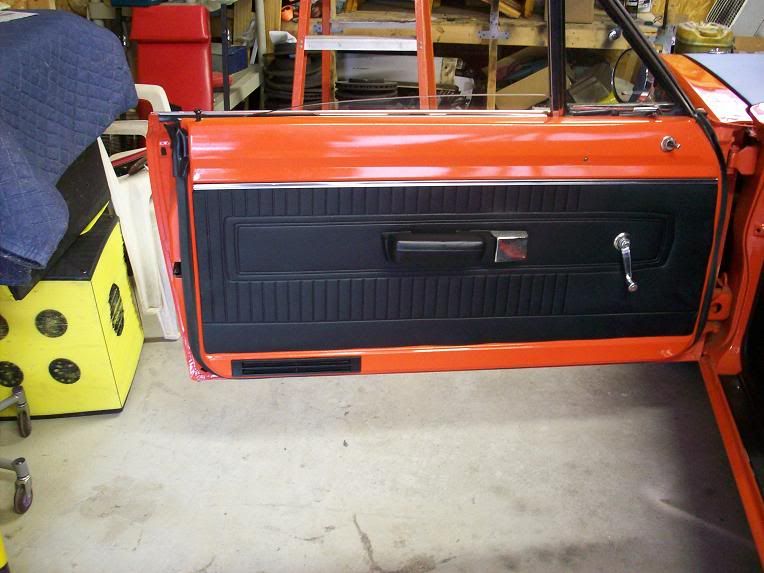
Installed my new/old door panels I got from another member, sorry I forgot who sent me them at the moment, woops.

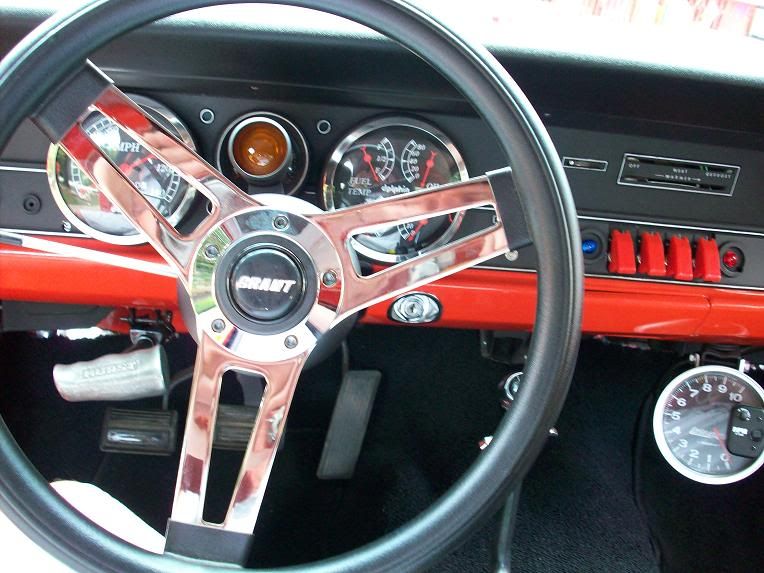
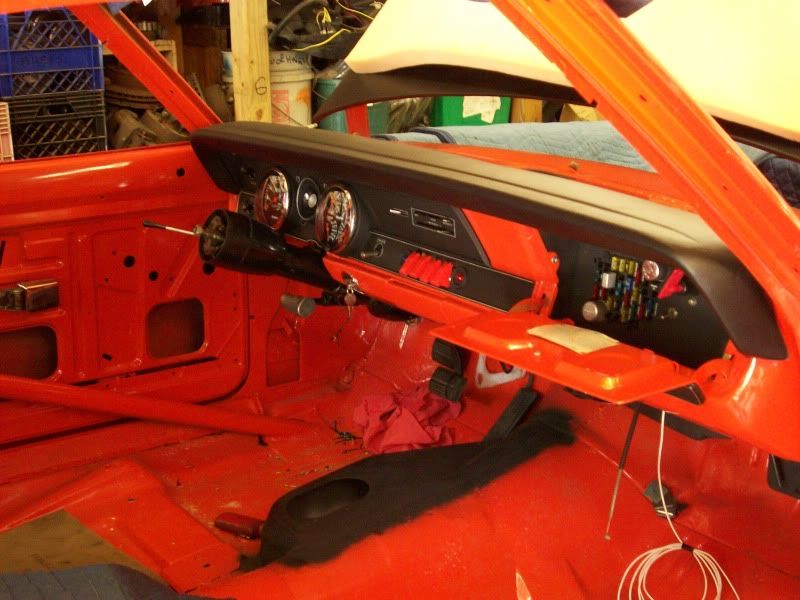
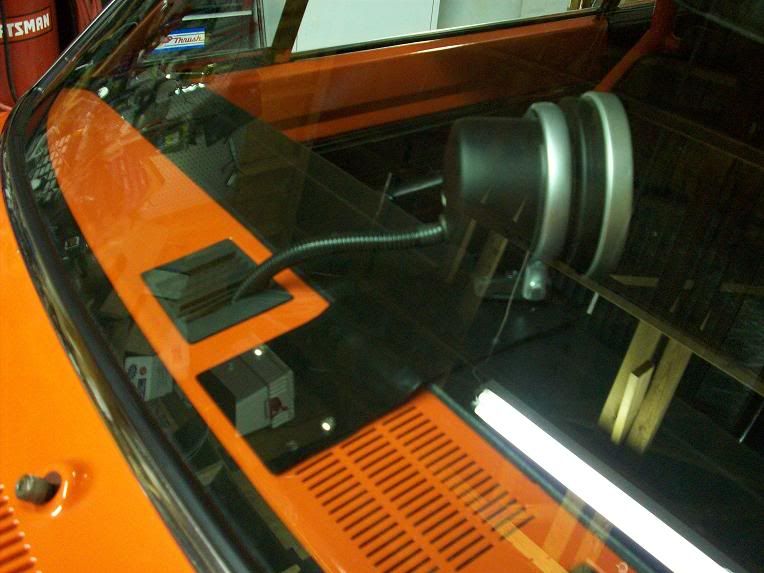
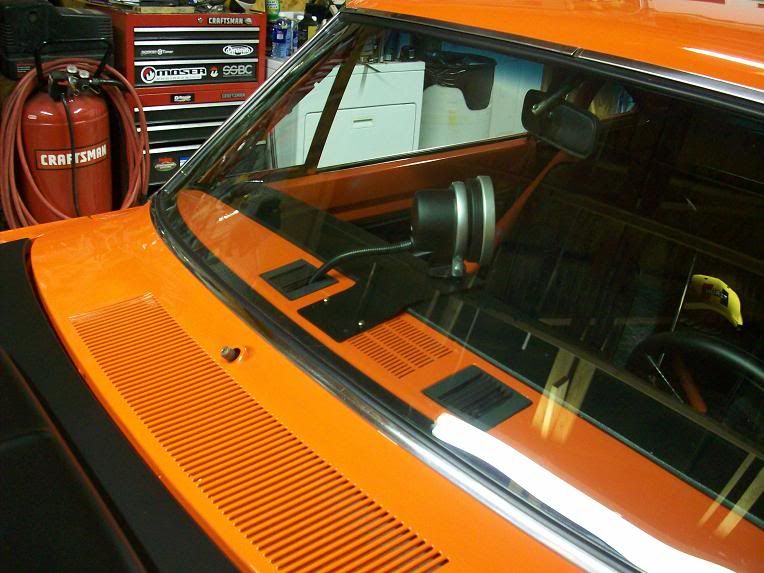
Built a tach bracket and moved the tach to the top of the dash to make room for my custom console.

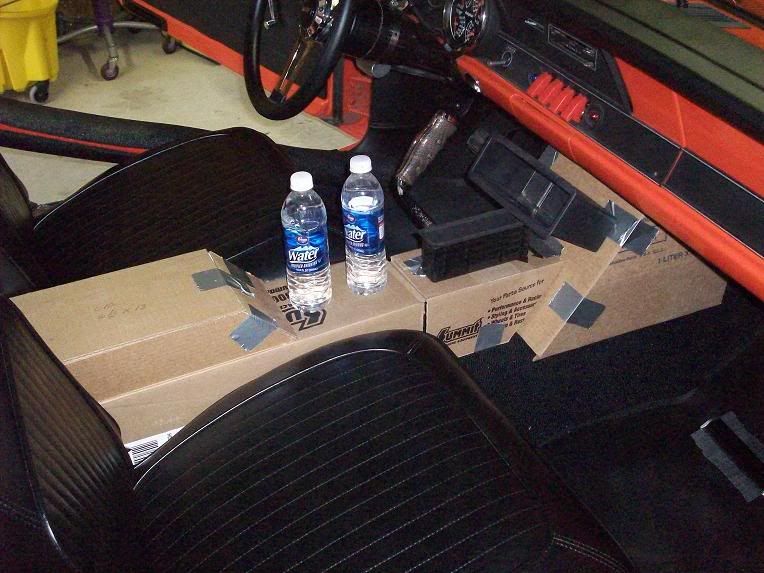
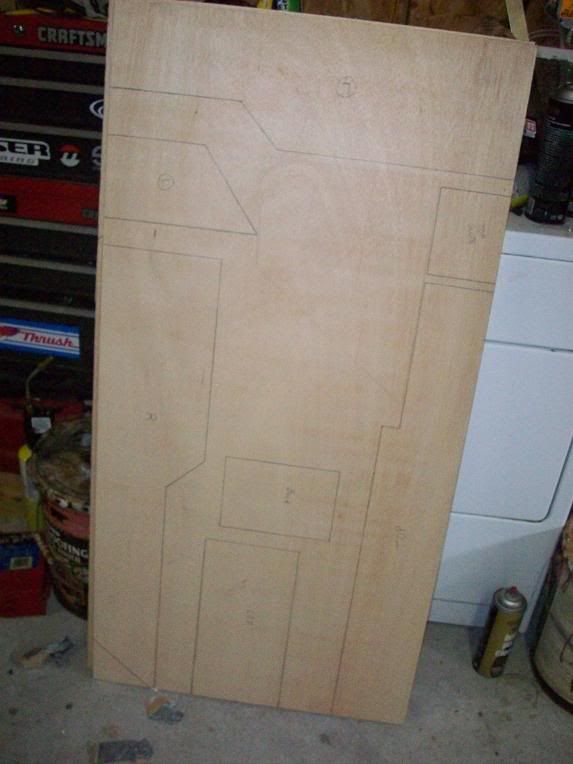
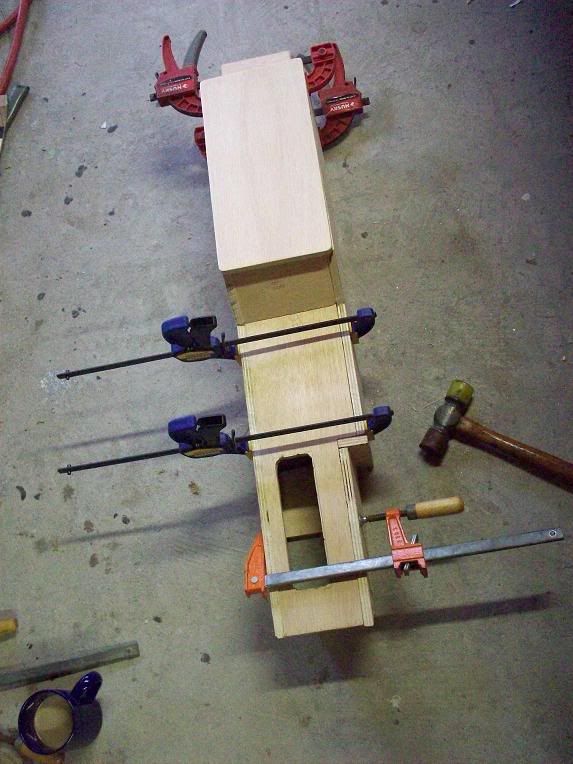
Made a cardboard mock up of a center console and played with some power toys.

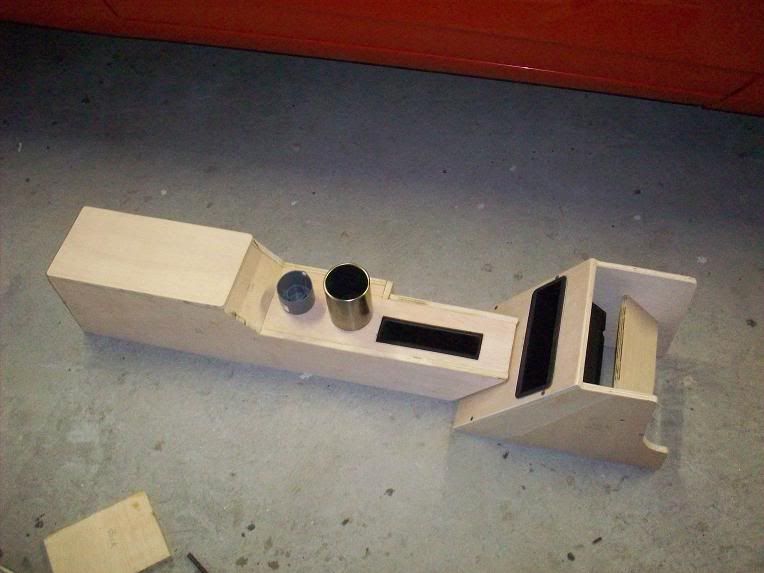
I chickened out and was gonna cover the console myself but I don't know anything about sewing machines so I sent the console down the street to an upholstery shop to get it covered in black vinyl with black double stitching.

cudatrunk2.jpg


cudatrunk1.jpg


dashtach2.jpg


dashtach1.jpg


doorpanel.jpg


console7.jpg


console8.jpg


templates.jpg


1-8.jpg


roughcomplete.jpg


Bye for now, back to work.
 
Nice work!!!! I really like how you setup your switches and activation/warning? lights. I was trying to figure out something for mine, without butchering up my rally dash. I may have to steal that idea :thumrigh:
 
very very nice that is an award wining console you should Patten it to sell with the option of brushed aluminum on the top part and I also like how you painted the front of your dash the color of the car I think I will do that on mine..looking good you should be proud....Artie:thumrigh::thumrigh::thumrigh:
 
Outstanding work Spaz, The trunk area looks very smooth :thumrigh:
and I must say you sure out dun your self on the console :color: I would have sent it out to be covered by a pro also
A very neat job on the tach bracket :thumrigh: Looks like you had some time out in the shop, I know that the work you got dun took a good while to get this dun :hello1:
 
Nice work!!!! I really like how you setup your switches and activation/warning? lights. I was trying to figure out something for mine, without butchering up my rally dash. I may have to steal that idea :thumrigh:

Go for it!:smile:

very very nice that is an award wining console you should Patten it to sell with the option of brushed aluminum on the top part and I also like how you painted the front of your dash the color of the car I think I will do that on mine..looking good you should be proud....Artie:thumrigh::thumrigh::thumrigh:

Thanks bud, I kept the patterns in case anyone wanted to give it a whirl.

I thought of the brushed aluminum insert and even contemplated staining the insert orange or black but my wood grain is not the best pattern for a stained showpiece.
I also thought about a veneer wood insert.

I guess I can always change it up if I want to down the road.

Really nice work... all of it!!

Yes, I had alot of fun doing it all.

NICE job! Look forward to seeing the console finished...

Me too.

I hope they do a jamb up job.

Been watching this car for many years, and it just keeps getting better, and better. Nice job :thumrigh:


Headliner is next, and I may do a custom piece, still debating this.

If I do a custom piece I will definitely save the patterns.
 
Like the console spaz.. especially the way you worked it in with the shift lever. Really good design!

Grant
 
Outstanding work Spaz, The trunk area looks very smooth :thumrigh:
and I must say you sure out dun your self on the console :color: I would have sent it out to be covered by a pro also
A very neat job on the tach bracket :thumrigh: Looks like you had some time out in the shop, I know that the work you got dun took a good while to get this dun :hello1:

Yes, I am still blown away at how nice the trunk turned out.

I used a cardboard mock up on them too and tranferred that to lauan board for easy removal/lightweight.
They fit snug and are just sandwiched in there, but I am going to the junk yard today to get some grab handles for the panels and some other doo dads.

The tach bracket was a ***** to bend that aluminum with two separate bends- I wish I had a break to bend them in.
Everyone keeps asking me how I got the screws in the dash on the tach bracket.
I used one of those teeny, tiny craftsman ratcheting screwdrivers and aligned the holes in the speaker grate slits so I did not have to drill any holes.

The console was easy as pie.
The hardest part of that job was the cardboard mock up.

I probably have about 15 actual hours into that whole console job, and most of that was waiting for the glue to dry, ha, ha.

I did have to deviate from the cardboard mock up on the height of the rear console lid so I dropped it down 1.5 inches so I could shift comfortably once the padded top was added to the lid.
I told him I wanted the lowest profile firmest padding he had on that lid.

looks great! can you post more pics of your cluster?
14-4.jpg
 
Plik, here are some more of the cluster pics during the build.

100_0671.jpg


100_0621.jpg


Gotta thank my buddy Nick for the fab work on that fuse panel.

100_0783.jpg
 
very nice work. I've been thinking of modifying my standard cluster in a similar fashion, unless i can find a rocky mountain insert!
 
wow looks great. Thats about as clean as it gets with the trunk mods you made.
 
nice very nice :thumrigh: :salut:

love the custom console and wiring. not sure I like the fuse box in the glovebox though.... at least not taking up the whole darn box...
 
Me likey a lot Spaz

I can't wait to see it up close and personal come June on my way
down to Cocoa Beach to start the Power Tour.
 
Nice work, did you use an aftermarket wiring harness or build your own?
 
-
Back
Top