my 68 cuda engine compartment

-
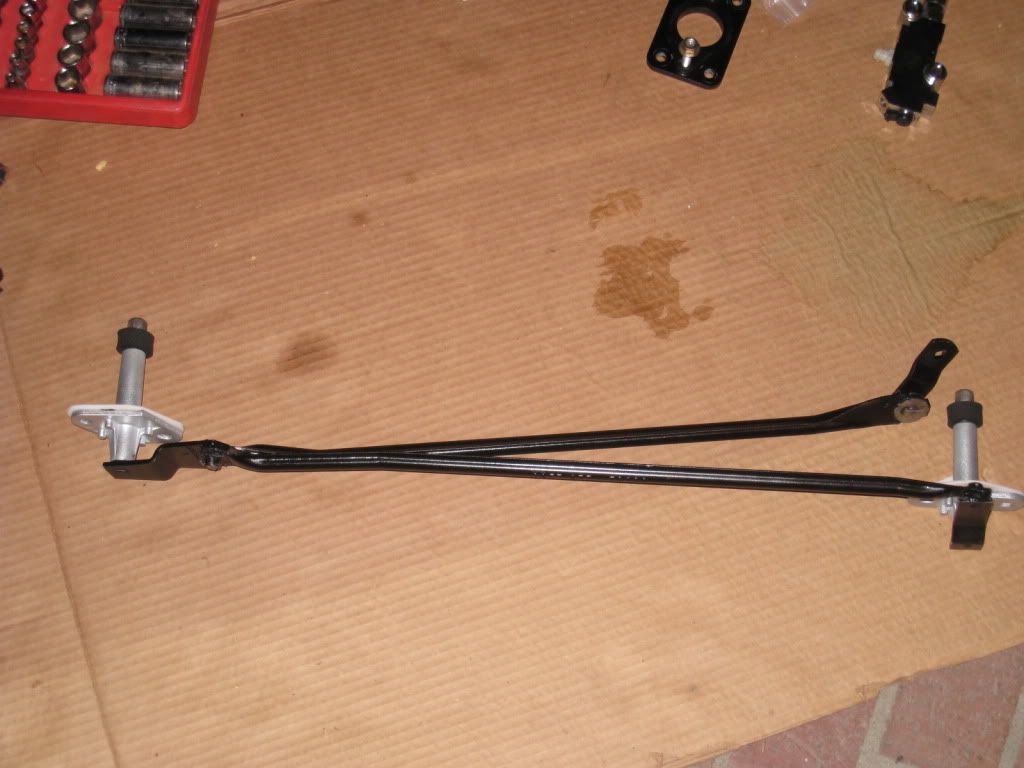
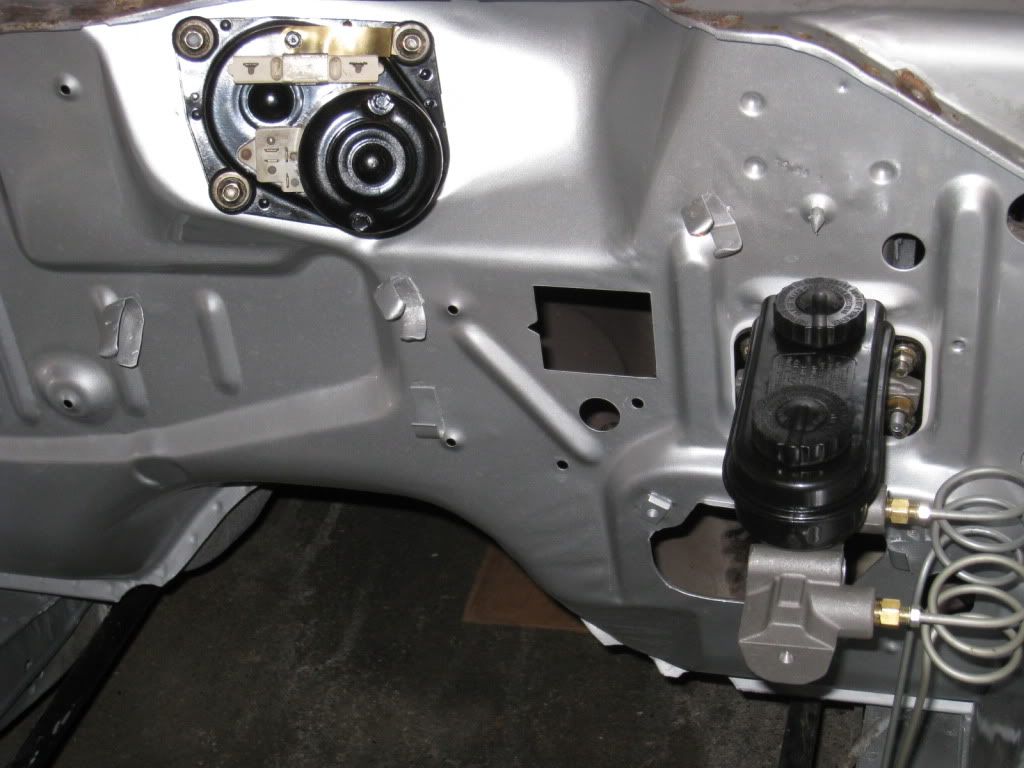
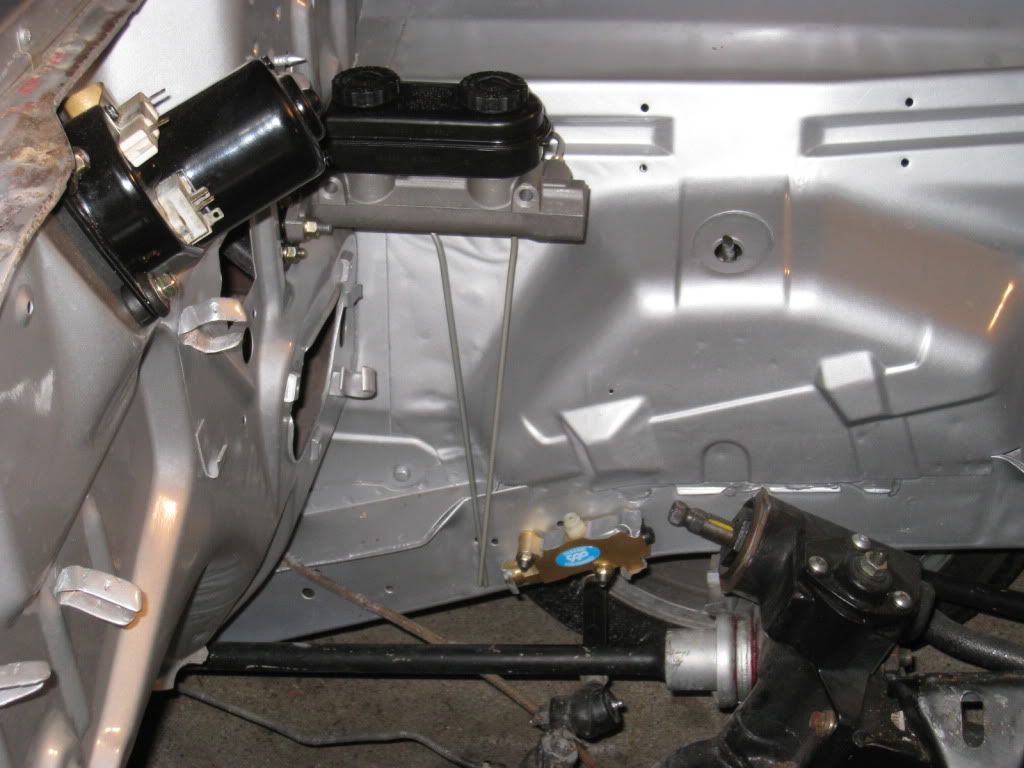
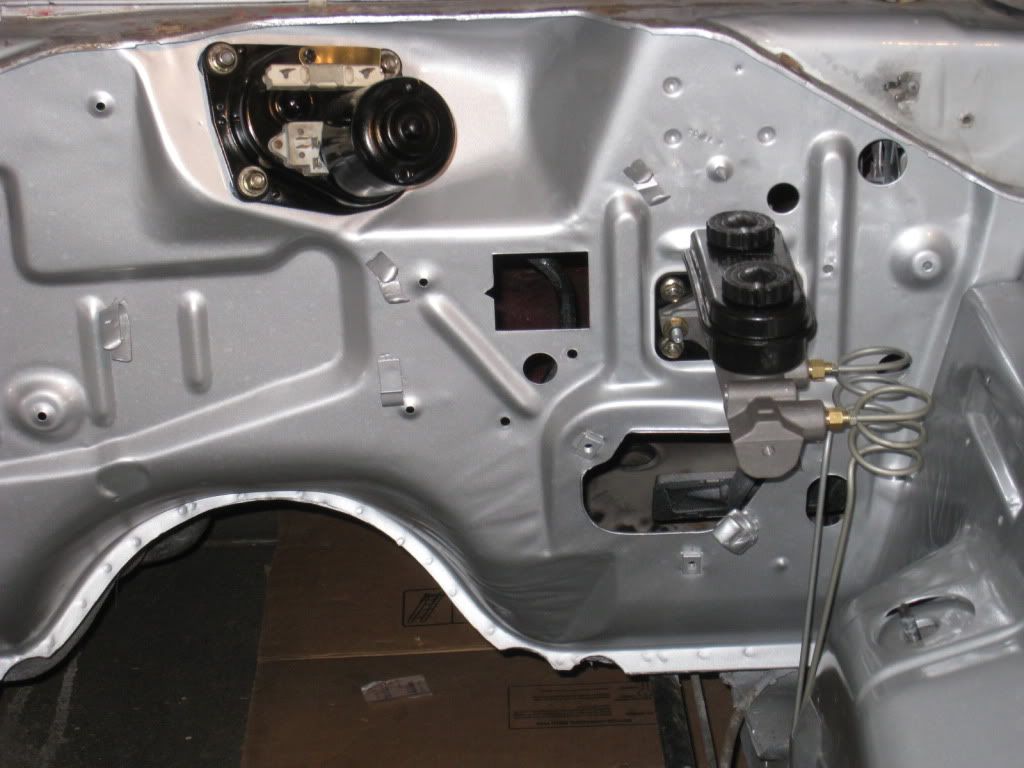
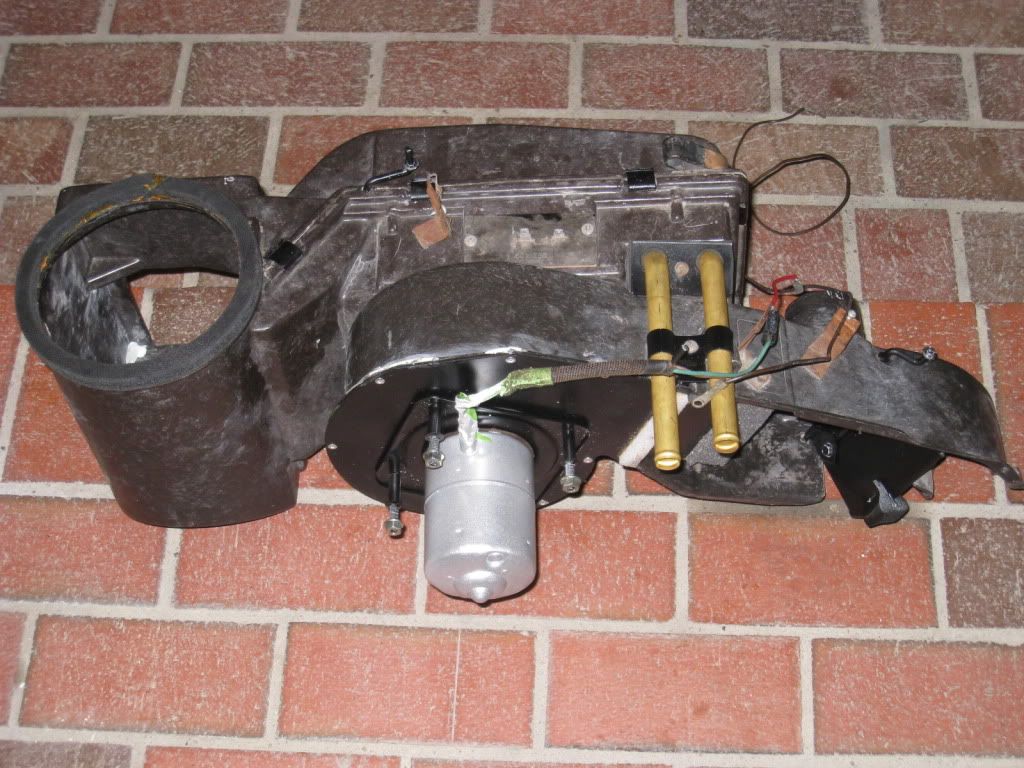
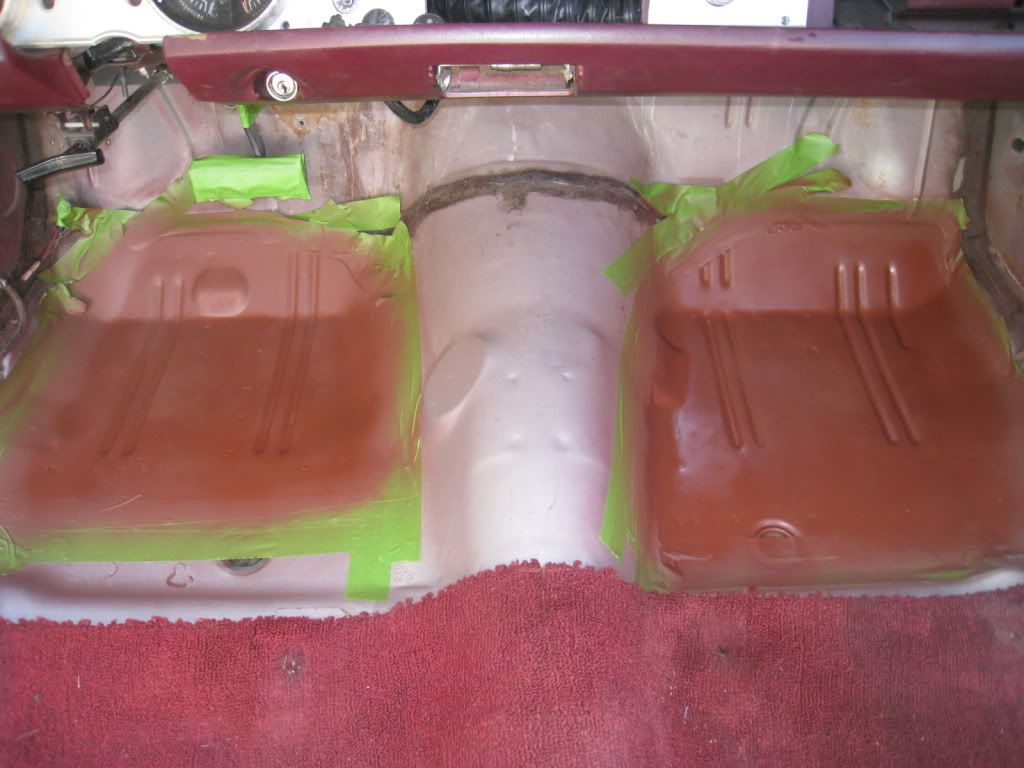
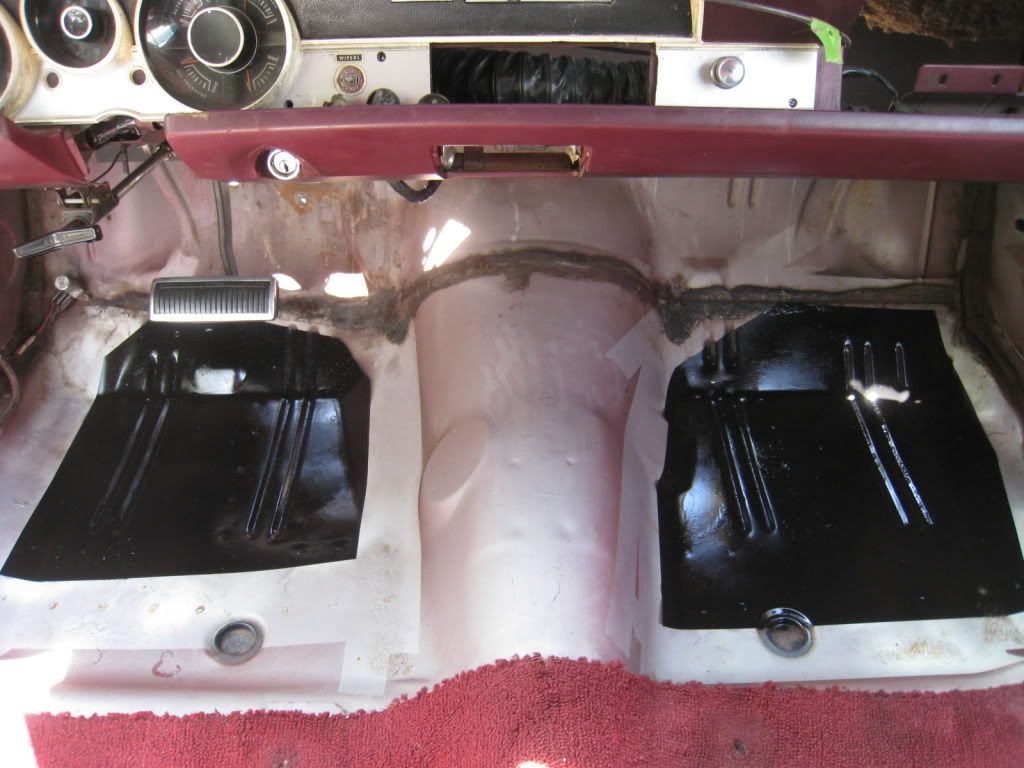
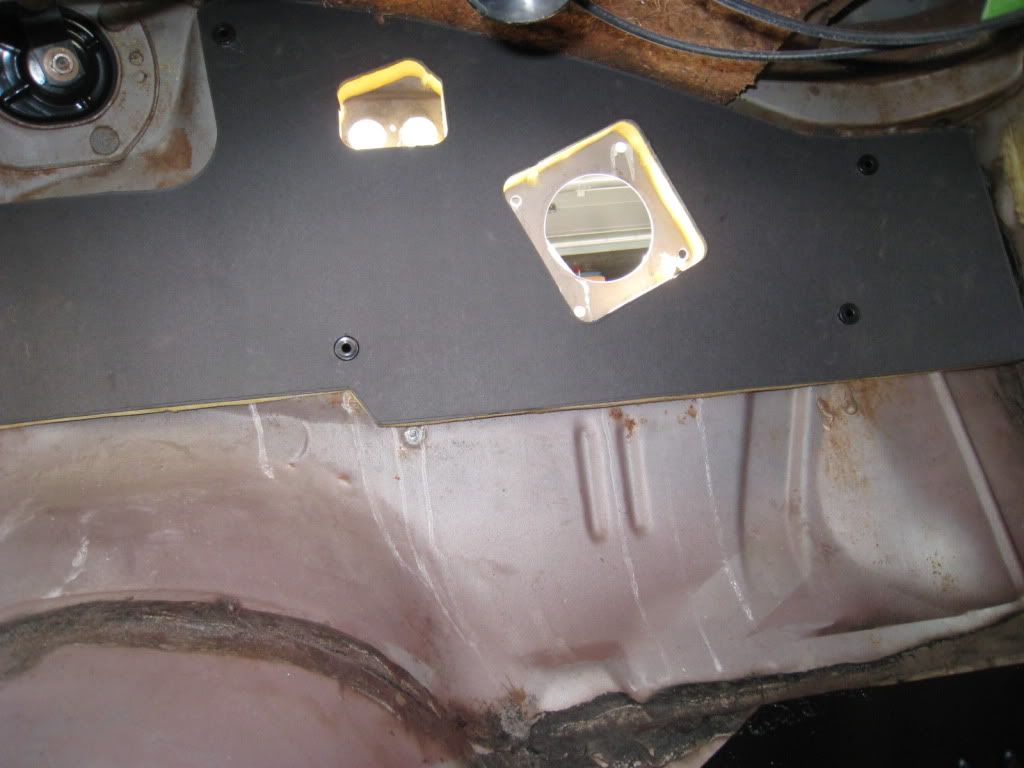
thank you! i am going to TRY and bend my own brake lines first and see how that goes. i can only find 5 foot lengths of brake line, so the one that goes on the back side of the engine compartment to the passenger side is going to have a junction in there somewhere, not the preferred way to do it, but i cant find any lengths longer than 5 feet at the local napa, kragen, or car quest, any idea n where i can get a longer length besides ordering it online and waiting???...i do have a hydraulic flaring tool that was about 350 bucks from mastercool and it makes the perfect flares....

Dude,
I bent all of mine when I redid my Olds. Trust me when I say the having a good flaring tool and long lengths of tubing are going to be the least of your headaches! If you are as fussy about how you do things as I am, getting the tubes bent like the originals is what will drive you crazy. Try to preserve the originals as best you can so that you can match them up as you go. The tight radius bends are the hardest, along with bends that are close together because the tools that are available to us hackers, at least at that time, were not friendly to that type of work. It is also one of those jobs that would be easier if we were all born with 3 arms. I have seen bending tools in the Eastwood catalog (just proves that they are available SOMEWHERE) that can be clamped in a vise and I thought that would have saved me lots of indigestion and my kids wouldn't have the expansive vocabulary that they do now! You will need to be patient and having an extra set of hands around when you do the lines in the engine compartment, for example, will make the task much more rewarding. L8r

Jim
 
ok i rebuilt my wiper motor and linkage with new seals from schumaker creative services. heres my linkage all cleaned up and painted. now i just gotta install it . :)

jzwf3a.jpg


f52dqt.jpg


256h5js.jpg
 
blasted and painted my gas pedal too! haha LOL

IMG_2177.jpg


Installed the rebuilt wiper motor, master cylinder, prop valve, and working on making my brake lines. :)

IMG_2181.jpg


IMG_2180.jpg


IMG_2179.jpg
 
silver looks good!!.....and familiar....I had to do a doubletake....I thought I was back at the shop!

don't know if your interested or not....but black heat shrink over the wire harness holders makes em' look brand new...and adds the rubberized insulation aspect
 
thanks guys for the comments!! im glad i did it because i couldn't put a brand new shiny engine into a dirty greasy rusty bay. lol


yea, thats it, its an easy place to mask off to, so whenever and whoever does the body work they can mask from that point on down...


ahhh geeeze!! no, really??? i forgot about that! haha, but it'll be fine, ill worry about that when I get to it...lol

now, off to building my brake lines! ill update this thread periodically when i get new stuff done :)
I got all my brake and fuel lines from Inline Tube. They fit perfect and look great. Check them out.
Keith
 
Ask the counter guy at the parts store for "a spool" or "a coil" of brake line. You can get them in 25' lengths and they probably have them in stock. If you just ask for a brake line, you'll get whatever pre-made ones are on the rack which top out at 5'. I just went through this. I bought a 25' coil for my Fury. Worked perfect.
 
silver looks good!!.....and familiar....I had to do a doubletake....I thought I was back at the shop!

don't know if your interested or not....but black heat shrink over the wire harness holders makes em' look brand new...and adds the rubberized insulation aspect

Hey thanks HemiDenny! Thats a great idea! I'm going to try that soon and see how it works out for me. I'll take pics of it once I'm done with it.
 
I got all my brake and fuel lines from Inline Tube. They fit perfect and look great. Check them out.
Keith

I've been looking at inline tube and fine lines. Heard they are both good. The main reason I didn't just buy prebent lines is because, previously, my brother said he was going to help me build these lines and we were going to work together on it...He bought a real nice hydraulic flaring tool for a few hundred bucks, and we already made the lines you see at the master. If I go out and buy new lines and just skip out on him, I feel he might say "f*ck you then" and not wanna help again. LOL

Looking good.
thanks cilff

Don't scratch or sand any paint off for GRDS. I used star lock washers between the wire terminal and the paint. They bite into the metal through the paint. Works excellent. Steve

Yes, star washers sound like a good idea. Didn't think of that. That's what I'll do! :)
 
while i had it out, i thought i might rebuild my heater box as well, it was a PITA!!! But the kit from detroit muscle technologies made it a bit easier. when ya take it apart, take pictures as your doing it! i didnt do that and i paid the price and spent a bit of time figuring out where stuff went. lol

You can't see it but i blasted and painted all the inside doors, and made everything work nice and smooth by greasing it. the box had a couple cracks and chips, so what i did was use that putty stuff that comes in a tube, cut off how much you want, knead it together and form it to the box. works surprisingly well.

IMG_2183.jpg


IMG_2189.jpg


IMG_2190.jpg


IMG_2191.jpg


I also dont have pics of a small mod i did, but my heater blower motor came with a sheet metal squirrel cage, i took it off and thanks to fabo member "mbaird" he gave me a plastic squirrel cage that later year A bodies came with, which has more fins, it now blows way more air!!! i didnt think it would work that good but dang!

That looks easy to do. Thanks for the tip on the squirrel cage.
 
found some light rust on my front floor boards. wire wheeled it off, used rustoleum rust stop primer, then shot it with gloss black. kinda uneven, but you'll never see it, carpet goes over it. at least i took care of the rust issue. :)

f2o35w.jpg


IMG_2322.jpg


IMG_2327.jpg
 
You're doing a great job. I have something to look forward to.
 
Looks like some beautiful work!

The painted area around the brake master cylinder always seems to be in poor condition at the beginning of one of these projects. My own car is a case in point. Is there a paint that will stand up to brake fluid?
 
318? ISn't the fish getting the stroker it deserves? Looks good. You should see my "before", way worse than yours as it is origonal paint.

Me too. You should see the engine compartment of my origonal paint fish. It also has a bunch of dents where the last guy tried to do something, maybe get headers in. Engine compartment gonna be a real job. I am going to get all the new to the car parts (new top end, headers, new ignition) put in with the 340 and the old compartment paint so all the bugs get worked out and hopefully I don't scratch up the new paint when re-installing the engine.
 
Looks like some beautiful work!

The painted area around the brake master cylinder always seems to be in poor condition at the beginning of one of these projects. My own car is a case in point. Is there a paint that will stand up to brake fluid?

A few years ago when I went to BBP in the rear, I also re-plumbed my front brakes w/ a new alum MC, adj prop valve, line-loc and eliminated the safety valve/tee. (simple is good) With all the newly bent and flared tubing required, at first there were a couple small leaks but I stopped them by cranking the nuts a little tighter. I converted over to DOT 5 silicone brake fluid which does NOT attack the paint and never looked back.
 
Looking great!! A man after my own heart. I can't believe the otherwise nice looking cars that show up a car shows with dirty, oily engine bays. If you're gonna have a nice old classic keeping the engine bay clean and orderly is just as important as the outside of the car, IMO at least.
 
Its called a toothed washer. They are available internal or external tooth. The washer belong on top of ring terminal between it and the nut of bolt head. To place a toothed washer on the paint limits to currecnt path to ever how many little teeth cut through the paint.
We had a rash of 90 model Fords come back for "intermittent fails to start" because the toothed washer at negitive battery cable to block connection was placed wrong.
 
-
Back
Top