The Other 68 Dart Resto Project

-
I promised some pics of my progress, here are a few. Take a look at the drain hole, jealous? The trunk pan looks bad, but its really just a combo of dirt and surface rust, there are no holes anywhere in the trunkpan,the metal is thick and solid.

100_0219.jpg


100_0218.jpg


100_0217.jpg


100_0215.jpg
 
OK, I had a dilemma, there were a couple of tiny pinholes in the rear 1/4's, but nothing else, the inner trunk panels and drain holes were great, but I am still worried about what I cant see. I have used Evapo-rust with great success, so why not flood the inner fenders with it and get rid of the rust you cant see.

So, here is my plan and execution.

Step one, the parts, RIO-400 fish tank pump, 4 feet of hose, 5 gallon bucket, and a rubbermaid trash can lid.

100_0213.jpg


I used the lid with a hole cut in it to catch the dripping.
100_0221.jpg


Here is the hose, routed through the filler hole.
100_0220.jpg


100_0224.jpg


100_0223.jpg


Here we go, pissing fluids, flushing out the rust.
100_0225.jpg


100_0222.jpg


I had a little bit of splashing, so I devised an expensive sheild to keep it to a minimum.
100_0226.jpg
 
Holly Taledo !!!!!!!!

You are going for it !!!!!!!!!!!!!!

Great idea......
 
Is that stuff flammable? If it is I wouldn't do that again, that pump is designed to move water not a flammable liquid. You might end up in the same boat as the iron guy and you don't want to do that.

On the insurance thing, I've been down this path before and a vehicle will not be covered by renters or homeowners insurance. The vehicle has to have it's own insurance to be covered if it gets damaged in a structure.

My favorite pics are of the inside of the fuel tank... MMM varnish.


Chuck
 
340mopar said:
My favorite pics are of the inside of the fuel tank... MMM varnish. Chuck

The car sat since at least Feb 98 in his Dad's backyard. The good thing is that there really is no rust-through on the body, just a couple of pin-holes on the rear quarters that actually look like they were caused by rock chips, as there really was no other rust. In fact, I am probably just going to patch the holes with little 1" squares of sheet metal rather than cutting things apart. I am still looking for rust, but evertime I stick my head somewhere looking for it, I have been surprised by the lack of it. Which is why I am preserving the metal now, so far just light surface rust.

Next I am going to strip the paint of the bottoms of the rear quarters just to be sure there is no well hidden rust. then I am going to neutralize the rust again, and coat the metal with encapsulator. i have seen so many cars with nice paint jobs and bubbling rear quarters it makes me cry. If fact it happened to my Dakota I had painted about 7 years ago, a flawless paint black job, then the rear fenders rusted from the inside out. I was so disgusted, I sold the truck as-is. That will not happen to my Dart.

RUST WILL DIE!
 
Nice start, I all ways wanted a 68 GTS in Sunfire Yellow with a black interior.
 
Thats a pretty good way to derust the inner panels. What method are you planning to use to get complete coverage of the Rust Encapsulator inside the quarters? I have been thinking of using a flat foam brush with maybe a paint stirring stick taped to the handle for extra reach,but by reading your posts I bet you've got a better way. Keep posting your tips they are really helping me plan my next steps for when the Doc. releases me. I can't wait to get back to work on my Duster.
Bob
 
Wow !!!First time i've seen a car pissing.hehehe
Good luck building your Monster 383. Sure they were made for each other:thumbup:
 
gerty said:
Thats a pretty good way to derust the inner panels. What method are you planning to use to get complete coverage of the Rust Encapsulator inside the quarters? I have been thinking of using a flat foam brush with maybe a paint stirring stick taped to the handle for extra reach,but by reading your posts I bet you've got a better way. Keep posting your tips they are really helping me plan my next steps for when the Doc. releases me. I can't wait to get back to work on my Duster.
Bob

Probably going to pour thinned down converter and encapsulator down there and let it drain out the weep holes. I checked last night, after 24 hours it seems to be working, but since the nights are cold, its slow. The stuff works quicker the hotter it is. I am going to do a little more poking and prodding tonight I am also thinking about drilling a few more drain holes to keep rust at bay.
 
The pump worked great, I let it run for 3 days and it seemed flush a lot junk and dirt out, and I found a socket and screwdriver too! But I am too concerned that the metal might be too thin is some spots now that the rust has been dissolved. There were a couple of pinholes in the metal caused by junk accumulating in there, I can feel and see pits where the rust dissolved away, but so far has not penetrated through to the paint. The space is just too narrow to get my hand in there to check it out completely, you can't see in there either, so I made a decision to drill the spotwelds and make a thin cut to remove the bottom 4 inches of both rear 1/4's. I wanted to avoid exploritory surgery, but I don't feel good about hoping noting is wrong, I need to know for sure. Also, I can make a better repair if I can see if there are any thin spots in the metal.

I did make more progress, I got the whole rear underside from the rear seat pan back to the bumper cleaned and prepped, I laid down a layer of rust convertor on the rusty areas and I will seal it with Encapsulating primer my next day off. Then paint, then the rear suspension, driveshaft, and gas tank can go back in and I can finally drive the car for the first time. I am leaving the Rusty 2" exhaust in for now, untill my 383 is ready, then I will be replacing it with a 3" system. I hope to be driving it within 2 weeks, since I had only ever driven it off a trailer and into the garage, this will be a big event for me.
 
Ok, here is another update, after I wire brished, scraped, cleaned and ate a lot of dirt & undercoating, I finally made some progress.

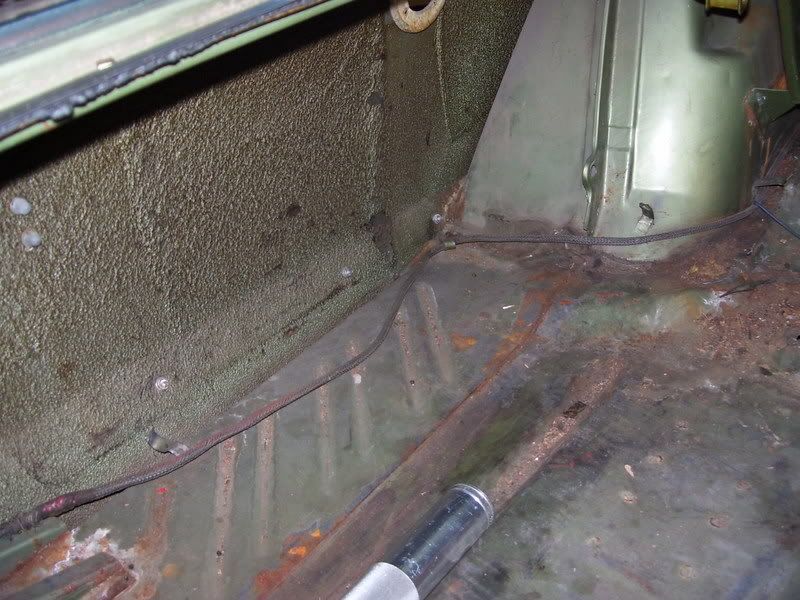
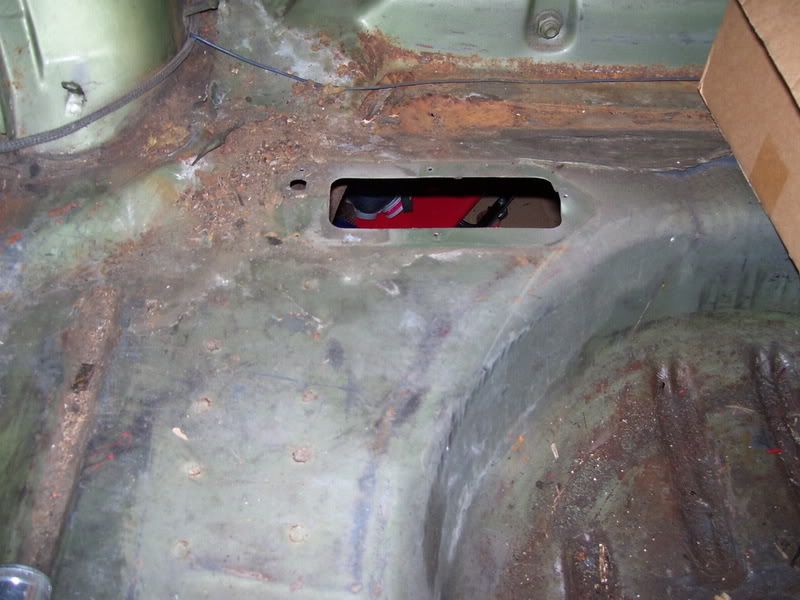
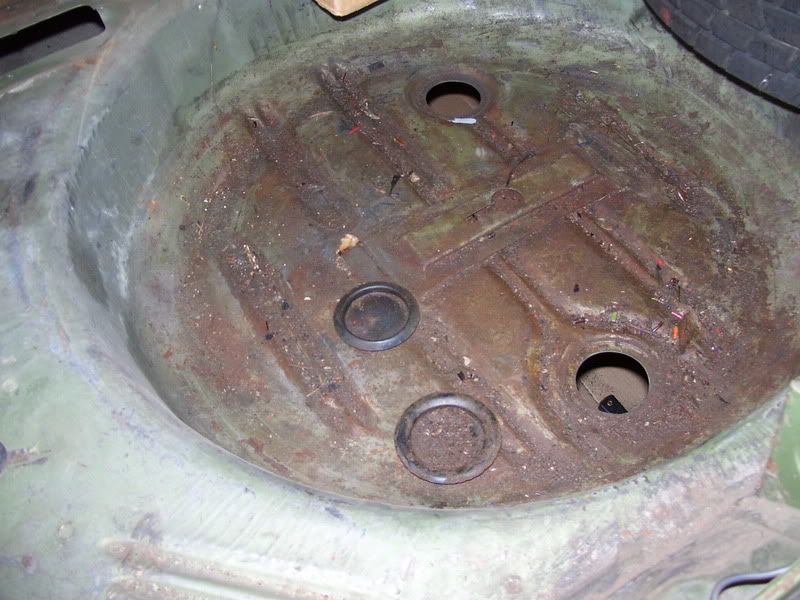
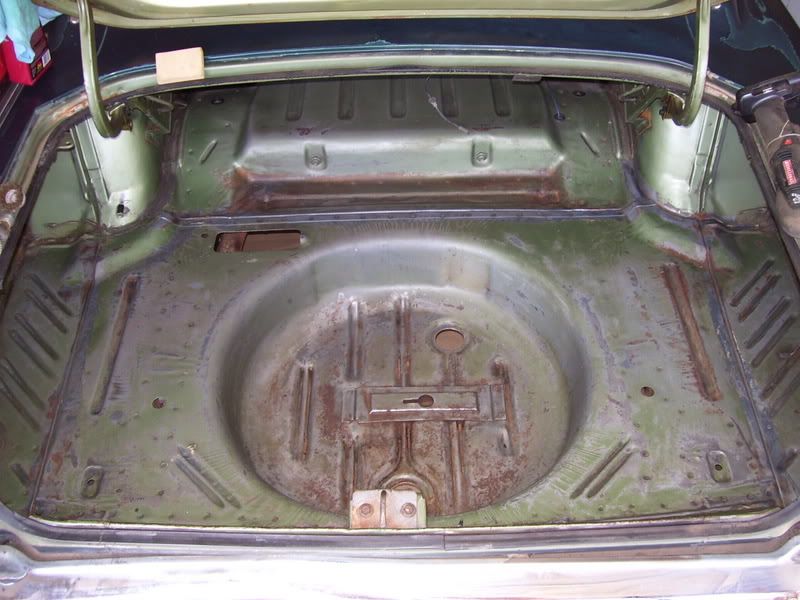
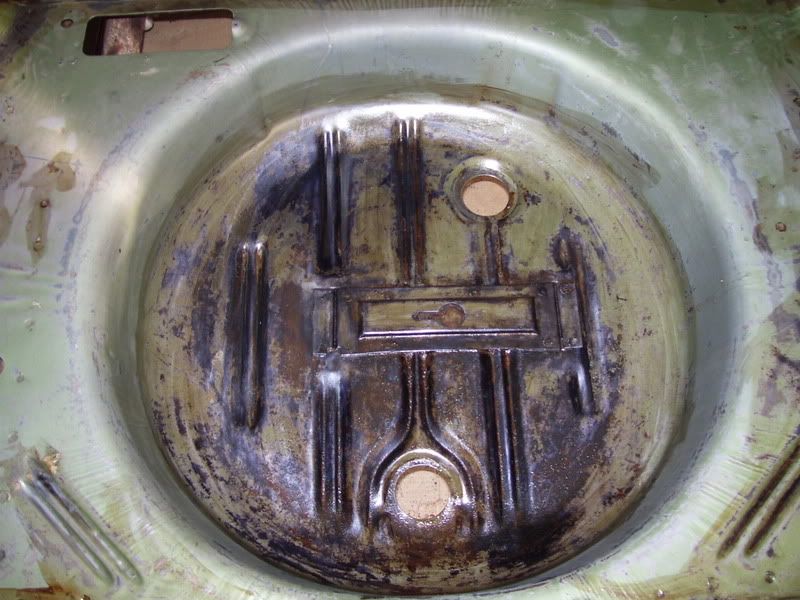
The first three pictures show the cleaned up rear floorpan. I decided a good stopping point was the rear seatpan seam all the way back to the rear bumper brace.

100_0246.jpg


100_0253.jpg


100_0254.jpg


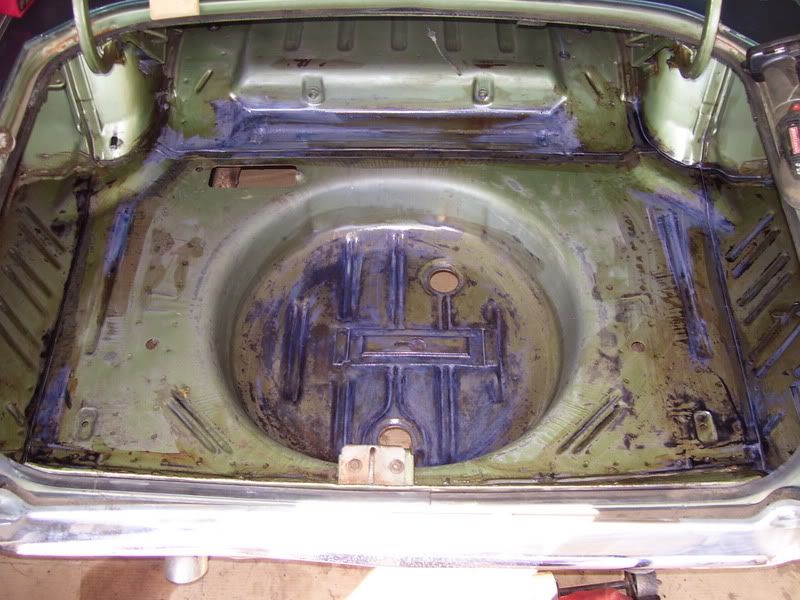
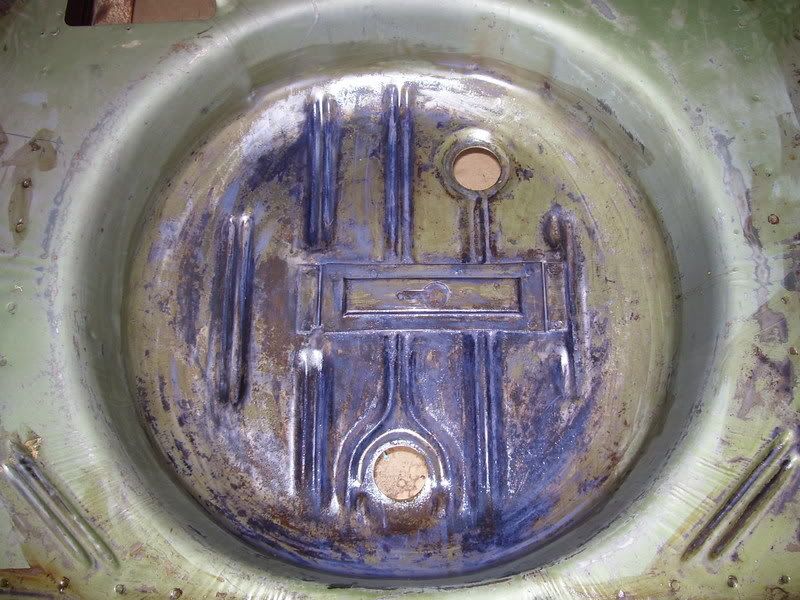
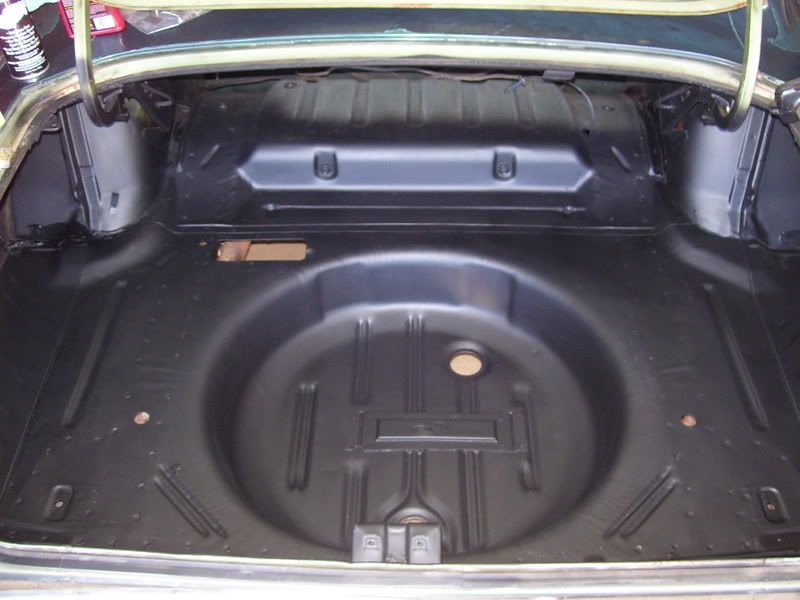
The next three pictures showed the floorpans after spraying them with Duplicolor Rust Convertor. I did have some of the Eastwood converter, but it was not working correctly when I tired it and their tech support is an absolute joke, I was told they could not help me because they were busy and they were going to close in 15 minutes. ASSHOLES! I hong up on them and the next day I called and got them to issue me a credit. It really depends who you talk to, because they gave me credit beyond the 60 day limit and told me to just trow it away and don't ship it back. Definately a love hate relationship I have with them.

Back to the car. The black areas show where it did its job on the rust, the other colors are primer, overspray, clean metal, and undercoating. I decided not to remove the undercoating for a few reasons, 1) there is nothing wrong with it, no rusty metal underneath, 2) the factory put it there 39 years ago and it has protected the metal ever since, 3) It does not bother me since I am not doing a concouse resto, I am just trying to stop any rust from appearing in the future.

100_0266.jpg


100_0267.jpg


100_0268.jpg


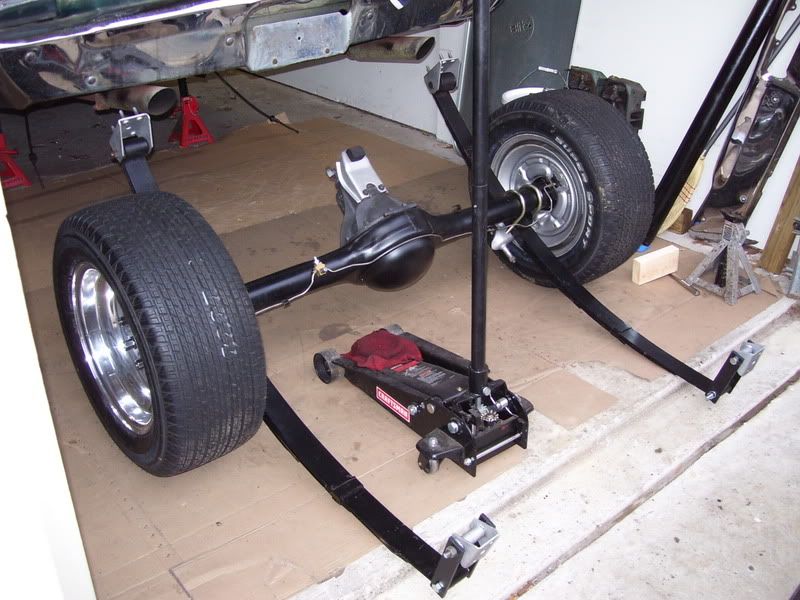
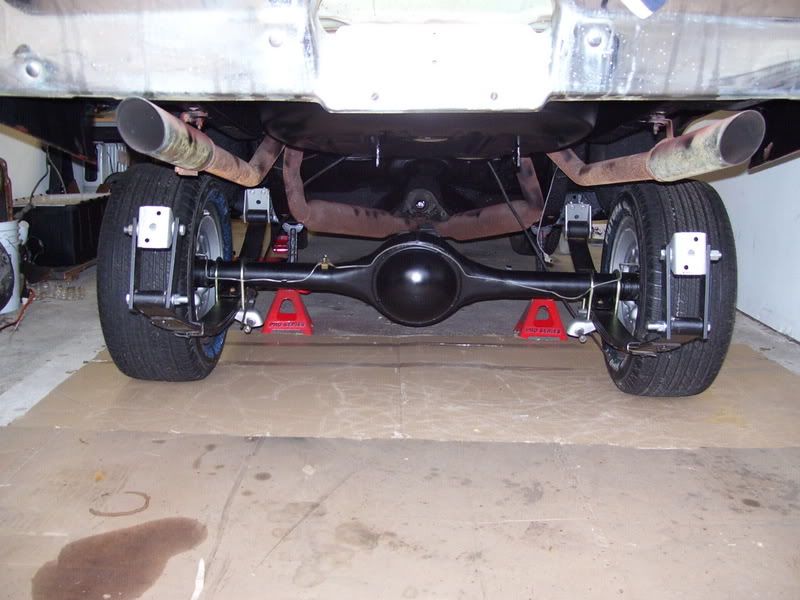
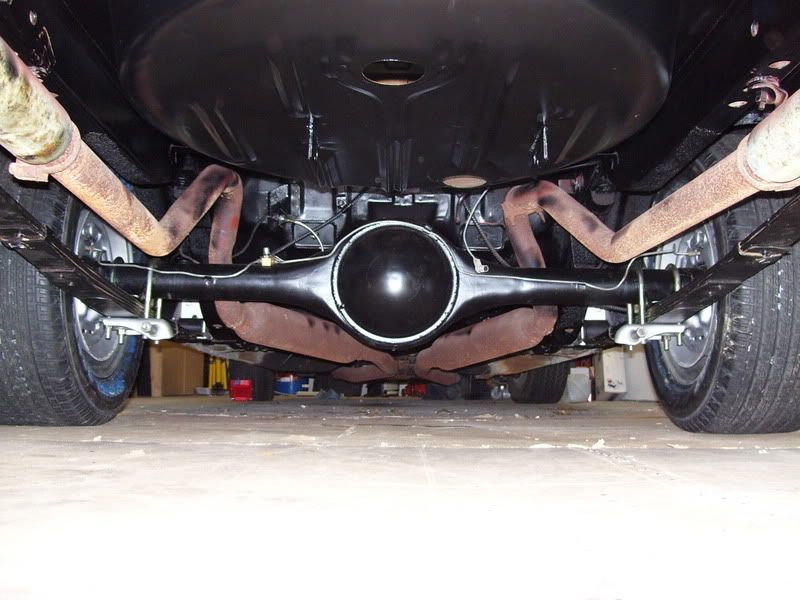
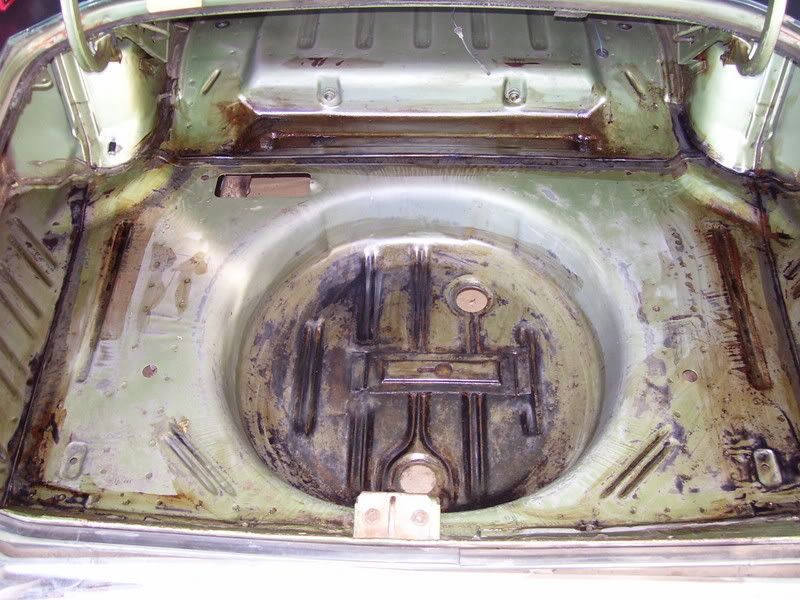
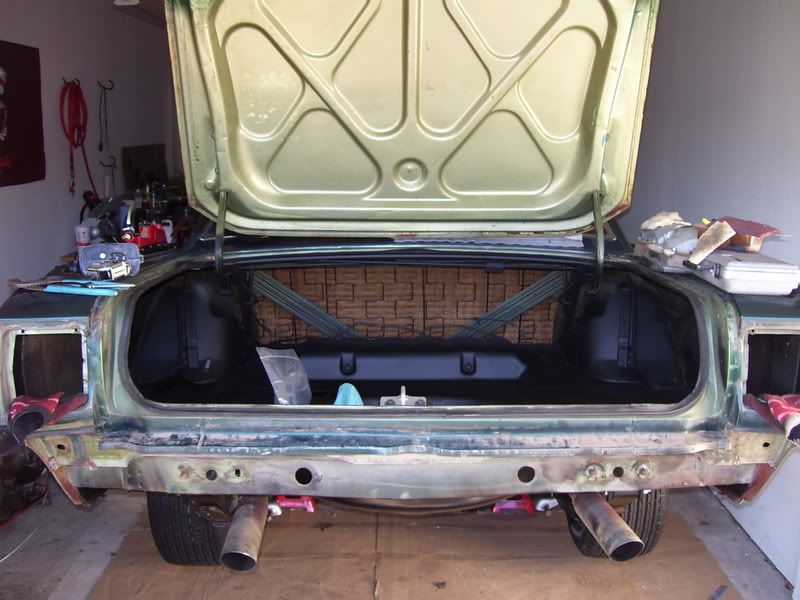
These final 3 pictures are of the last step of the rust control, Eastwood's Red Rust Encapsulator Primer. I bought a quart and ended up using half of it, also thinned 80/20 with laquer thinner, I sprayed it using 3 Preval disposable sprayers, which I used because I have borrowed spray guns and that stuff can be a real ***** to clean out of them. It took me about 2 hours to do the priming, the last step will be painting it all with Eastwood's Chassis Black and reinstalling the previously cleaned and restored rear end. I also have a new Gas tank that I am going to reinstall as soon as I get it painted with Eastwood's Diamond Clear bare metal preservative. Dont worry about the exhaust, its being replaced next month with dual 3" pipes, in anticipation of the big block.

100_0274.jpg


100_0280.jpg


100_0282.jpg
 
Actually, it was not that much work, it was more than I thought, but not that bad. I started to paint the underside satin black last Saturday, then I ran out of paint and it started raining, I bought some more paint, and did some more tonight, but ran out again. One more 15oz can should do it. I will finish it up tomorrow night and then start on the trunk this weekend. I am just going to prime it for now since it will be bodycolor and I have not decided on black or red.
 
That's looking real nice, Keep it up !

FYI, you may want to consider using epoxy primer --got zinc in it--excellent rust inhibitor/surfacer/primer.
 
Update, finally finished painting the underside today, spraying black up above you is a MESSY job. I should call Mike Rowe. Here are some pics, I also got my filler tube cleaned up and painted, and a picture of my new gas tank inside with 3/8" pickup. I am going to reinstall the rearend this weekend, drop the car back on the ground, clean and primer the trunk, paint it black, and then reinstall the gas tank and filler.

100_0439.jpg


100_0437.jpg


100_0434.jpg
 
Look at you go Flyboy01!!! :blob:
your work and pic's look great,
Do you ever take a brake. :toothy7:
 
Nice pics... how did you take that shot inside the gas tank??
 
Got my rear re-installed yesterday, but I had a major goof on my tires. I measured everything and got 15x8 wheels with 4.5 bs on 265/50r15 tires, I figured everything would fit fine. I was wrong, I mis-measured. Instead of being centered, they are about 1/2" farther out now. I now have 1/8" clearance from each wheelwell lip to the tire sidewall, I figured I could cut the lip down so I could have about 5/16 clearance on each side, or I can get a set of 255/60r15's for it.

100_0465.jpg


100_0466.jpg


axle004.jpg


axle002.jpg


axle008.jpg
 
I got a lot done this weekend on the Dart. Although the Dart has almost no rust-through anywhere, there was a fair amount of surface rust everywhere, this has been my personal battle since I got it. I am happy to report that I am winning the battle. Previously I stripped and painted the rear half of the underbody and refinished and rebuilt the rear suspension. This weekend I got more done, I installed the new gas tank and fuel pickup, I stripped the inside of the trunk, cleaned everythng with laquer thinner, wiped everything down with wax & grease remover, covered the rust with Eastwood Rust Converter, and finally primered the whole trunk in Eastwood's Rust Encapulator. I also pulled the rear bumper and prepped the rear valance with more Rust Converter. I also stripped the bumper brackets and painted them. I finally finished up today with getting my rear drum brakes put back together.

BEFORE:
100_0217-1.jpg


100_0219-1.jpg


100_0218-1.jpg


STRIPPING:
100_0470.jpg


100_0471.jpg


RUST CONVERTER:
100_0473.jpg


100_0476.jpg


100_0481.jpg


100_0483.jpg


ENCAPSULATOR PRIMER:
100_0489.jpg


100_0495.jpg
 
I started doing bodywork this past week, I started by stripping the paint and filler off the left rear quarter, I welded up the holes left by the trim and emblems. I am going to post a few pics when I get a chance.
 
-
Back
Top