flyboy01
Its almost done!
Those are checking springs you use when you are checking valve clearance an degreeing in a cam, if you use regular springs, it can cause the plungers in the lifters to collapse, which will not give you accurate readings.
BTW - where did you get those "tester" springs?Those are checking springs you use when you are checking valve clearance an degreeing in a cam, if you use regular springs, it can cause the plungers in the lifters to collapse, which will not give you accurate readings.
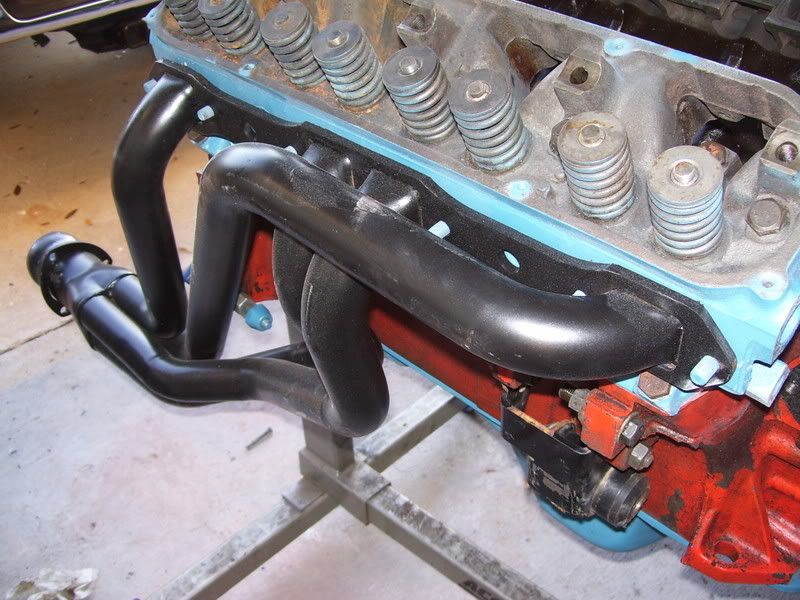
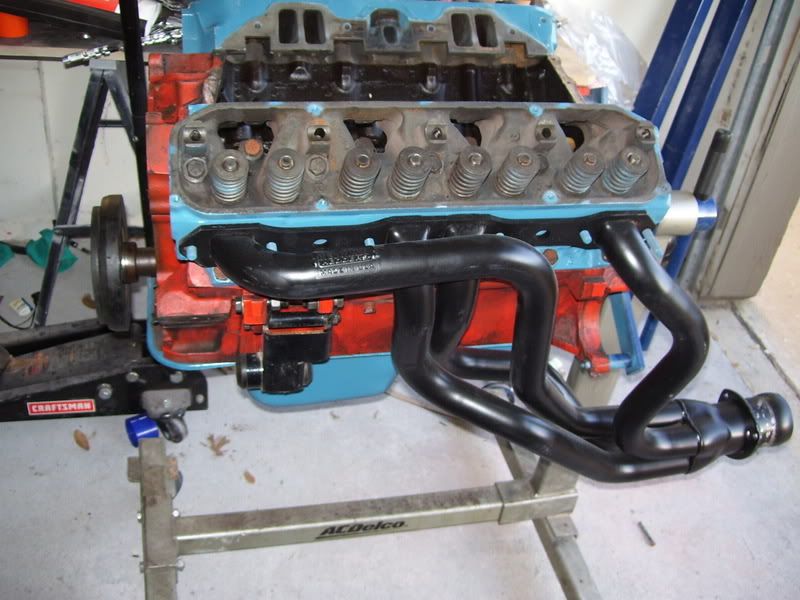
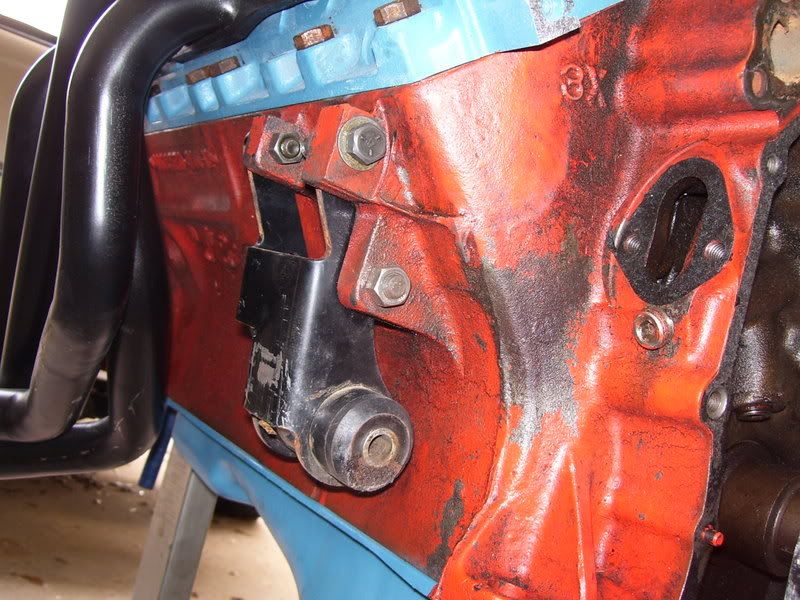
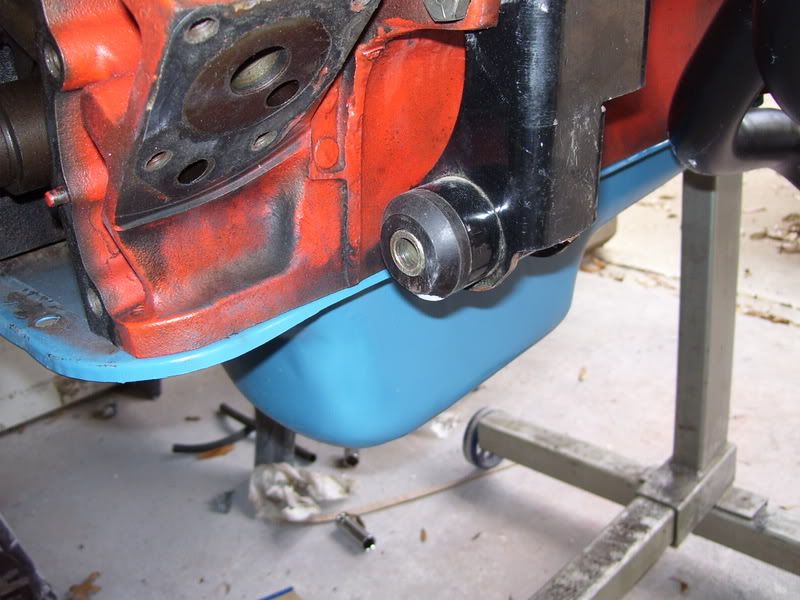

just curious, what type of headers are those? TTI's?


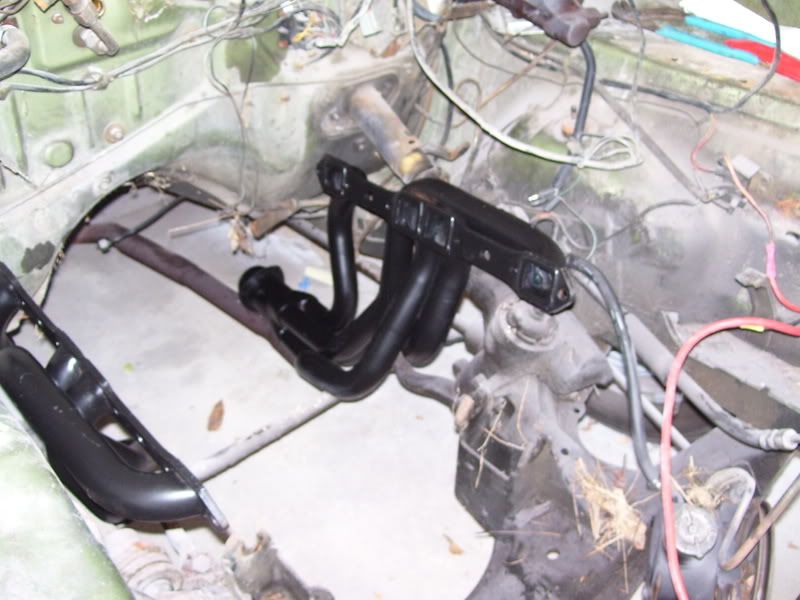
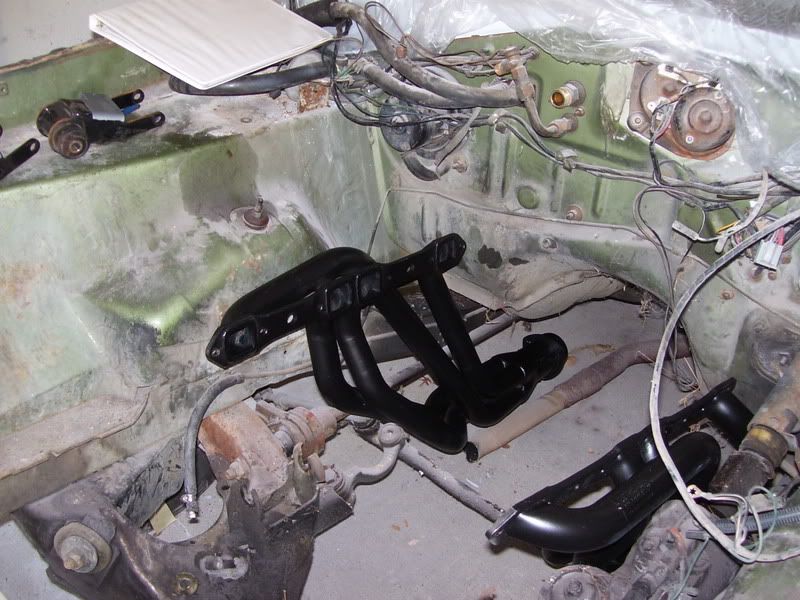
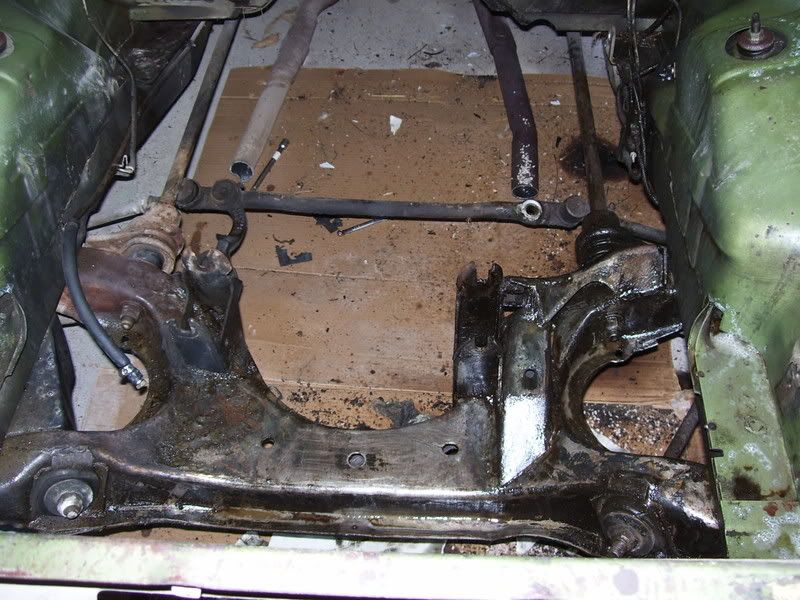
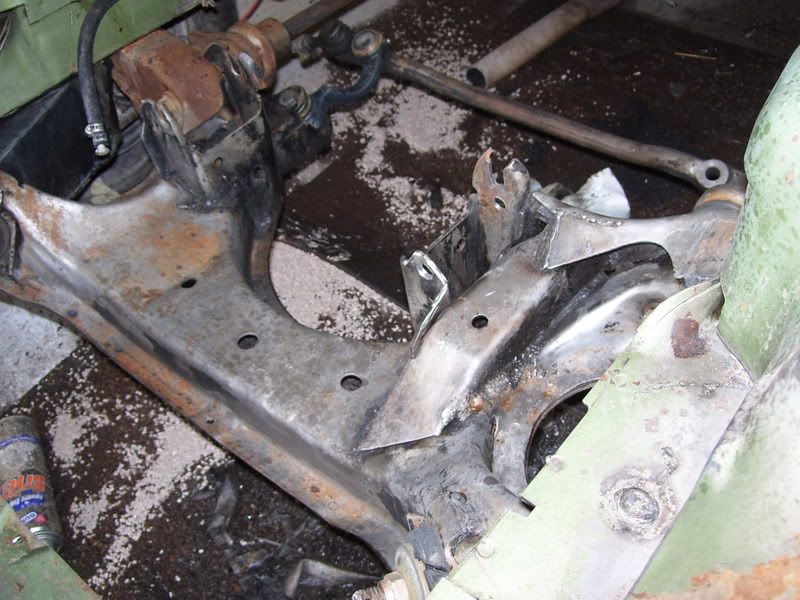
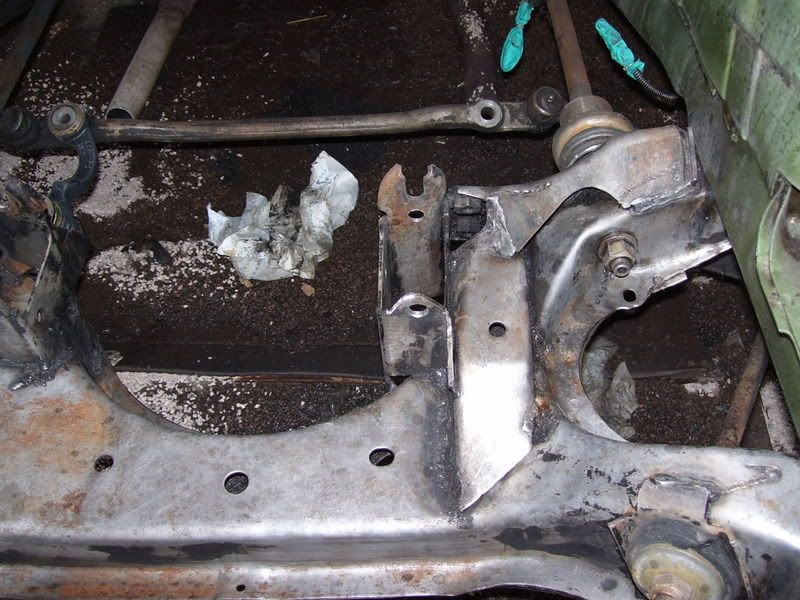
so those B body headers fit inside the framerails of an A body?
i may have to get a set for the cuda if they fit that good, think they would fit that good in a 67 cuda with a 440?
Hey FlyBoy,
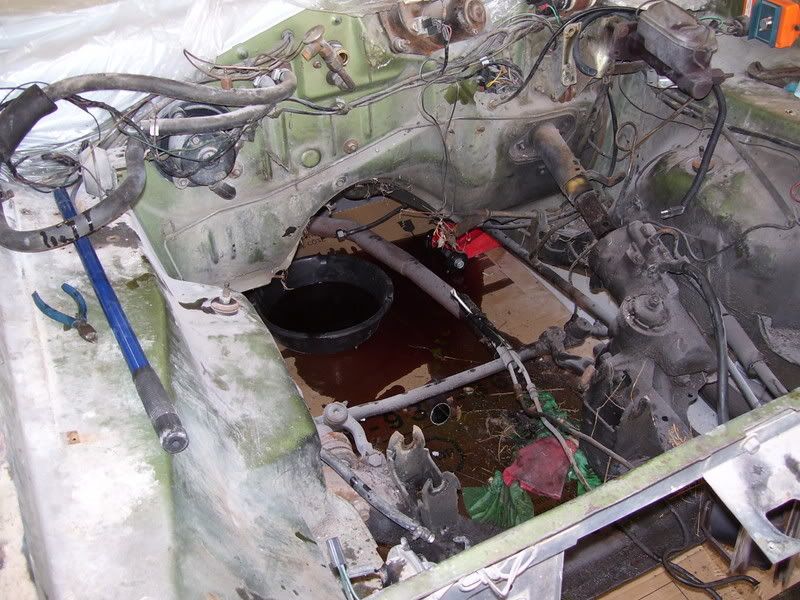
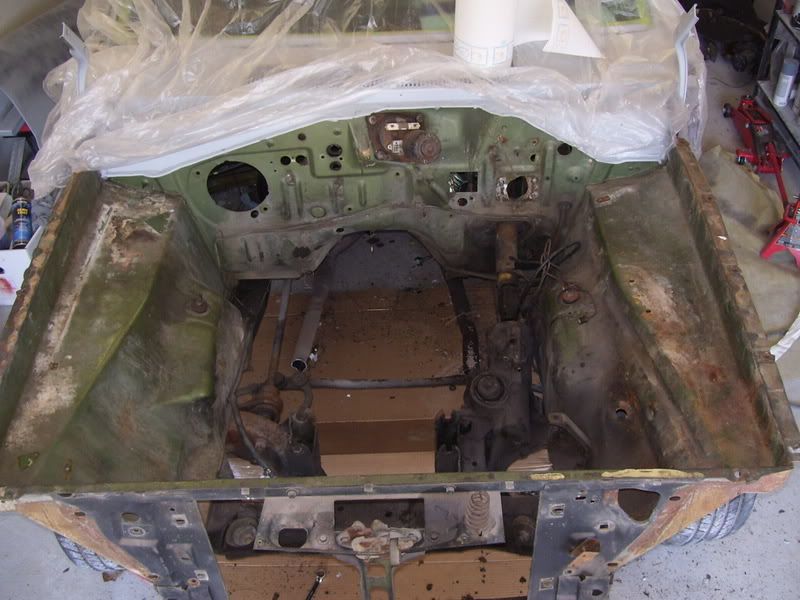
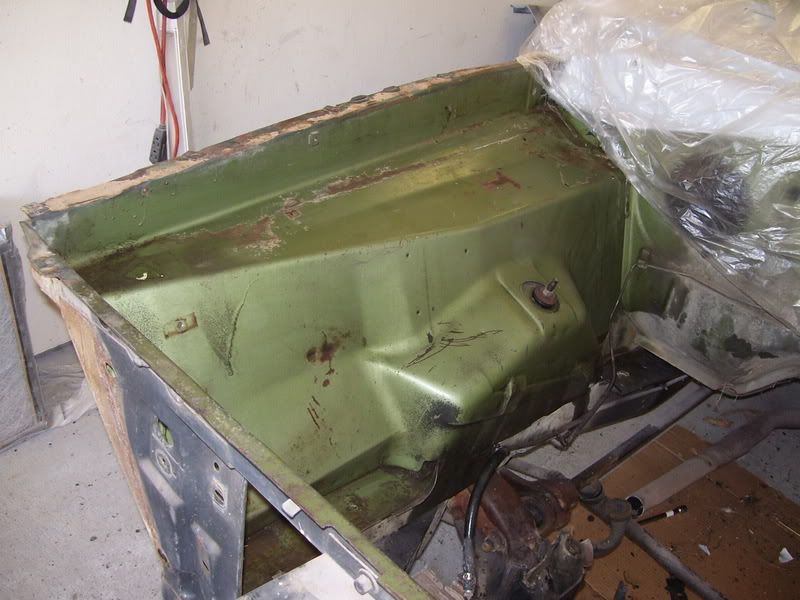
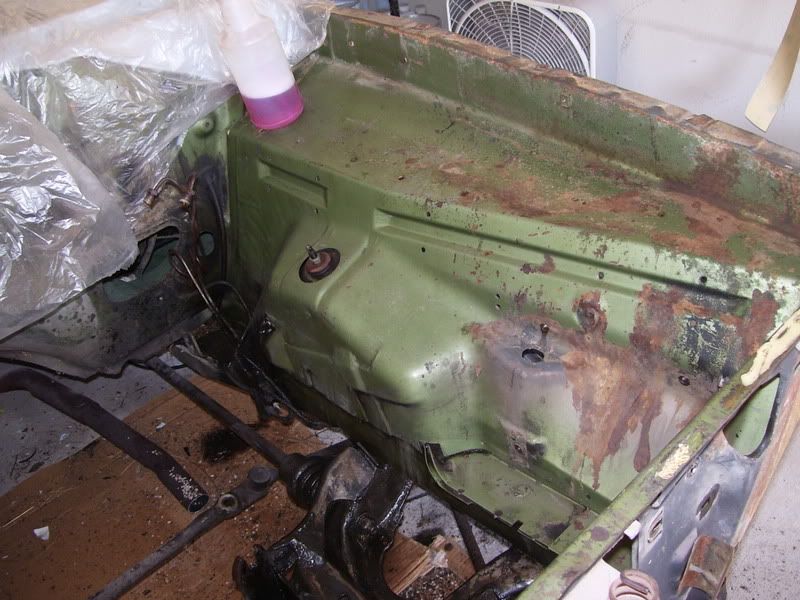
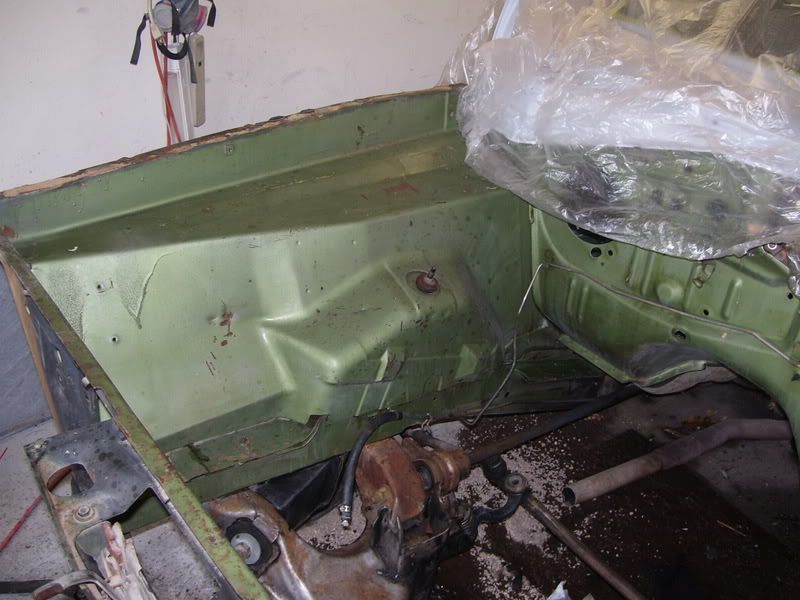
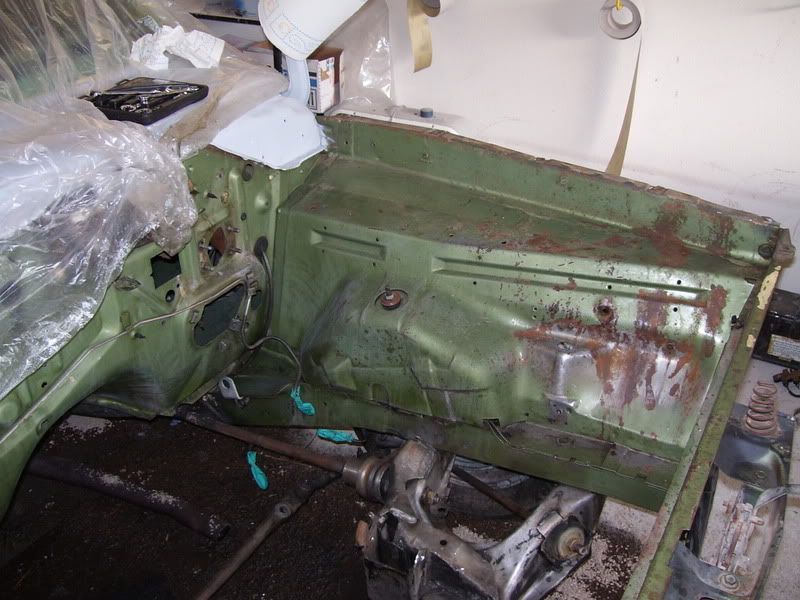
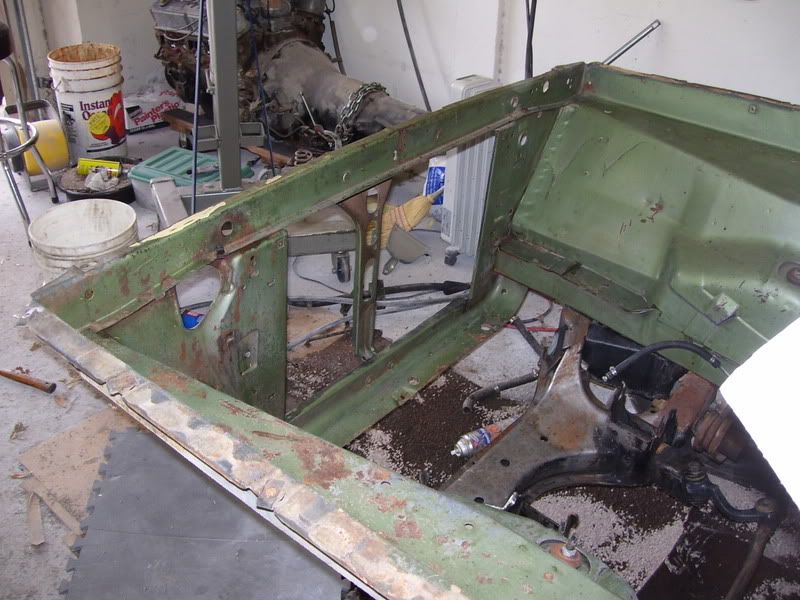
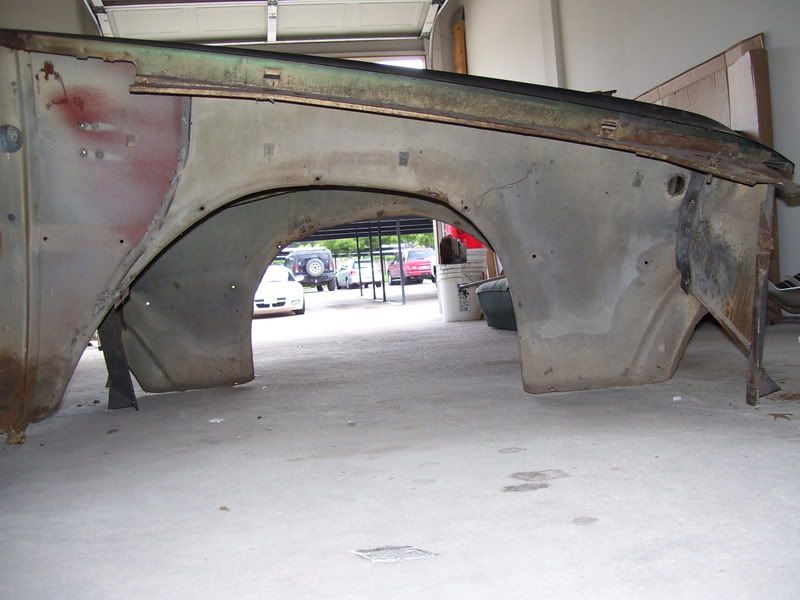
Do you have any pics of the inside of your front fenders? I have a big chunk missing from mine and I am trying to figure out what it looks like. Thanks
Can you mig weld tubes or do you have to tig weld them?


