1970 Dart Swinger FINALLY UNDERWAY

-
Well this is about where I ended up for the night. All the pistons are back in, for the first time the block has all 8 pistons in it since I now have a replacement for the ring I messed up. I took extra care this time around to not get anything between the crank and bearings that shouldn't be there. Meaning putting surgical tubing over all the rod bolts and blowing everything off with the compressor multiple times. The cam and lifters are in along with the fuel pump pushrod. Head bolts will be here tomorrow then I can get those on. Tomorrow should have some nice pictures coming along.

The only issue I have at the moment is trying to sort out the rockers I have, so far I have two somewhat usable shafts, 6 good rockers and 26 that are scored with varying severity. Along with a couple springs, a number of rubber O rings, and some small metal spacers. I got the rockers organized here and grouped by number, it looks like I'm not the first person in the history of these to try and put together one good set out of two sets. (maybe 3 or 4 sets) Anyone know anything about these old isky adjustables?

082320121558.jpg


082320121554.jpg


082320121556.jpg


082320121557.jpg


082320121555.jpg
 
Well I found this picture showing how the isky rockers go on, now I'm sure the O rings and thin spacers were being used in place of the springs on one set. I've managed to put together one complete set of rockers that are in decent shape with minimal galling, some with none at all, two very good shafts, and one complete set of springs. Looks like my pile O parts turned out something useful for once! I think these will work just fine until I can get a hold of a real nice set.

100_0475.jpg
 
Where I ended for the day today.

082420121562.jpg


082420121561.jpg


Bit of an issue with the rockers which I will post up in big block tech, I can't seem to get them to align correctly with the valve stems. It almost seems like the spacer springs with them are too big and do not belong, they're almost coiling over themselves. I can fix that though, either way the more pressing issue is that the hold downs seem to be what's misaligning them and I have no idea what to do about that one.

082420121563.jpg
 
Positive update!

Got the heads torqued down with a fresh set of mopar performance bolts, lets hope for no leaks.

After a post in BB tech and some googling I solved my rocker problem, got rid of the pesky springs and removed the tabs from the hold downs. Everything lines correctly and rotates on the rocker shafts without any drag. Burned some midnight oil on the bench grinder and probably pissed off the neighbors but I'm happy. :cheers:

My pride accomplishment for the night was cutting banana grooves into my rocker shafts on the recommendation of another member. I cut each one in by hand with a swiss cut triangular needle file. I think they turned out beautiful and were exactly what I was hoping to get. It was suggested to do it with a dremel but I found it much more precise to do it with a small file. Practiced on a junk shaft first to be sure I could do it.

082720121568.jpg


And the rockers, all lined up and happy to be home! :cheers:

082820121571.jpg
 
:cheers::cheers::cheers::cheers:

Anyone got an oil slinger for the crank snout they could throw my way? Mine seems to have disappeared and I really want to get the timing cover on...

Buttoned up the bottom end, torqued everything down and got the pan and windage tray in.

Getting the windage tray and pickup in.

082820121572-1.jpg


Engine ready for paint.

082820121573-1.jpg


First coat of primer.

082820121575.jpg


End result for the night, after final coat before a few touchups.

082820121579.jpg


Now I just need to clean up the water pump housing and paint that, then do the valve covers crinkle black.
 
Dude, that looks awesome. I really need to swing by and help weld up that suspension from Badart so we can get to cruising. Congrats on getting the engine sorted out!
 
Yeah like I said just let me know when you're free. Any afternoon/evening I'll be around except this friday and the following monday I've got 12 hour shifts.
 
Thanks! Got the pump housing and water pump cleaned up and painted today, they were nasty but a good wire wheeling did the trick. Intake and valley pan are in and I painted the end hold downs as well. That intake was a PITA to get on and took a lot of fiddling and frustration to get all the bolts to thread in. Even still I could only torque half of them since the 4 in the center were completely impossible to get a socket on to so gud-n-tight will have to suffice with those. :finga:

Gave up for the night after getting one valve cover cleaned up. Ended up trying a bunch of different things from a paint scraper to a steel bristle brush and degreaser, the only thing effective so far has been a screwdriver. Gotta say cleaning out 42 years of sludge with a flat head screwdriver is really exhausting.

083020121589.jpg


083020121588.jpg
 
Well the engine is pretty much complete, just waiting on that damn oil slinger from summit that is still back ordered. I thought the little disclaimer card that came with the distributor was ironic. After a few late nights of work I've finally managed to put together a complete carburetor out of roughly four. Put on an electric choke I had lying round and swapped out the linkage rods in the base plate with a better set I had. We'll see how it runs...

Welding has begun, 79swingerbuild and another friend came over and started getting my suspension parts from badart welded up. So far he got the landings and shock hoop on the passenger side in before the wire ran out and it's a great job. I bought two more rolls of wire, one to replace the empty spool and an extra one because I'd like to practice a little. I did manage to get 4 pieces of steel plate to stick together though it looks pretty garbage. I call it "tiny beer table" :burnout:

I made a bit of a mess of the passenger side of the lower rad support with the spot weld cutter but it's out now. Anyone want a solid lower rad support thats got a few extra holes in the passenger side? :D

090120121600.jpg


090420121607.jpg


090520121608.jpg


090520121610.jpg


090620121615-1.jpg
 
Got a little more work done today, cleaned up the axle a little more and cut down the drivers side tube. Though I cut a little more than I wanted to I'm not all that concerned about it. I'll probably grab some angle iron tomorrow and make a jig to hold the tube straight. You can check my thread over in drivetrain tech for more info on that but here are some pictures,

http://www.forabodiesonly.com/mopar/showthread.php?t=205024

090920121624.jpg


090920121626.jpg


090920121628.jpg


090920121631.jpg
 
When I welded the 8.8 rear in my Dart, I had the axle tubes welded to the center housing with a high nickel rod. That is the main weak point in these axles, the tubes spinning under a hard launch with traction.
Looking great.
 
Yes! Definitely planning on doing that. I was going to give that a shot myself. Was reading through your posts about the install and it's good info, do your shocks work ok with the ford plates at a different angle?
 
I have not messed with the shocks yet, but they look to be different angles that can be easily modified to be fixed. I am thinking about cutting them off the perches and welding them on the housing itself.
 
That's not a bad idea. Yeah the explorer plates look to have the shock mount at a 45 degree angle off the side whereas the mopar piece is at 90 along with the upper shock mounts. I saw at least one picture with them just bolted in like that but I'm not sure if the different angles with negatively affect the shock performance.

It would probably be possible to take the mounts off a set of mopar plates and cut/weld them onto the ford piece.
 
Update for the night, six hours on a creeper, two paint brushes, and all I got were these lousy POR stains on my hands.

But really I did the under side of the car with two coats and undercoated the rear wheel wells. :burnout: Wish I could have sprayed it on because holy hell is it hard to get into everything on the underbody with a 4" brush.... and time consuming. Results came out nice though.

Need to get more brushes so I can do everything else... thank lowes for el-cheapo paint brushes because it's pointless to try and clean this stuff out of them.

091020121640.jpg


Also my patio table self destructed this morning.

091020121637.jpg
 
I had that same table and same thing happened to me. Now I have an all steel table...
 
Oh man painting stuff with POR is such a time consuming process. Either way, the end result is always satisfying. Got all of badarts suspension parts painted up with POR and top coated with red industrial enamel. Also painted a few other things like the leaf spring hangers, brake backing plates, and calipers. Still need to do the front hangers and the rear calipers and hardware. Also got the coil overs assembled. This still makes me drool a little every time I go out to do some work.

091620121671.jpg


Plugged up the holes in my oil pan with the amateur welding skills. Got it dialed in right and just tacked all the way around letting each one cool so I wouldn't burn through the thin metal. Came out alright, non-porous anyway so I'm happy with it.

091620121661.jpg


The back ordered oil slinger arrived as well so I was finally able to get the dampener on and torque the water pump housing and timing cover.

091620121658.jpg
 
This last post has me convinced. I'm thinking the next year or two will see my Dart converted to coil-over front suspension. No more torsion bars to rub against my headers. This setup looks awesome!
 
That's gonna be awesome! Can't wait to see what your car with do with coil overs up front :burnout:

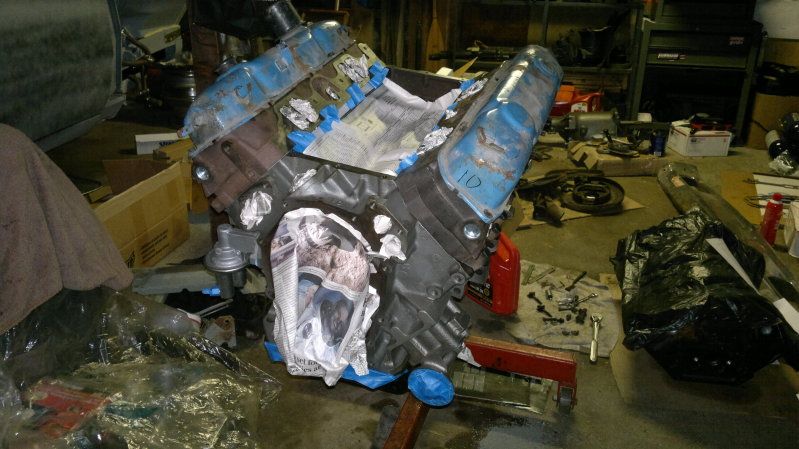
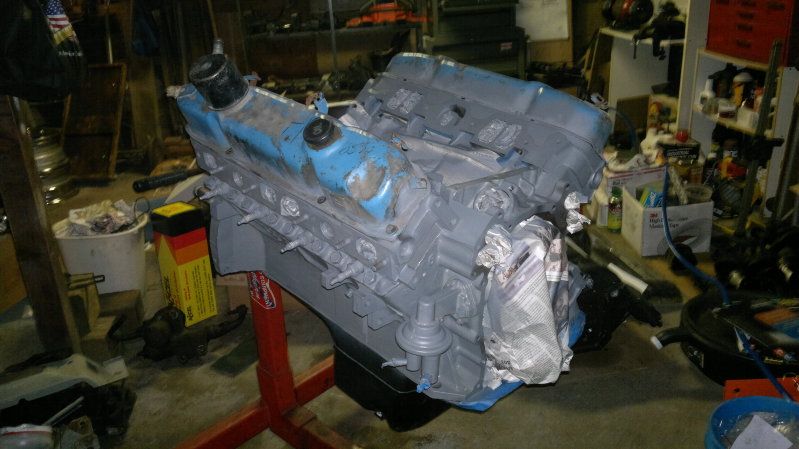
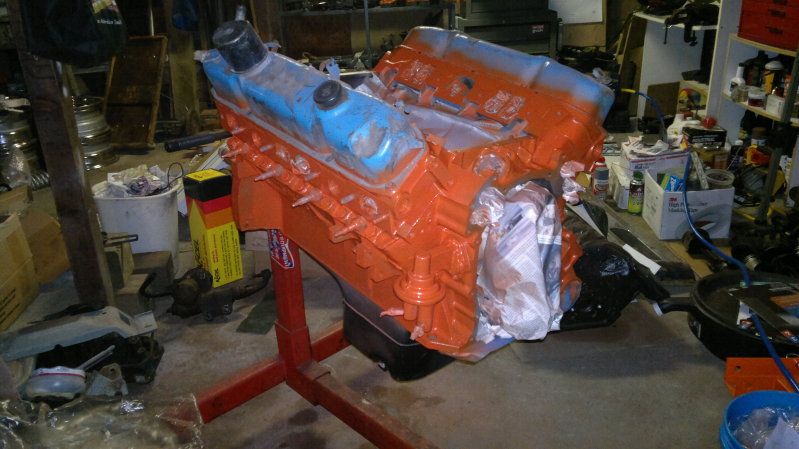
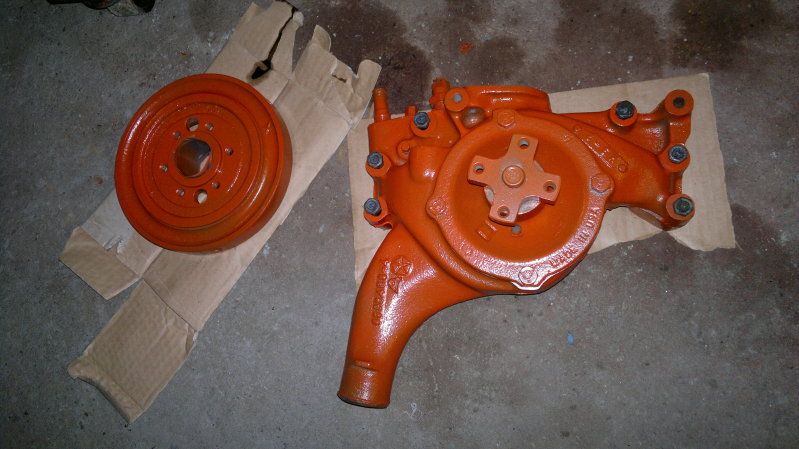
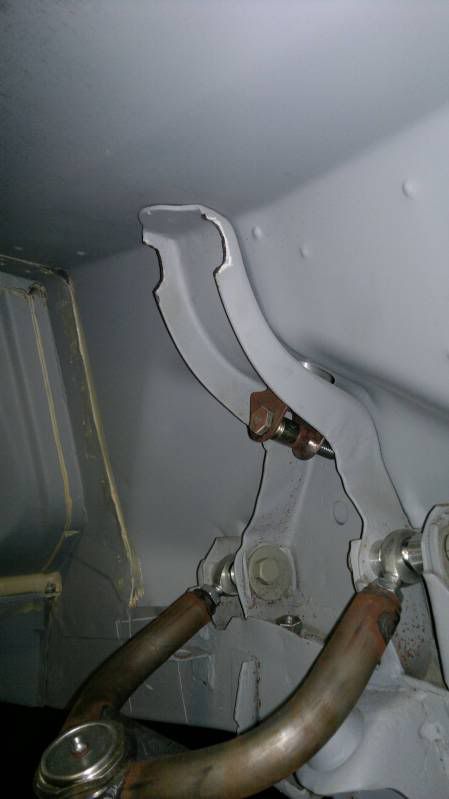
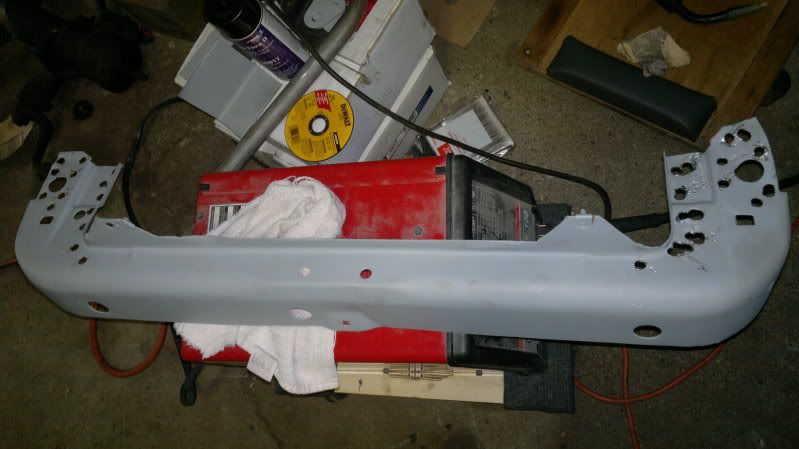
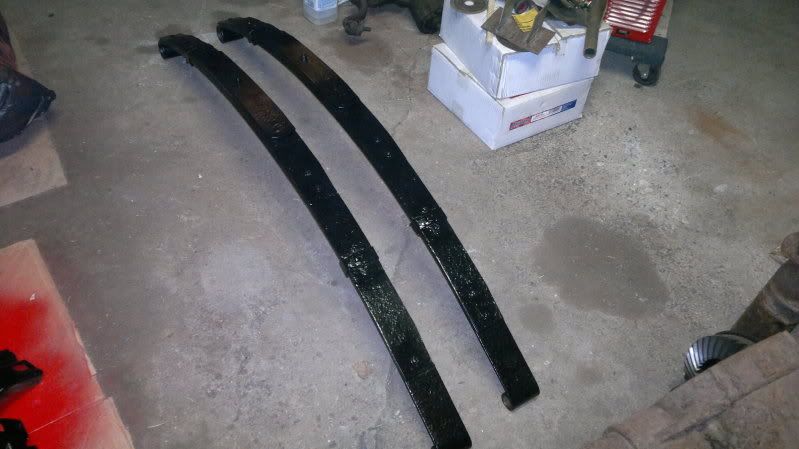
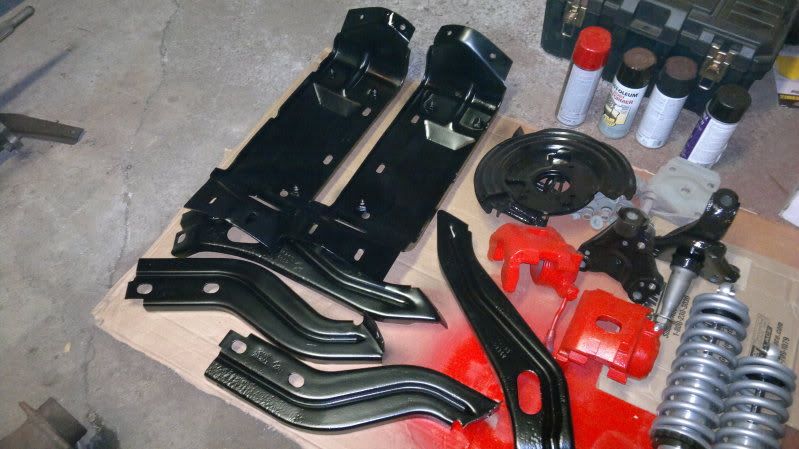
Got some more painting done today, seems to be the order of business as of late but usually when I'm painting it means a lot of stuff is about to go together. We'll see where we go from here. Removed the old bushings from the leaf springs with my little helper, still need to get the sleeves out but I'm going to work on that later. Cleaned them up with a wire wheel and painted with POR-15 top coated with black enamel, same treatment on the bumper brackets today.

I did discover something interesting while cleaning the scale off the leafs, I noticed they were stamped '76 so I did some research on the numbers and found that they should belong to a V8 duster. I'll count that as a good thing but how they got under my /6 grandma mobile is anyone's guess.

In other paint related news for anyone looking to use POR-15 on their car, people say that the stuff goes a long way. They are most certainly not kidding, I happen to have a gallon bucket of the stuff and so far WITH 1/8TH OF THE CAN I have coated the following:

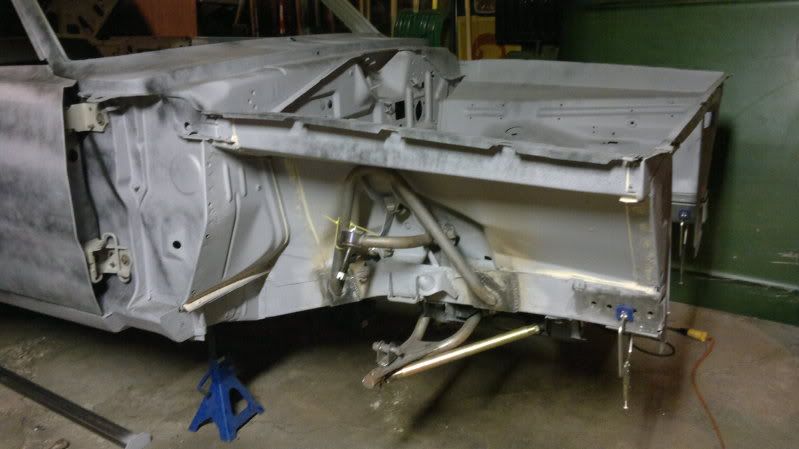
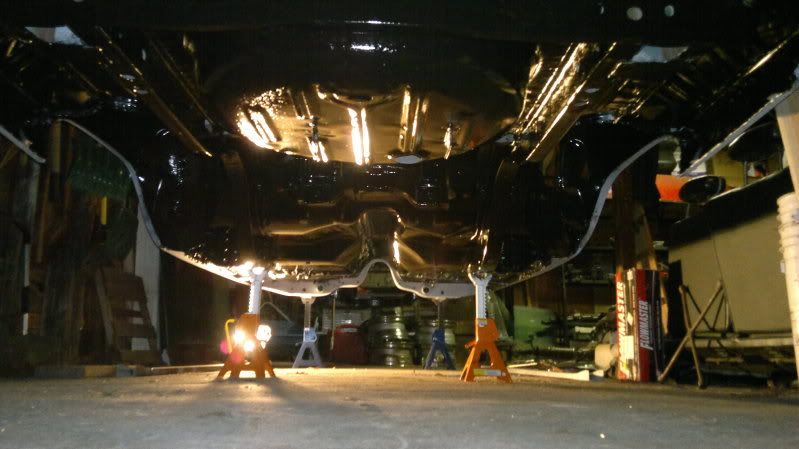
Entire underside of the car, front suspension parts, bumper brackets, leaf springs, hangers and bolts, brake hardware, k-frame, more to come.

So yeah, this stuff goes a looooooong way. I'll have plenty left over but right now I'm feeling like franks red hot with the POR.

Franks_39cc5ff4dc83cc976048f89e1d9ce24f_zps3a284d54.jpg


091720121677_zps8422be3e.jpg


092020121678_zpsa2c92b41.jpg


092020121682_zps71c4c8ee.jpg
 
-
Back
Top