68' Dart "The Huntress"

-
Got newer modeled heater bezel, cleaned the dash more, did some body work on it, and changed out the steering wheel for a more classic feeling grant wheel.


Also cleaned the dash more, and built a super simple center console out of MDF and ABS.


Still got to remove more green. I wish the interiors of the doors weren't painted green...

It's still a big work in progress. As you can see, I can never decide what colors to keep the bezels on the dash... black...chrome... etc...

And made a little better fitting box for the trunk out of 3/4" ABS, and then carpeted, and made a speaker grill out of PVC.


Then I constructed a new parcel shelf since I destroyed the old one by accidentally leaning on it. This one should hold up much better. It took a while to get the dimensions... just measuring, and using a contour gauge, but it fit.


Nice work on the Huntress. Where did you pick up that steering wheel?
 
Nice work on the Huntress. Where did you pick up that steering wheel?
Thank you.
Actually, I got it from Pepboys. It cost $35.00 brand new, made by Grant and came with the horn button, but none of the adapter parts. Luckily i just pulled the last grant I had off and swapped it over. I bought the last one off a member here and had that 4 spoke for a while, but it just didn't really seem like an old-school wheel. It felt like an off-road wheel. This 3 spoke is nice. I'm really happy with it.
 
I decided since i drive this car literally every day to and from work - to install some more modern seatbelts, and the price was right. I got 2 military surplus Humvee retractable 3 point sets which are commonly available on Ebay for $40/pair. Then I got 2 rear belts, and found later after removing the rear seat, that there is a spot to run a retractable type set over the shoulder of each side. There's an oval cut-out for them, which may have been for something else, but would be perfect for the over-the shoulder. Maybe I'll get another set later. I just wanted something in the back that would tighten onto the car seats better for my kids, and these fit the bill.

I figured if these are all certified by the government and approved for use in military wartime vehicles, they should do well in a crash, at least better than a single lap belt would do up front.


One of the retractor sets when you open the package.


I had to get rid of my rear seat glued on cover I made previously. It looked nice too.


But it had to be removed to get to the belts, since the seat had to come out. I was surprised removing the back seat took zero tools, besides the use of pliers to unbend the backrest portion that was held on.

I then remembered why I glued a seat cover to the back seat...


I got the base out and found the mounting points for the old stuff


And then installed the new seatbelts. 2 for now. Just enough for the car seats.


Surprisingly, the back of the car was just as rust-free as the front.

I didn't really want to find a new car seat cover to glue on, so I went to the fabric store and found 2 swatches of vinyl that was super-sturdy. One piece was orangish/copper that had a little metal flake tone to it, and the other was a shark-colored grey. I got some hog rings, spray adhesive, and made two new seat covers. They're not perfect, but it looks interesting, and the fabric and materials cost me less than $20, which is cheaper than a new seat cover.


And it kind of matches the exterior paint, which is kinda cool. It was a lucky find, and the only piece they had unfortunately. I kept about 1/2 yard of remnants to make pieces in the future, but that's all that was left.

It looks alright. Not perfect, but not awful.


The front set of seatbelts used the original floor points just perfectly, but the shoulder harness location made the seatbelt come across your neck. I opted to mount those in the center of the pillars, 7" down from the headliner trim. Besides having to drill a hole through the car and welding a nut on, it wasn't bad. Luckily someone at work handled the welding for me for free.
 
22,seat covers are sweet. What's powering that Pioneer sub? I'm curious..
 
22,seat covers are sweet. What's powering that Pioneer sub? I'm curious..

I'm guessing because you can't see the amp in the trunk? That's because it's hidden in the dash where the glovebox used to be.

Polk 500w D class amplifier. D2000 I think it's called, but it's been a while since I've seen it. :D 2 channel bridged. I think the sub is "1000w" but the box it came in said something along the lines of 200w RMS or something, so I think it's matched ok. I bought it like 4 years ago so I don't remember. The pair came out of a different car I had.
 
Well I have a shopping list of a few things that are going in the car in the next two months. Ideally:

Larger aluminum radiator
All 4 new wheels and tires
New front seats (white and black)
Re-upholstered rear seat
New carpet (not sure what color)
A dash pad cover (glue on)
Weber 38/38 and hardware
And hopefully a different gearing in the rear better suited for freeway use

So this is where she sits now, with the only addition being a flip-top gas cap. Took about an hour to install. I liked how easy it was. Just a before and after of a big project point i guess.


On a side note. Does anyone know what the largest size wheels and tires I can mash in the back are, without tubbing? Ideally I'd like to have enough clearance on all sides that I will have no issues, so that in mind as well. backspacing, etc. 16's would be cool, but I don't know if something smaller is more ideal.
 
So I started reworking my home-made center console. I still need some ABS sleeves for the cupholders, but integrated some of the orange vinyl I found for the seats into the console, and decided it would be a good central location to install a couple modern features.

On the underside it will house a power window relay and components, and central keyless entry and 2 relays for that.

I restructured the vinyl on the mdf, then wrapped the ABS trim I made with the orange vinyl.

I need to buy some more chrome trim to cover the unfortunately necessary screws in the side.


Then set the lock receiver up. Waiting on the relays in the mail for the actuators. I already have 4 that I will work on on friday. It's going to be fun.


I started making the harness for all the locks and such, but there's really not much wire cleanup to be done under this console until the relays are here.
 
All my cars have had names. The Dart's name is Huntress, end of story.:D:glasses7: Well there is a story to it, but it's stupid. lol

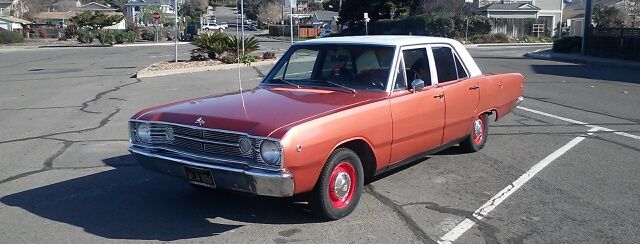
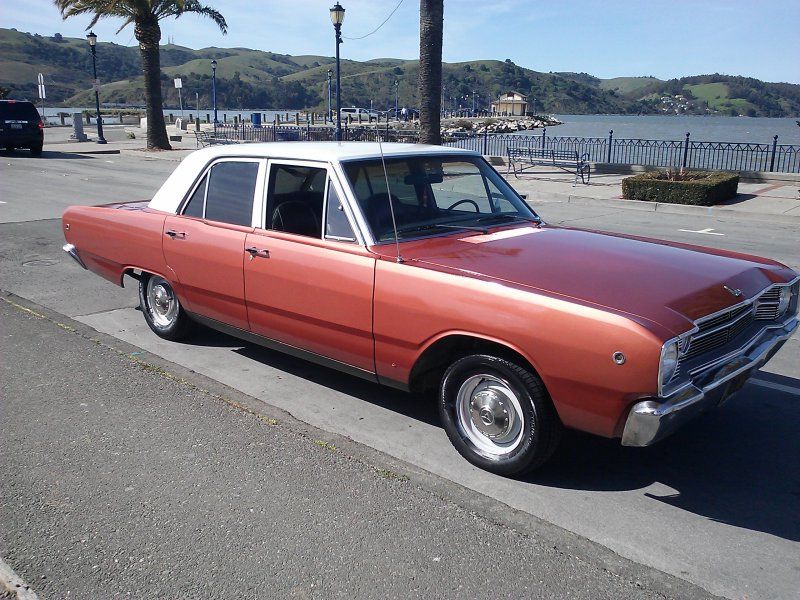
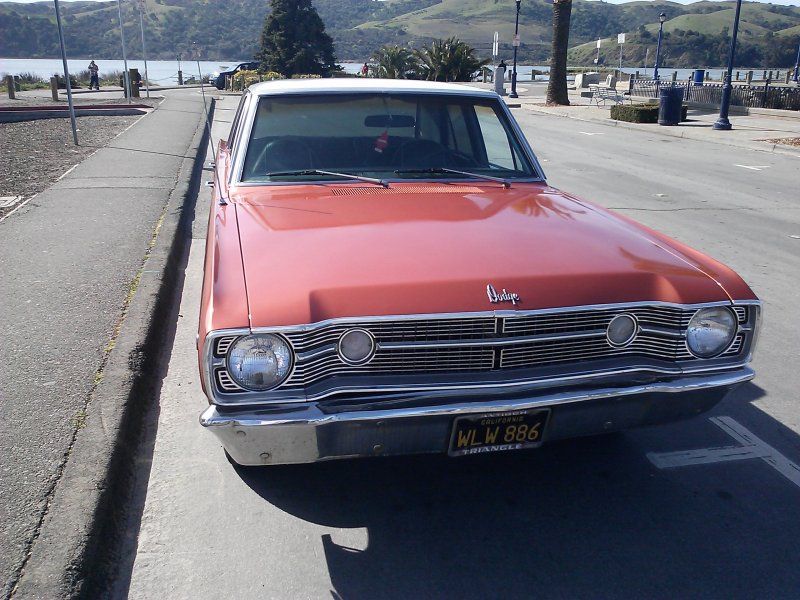
Anyway, I picked the car up off Craigslist, and I think I got a decent deal. Body and motor had 83,000ish miles on them and the paint on the exterior was all redone. It looks nice, but the paint job is definitly a 10/10. You've heard of a 20/20 paint job? Ok same thing, except you can get closer and it still looks nice.

Orinally I thought the copper was painted in the interior and engine bay and trunk, since the interior panels were green-I thought the car used to be green. Lo-and-behold. I decoded the fender tag and the car was actually the color it is now, but not two-toned. The white was added later. The interior was ordered in green and also there was a green stripe across the back. Blech. I forgive the original owner and will chock it up to having too much money while high in 1967.

The interior is what I'm really ditching the most of in this project. I'm not looking to restore it fully, more than I want to have fun with it, while driving it. So, let's fastlane to where I'm at now:

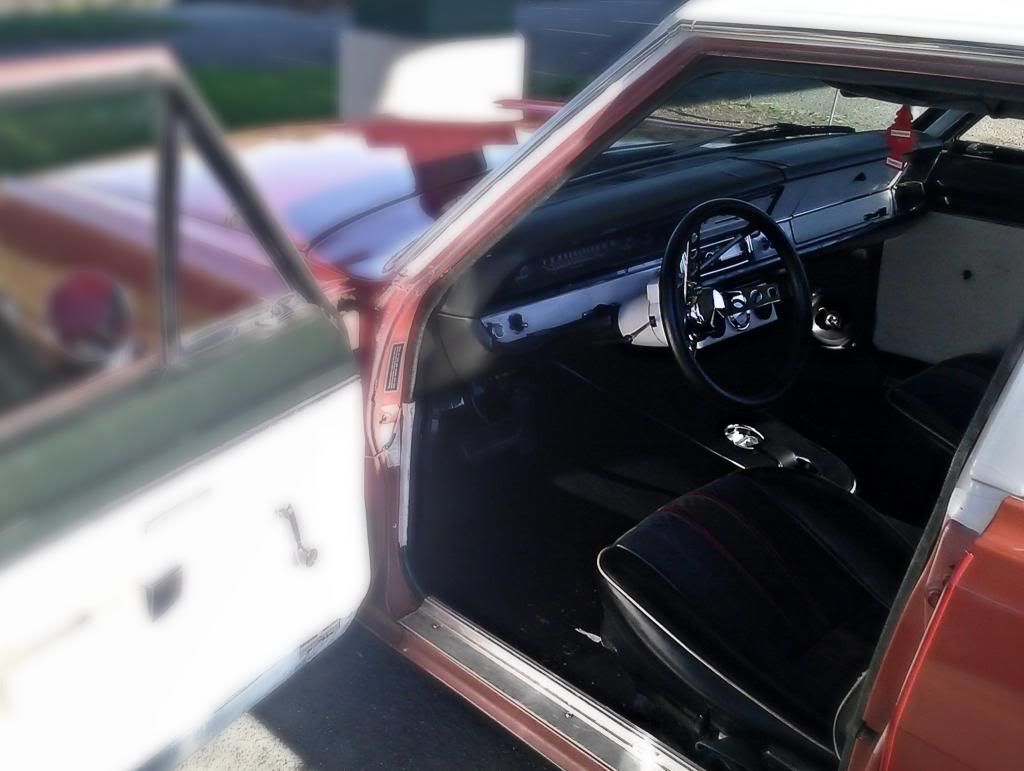
This is how I bought her, and after a good washing.
CAM00332-1_zps4d1b2fd1.jpg


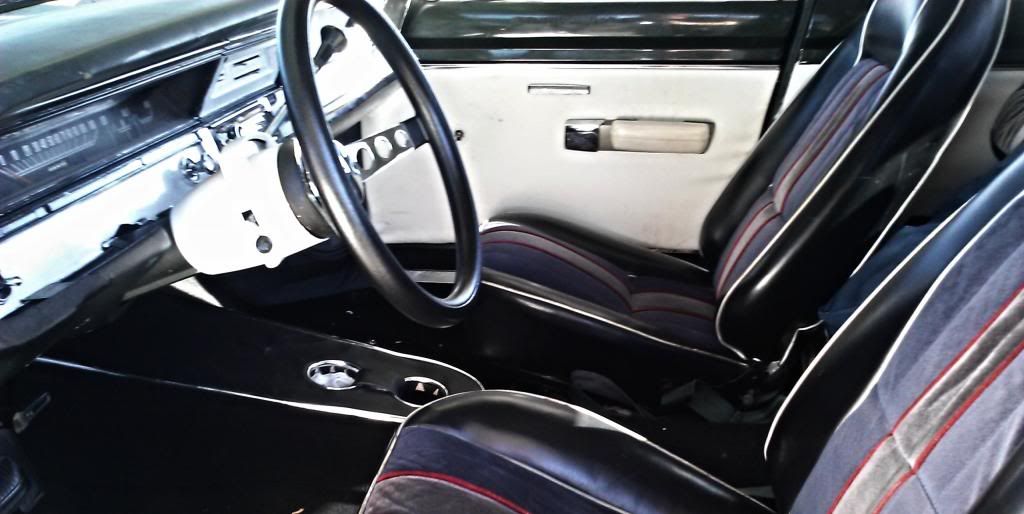
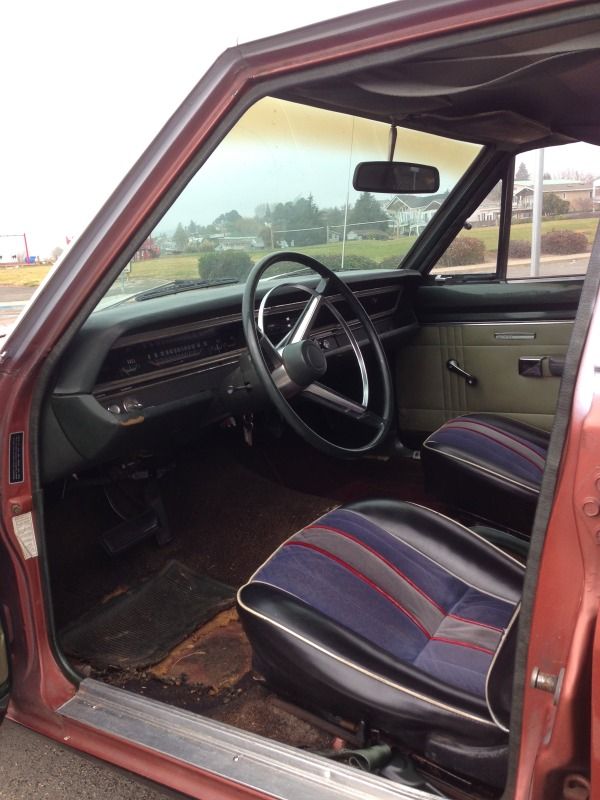
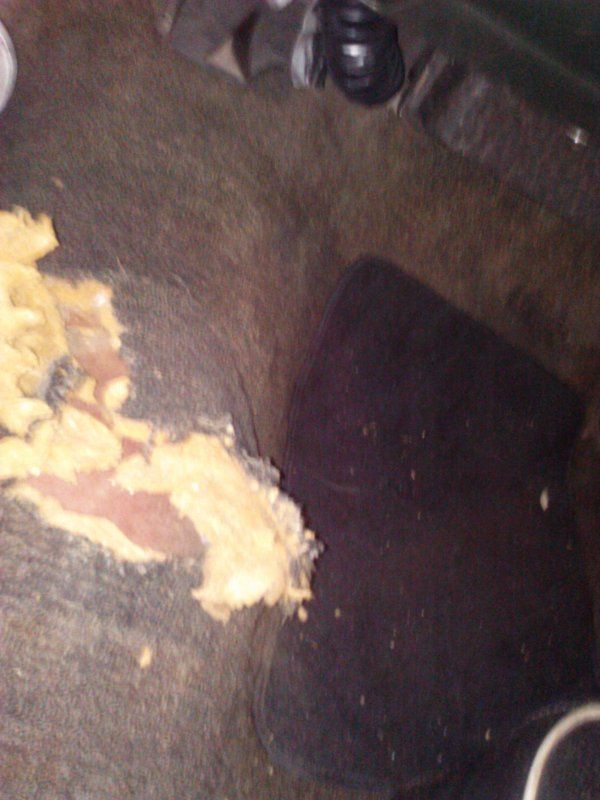
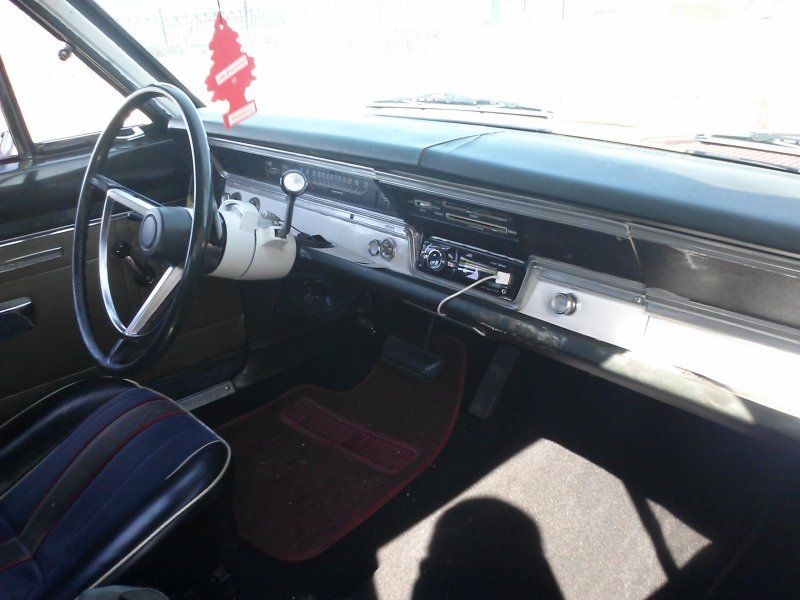
Vomit-Inducing interior:
photo-1_zps8b7c7dd8.jpg


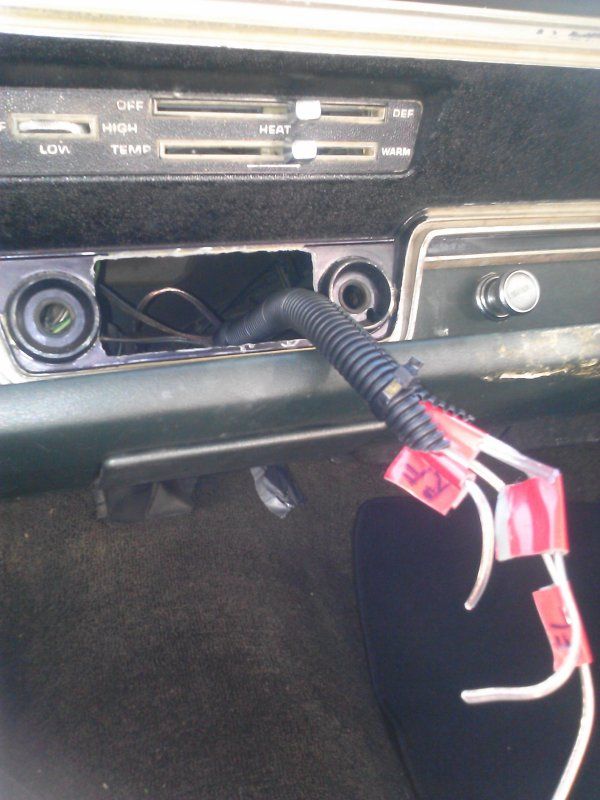
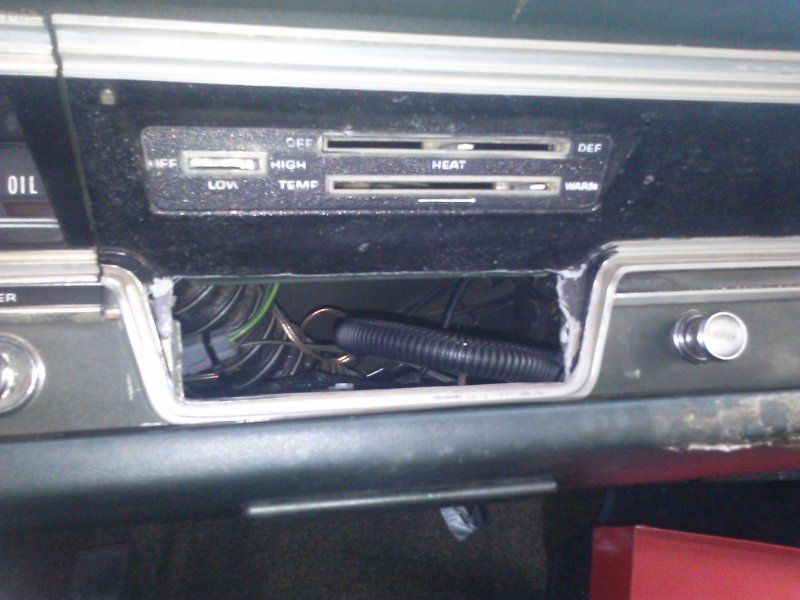
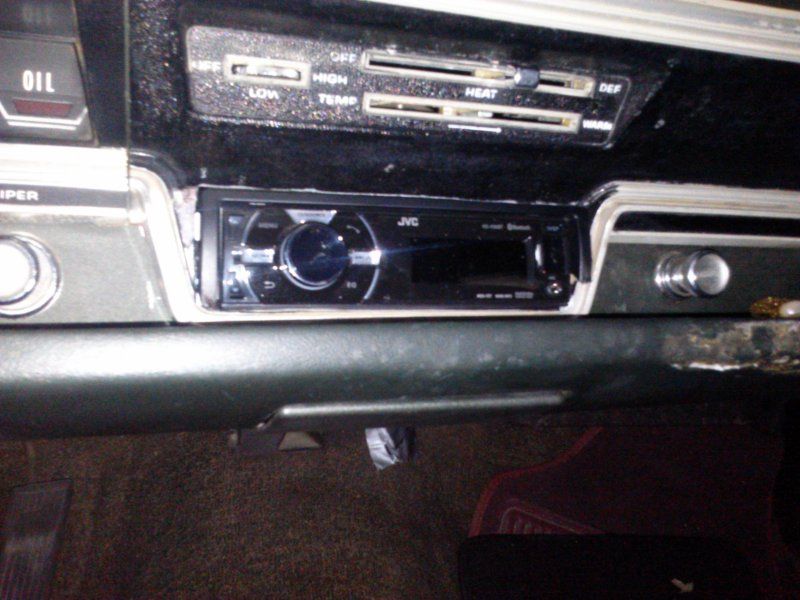
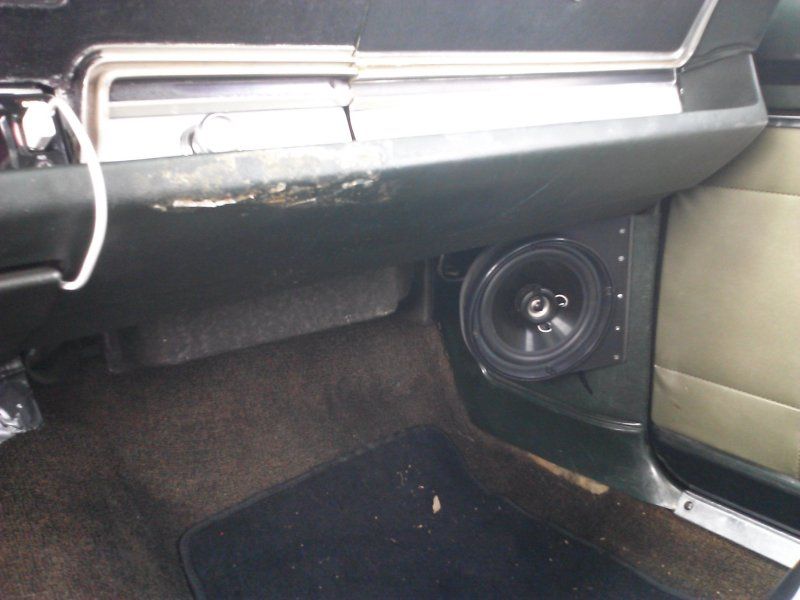
So I drove her around for a week back and forth to work, every single day and I finally get tired of not having a radio. I removed the plastic trim and see that the metal dash has been destroyed to fit the once great tape deck of the 80's. That deck left the car the minute it hit my driveway, but the hole was still there. So I routed new speaker wire and made a new harness for a new stereo, and widened the hole another 1/8" all the way around, and cut the plastic trim more. I didn't feel bad because someone else had already cut it...

CAM00298_zps4c2a7a25.jpg


CAM00302_zps55dc2990.jpg


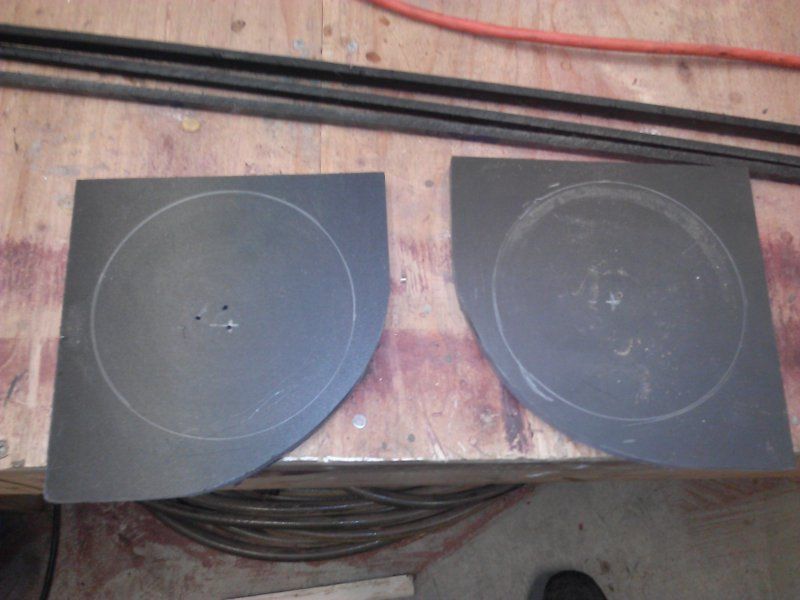
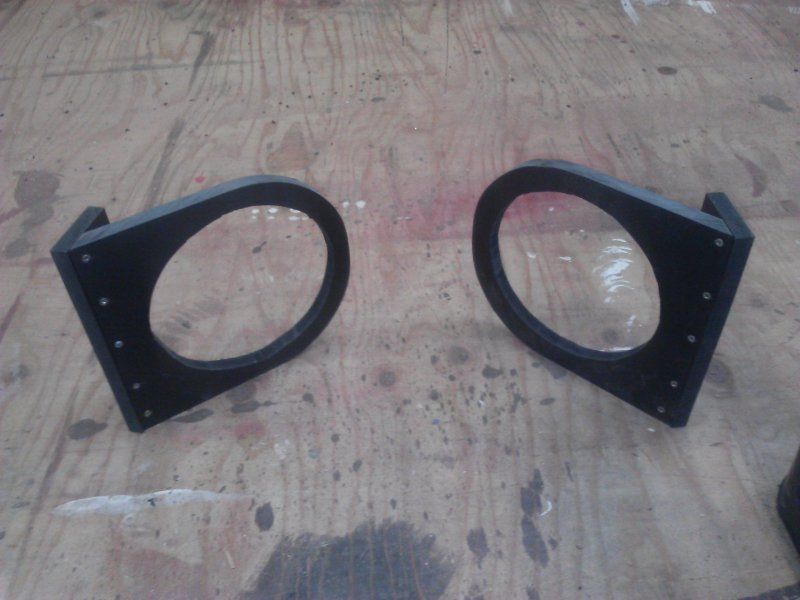
I built 6.5" speaker rings to rest on the upper portion of the kick panels

CAM00299_zps78610144.jpg


CAM00301_zpsfb2b1374.jpg


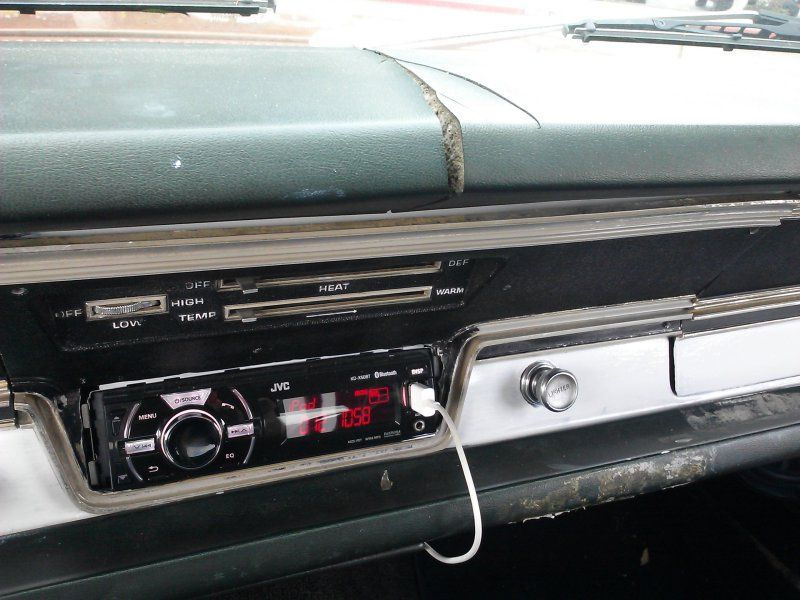
Mounted and wired my new radio
CAM00314_zpsdbf302b2.jpg


It plays AM/FM/BLUETOOTH/Mp3, but no CD's so it consumes a little less power, and looks nice and clean. I will be building a custom bezel for it out of ABS to clean up the gap around the radio. It will look almost like it belonged in the car... well - you get the idea.

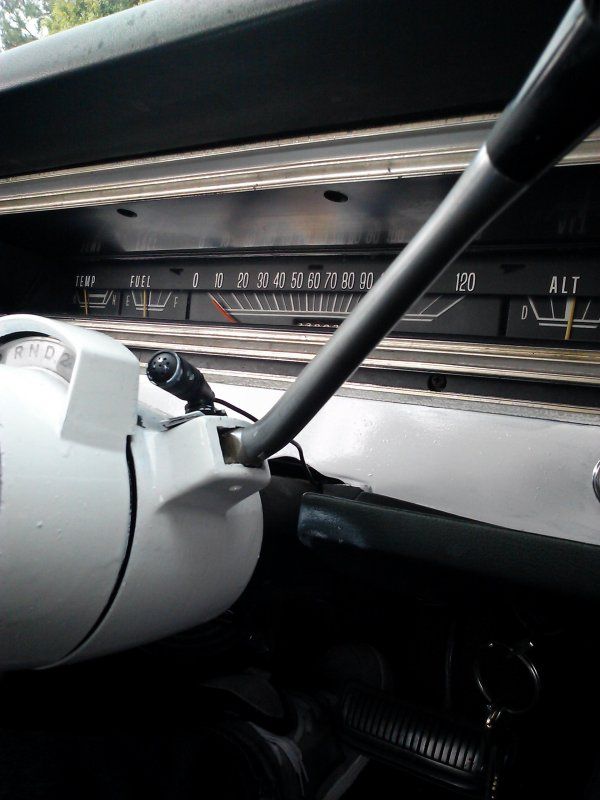
Then I messed around with the idea of a white dash, so I used some OneSHot paint on there. Looks neat.

CAM00339_zps8c6d3bdd.jpg


I mounted the rings with the speakers, very hidden - and clean

CAM00338_zps8df19437.jpg


More white painting:
CAM00340_zps9217012b.jpg


Dash pad is getting replaced eventually so I don't care about it for now...

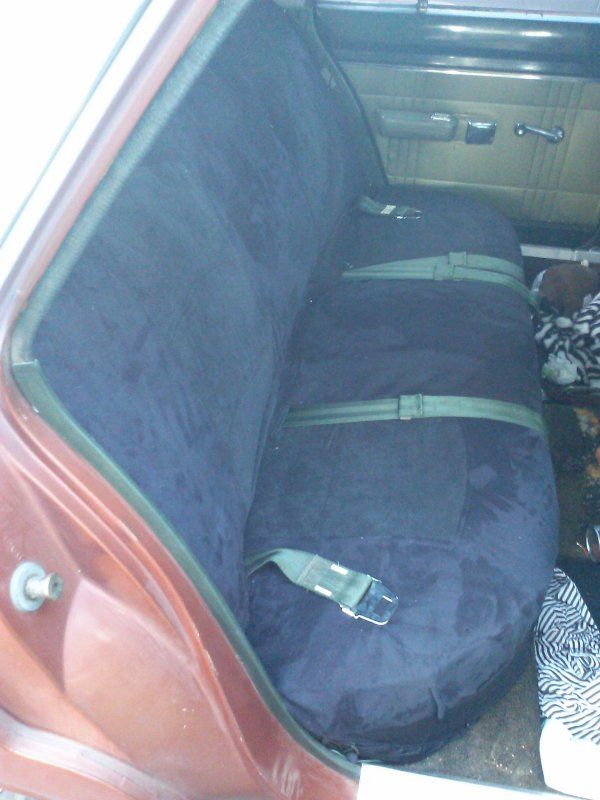
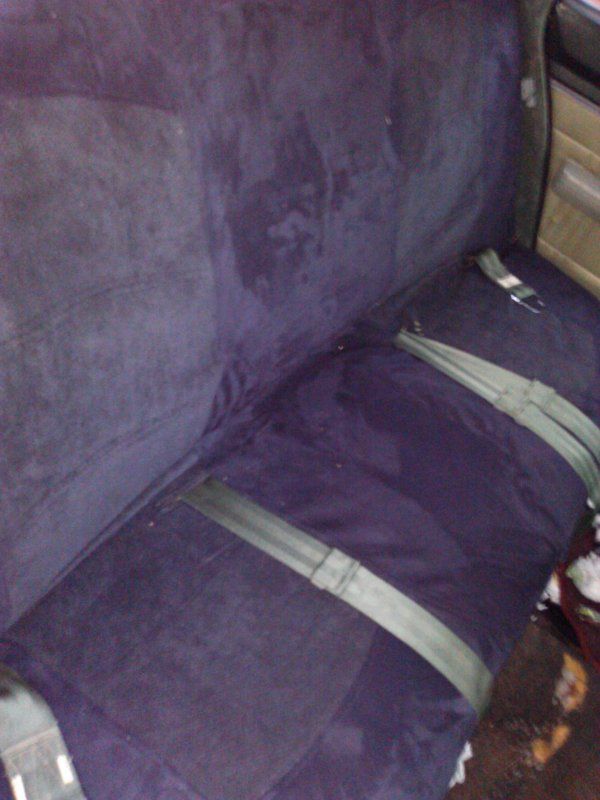
If you've seen any of my interior restoration sections, you will already know, but I then spry glued a car set cover to the back seat, which looks a lot better than a ripped to hell green floral seat.

CAM00347_zpsf4a75b8e.jpg


CAM00345_zps24b4fce1.jpg


It doesn't slide or move or wrinkle either. It is a very good temporary investment.

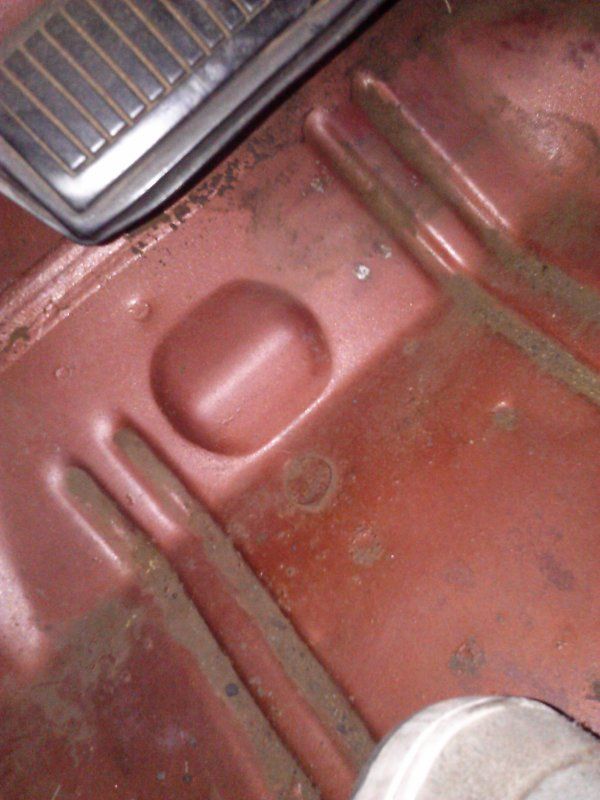
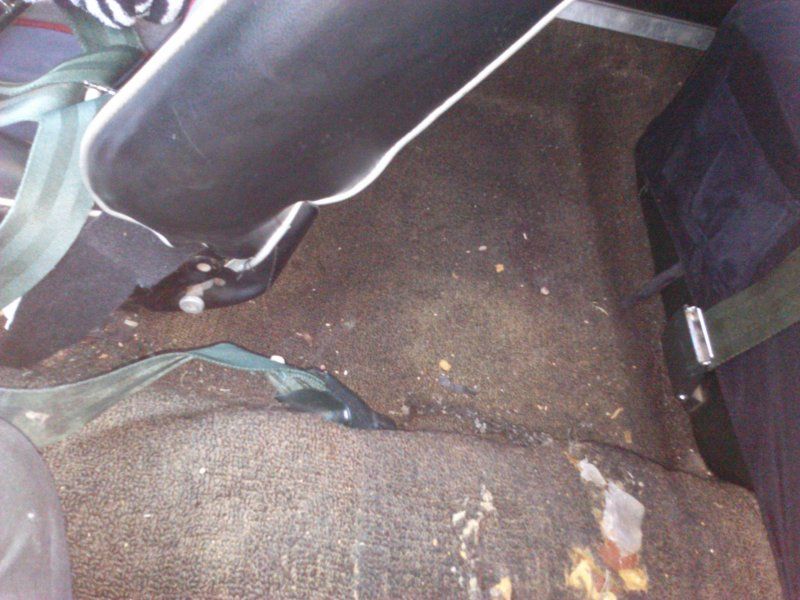
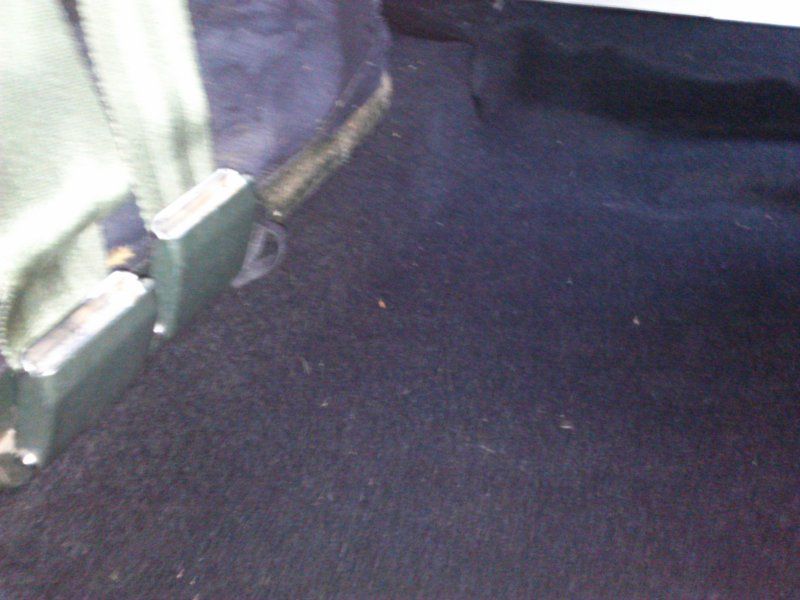
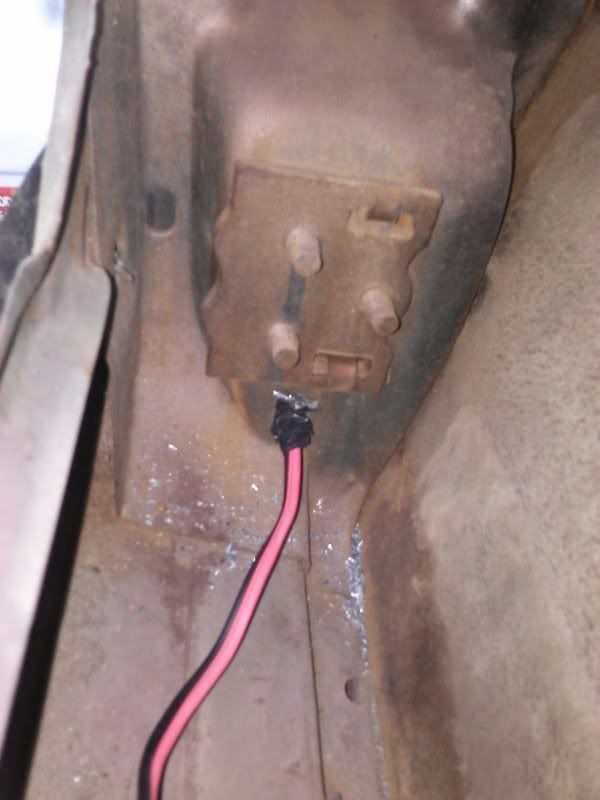
I did the entire carpet in autozone recycled carpet. I don't recommend that, but it is better than the original ripped to hell stuff. I also found out the floor is in awesome shape - no rust.

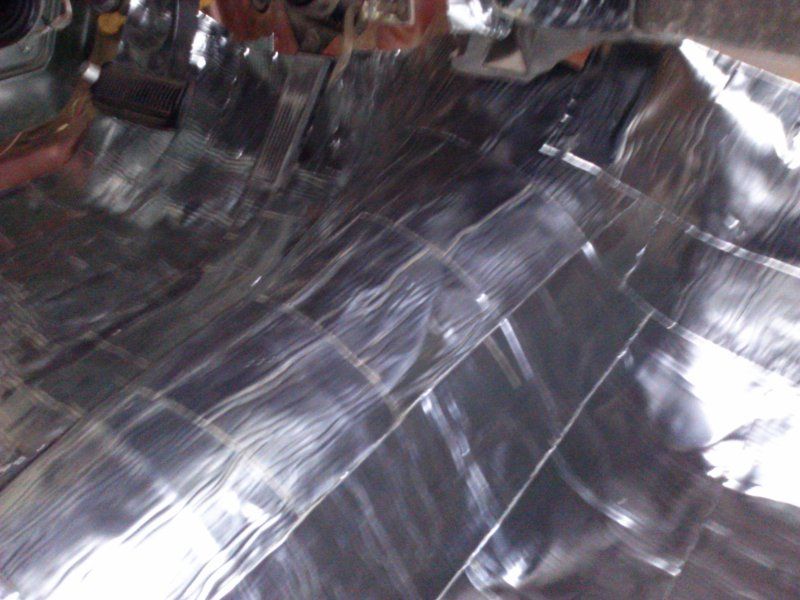
I also added peel n seal to the floor for some slight sound deadening.

CAM00354_zps2f9f50f4.jpg


CAM00355_zps6468bf0e.jpg


CAM00356_zpsbc241ae7.jpg


CAM00361_zpscb093bb1.jpg


CAM00372_zpse98a8eb0.jpg


CAM00374_zps853be8aa.jpg


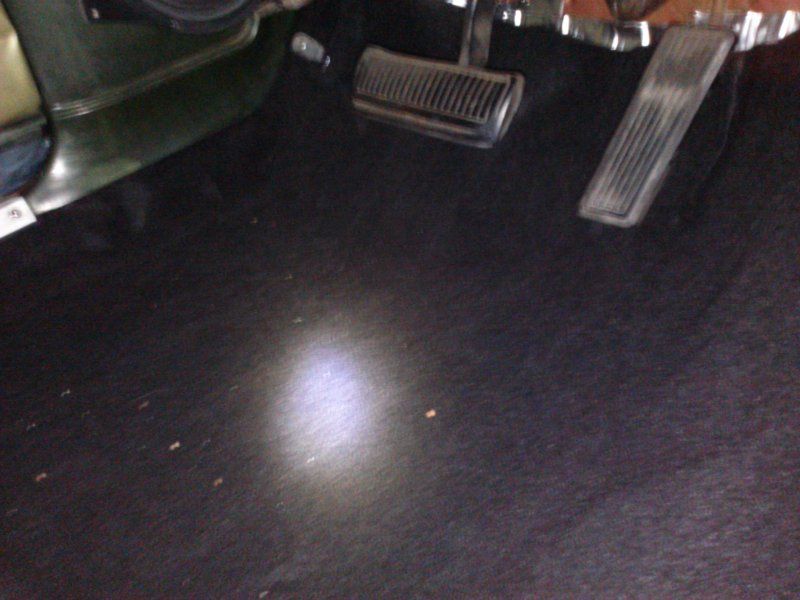
I'll get a real custom fit carpet later, but this is good enough for now, and not as embarrassing as the old stuff.

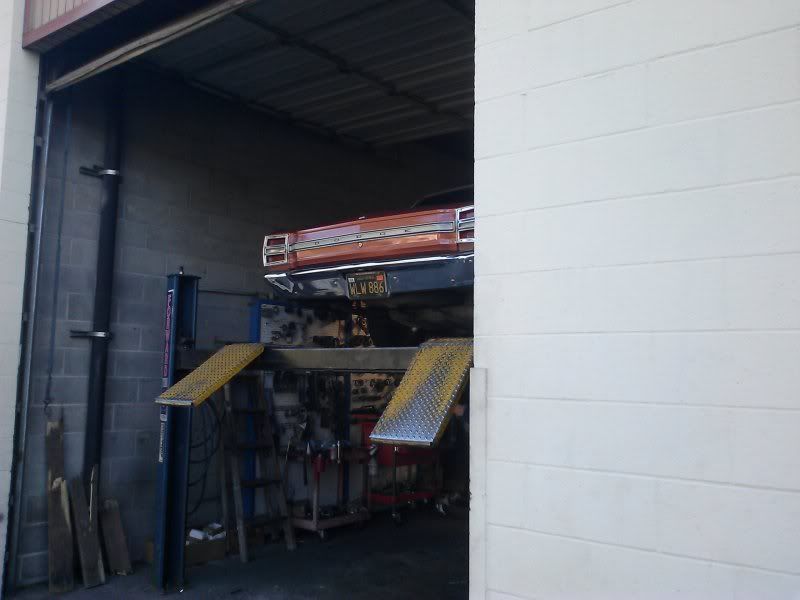
After driving with no radio for a while I noticed the car was incredibly quiet, not just because there was no radio... but because it was quiet - the fan on the engine was louder than the exhaust and everything else. When you don't have the correct tools -take it to someone who does. SInce I don't know how to weld, I hit ABC muffler in town.

I explained that the car was dead silent and it felt wrong. He offered to set up some mufflers and see which one I liked. He popped a brand new glass pack out of the box, set it on, and it wasn't loud and obnoxious - just a tiny bit louder than stock... so I had him put it on. He said it was a used muffler, since he "used" it for that three minutes to see if I liked the sound. He welded it on and charged me $85 for the installation and parts, due to it being "used." He was a nice guy. Usually mechanic work around here is $90/hr minimum, and it took him about that long and I got the part for free. It was a good day.
CAM00414_zpsb551ed9a.jpg


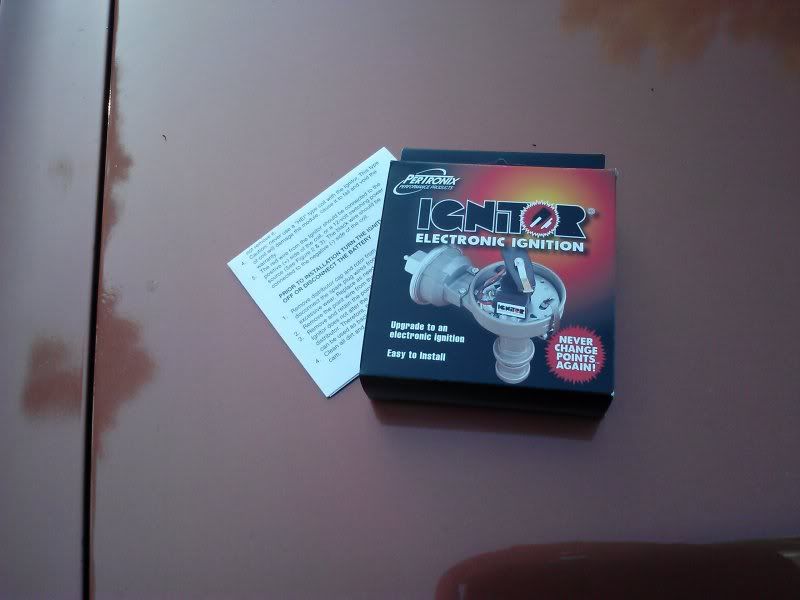
After that I installed an electronic ignition kit and removed the points (I kept them). It got rid of a misfire at idle that caused shaking.
CAM00434_zpsf6575163.jpg


CAM00436_zps514cb2ea.jpg


I also cleaned a lot of oil out of the distributor while i was doing it
CAM00438_zps304457ca.jpg


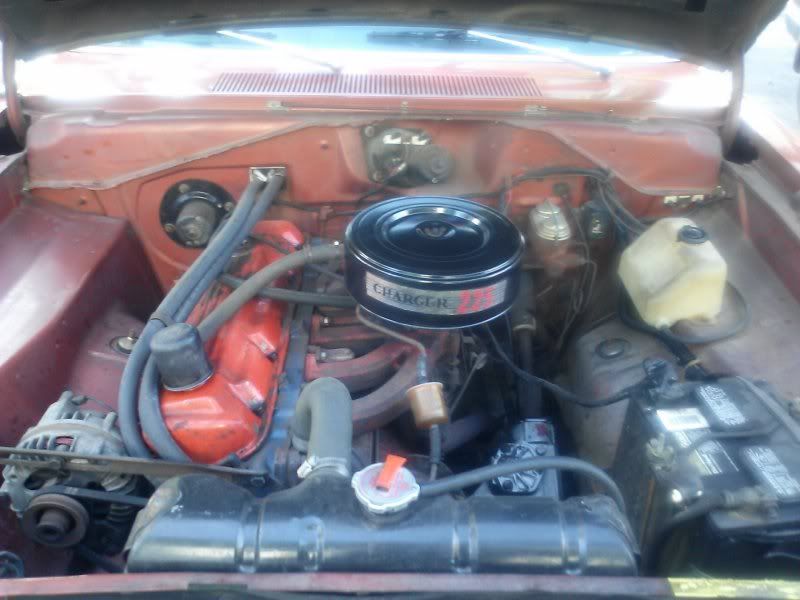
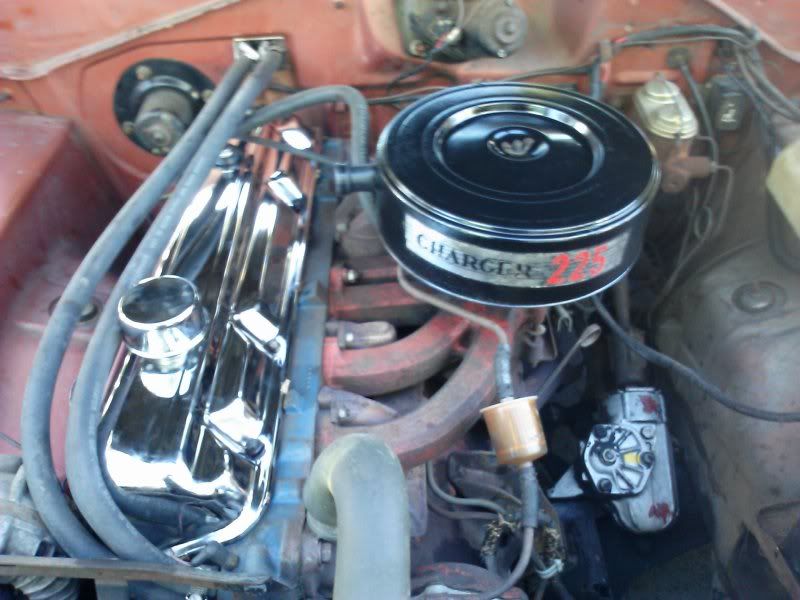
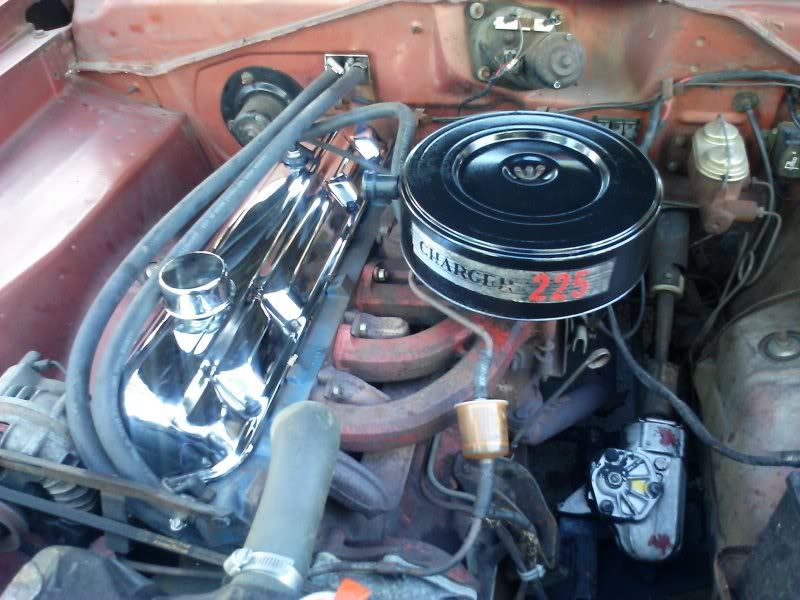
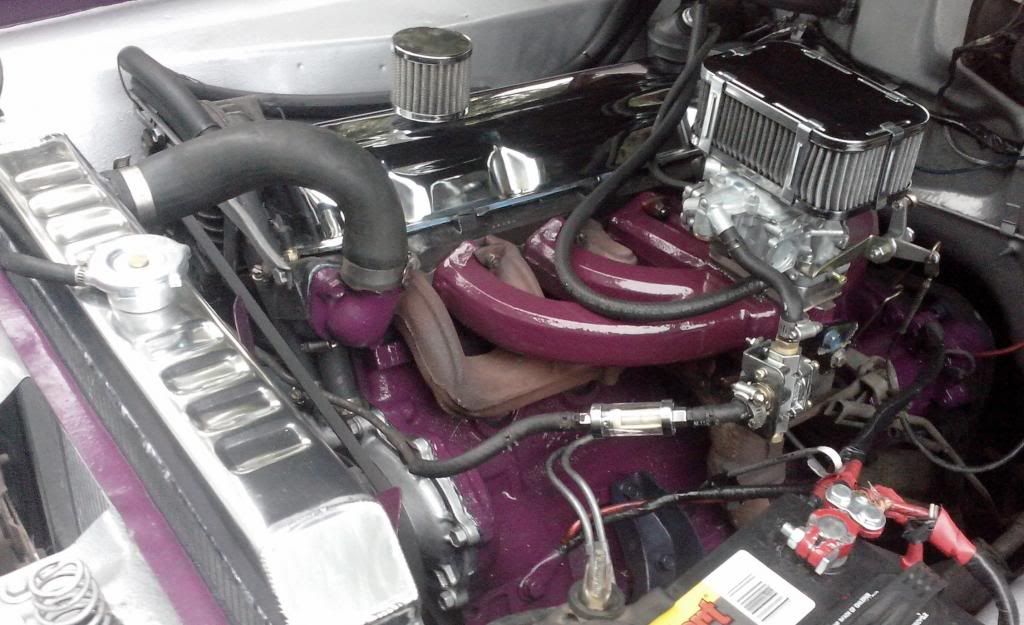
A lot of stuff seems to leak... which I guess is expected. As you can see the block is red and the head is blue. I'm assuming the head got changed at some point. The valve cover was still red though - and it leaked real bad for some reason. I opened it up and changed the gasket. It did not fix the problem. When I retightened it a second time I noticed it didn't line up to the bolt holes very well. A few dents in it and cracks confirmed it wasn't the right shape anymore - possibly banged around somehow. I found a cheap chrome one, replaced with the same gasket and I have not had it leak yet - though I know it will eventually. At least it didn't happen immediately.

CAM00430_zps48b68252.jpg


CAM00456_zps876a9e2b.jpg


CAM00459_zpsee9e9bad.jpg


Also in those photos you may be able to tell I repainted the air cleaner. It still has the stock decal though - which I'll change out later. The radiator was replaced by the previous owner and he replaced the 4 bladed fan with a much larger 5 blade fan.

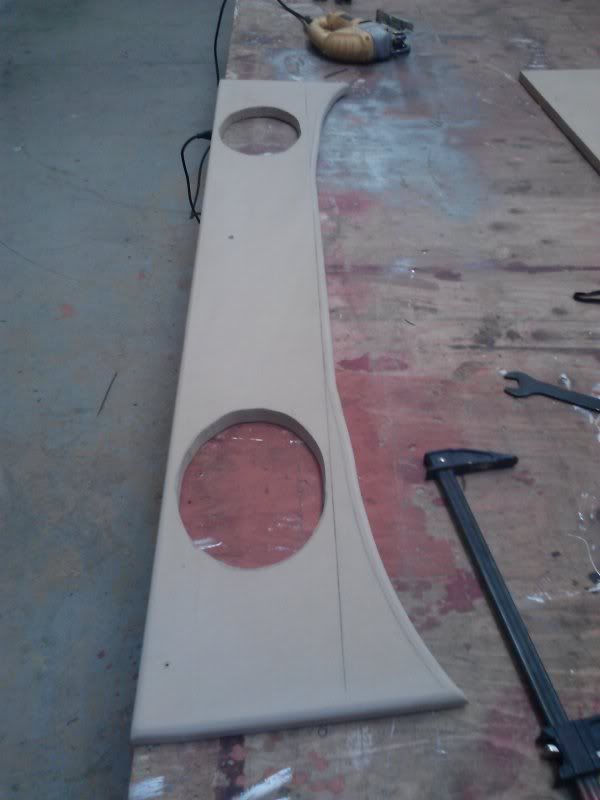
All the while I have been working on a custom center console simply because I wanted a drink holder...

And more will come...

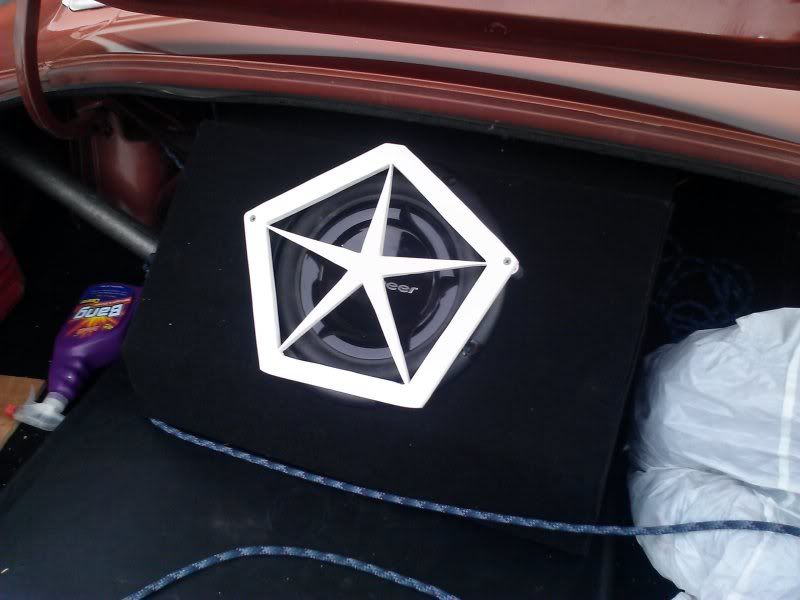
And here's some more pictures just to throw them out there.

CAM00377_zps8feb0bc3.jpg


CAM00379_zps9408800a.jpg


CAM00382_zps840795b2.jpg


CAM00380_zps0855183a.jpg

Good ol 1st st huh? Good spot to take pictures.
 
Ok, so now like most snooty people, I too have a "clicky thing." Yessir, I can clicky thing my dart open now. It took about 5 hours front to back, and that included wiring the "brain" into a center console I made, and installing the actuators and routing wire to all 4 doors.

These were the actuators I used, and were about $7.00/piece. So in total it was less than $30 for actuators, and $15 for the control unit and 2 key fobs. Not a bad deal.


These are the actuators, and for $7, each one came with all kinds of hardware to mount to pretty much anything. For the application on the dodge though, I only used the included rod, and the tie-in bracket.


That's the bracket.

Anyway, picked a nice spot at the end of the door for the front door, and mounted it up vertical to catch the actual rod going to the plunger manual lock up top.


I just screwed it to the sheet metal, connected my leads and then attached the little rod they include to the bracket and secured to the rod. I didn't have to bend it that much.


The brass colored rod is the addition in the door.

For the rear doors I had to change the pattern since the rod that unlocks it goes horizontally; I just moved the actuator to the middle of the door facing aft.


The loop is messy looking, but I repeated it on the other side because it just worked good. It allows a little bit of a slip since the angles of the actuator and rod aren't parellel.


I wired my two leads (lock/unlcock) through the lower part of the door below the lower hinge, and grommeted it and taped it thick so it wouldn't back out.

For the C pillar, I unscrewed the trim plate between the door sills, drilled a hole behind it and then another 1/2" hole at the sill, and routed the wires through then under the carpet once they were inside.


Once the wire was wrapped it looks pretty presentable. Everywhere higher on the door I was worried would interfere with the door sitting correctly when closed, but down further had a nice indent to allow the wire to have some slack to it, and not get smashed on.

Then when it was all together I got the brain and relay harnessed up.


There was a lot to attach there...

Oh don't mind me neighbors...


Started mounting everything to the console and got that tied in. I made it so only 4 wires left the console - a power, ground and an unlcock, and lock signal wire. It made the rest simple. After it was all back together I tested it, and all worked awesome. The receiver only works up to about 120ish feet, but... oh well. It's good.

[ame]http://youtu.be/M3XnthiqjT8[/ame]
 
I got the rear left door fixed so it opens again, and just like I promised myself, I stripped the green, and repainted it satin black on all the interior door metal. I think it looks nice. After I get fabric for the entire set of seat upholstery, I will use some of that to redo the door panels. I'm finding the pure white vinyl gets dirty easily, so I'll find something with white accents in it instead.

But the outcome of redoing the interior doors is night and day. I still need to paint the green arm rest brackets, but keep forgetting to do it when I have the doors apart. Maybe when I do the windows I'll be able to handle it then.


The only green left is the dash pad, and the B pillars, which I plan to paint when the seatbelts come back off for carpet, and the armrest brackets. The dash pad is getting a cap put on though.
 
Dash pad got some flat black like the doors, so it looks decent till I find a cap to go on. I still will need a lower left (black) dash pad, the smallest piece. They come up on ebay for $25 every once in a while but always when I'm broke. One day...


Another order of business is the driver's side front fender. I need to push it in somehow. I've adjusted the hood over and over and determined the fender is lopsided. The gap at the cowl is perfect, but as it goes forward, the gap is wider. The gap on the passenger side is parallel throughout and has a nice seam. The front widens out to about 3/8" at the headlight bezel. I'm thinking the front can be unbolted and manhandled inward? Or am I just stuck dealing with it?

 
Nice looking ride man. Hey, quick question - are the rear armrest and bases the same size as the front ones? I took mine off a while back, seem to have misplaced them, and will be hunting down a set to put back in my 72 4 door.
 
Nice looking ride man. Hey, quick question - are the rear armrest and bases the same size as the front ones? I took mine off a while back, seem to have misplaced them, and will be hunting down a set to put back in my 72 4 door.

On my 68, they're exactly the same piece, front and back.

I got a bunck of fabric today, waiting on the delivery of my new sewing machine. I'm going to redo the entire interior in a matching white, with black accent pattern, including the 4 door panels. The foam is all still in good shape on all the seats, and I'm going to go ahead and re-use the corvette/ camaro seats up front, just in a different pattern. Essentially all the body of the seat will be white vinyl, and the inboard seat section will be black vinyl, with two borders of this cool twill weave carbon silver pattern I found. I saw two extra cutoffs of a bolt at the fabric store and just had to get it. 2 yards of the stuff will be perfect for little stripes. I also got about 6 yards of industrial burlap to rewrap the springs under the foam. There's one or two springs poking out at the base of the seat near the adjustment bar. The rear seat will have a similar pattern with two rectangular inboard patterns on the inside.

Basically this:

 
Got my two rear wheels in the mail today from Summit. They came in less than 2 days for $200 (included 2 day shipping).


I also got my new sewing machine and started with the base of the backseat. I'll make a copy for the top, and finish off the edging with white as well. This is also going to be the same pattern on the front seats.

Since i don't have a pattern of the old material of the backseat and literally just whatever fabric is left, I have to lay a section, measure the next section, straightedge, stitch, double stich, then cut and move on. This section here just for the top of the base of the backseat, took 3 hours.


This is my first time ever doing something like this, so hopefully it turns out well. I have the burlap to replace too so nothing ever pokes through the new material ever.
 
Rear seat turned out good. The fronts are a PITA to take apart without destroying them, so I'm taking my time.


Now onto the fronts...


And I also got my 38/38 in the mail.

 
Dang man, that rear seat came out awesome. Good info on those arm rests. The 72 4 door uses the same arm rests and pads like the 68. Mr Moparts is a good source for them if you need them. Any tips for popping the holes for you power locks? Running wires to mine for shaved door handles and power windows and having a helluva time getting clean holes.

Posted via Topify on Android

The holes for the wires or the actuator?

For the actuator I just placed the actuator on the front of the door, and drilled through the holes so they'd be in exactly the right spot on the back. For the wires I used grommets and drilled into the side of the door above the front hinges in the fronts. It came out nice. For the driver's side hole to the outside, I drilled just at the back of the kick panel. On the passenger side, I used the antenna hole already going outside.

For the back, I drilled a hole beneath the bottom hinge, and grommeted it, and pulled the chrome carpet holder between the sill panels. I drilled a hole behind that, ran the wire into it, then out another hole near the sill. With a black heat shrink it is unnoticable. Also using a stepdrill will clean your entry up nicely and help the grommet stay in better.
 
Just the wire holes. I used your location as a guide, but going through that area under the hinges, the hole goes through 3 pieces of sheet metal. I guess I will just heat shrink wrap the heck out of the wires and then fish them through.

Again - killer build - loving the 68
 
CAM01996_zpse441258f.jpg


I was only faced with one layer of sheet metal at all holes. These in the rear under the hinge were quick.

Maybe take a picture of the area you're talking about and I'll give you a better option. I spent about 2 hours alone just looking for ideal places to drill, opening and closing all the doors, and double checking nothing would get pinched or tugged on.
 
More stuff done. I picked up a bench seat for the front today and chucked the two Chevy seats that were there before. It is so much better. I cleaned it and set it up. It's been recovered, but eventually I'll start sewing a matching cover for it like I did in the back seat.

I put in my new aluminum radiator as well, and everything in the engine bay seems harmonious again. The car no longer overheats on the freeway and sits pretty at about 190-200 at any time.

I also repainted the block a different shade of purple to match my new intake better, and filled all the cracks in the dash to salvage it for as long as possible.


IMG_20140304_174456_zps8a8a1a84.jpg
 
-
Back
Top