dusterbd13
Well-Known Member
so, time for a no money update:
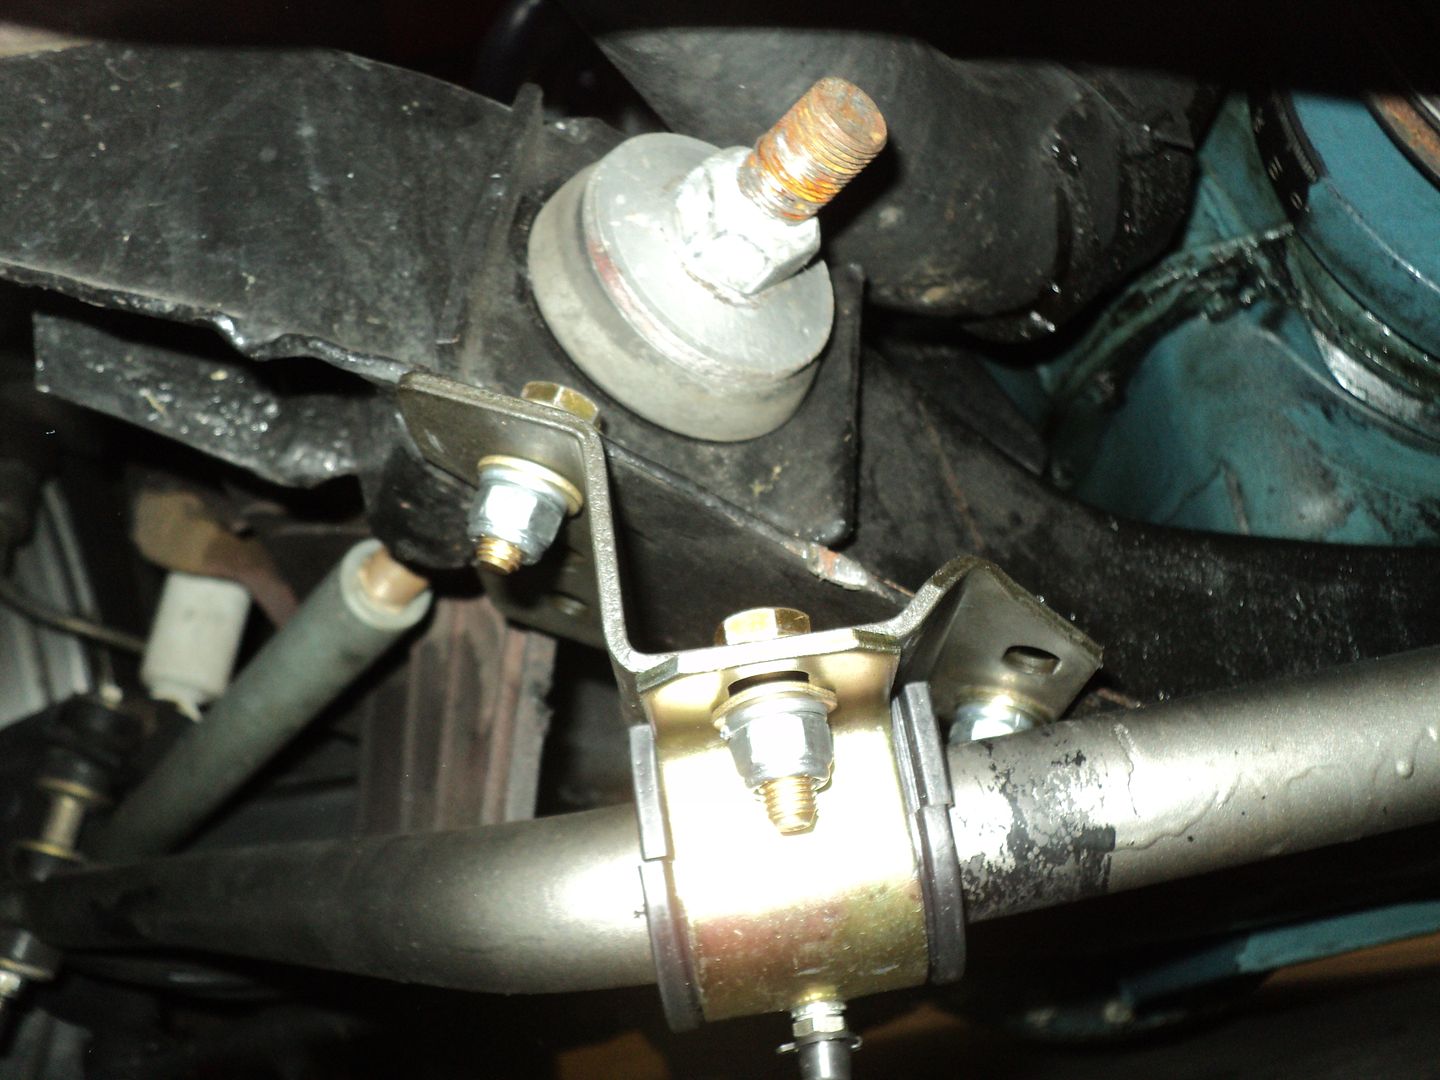
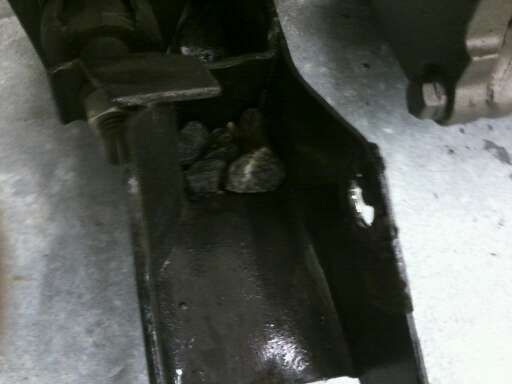
i finally installed my sway bar mounts.
finally.
and not a moment too soon. the crappy addco mounts had loosened again, and were actually only finger tight when i went to pull them today.
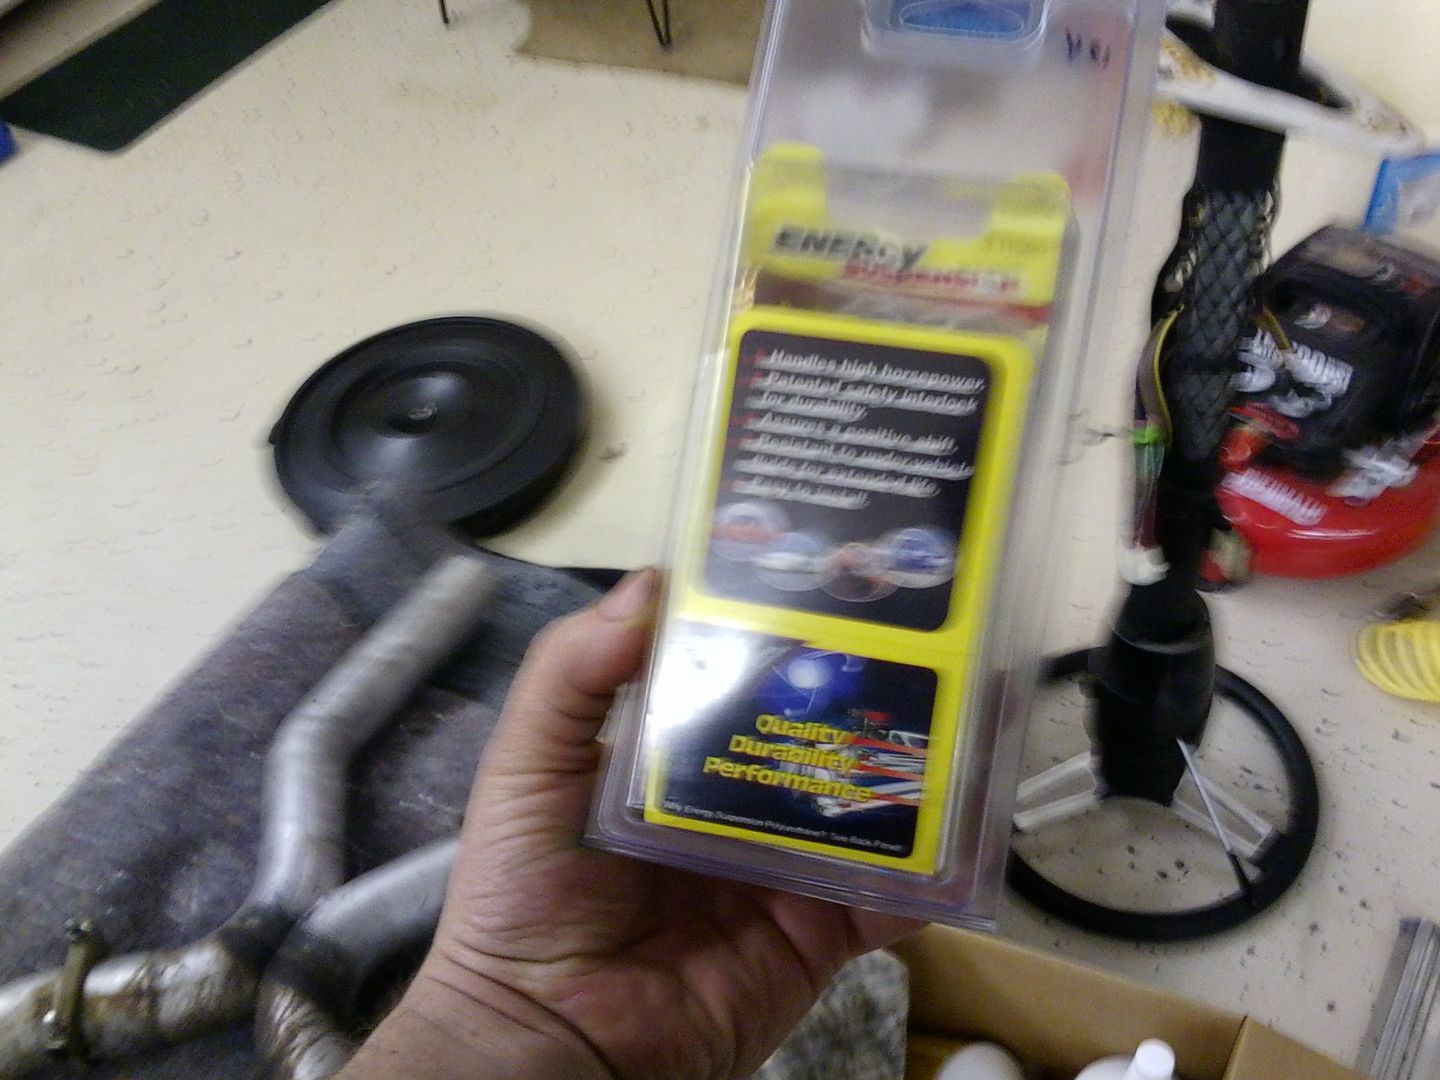
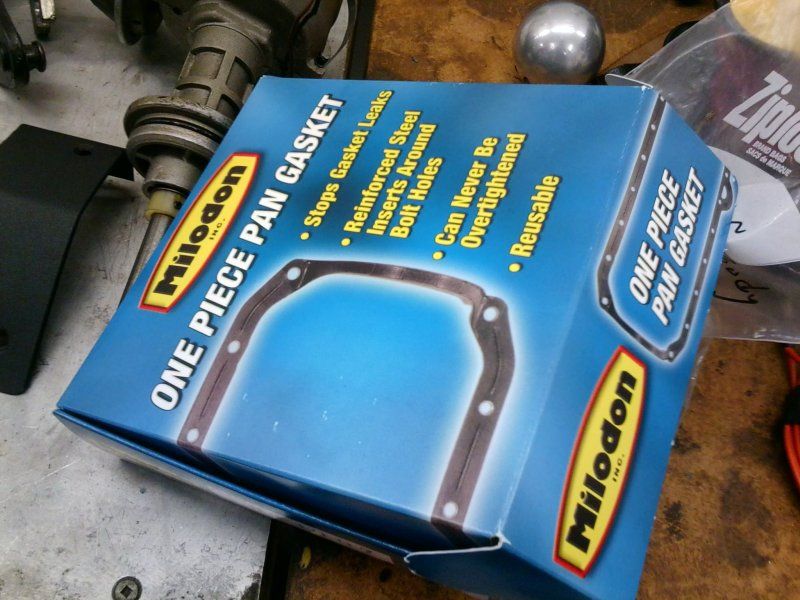
if y'all remember, im now using the energy suspension conversion kit. came with the wrong sway bar bushings, and is unorderable with the 1 1/8 bushings that my bar requires, so i had to buy those additionally. again, its been a year, so that info may be out of date now.
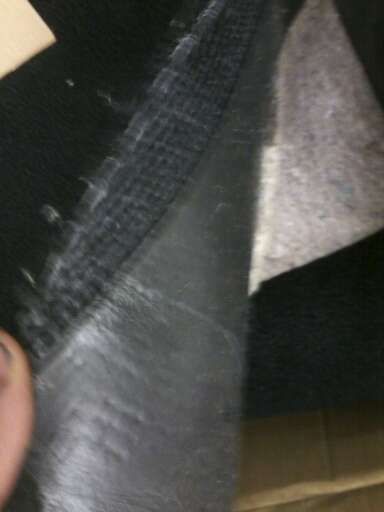
while removing and scrapping the origonal pieces, i found some wear on the mount bushings. as well as permanant deformation duwe to the addco design.
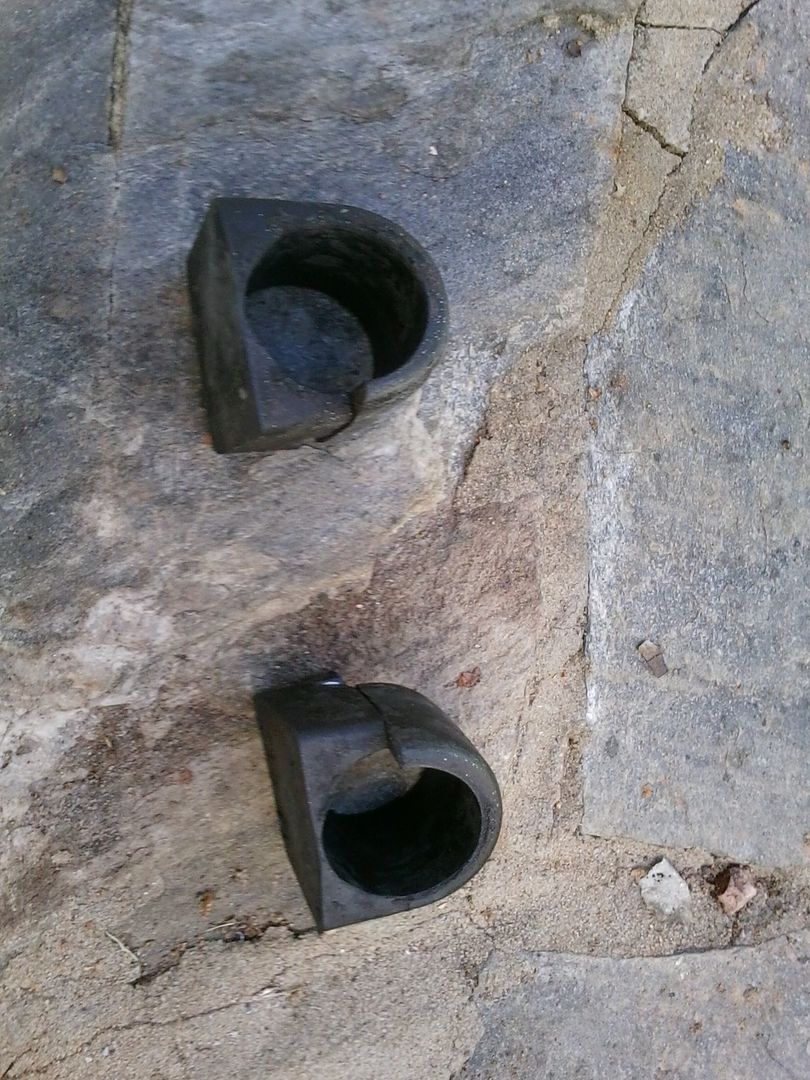
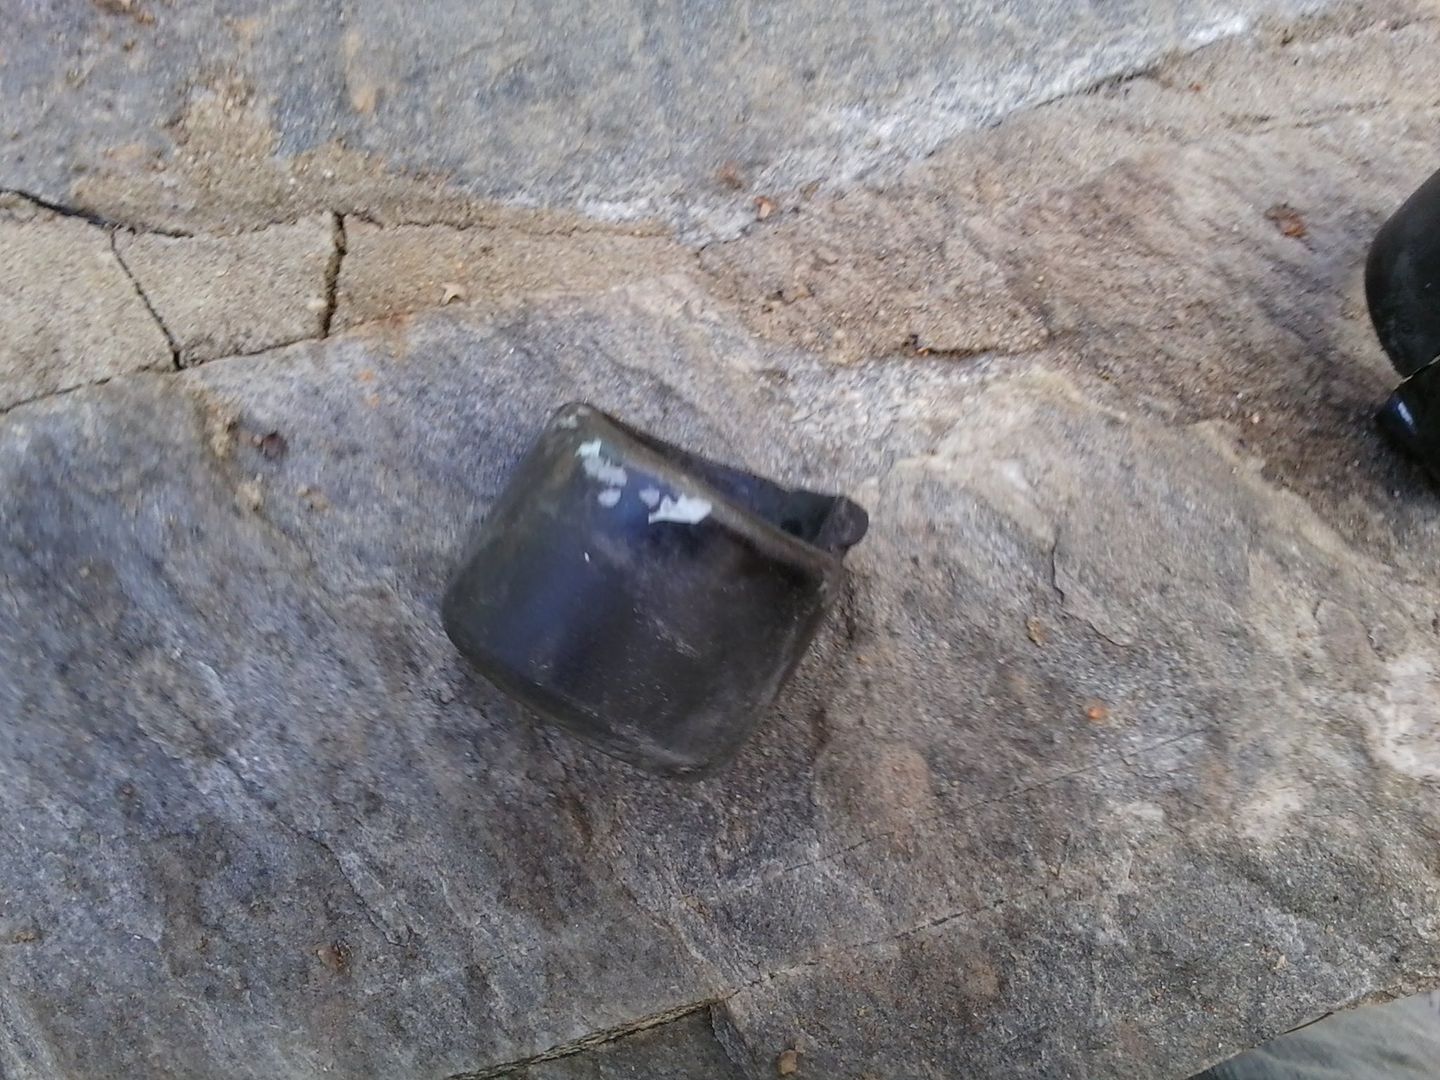
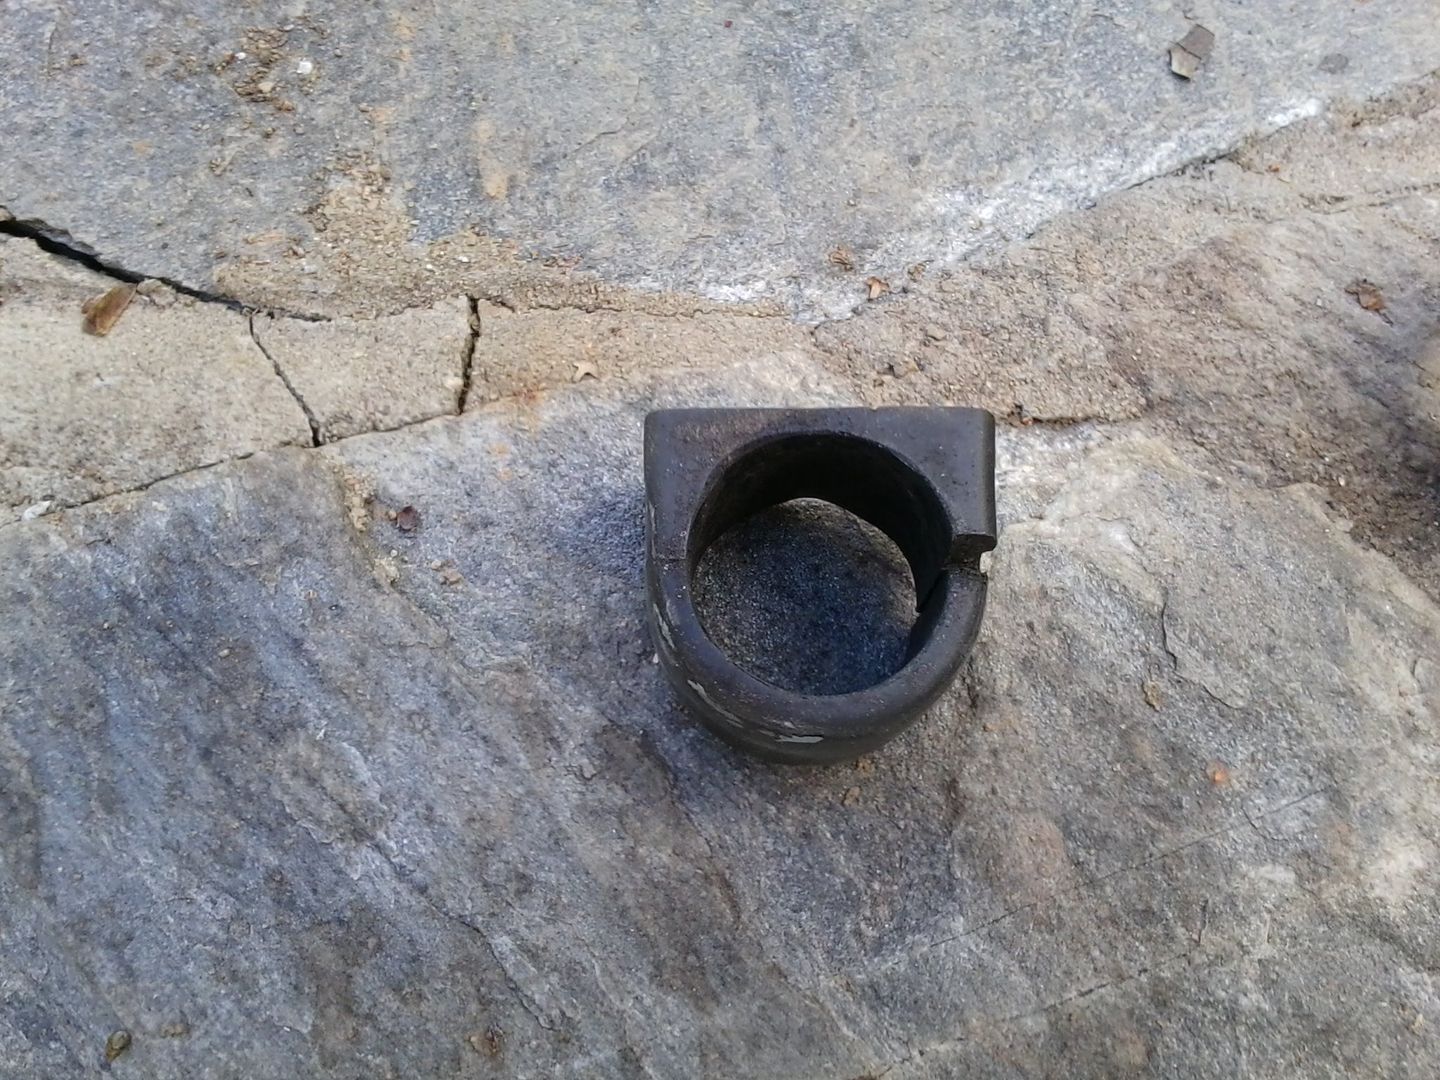
pretty bad, as they only have about 10k on them.
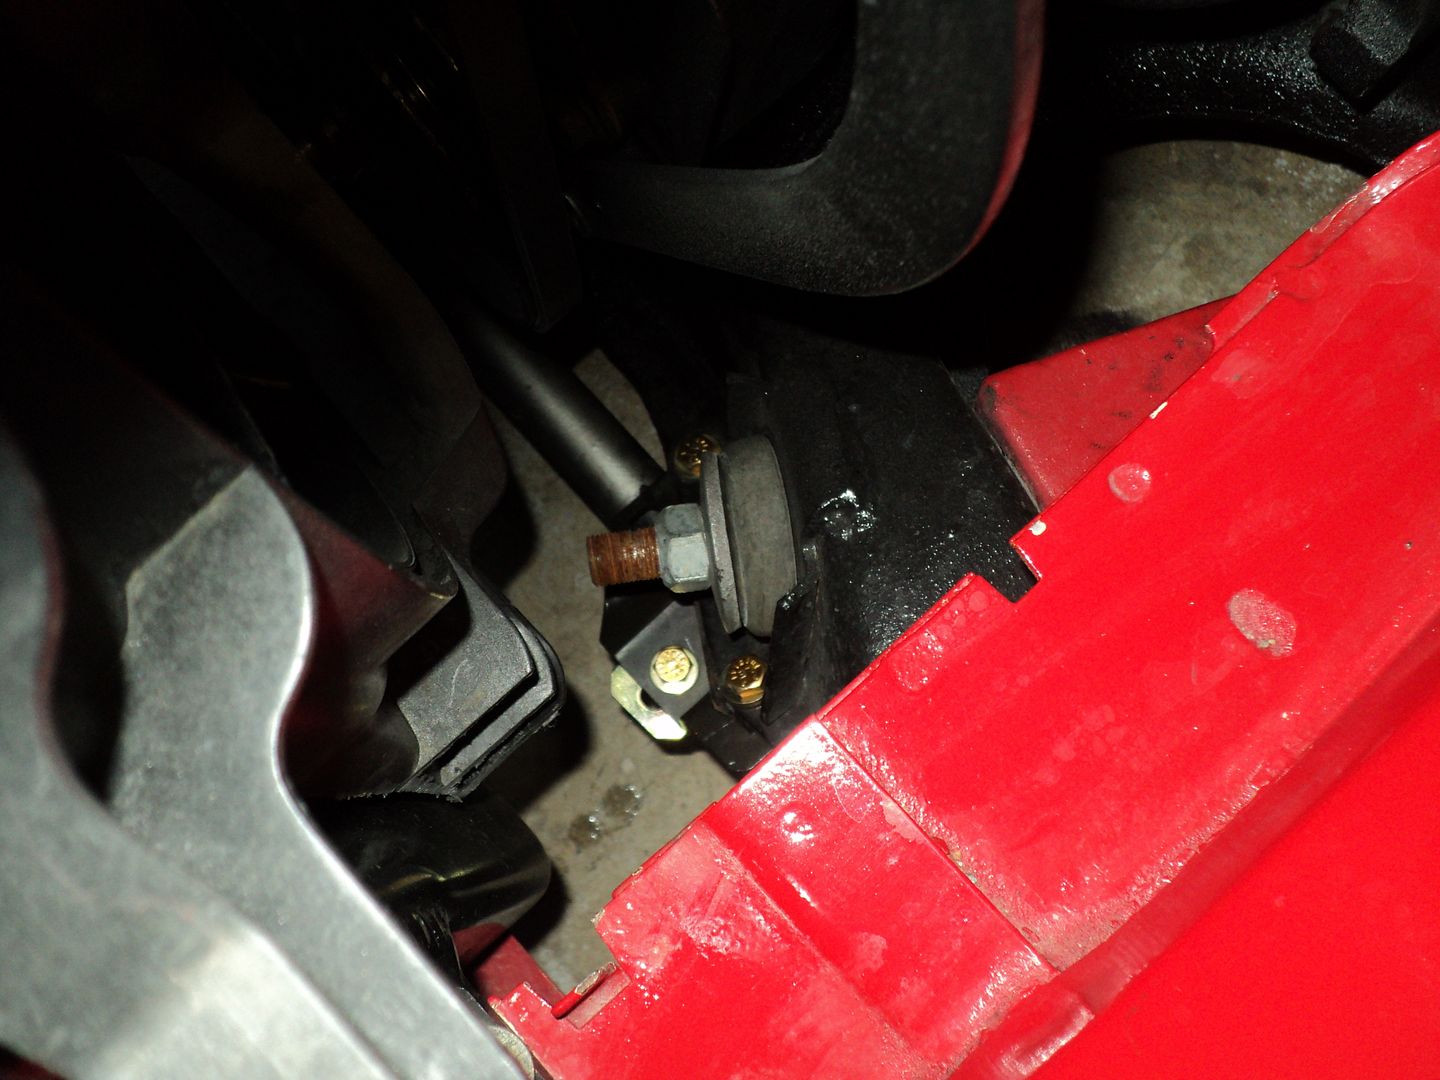
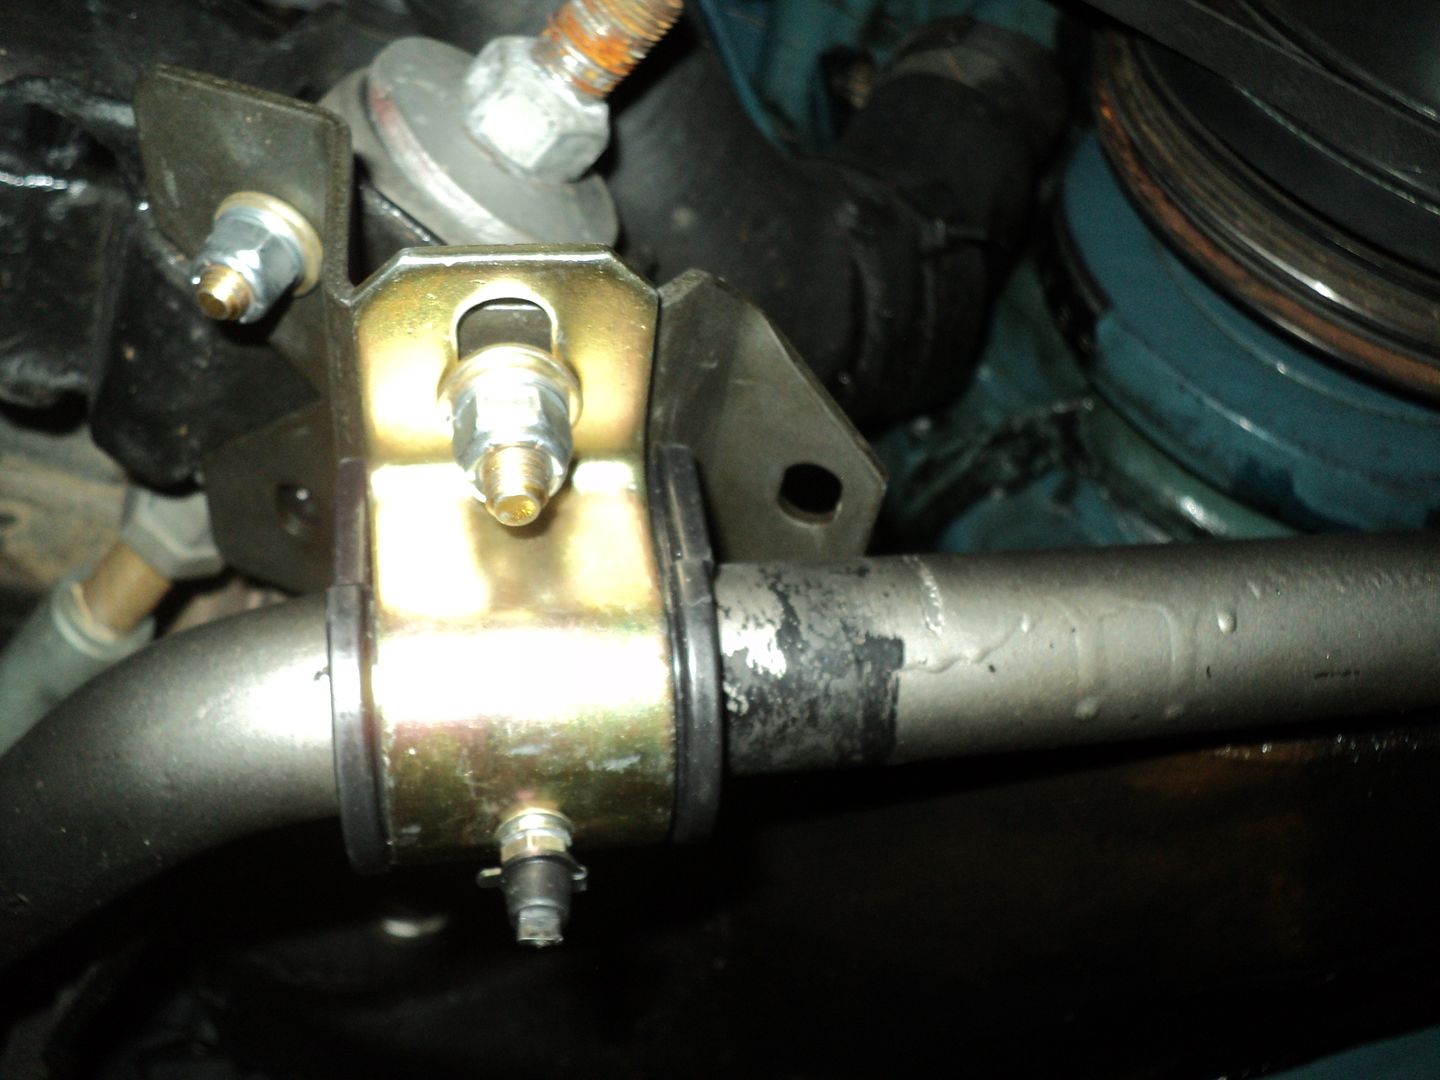
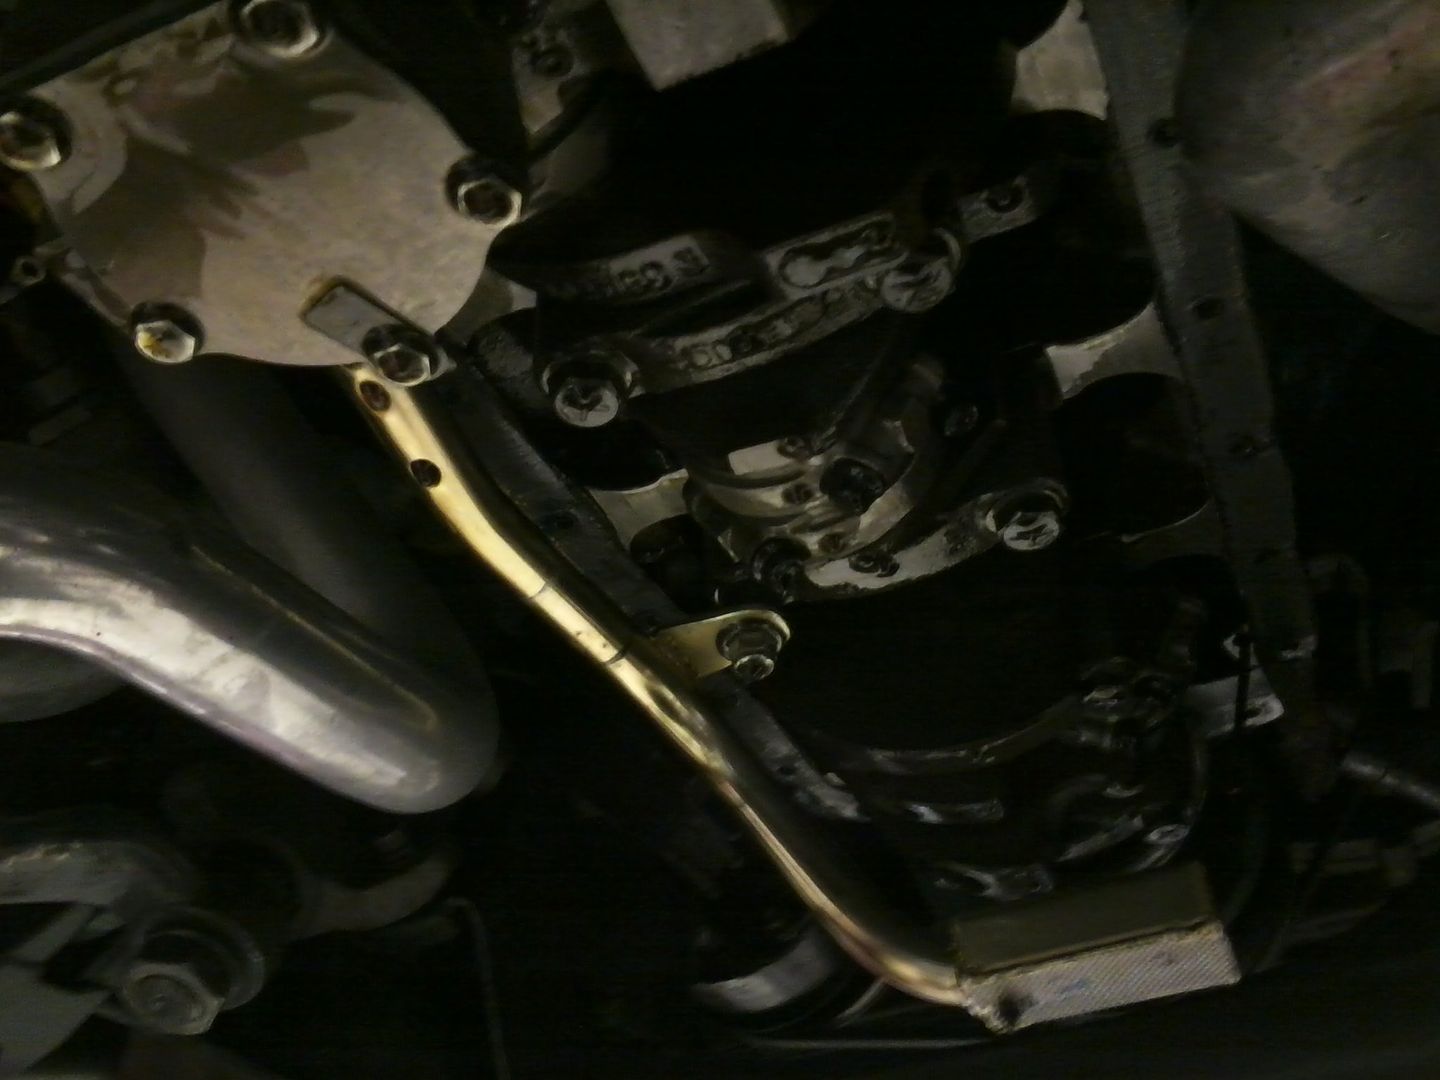
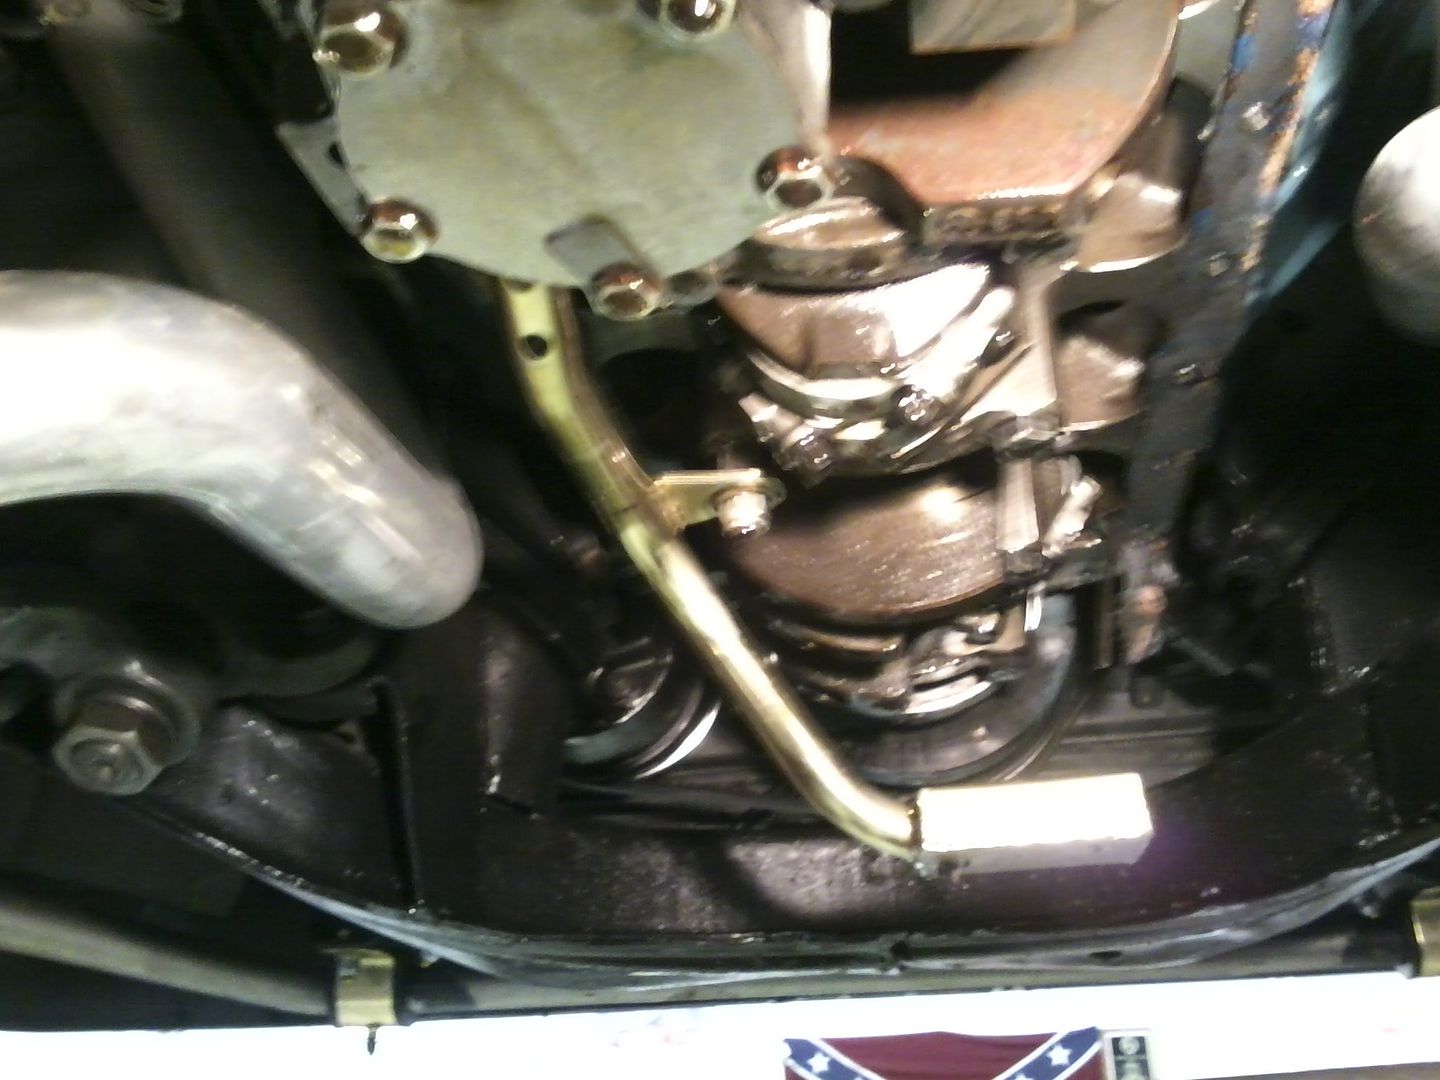
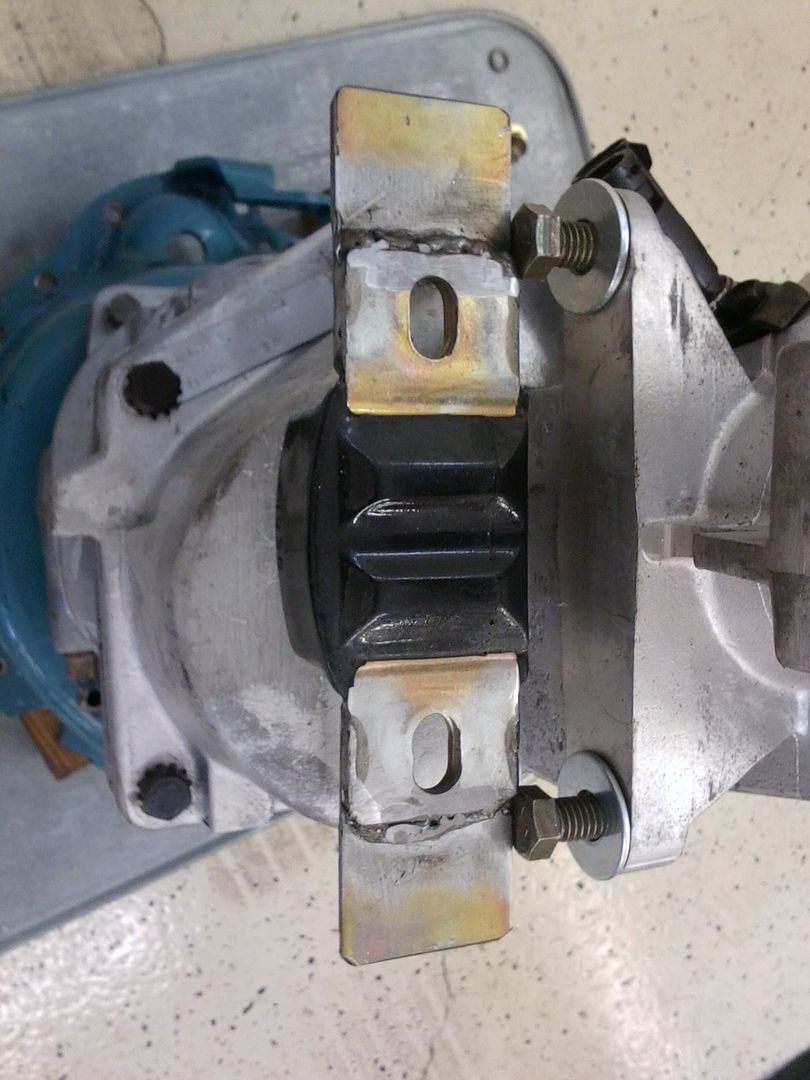
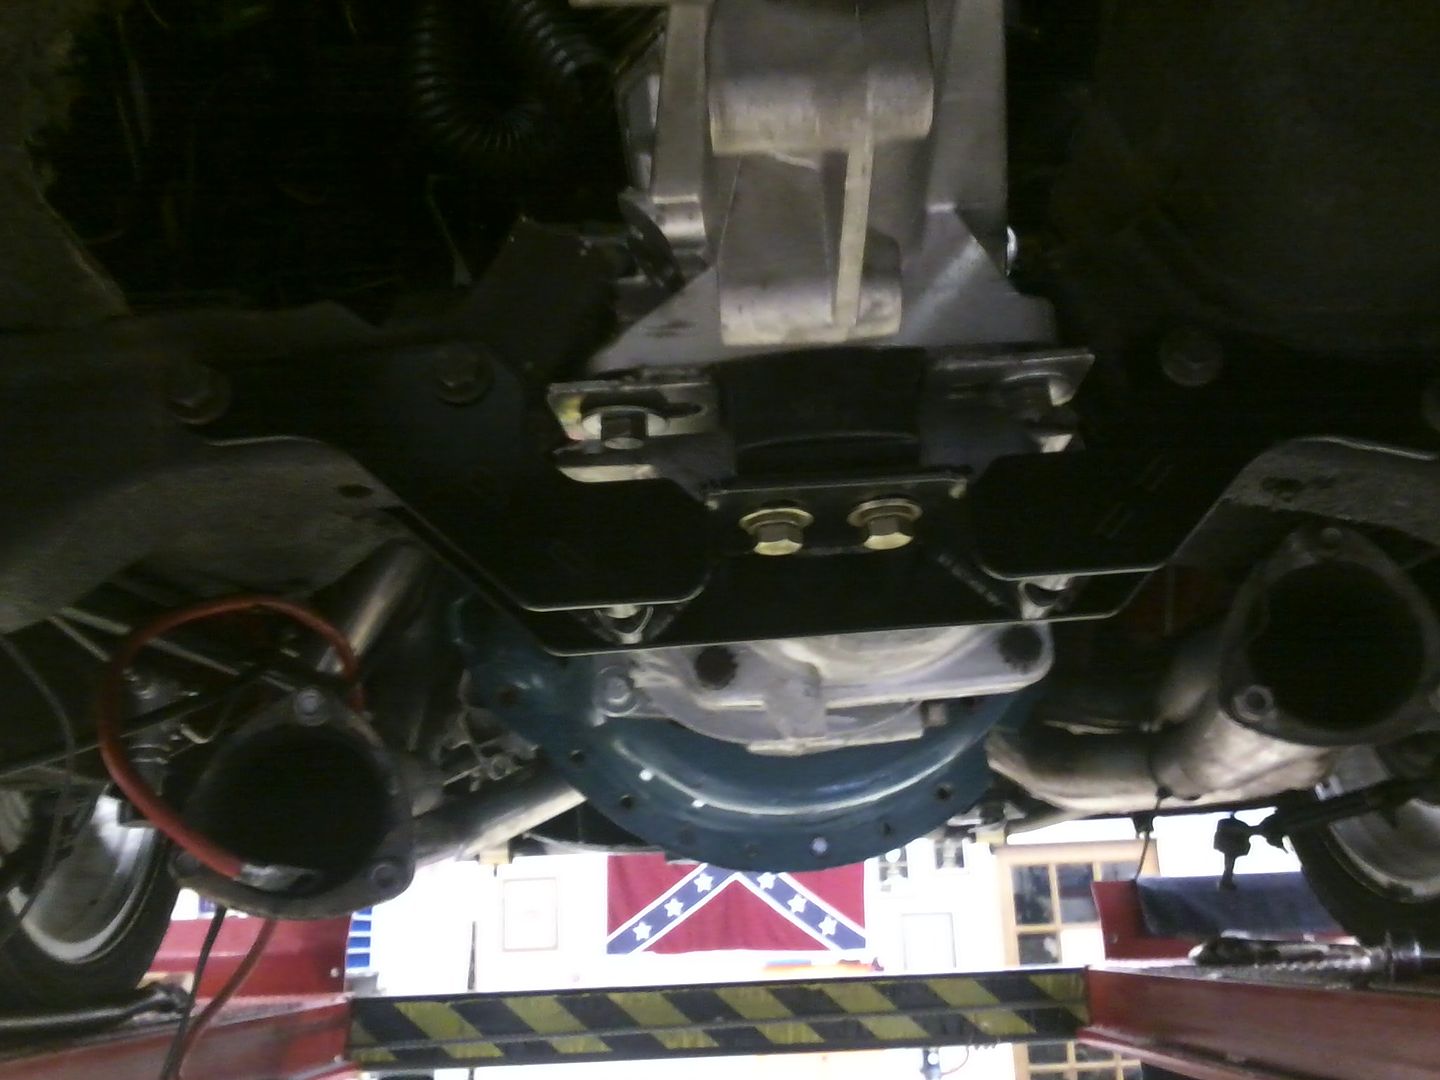
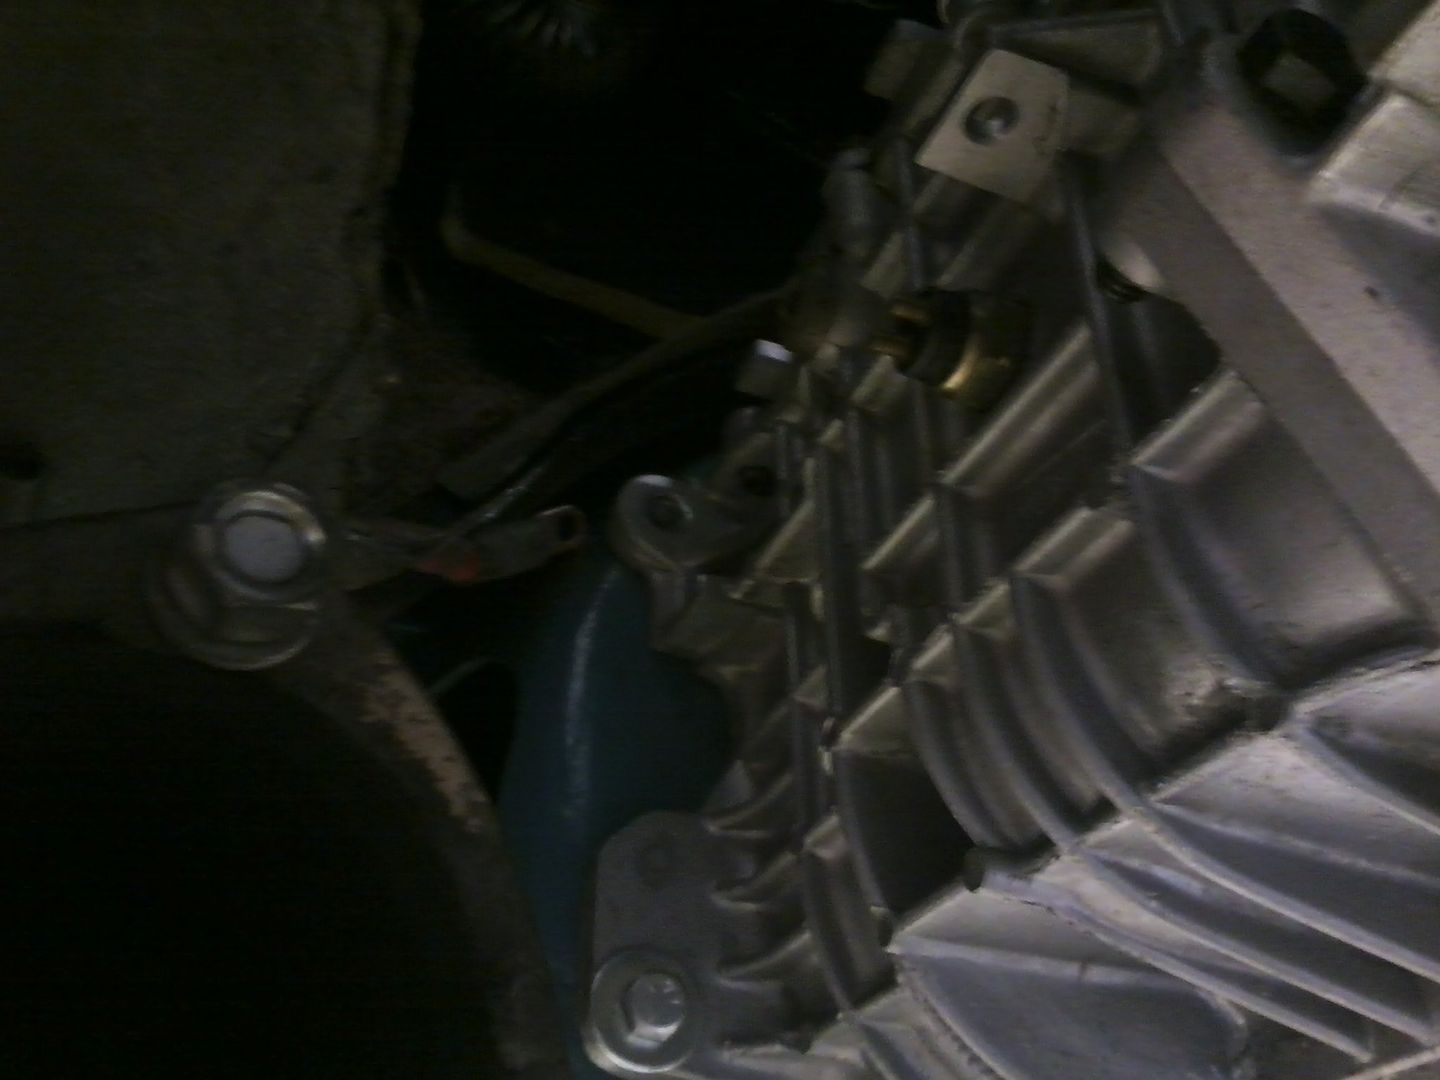
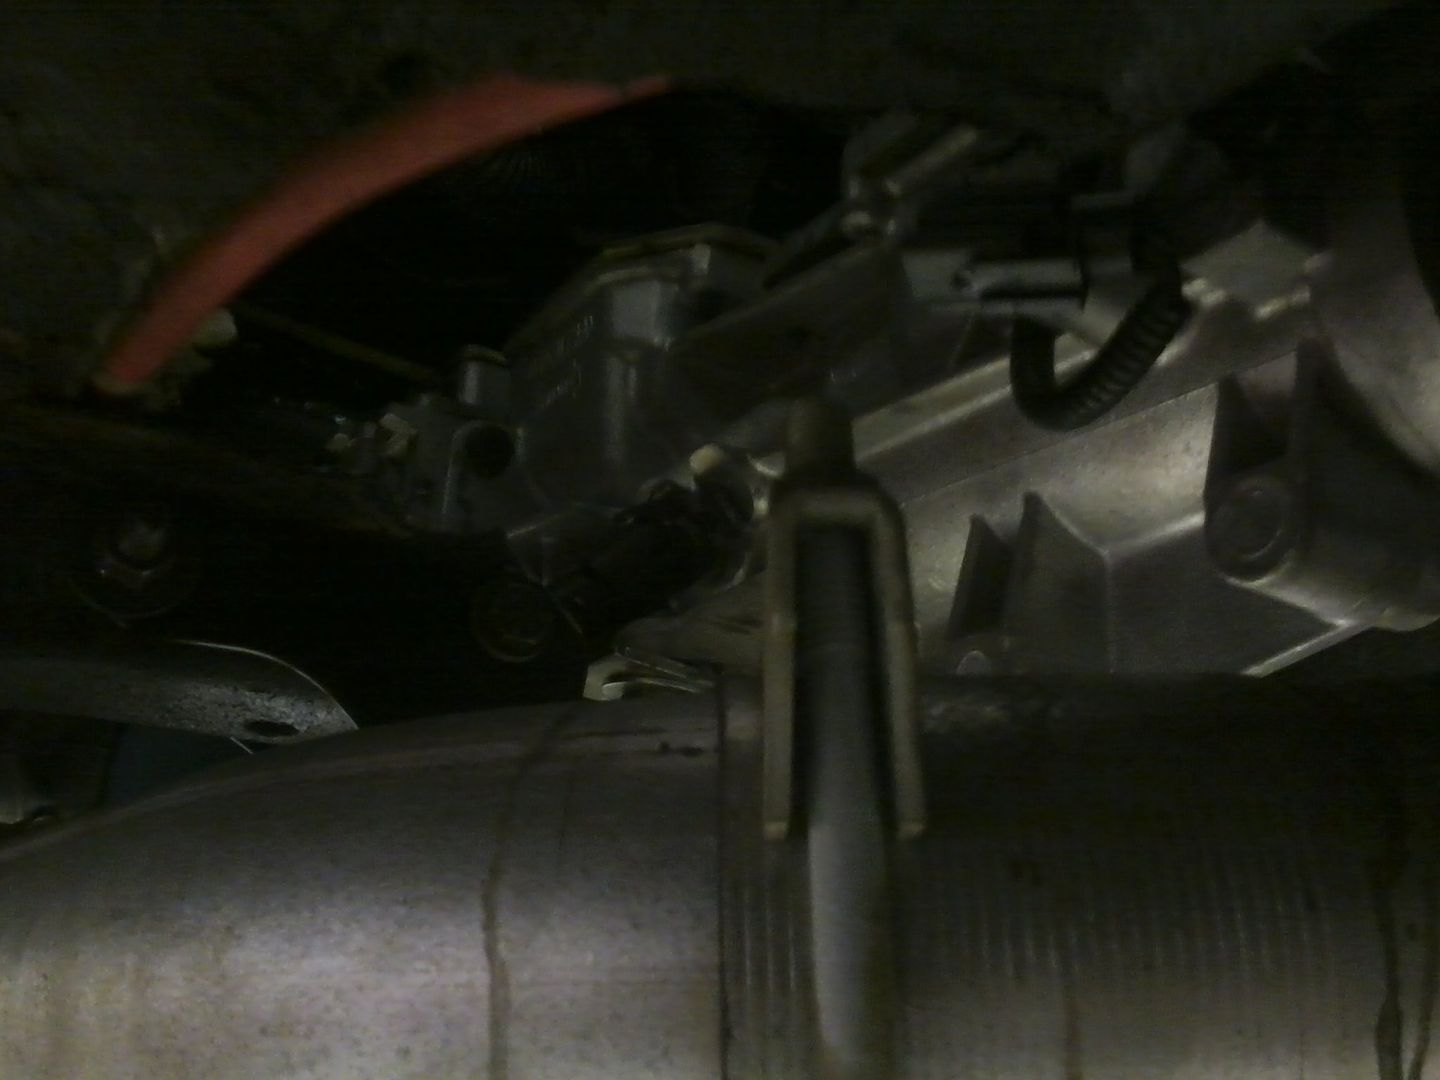
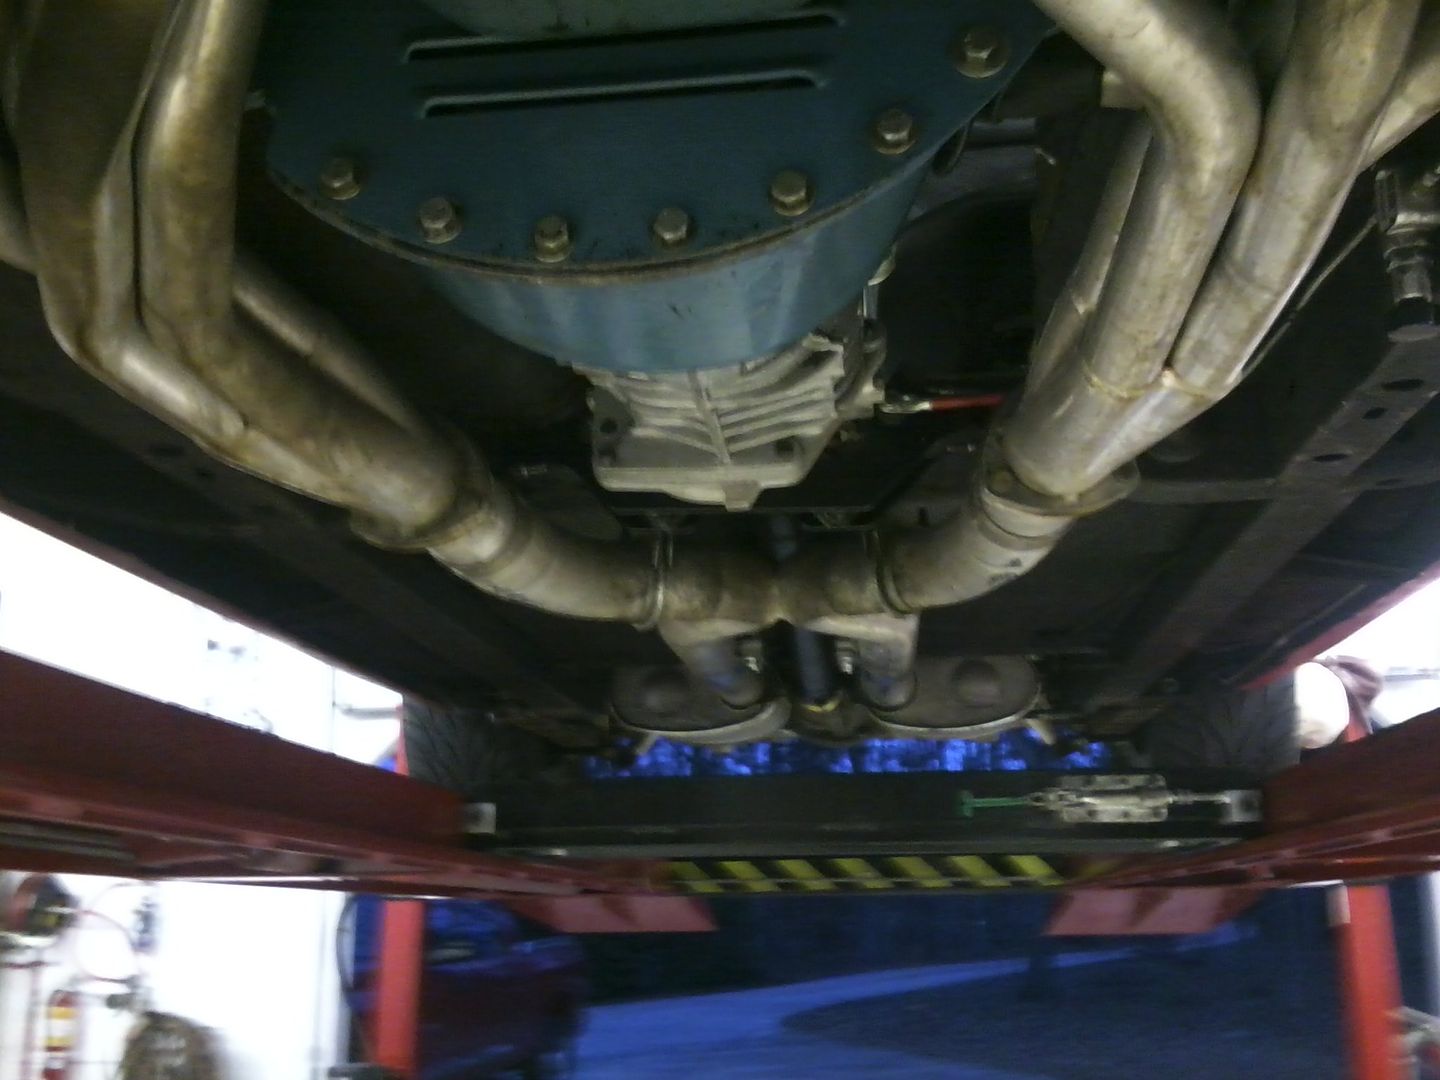
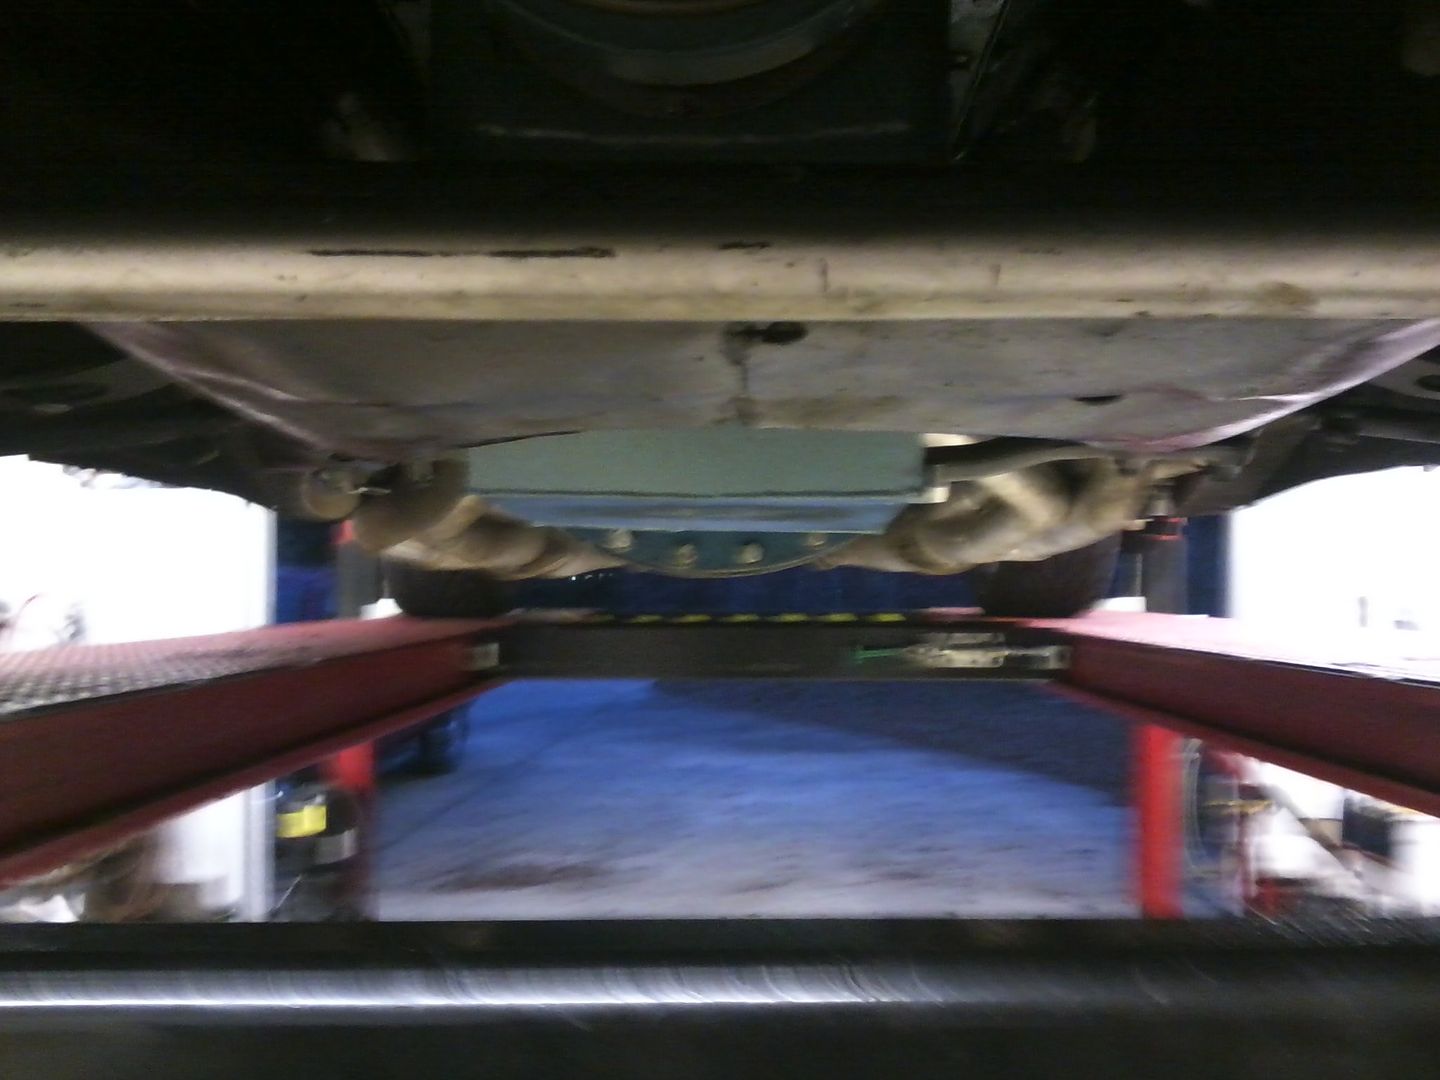
thenew mounts were not exactly easy to install, either. the plates themselves lined up with the factory k-frame hols nicely on 2 of the 3 holes. the third hole is one youre supposed to drill. i did so, but was unable to get a bolt in there. i will have to remove the LCA's and strut rods to inser that bolt. i tried going in from the bottom, but theres not enough room for a nut and washer combo between the bushing and frame, and not enough clearance to get the bolt through from the top. that being said, i still have twice the fassterners af the addco mounts. i also had to use a ratchet strap tp get everything held in place and aligned properly for the first time, but once toghtened, nothing binds. the rear of the sway bar is pretty close to the control arm, but does not contact. these are much more solid mounts, provinsing better ground clearance in the process.
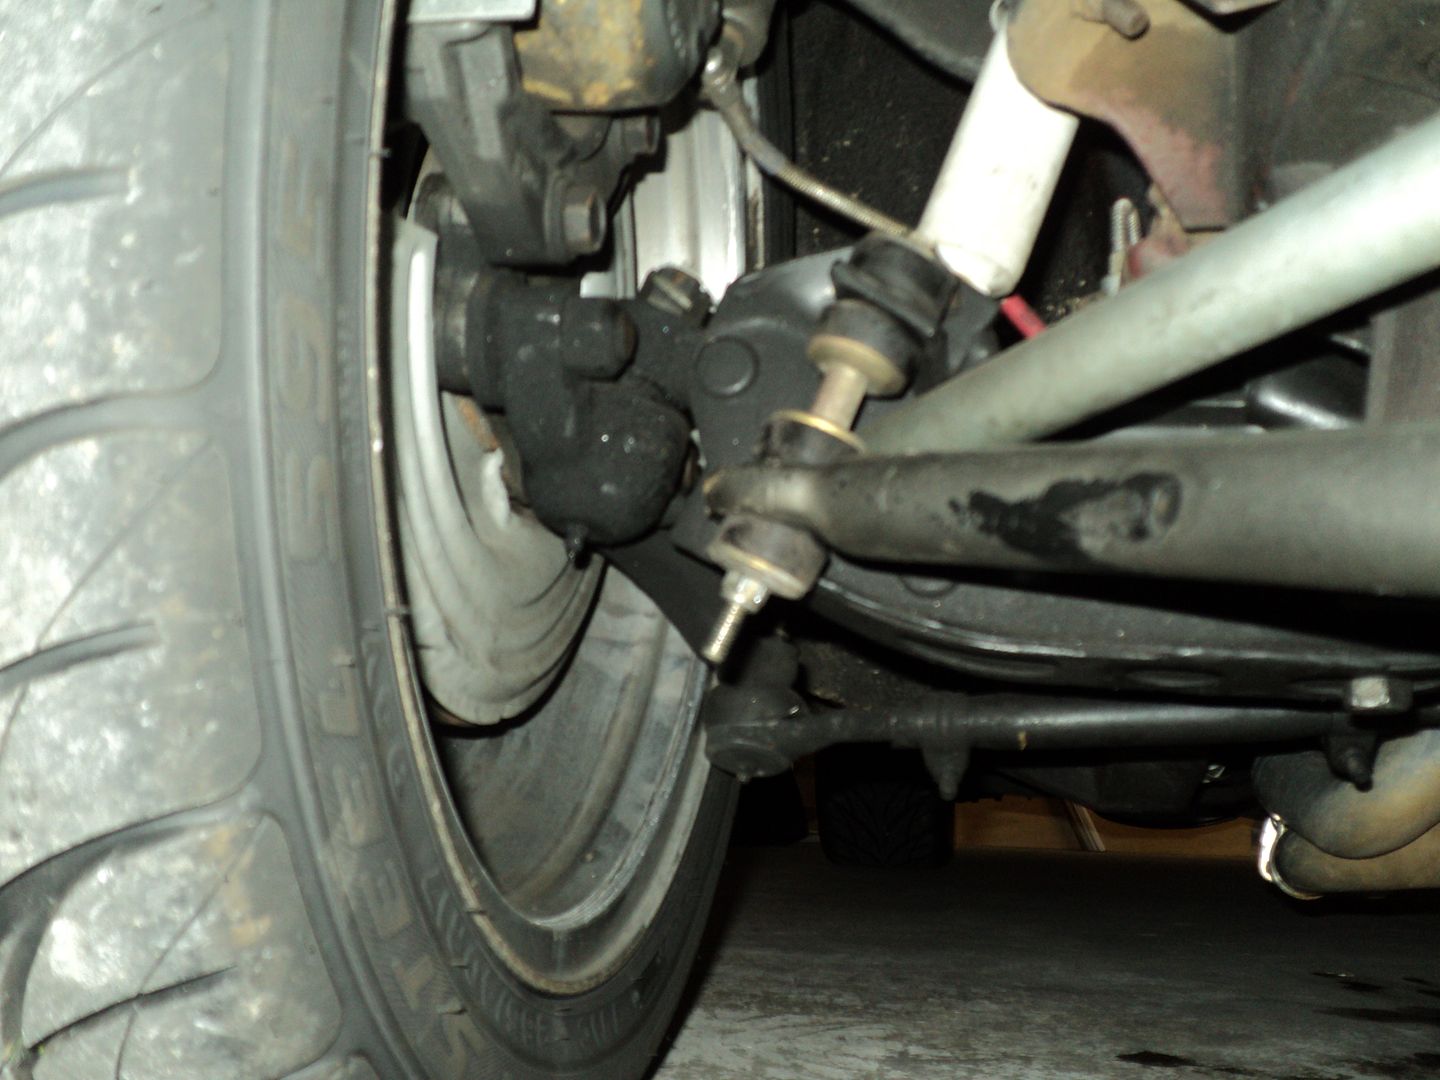
older pictures for comparisons sake:
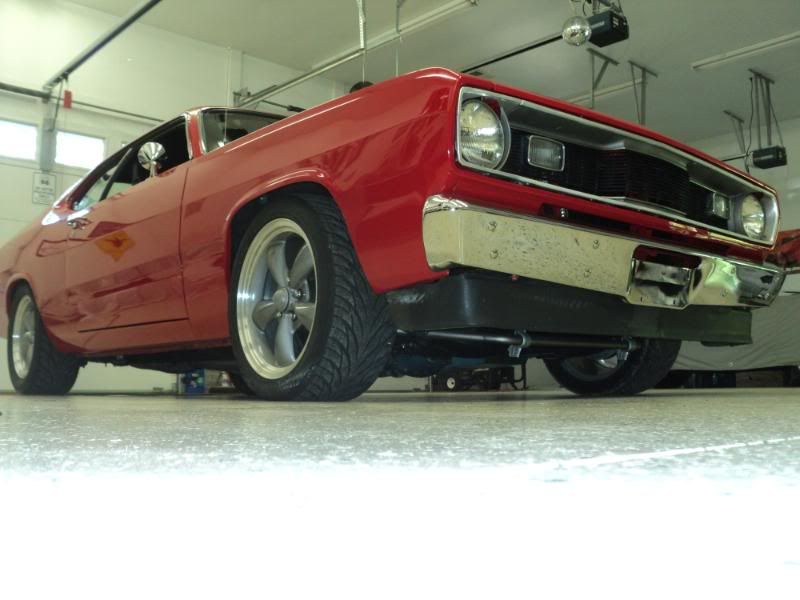
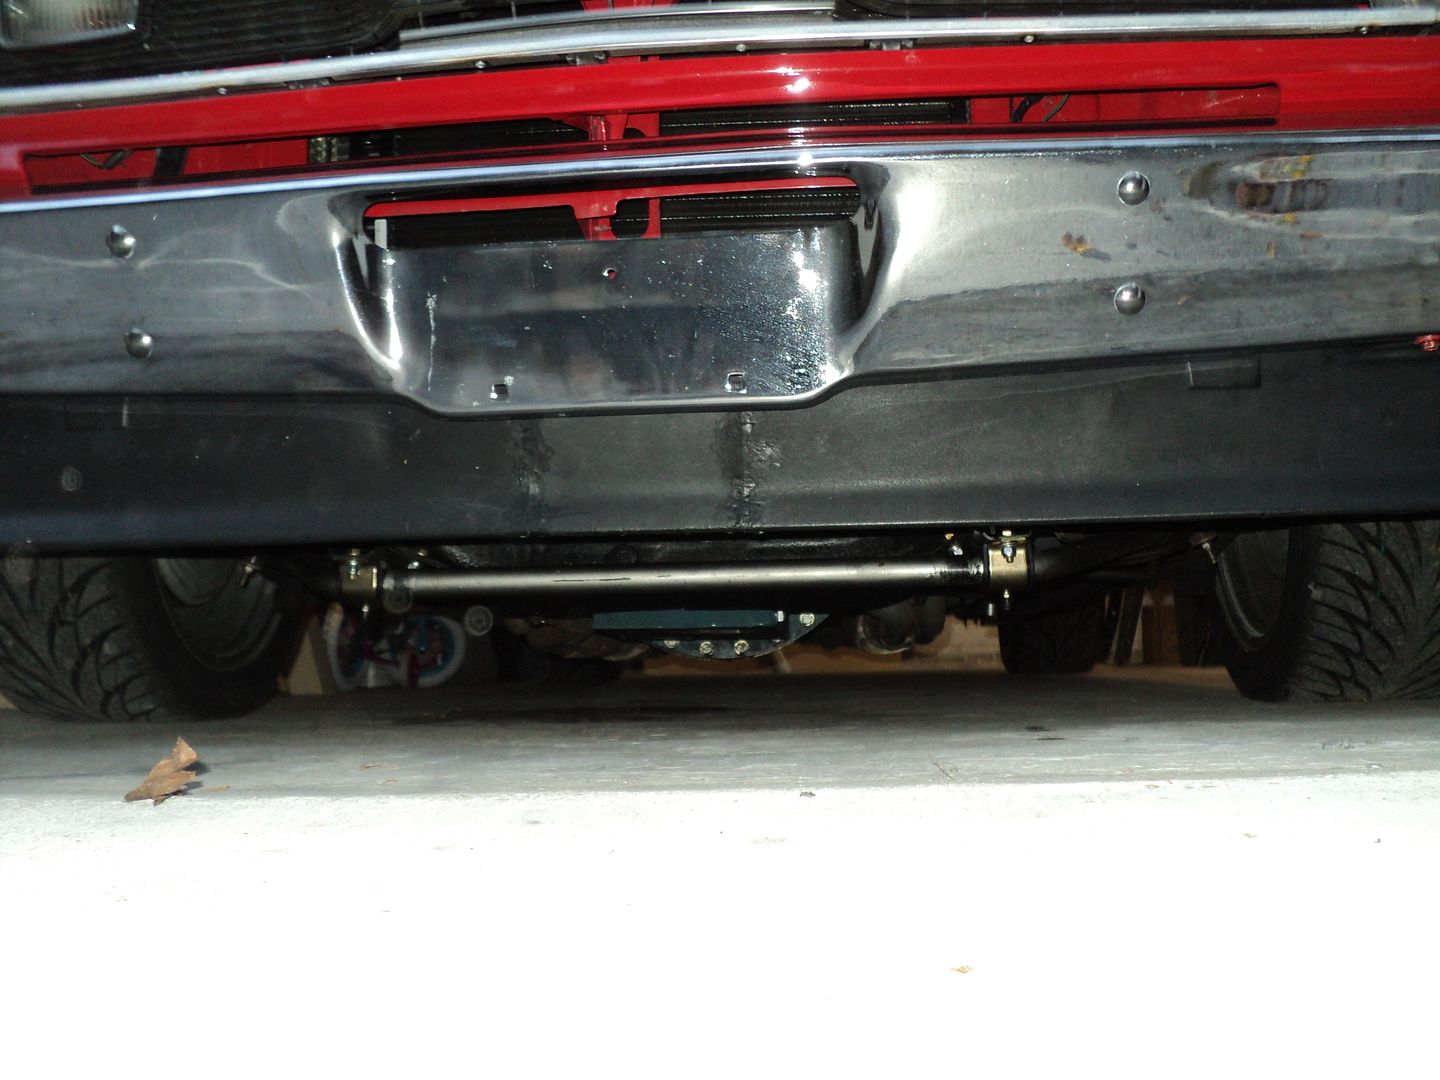
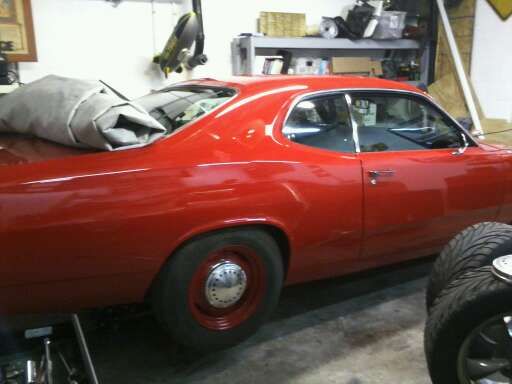
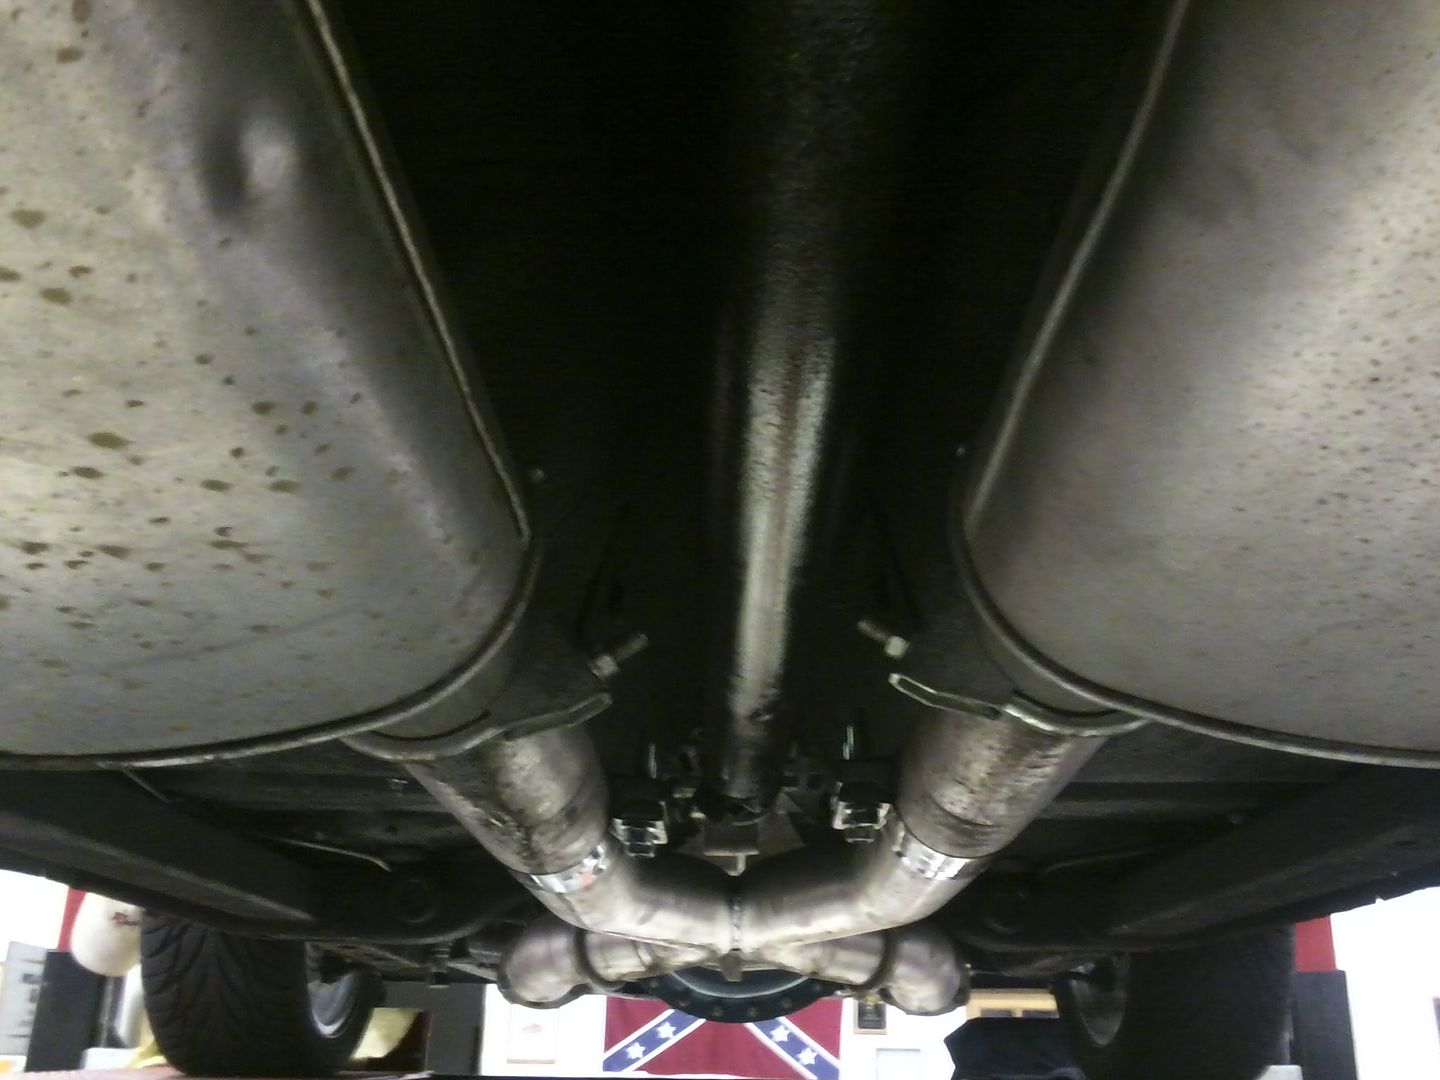
and ggeneral ground clerance shot:

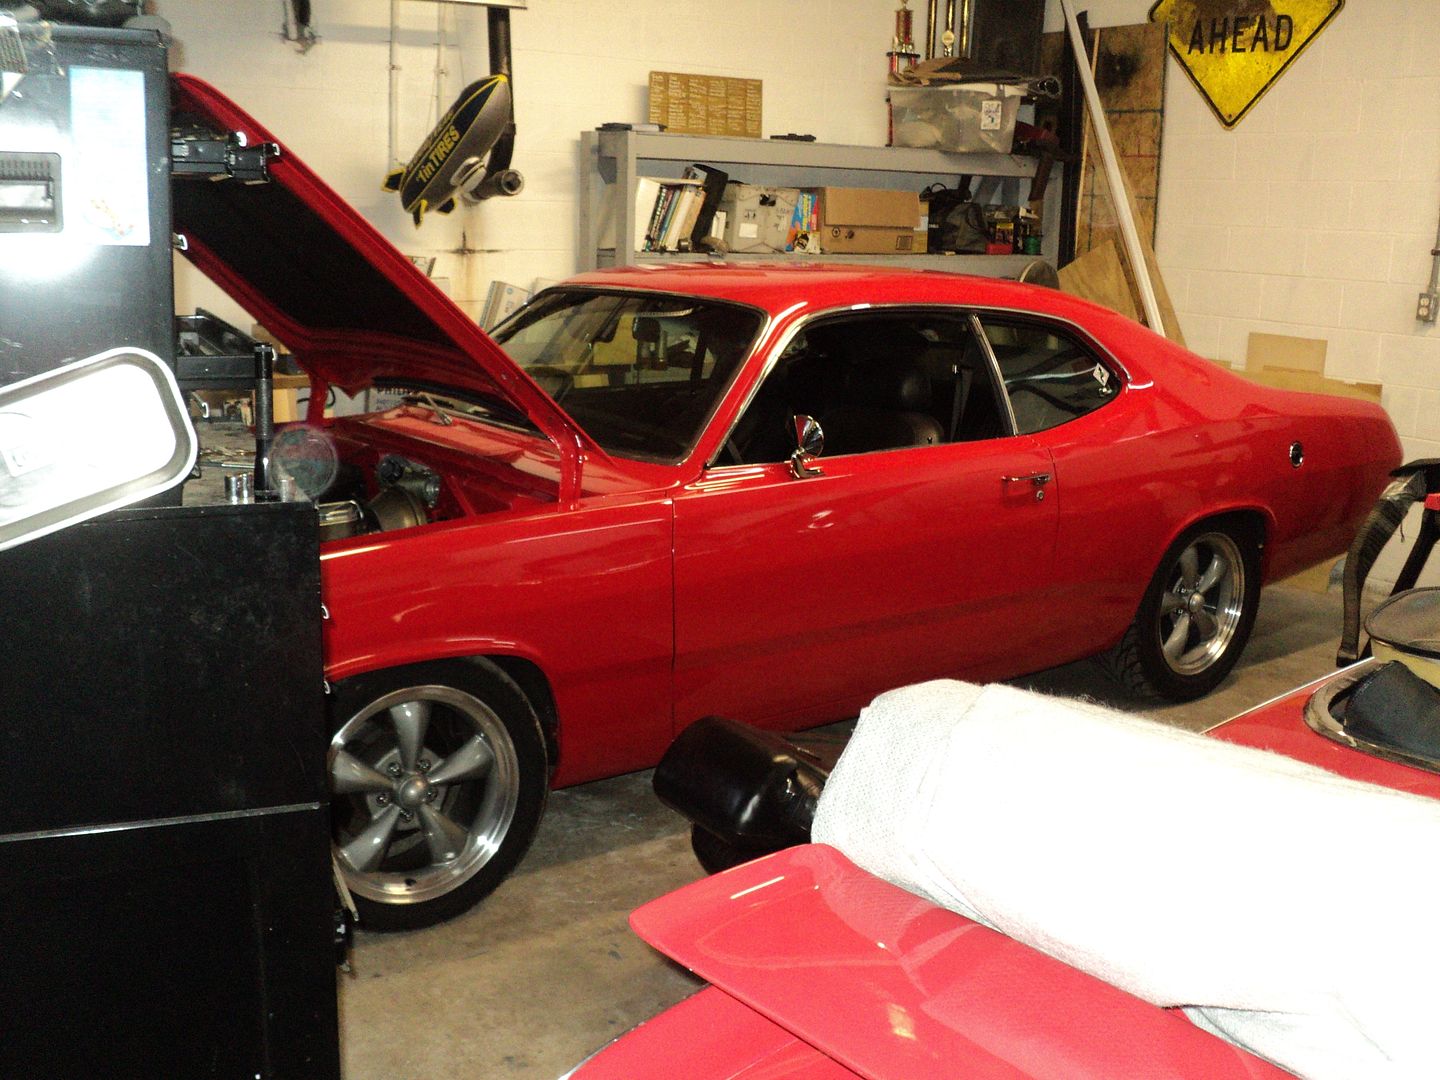
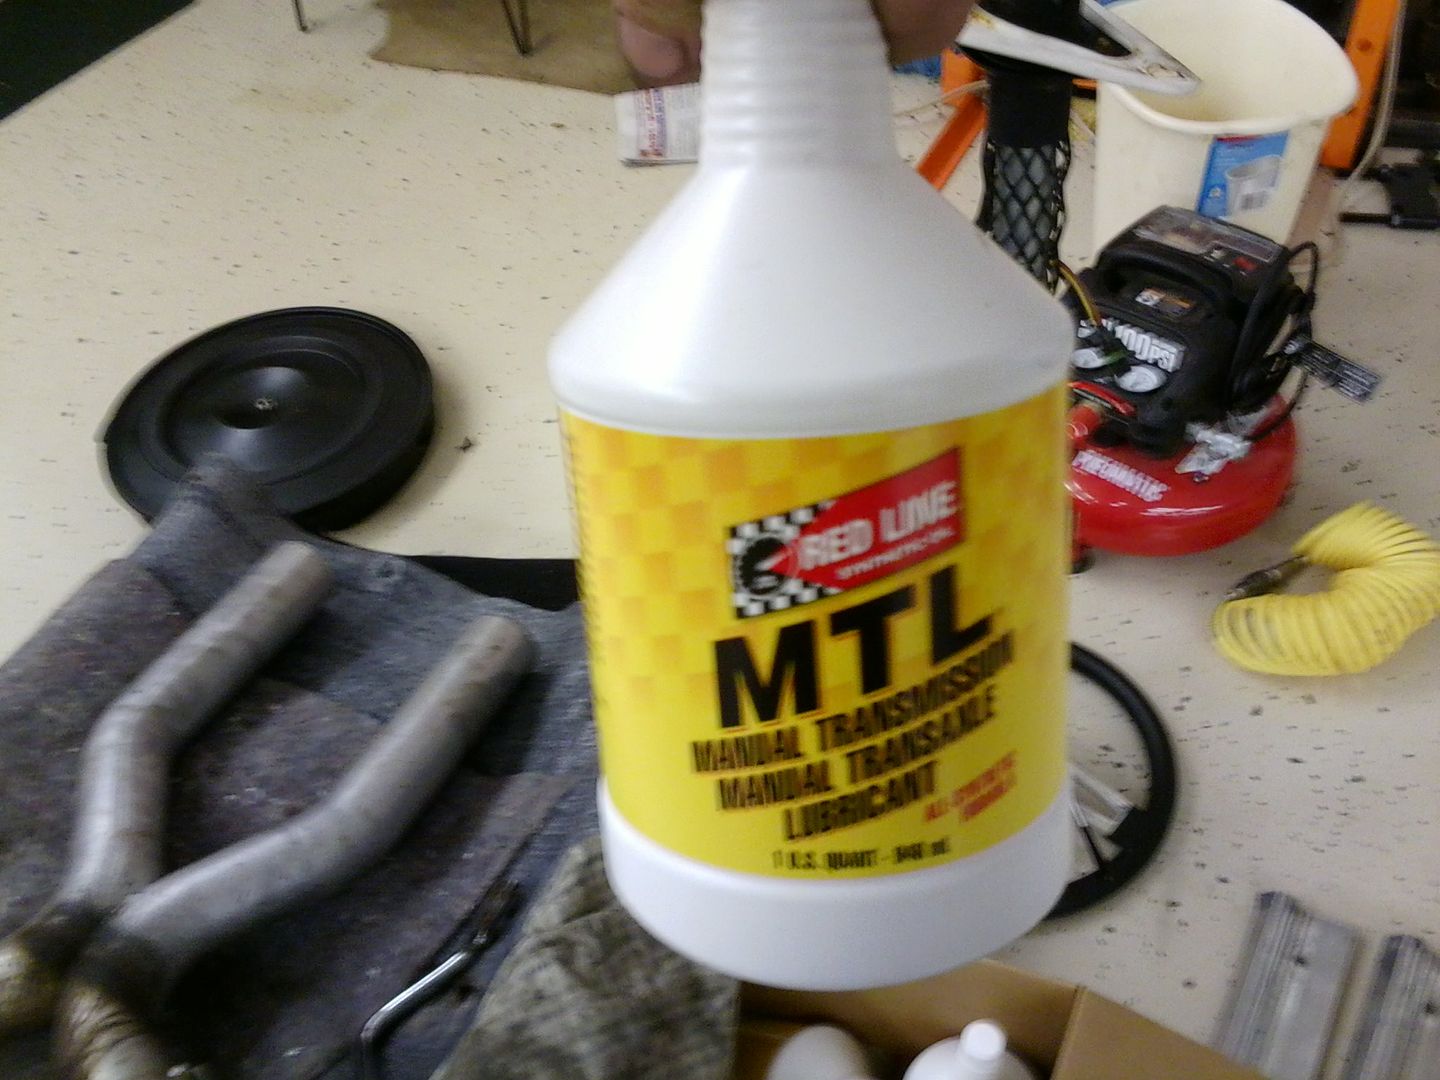
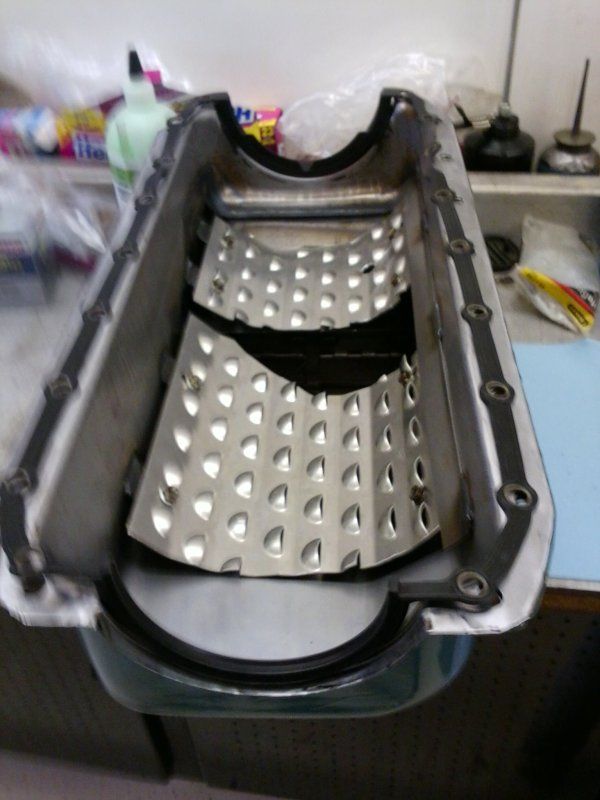
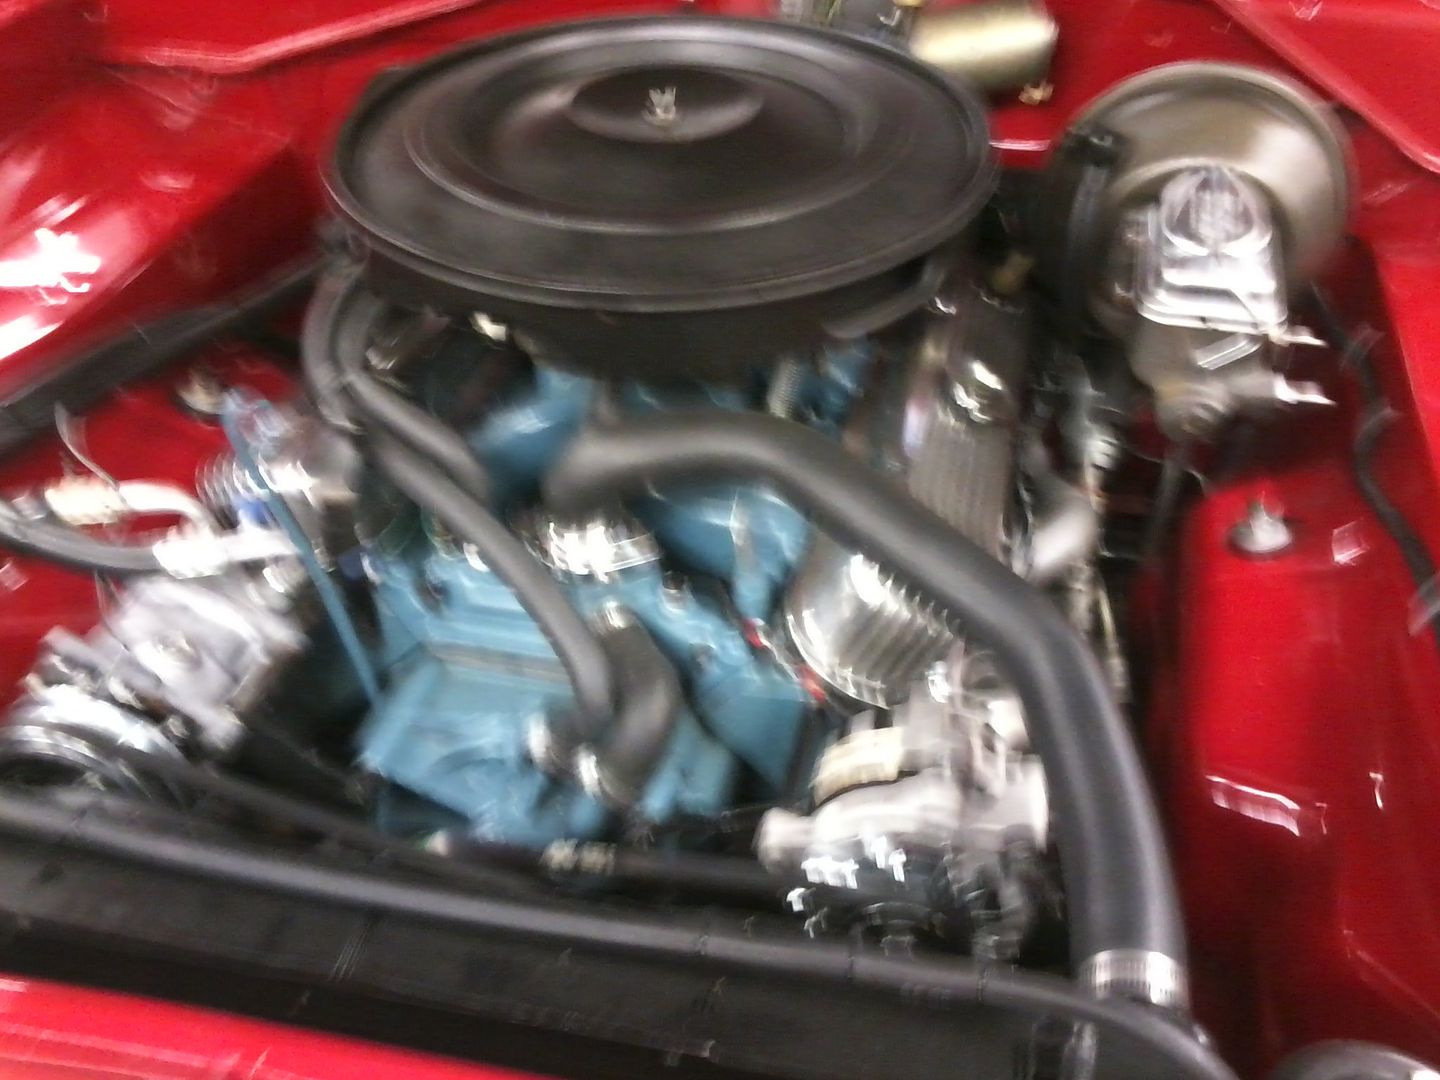
while i was under there, i changed the oil. wix filter, 7 quarts of 5-40 rotella-t synthetic, and a little while later.....
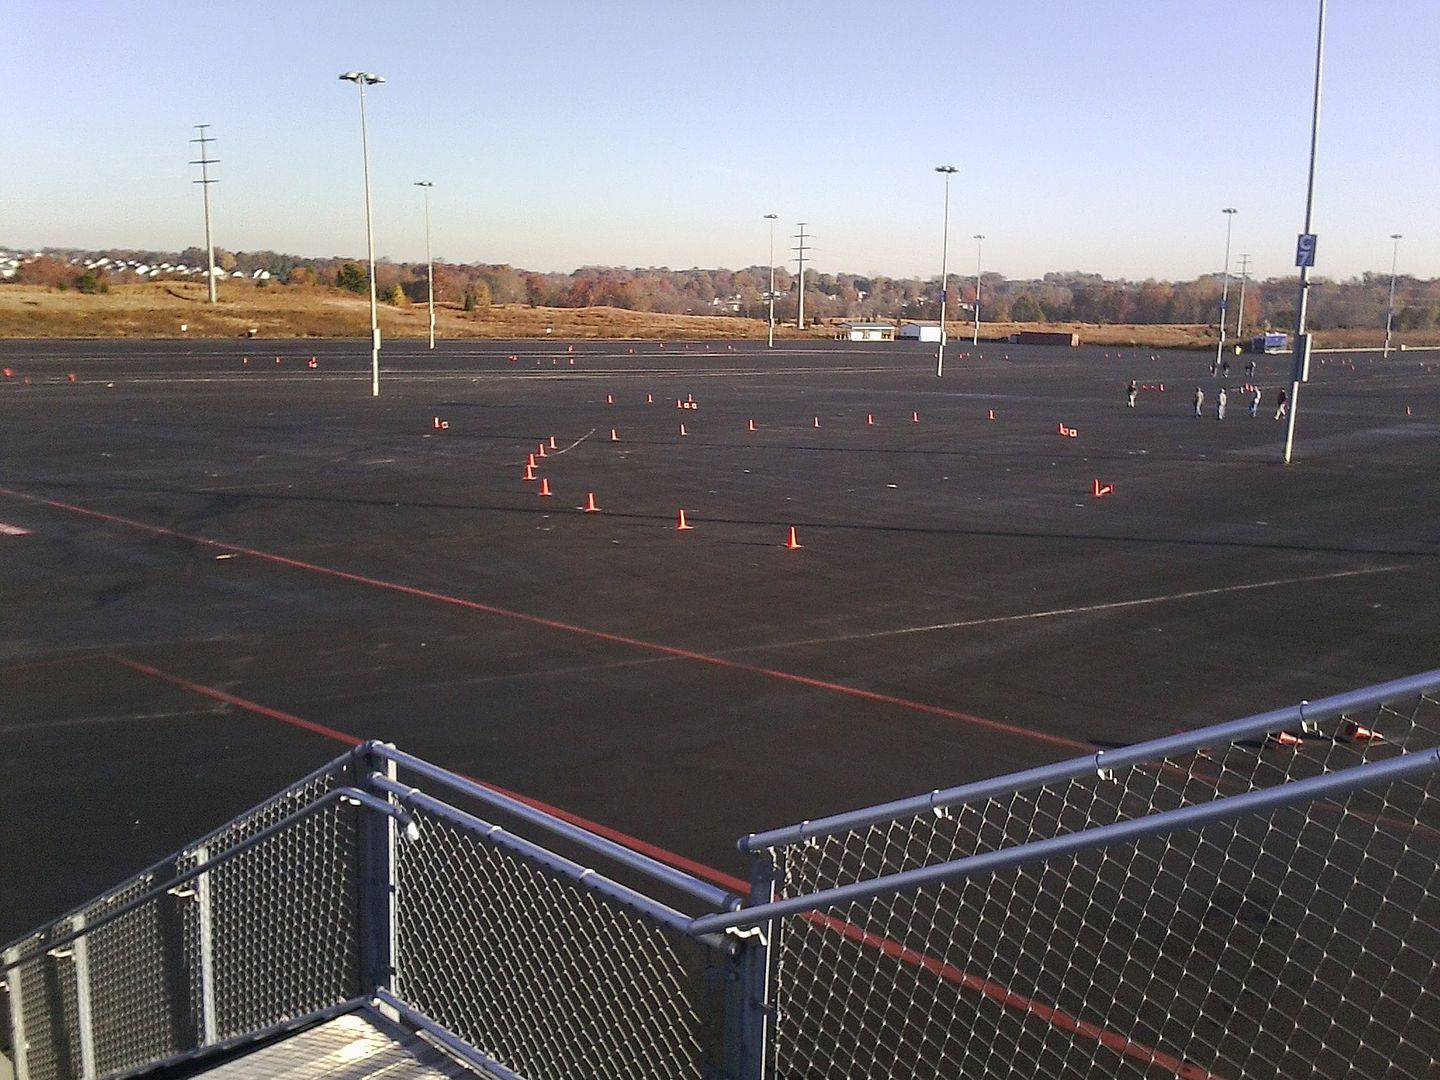
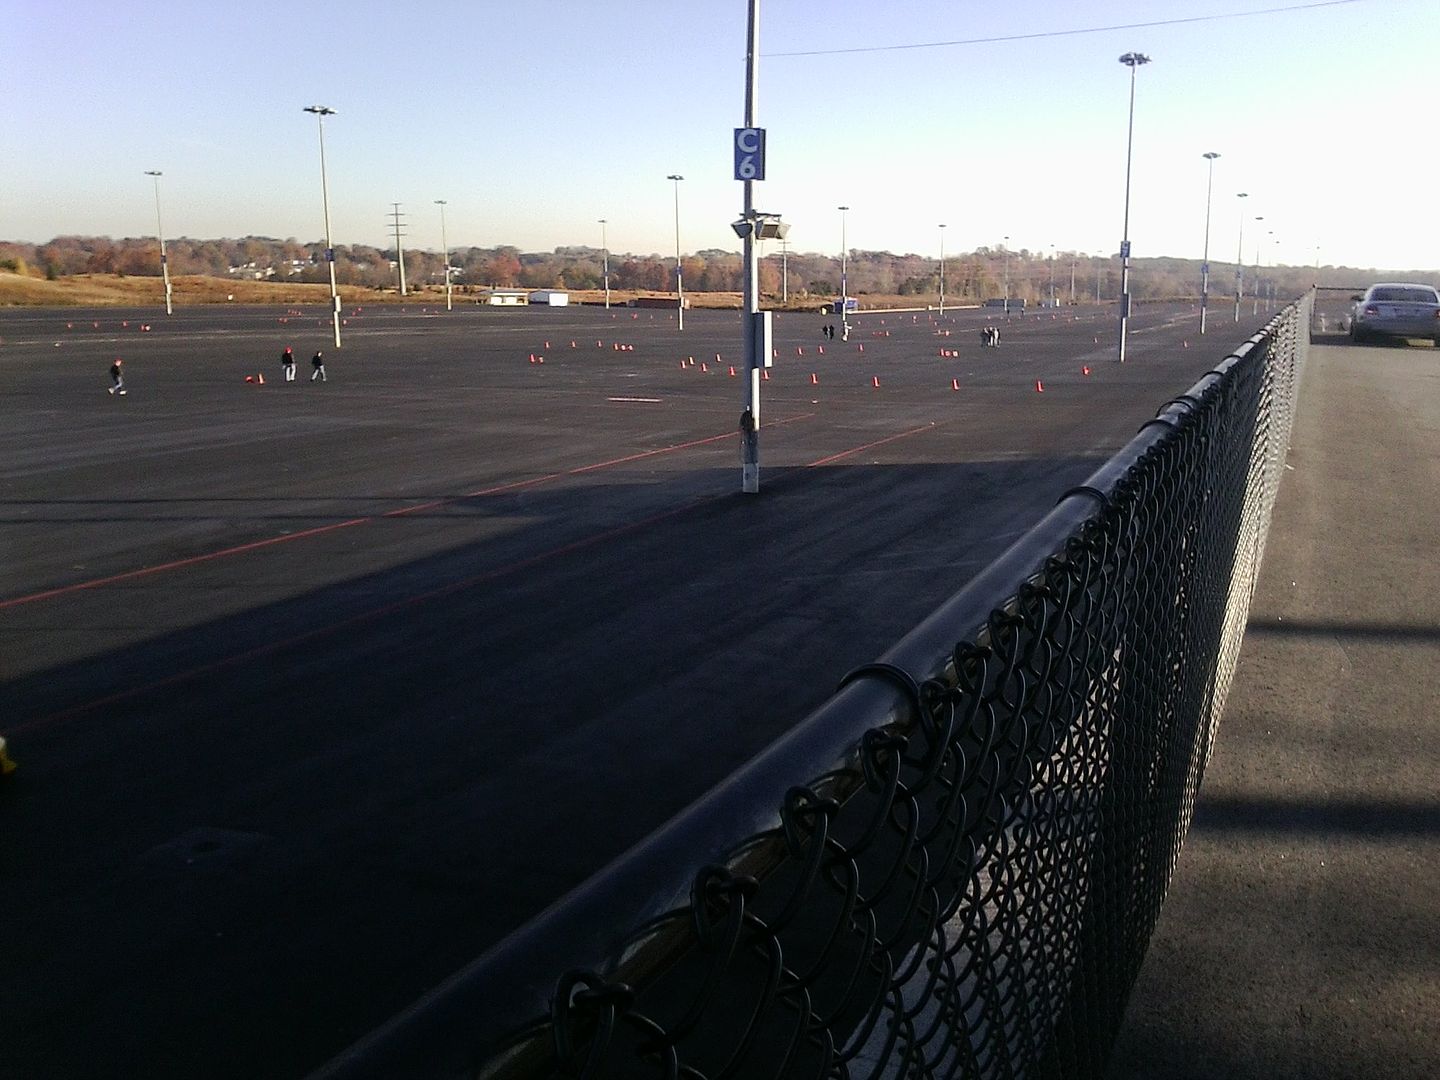
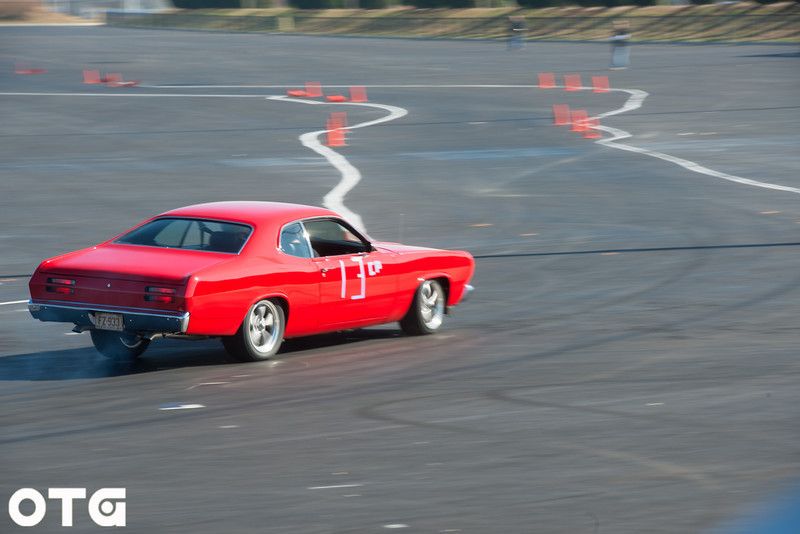
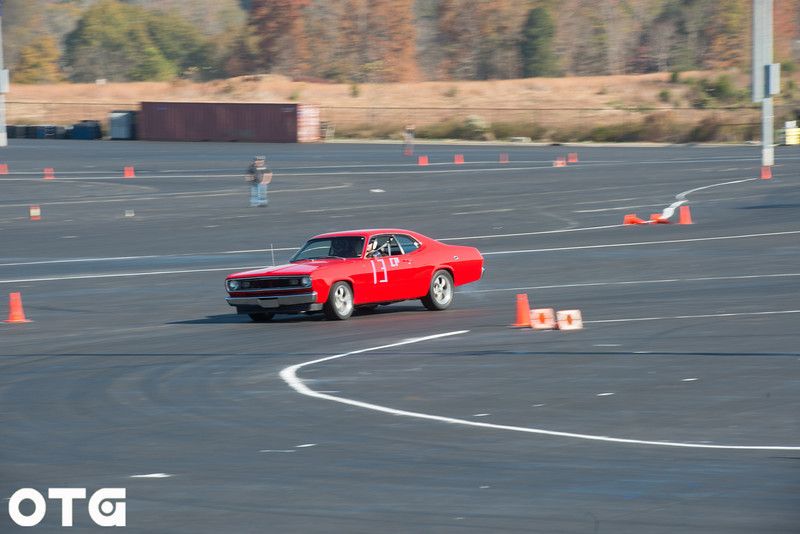
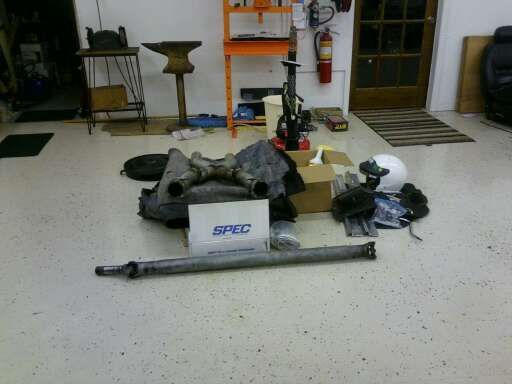
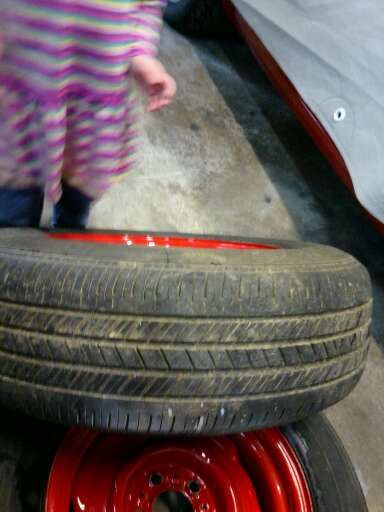
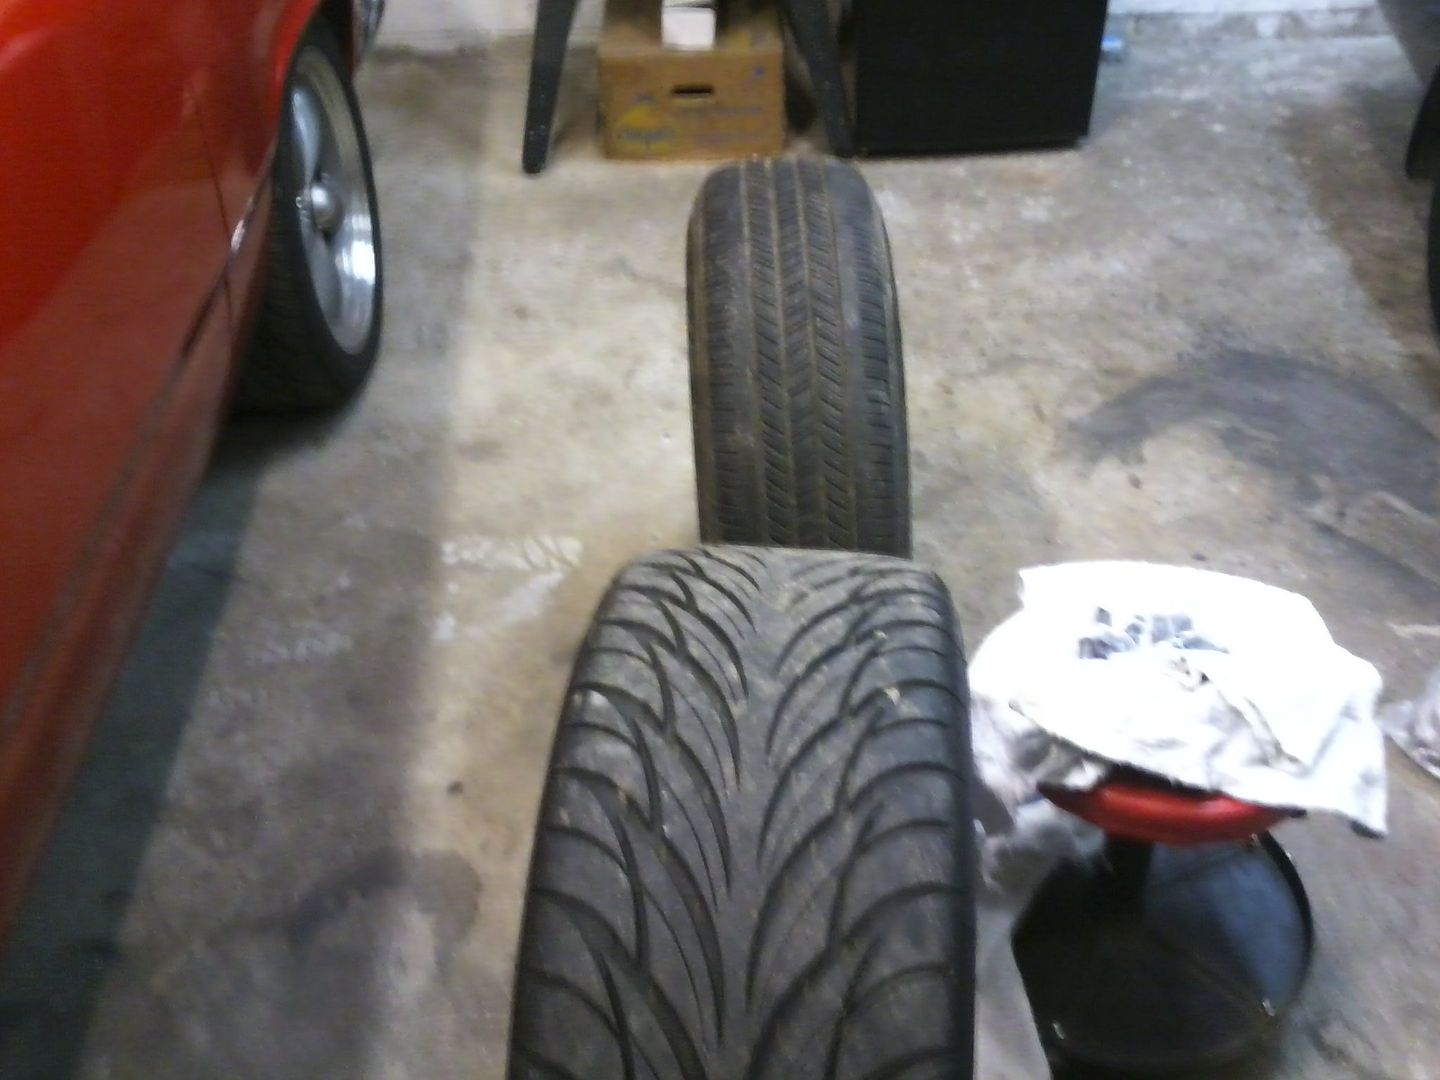
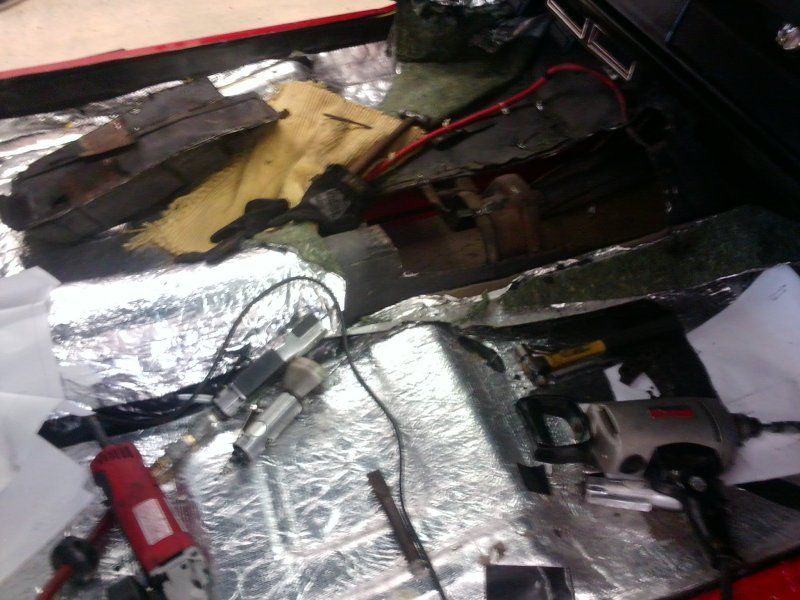
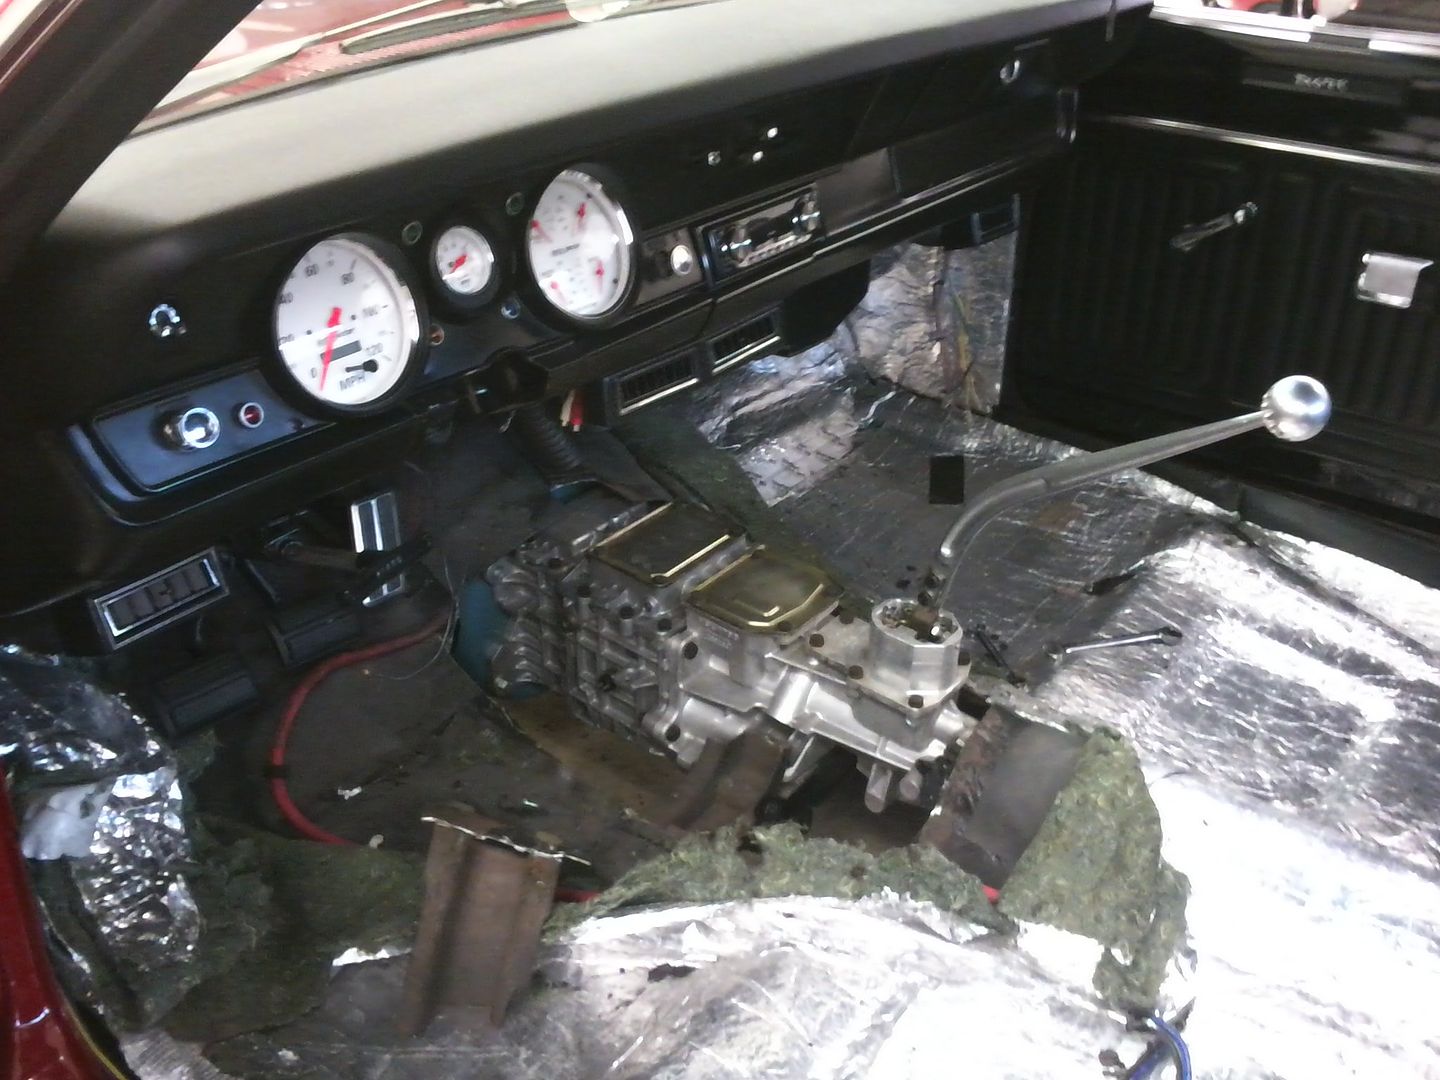
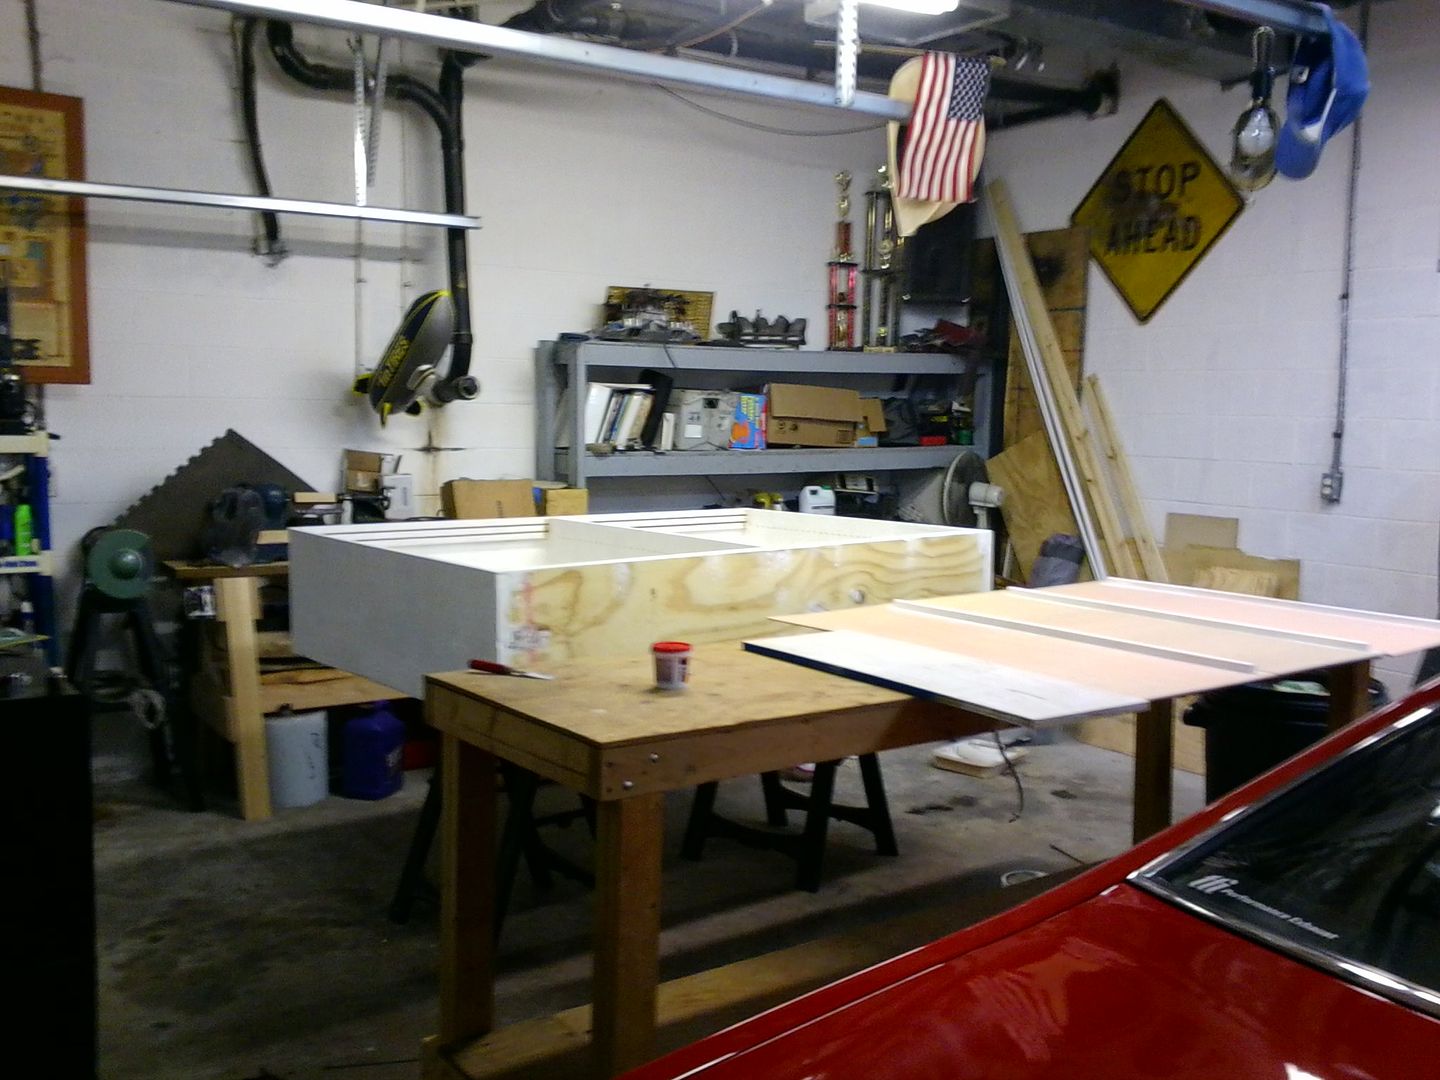
cleaned out, cleaned up, and packed for tomorrows autocross:
im going to try something new tomorrow by taking video for you guys. i have an idea using a gian binder clip, my smartphone, and my sunvison that i can get some pretty bad footage of me driving the event poorly. just so you guys can have a ride along.....
also, if you care, im currently rewiring a 69 olds 442 w-30 convertable for a customer. i have pics if anyone wants to see them...
budget stays the same.
i finally installed my sway bar mounts.
finally.
and not a moment too soon. the crappy addco mounts had loosened again, and were actually only finger tight when i went to pull them today.
if y'all remember, im now using the energy suspension conversion kit. came with the wrong sway bar bushings, and is unorderable with the 1 1/8 bushings that my bar requires, so i had to buy those additionally. again, its been a year, so that info may be out of date now.
while removing and scrapping the origonal pieces, i found some wear on the mount bushings. as well as permanant deformation duwe to the addco design.
pretty bad, as they only have about 10k on them.
thenew mounts were not exactly easy to install, either. the plates themselves lined up with the factory k-frame hols nicely on 2 of the 3 holes. the third hole is one youre supposed to drill. i did so, but was unable to get a bolt in there. i will have to remove the LCA's and strut rods to inser that bolt. i tried going in from the bottom, but theres not enough room for a nut and washer combo between the bushing and frame, and not enough clearance to get the bolt through from the top. that being said, i still have twice the fassterners af the addco mounts. i also had to use a ratchet strap tp get everything held in place and aligned properly for the first time, but once toghtened, nothing binds. the rear of the sway bar is pretty close to the control arm, but does not contact. these are much more solid mounts, provinsing better ground clearance in the process.
older pictures for comparisons sake:
and ggeneral ground clerance shot:
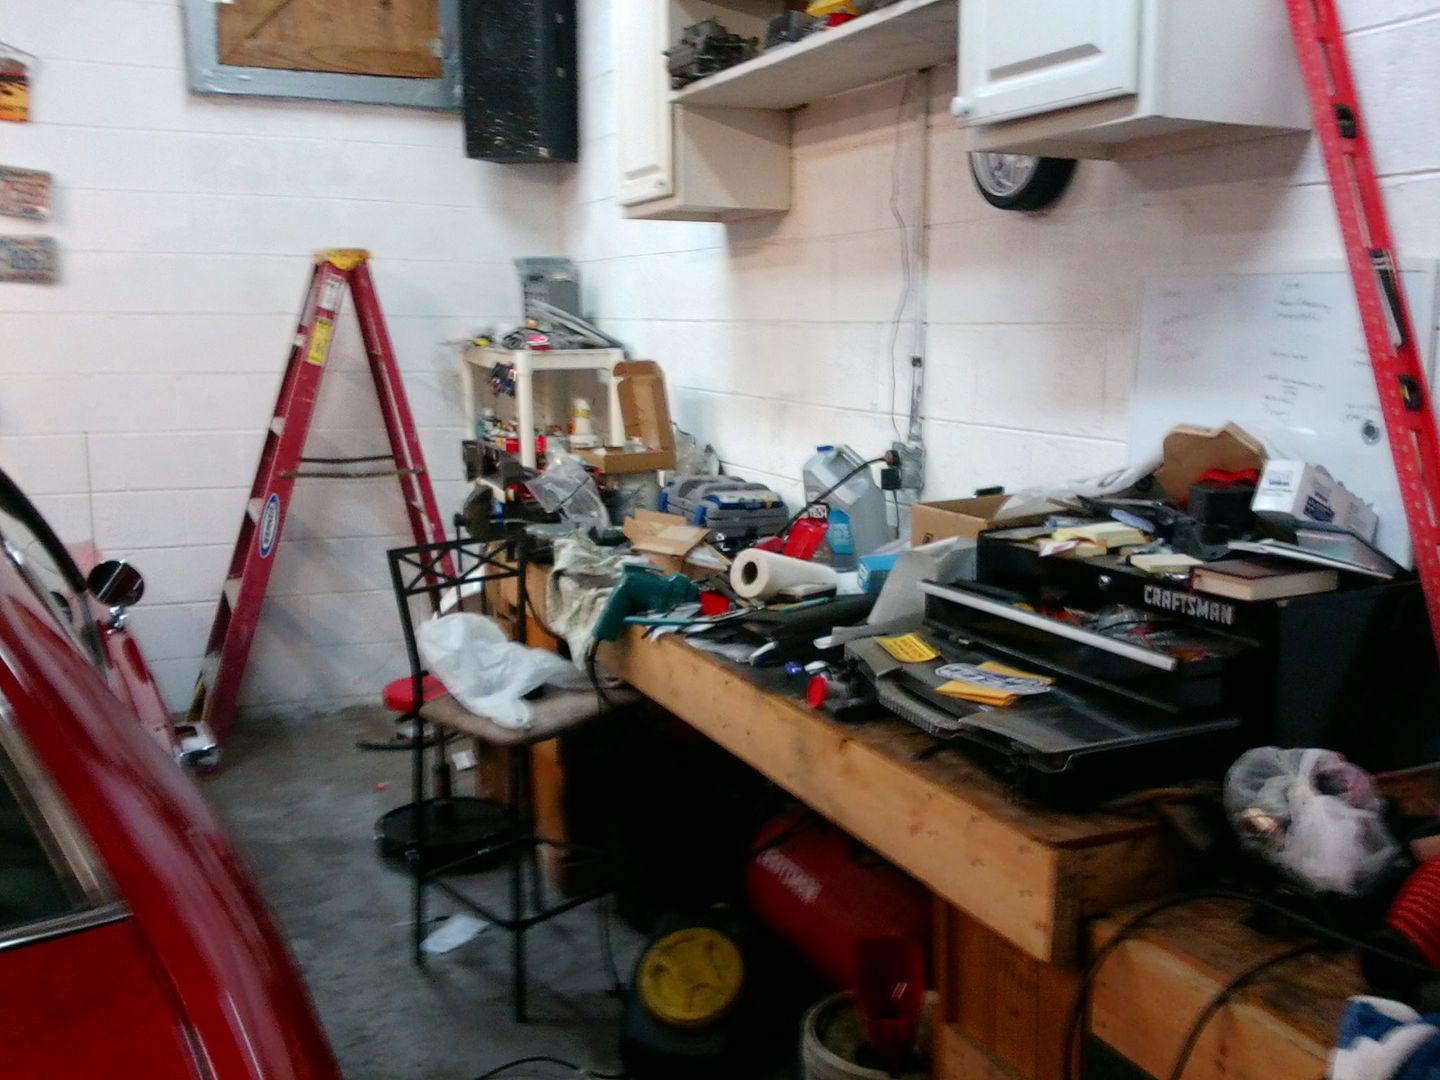
while i was under there, i changed the oil. wix filter, 7 quarts of 5-40 rotella-t synthetic, and a little while later.....
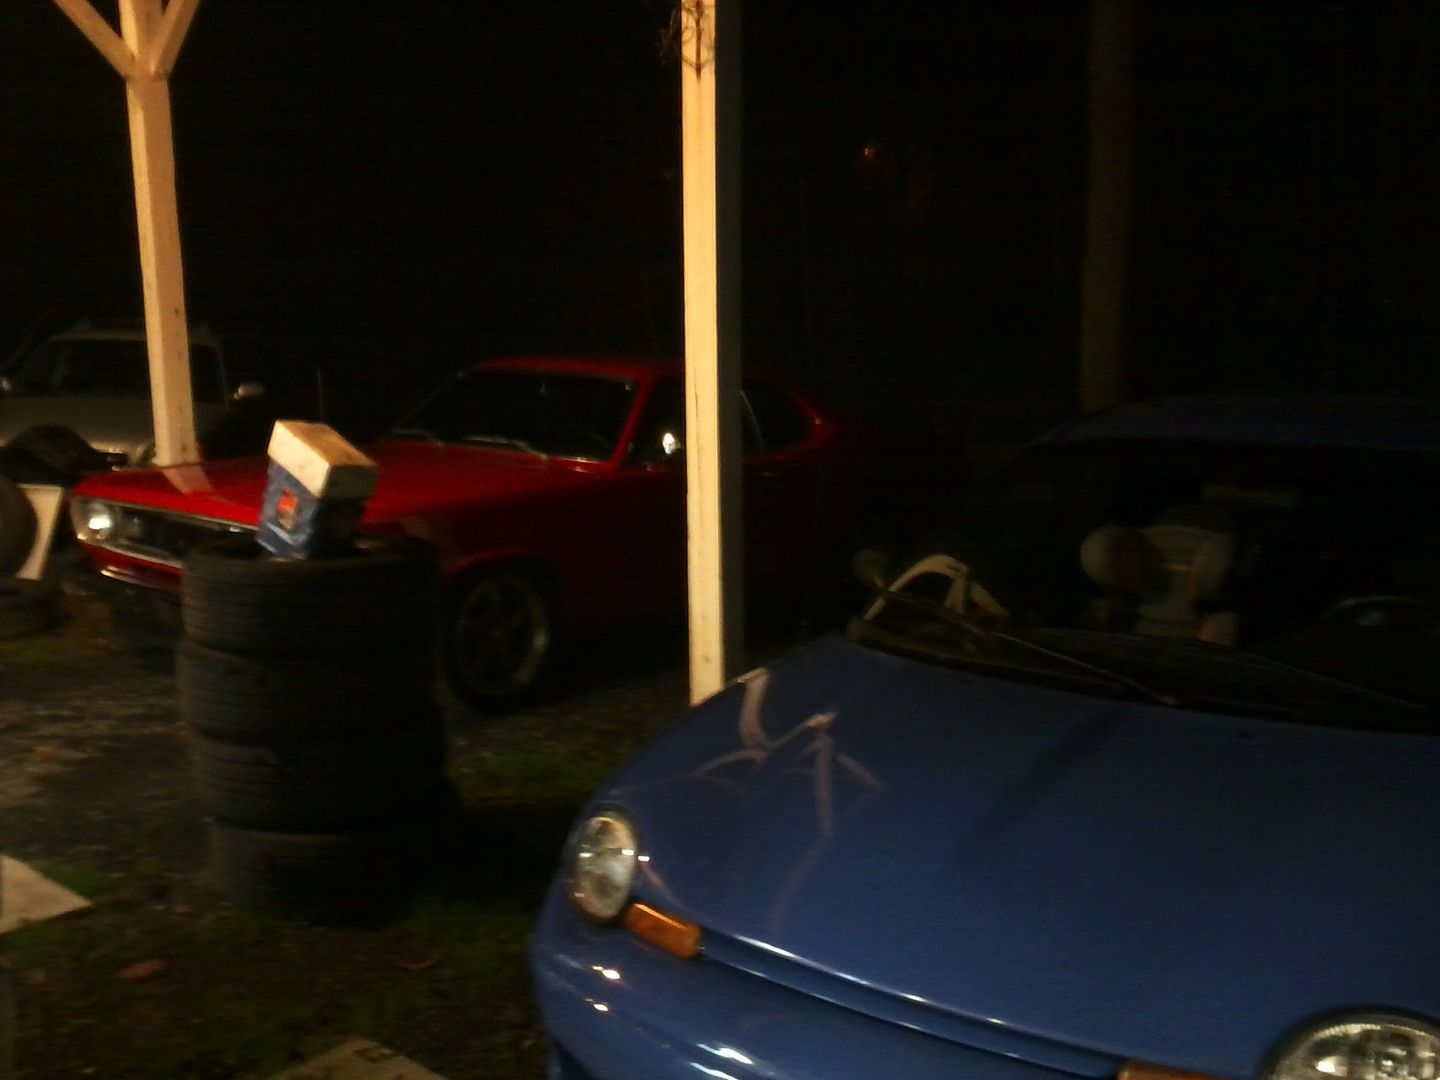
cleaned out, cleaned up, and packed for tomorrows autocross:
im going to try something new tomorrow by taking video for you guys. i have an idea using a gian binder clip, my smartphone, and my sunvison that i can get some pretty bad footage of me driving the event poorly. just so you guys can have a ride along.....
also, if you care, im currently rewiring a 69 olds 442 w-30 convertable for a customer. i have pics if anyone wants to see them...
budget stays the same.


")


