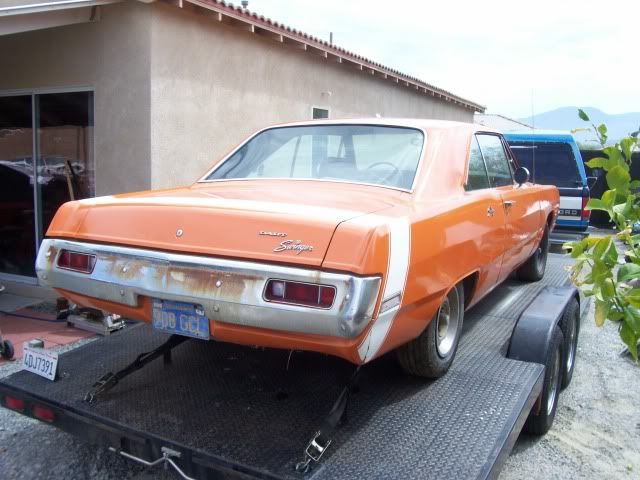
70 Swinger Street/Strip build

-
Looks like you started with a basket case, and you are really reaping the rewards with patience? time, money and of course pride in your work. The engine compartment turned out great, the pics really showed what couldn't be said with words. Looks like a forgotten pile is getting it's dues! Really nice work, I love doing this kind of job, just time, money, patience and a lot of love! Keep us informed. Every picture tells a story!
 
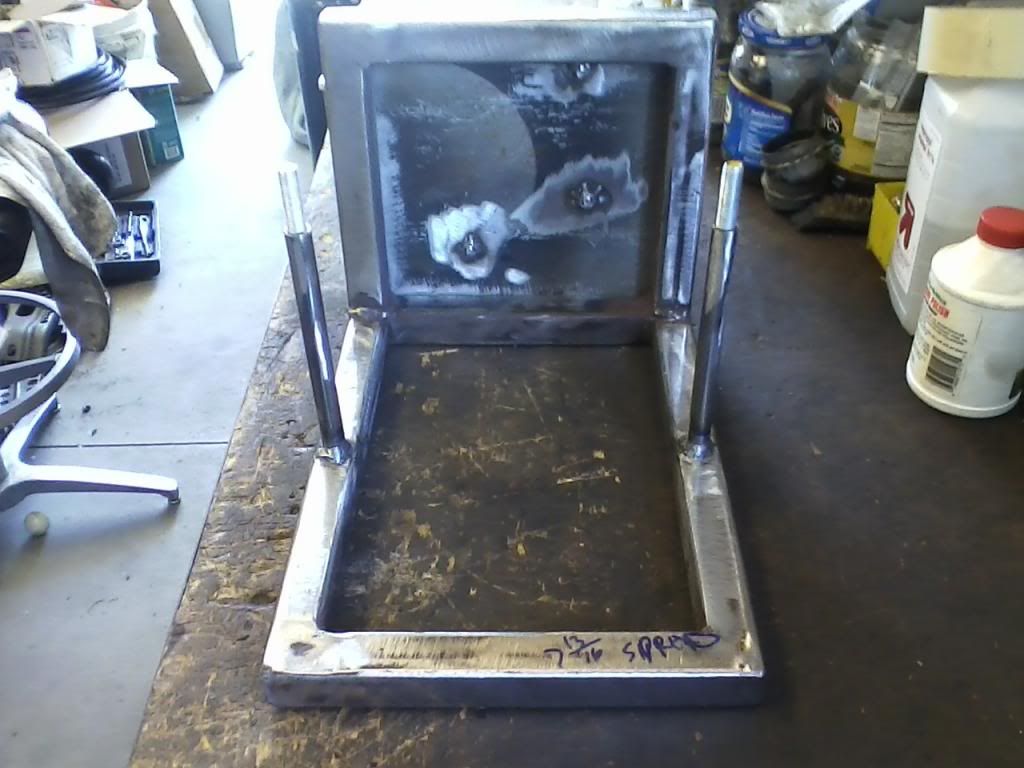
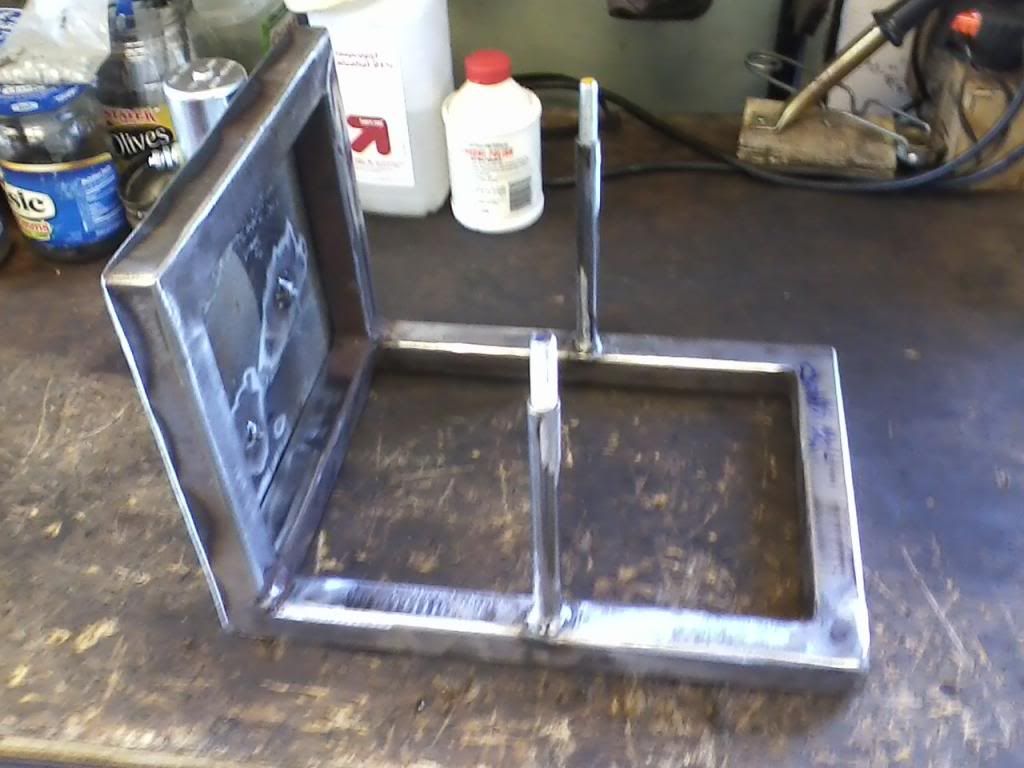
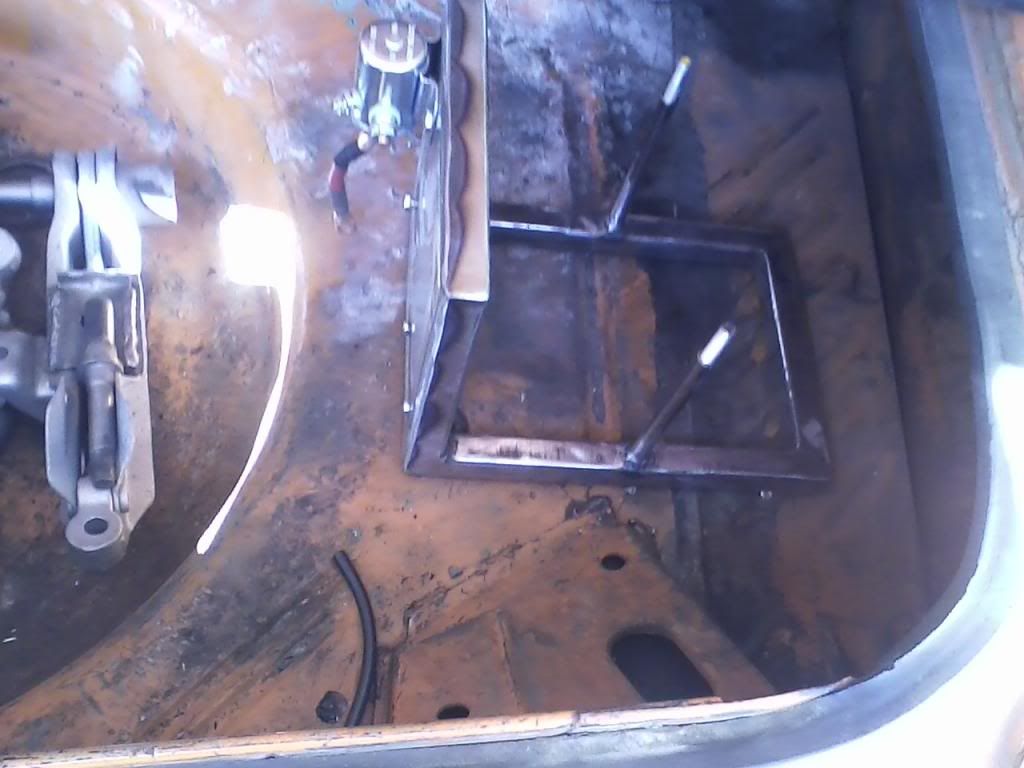
Welded in the hold down studs. I was hoping to find some partially thread 6.5-7" bolts locally. The home Diablo, I mean home depot, has bolts that are threaded almost full length. Instead of ordering some, used 3/8" all thread and some 1/2" .060 wall tube to sleeve it for a cleaner look. Welded the all-thread to top and bottom of square tube. Dropped tube over, welded it at bottom along with 3 plug welds along the length.


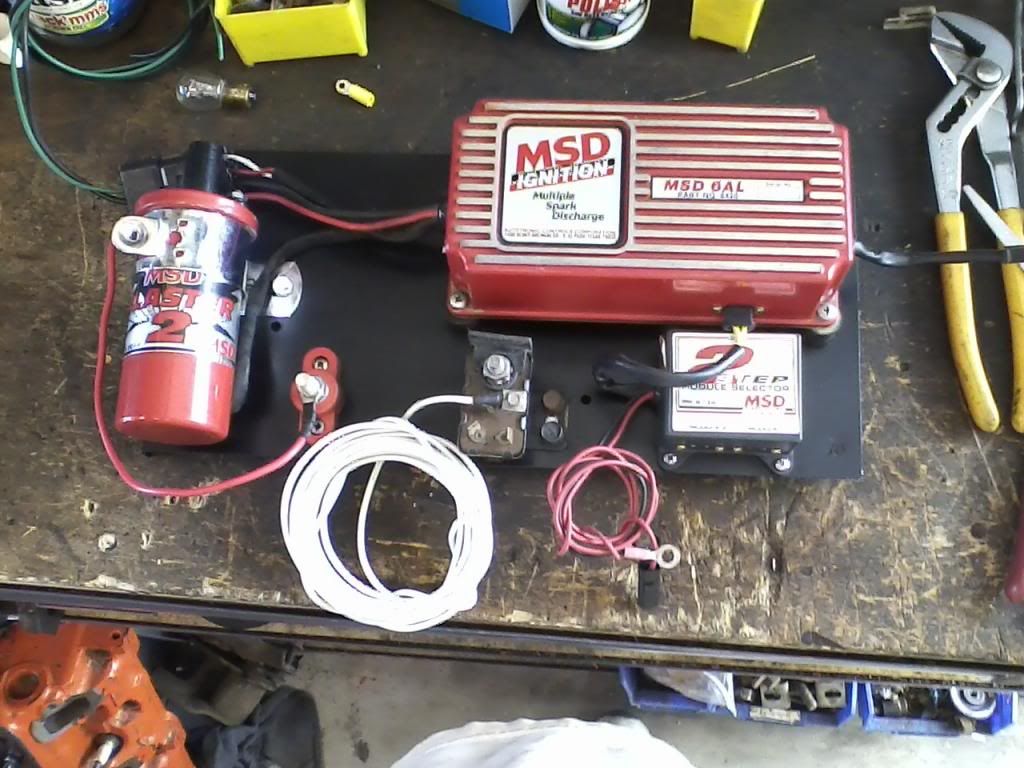
Got most of the ignition plate done. Need to put a small tab on it to hold the alt charge wire, starter relay hot and maybe the 2/0 main starter wire. the red junction stud will get the alternator feed and MSD box will pull from there. The starter relay will be fed downstream from the cutoff switch. Dash and original fuse box will pull power from starter similar to original wiring approach


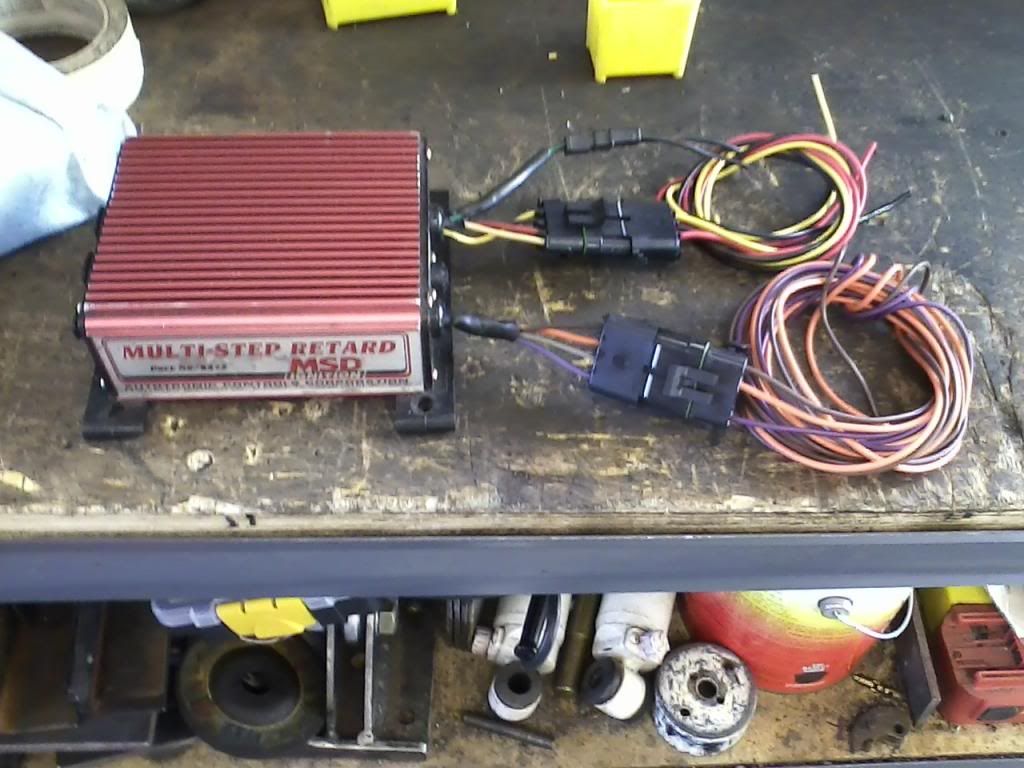
Wired the MSD multi retard box. I used weatherpack connectors. Nice pieces. I've done this before and learned from my mistake... The box has 2 sets of 4 wires exiting the unit. I've installed the tower connector to both before. Now if you are in a hurry, you can connect the wrong set of wires, criss-cross them. Makes for a bad day as sometimes thing detonate in the system. Now I use a female (tower) connector on one set of wires and a male (shroud) connector on the other. No way to hook the connectors up wrong even if it's poorly lit.

 
Nice work. I like the control center approach you have going. It makes maintenance so much easier. Outstanding tip on the weatherpaks, too. Learned my lesson on that one the hard way.
 
Nice work. I like the control center approach you have going. It makes maintenance so much easier. Outstanding tip on the weatherpaks, too. Learned my lesson on that one the hard way.

Thanks Rev.

I wired the main leads out of the 6AL with a weatherpack. Quick replacement if needed. The spares are already wired up the same way.
 
Well my lazy painter took a long time to get the engine compartment done. Oh wait, that was me...

One of my neighbors drove by when I was in the driveway wearing a spray suit and mask. Called the HOA. I told them I was fumigating the car for roaches and crickets. :)

Too funny....Maybe the HOA was hearing the chirps of the tires coming soon ?? LOL

Nice work CB :thumbup:
 
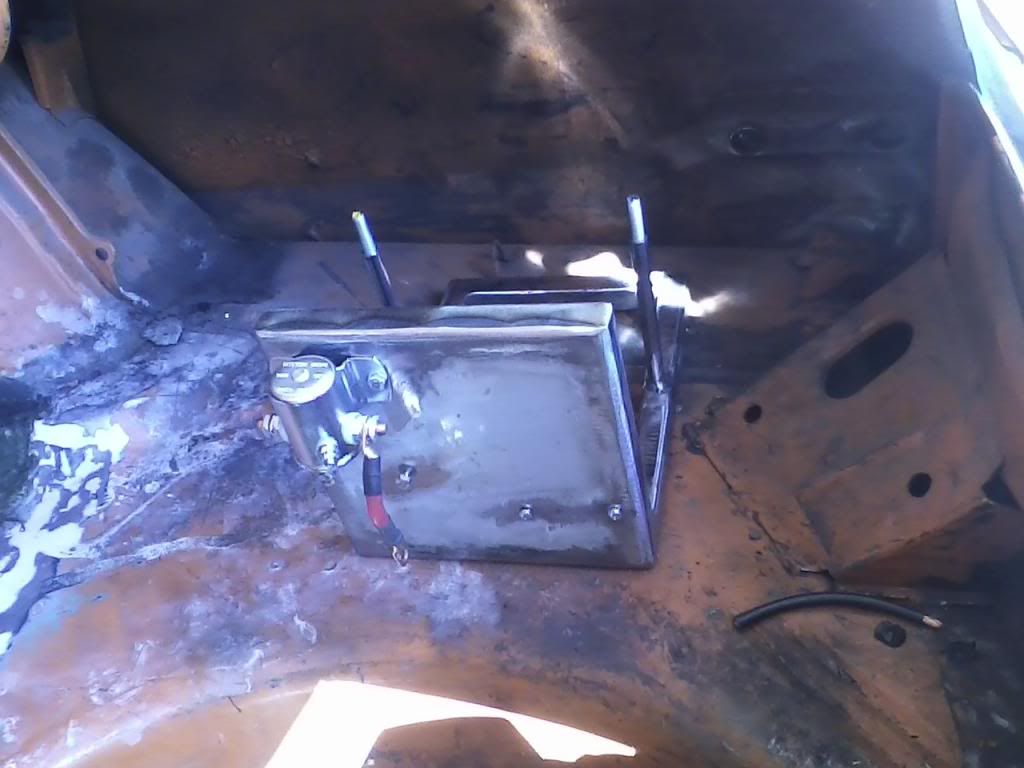
Mocked up where the battery tray will reside. Have enough room to get the battery out going two directions. If I was more aggressive, I'd section that PIA rear panel brace and move the battery rearward even more.


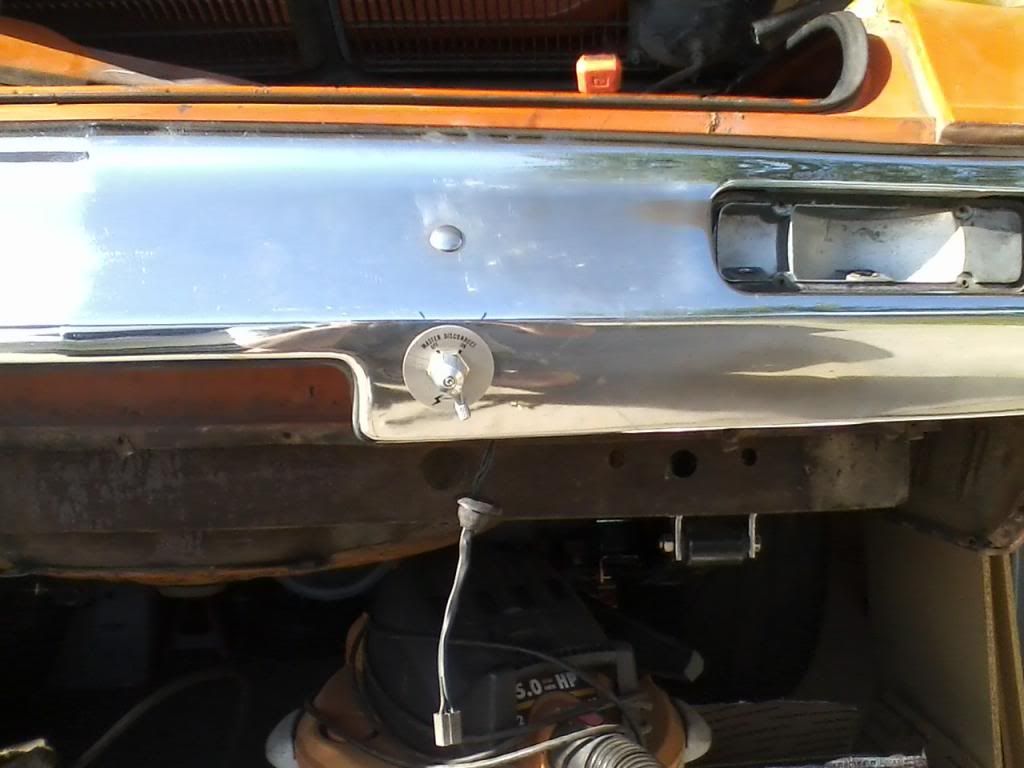
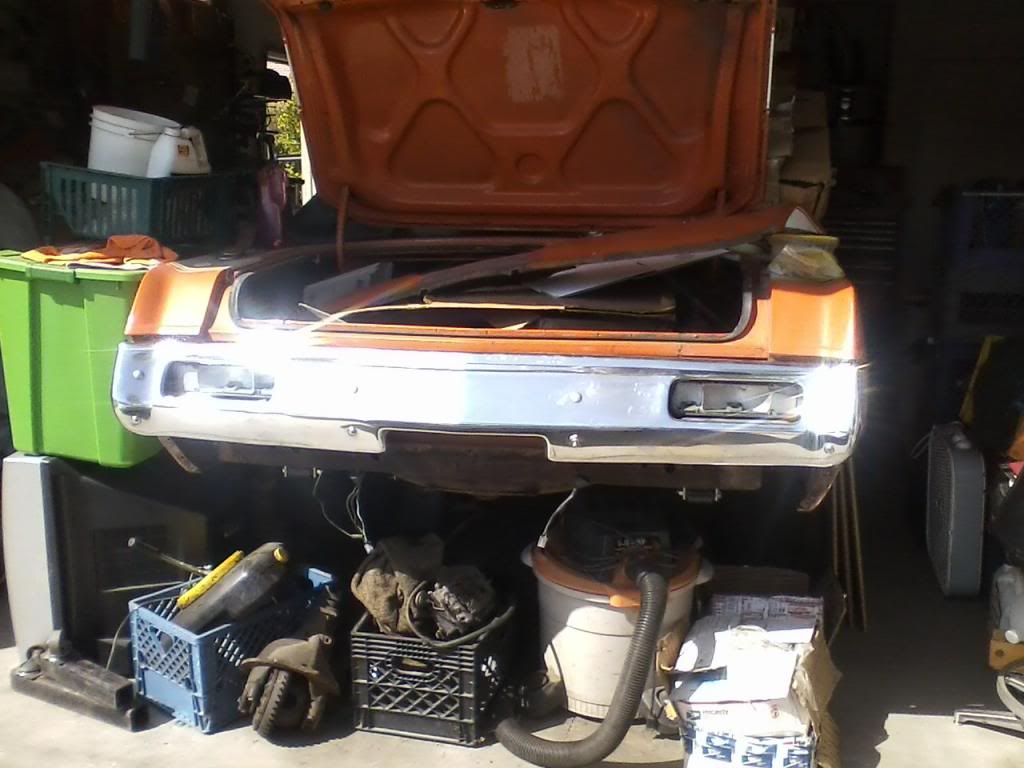
Cut off switch installed in the bumper. Used an existing hole in bracket and bumper instead of drilling a fresh hole. Big difference in bumpers thanks to one of the phoenix friends. And the weather has been nice, no sight of rain anywhere... hmmmm. LOL Old crusty is gone and a nicer piece is on the car.


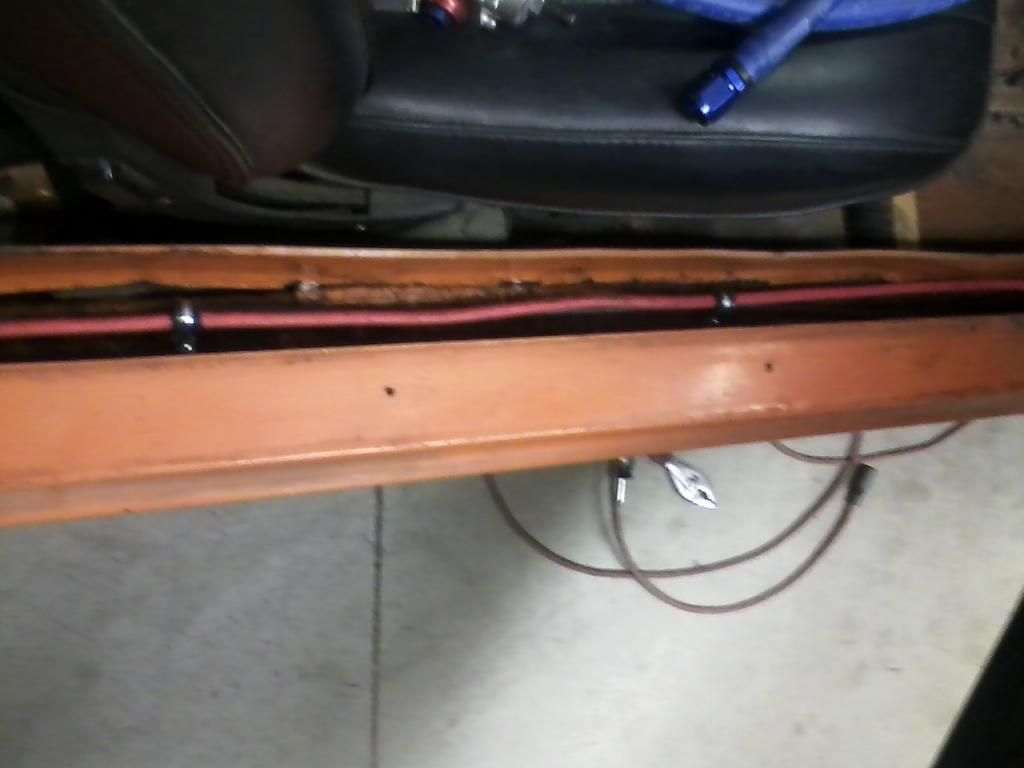
Put the power and alt charge line in the pass side wire run, held down with some adel clamps.


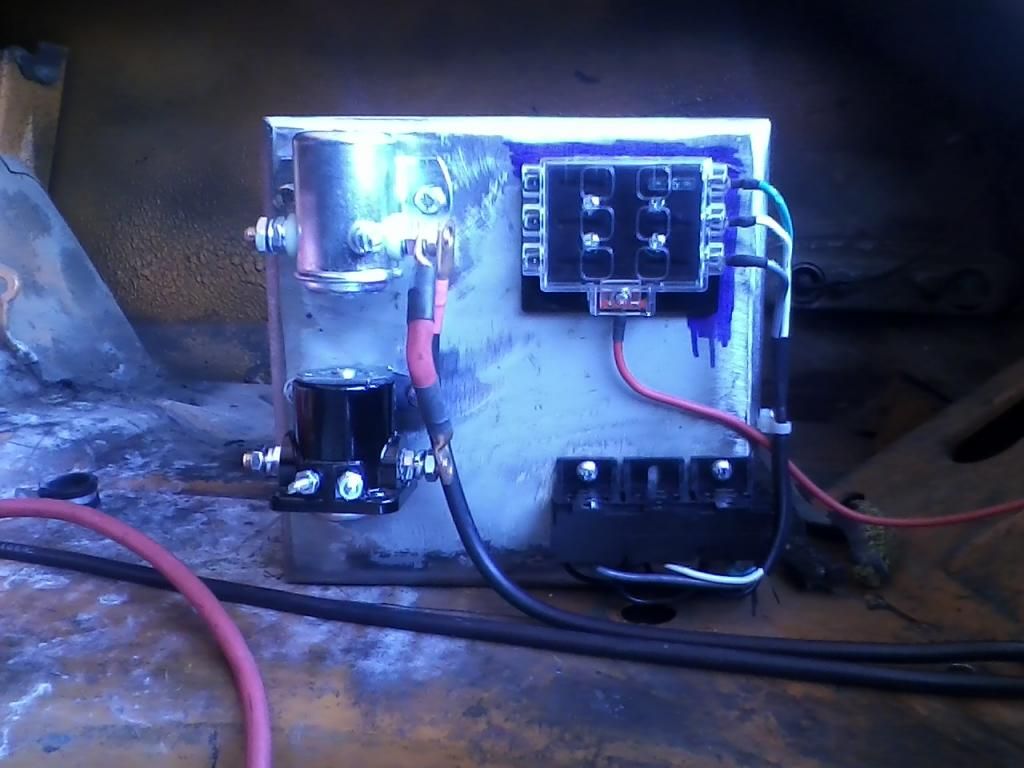
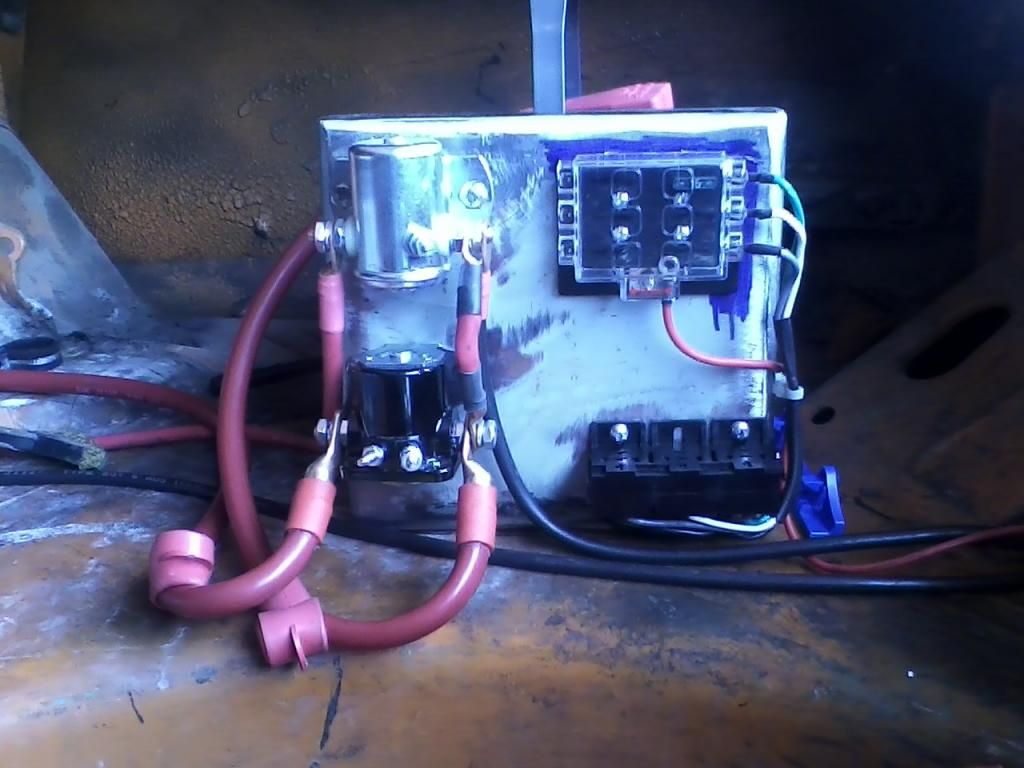
Most of the battery tray accessories installed. Starter solenoid, CD relay for Alt line, three relay blocks and a fuse block to feed relays.


14.00 on a 125 shot... :) :burnout:

that's what I was thinkn. lmao with a few more tricks, maybe high 13s. lol
that's some nice work you got going on, I'm sure it won't be a sleeper.
 
14.00 on a 125 shot...
With a couple of plug wires pulled........
 
that's some nice work you got going on, I'm sure it won't be a sleeper.

Thanks to everyone for the kind words regarding the work. It goes real slow around here sometimes.

From a sleeper standpoint, other than lowered, wheels/tires, cal tracs and 3" exhaust, the car will look really stock. Interior won't have any clues except maybe a tach and that's not a given at this point.

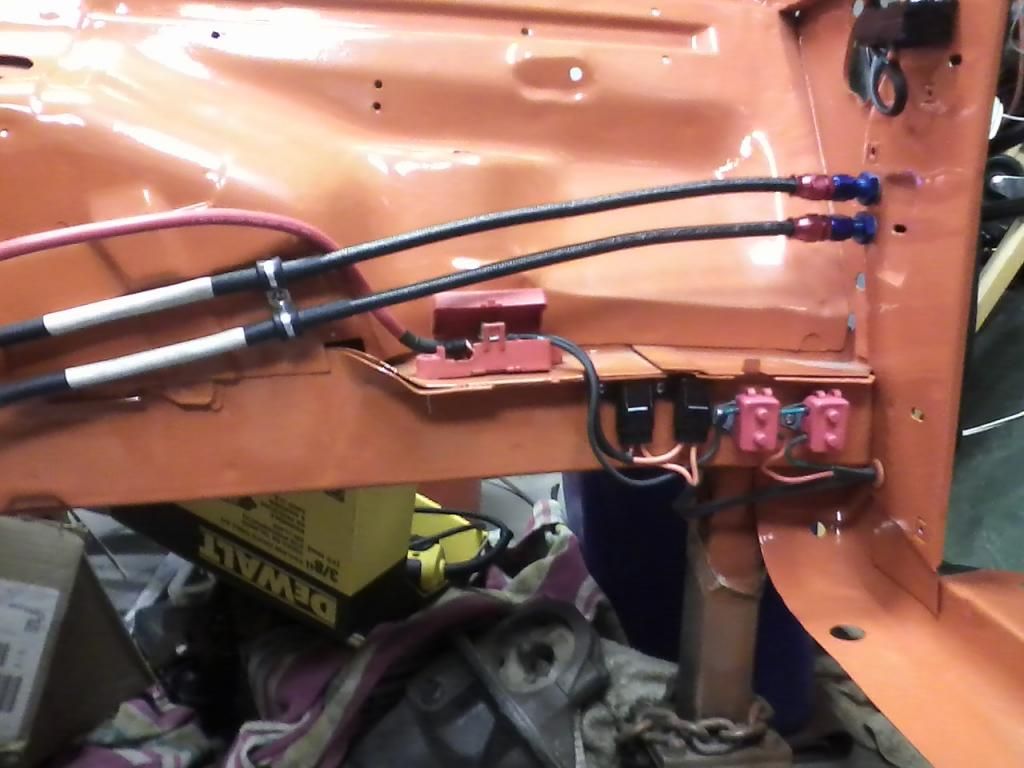
Put in some fan circuit breakers. The relay block are in the upper right and are attached using the same bolts holding the headlight relay mounting blocks on front of yoke. The fuse holders are for the headlight relay kit. Tried to hide them down low.

 
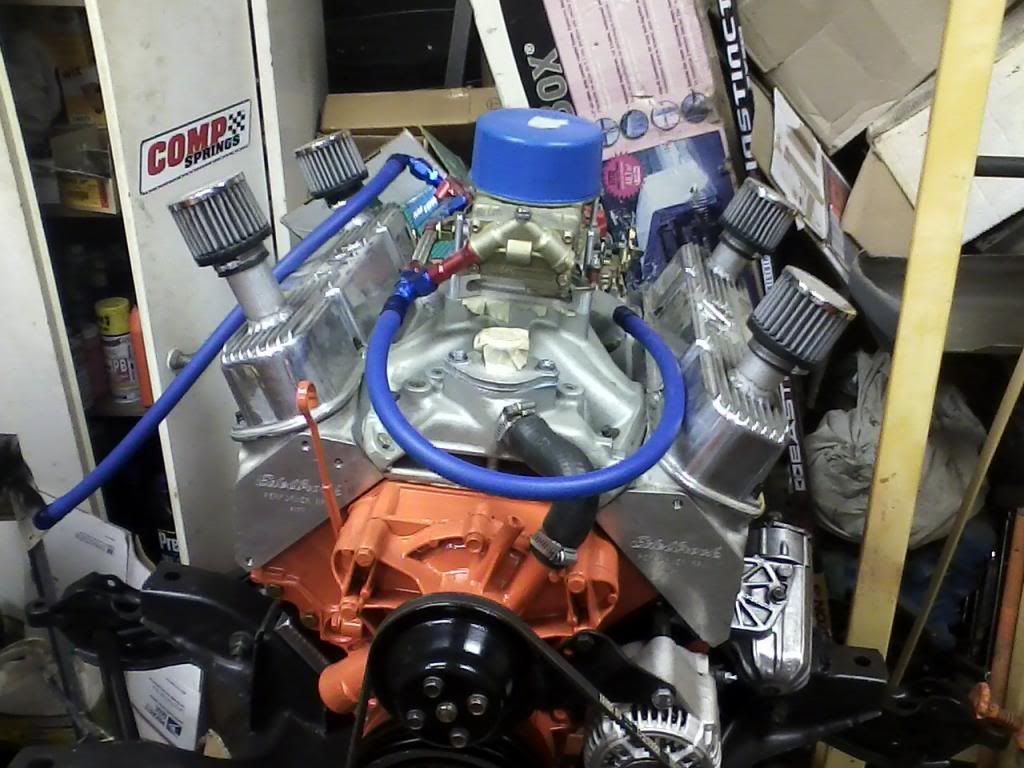
360 with a bunch of junky spare parts... :)

LOL! Spare parts.....probably. Junky, Aaahh.....no :D. I love how things are coming together Rob. Gonna be a lot of fun when it all gets done. Nice work my West coast friend.....At least I hope we are. :smile:
 
All good Rick!

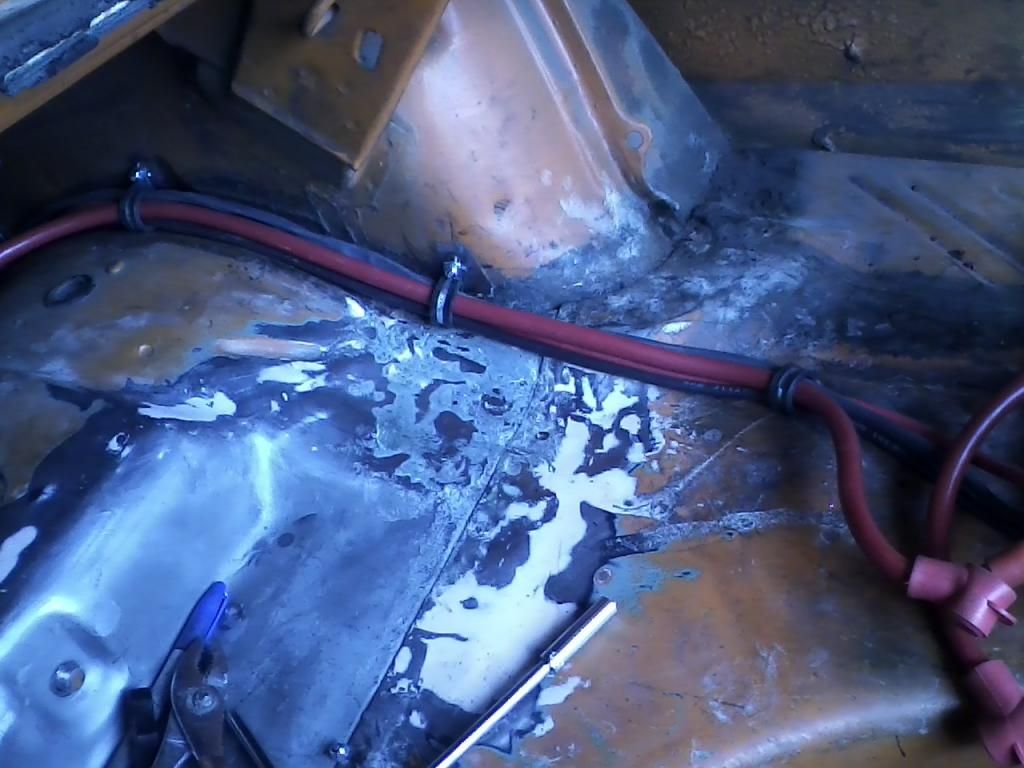
Got some more little things done today. Welded some studs to the wheelhouse to secure the power cables with adel clamps. Broke out the starter cable running across to drivers side.


Put new taillight housing in the bumper. Turned into a bigger operation than just pull the old out. What should have been a 10 minute deal turned into an hour adventure! Needed to grind the bolt access opening to get a socket on them. The fun of building cars. :banghead:
 
Thanks to everyone for the kind words regarding the work. It goes real slow around here sometimes.

From a sleeper standpoint, other than lowered, wheels/tires, cal tracs and 3" exhaust, the car will look really stock. Interior won't have any clues except maybe a tach and that's not a given at this point.

Put in some fan circuit breakers. The relay block are in the upper right and are attached using the same bolts holding the headlight relay mounting blocks on front of yoke. The fuse holders are for the headlight relay kit. Tried to hide them down low.

That's nice. You know you're electrical..
 
-
Back
Top