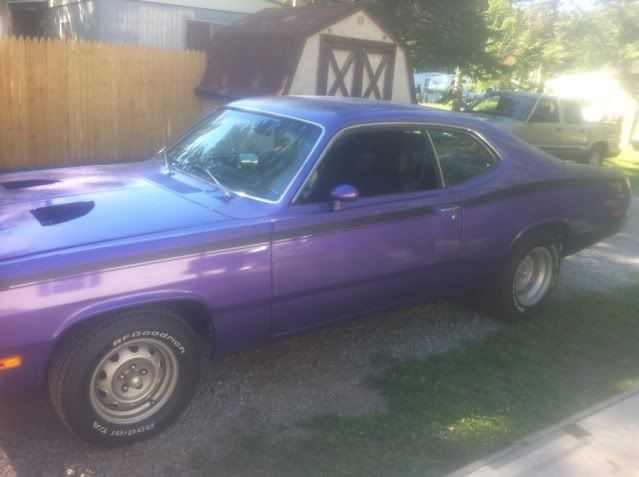
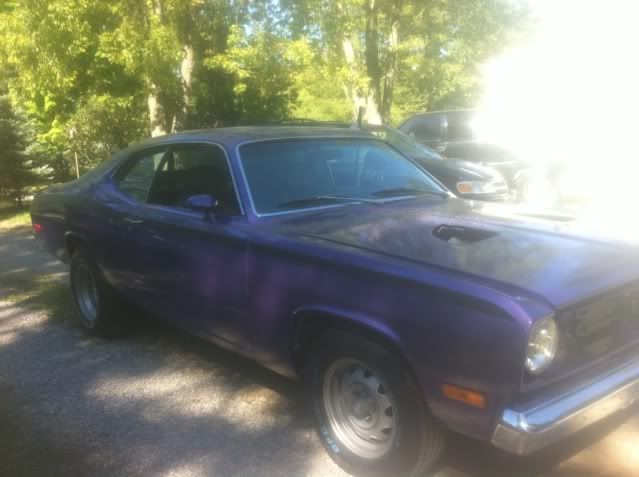
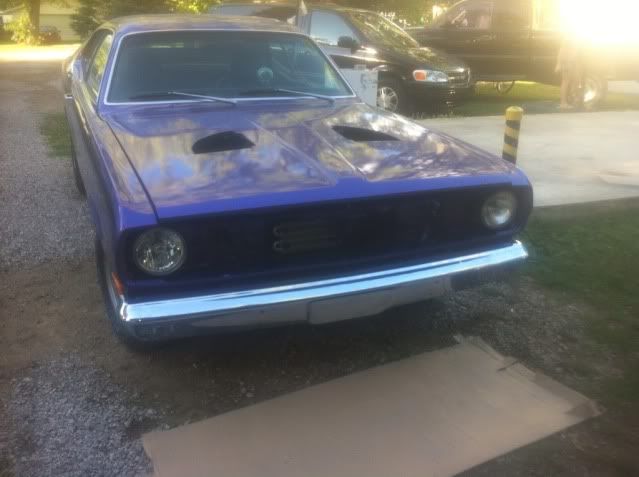
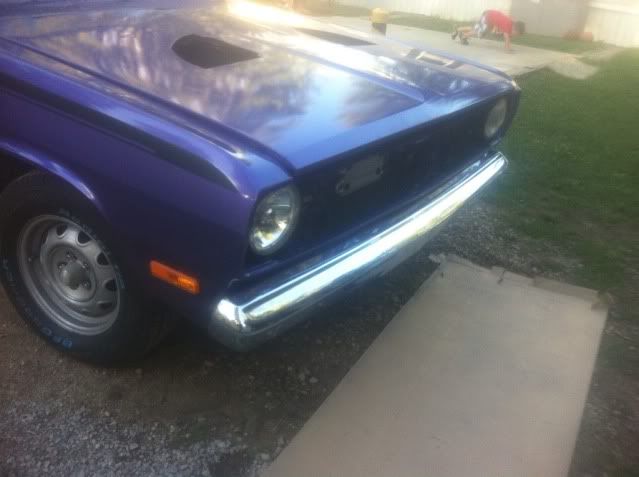
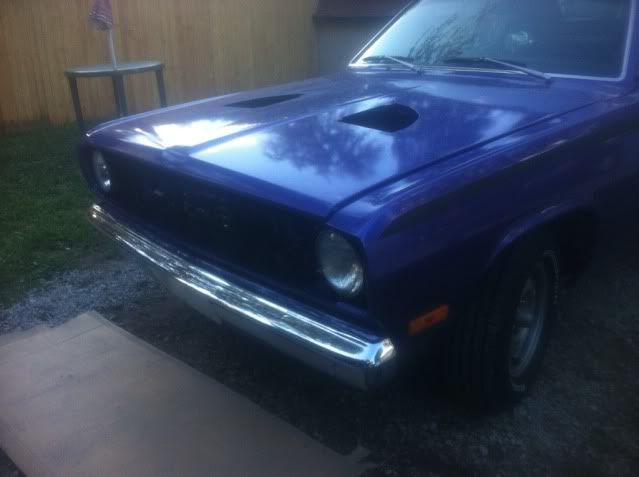
I am finally almost all done with paint work!!!
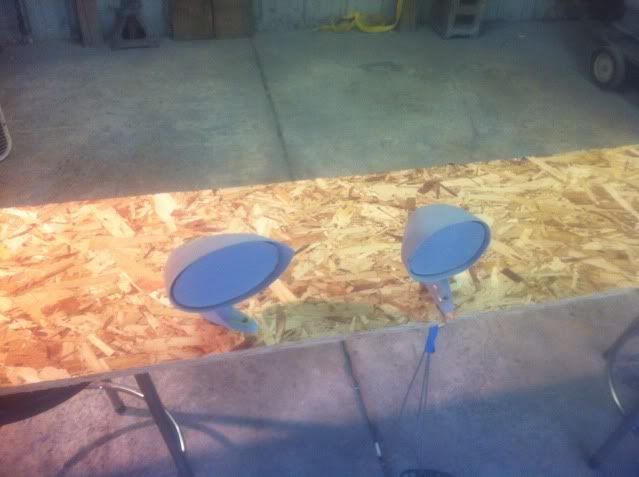
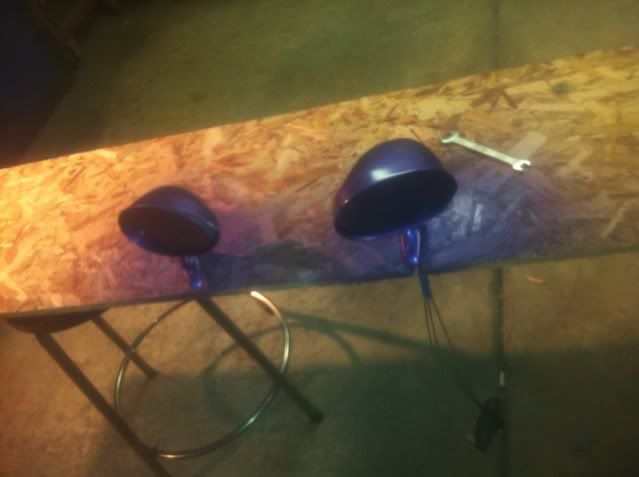
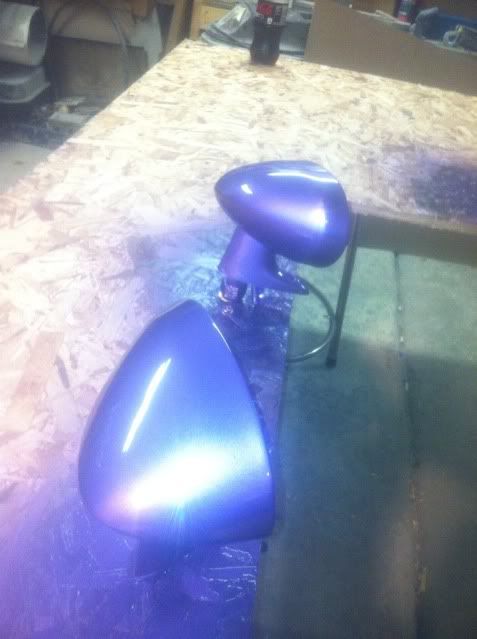
all I have left to paint now are the hood scoops and the spoiler and then its all done!.
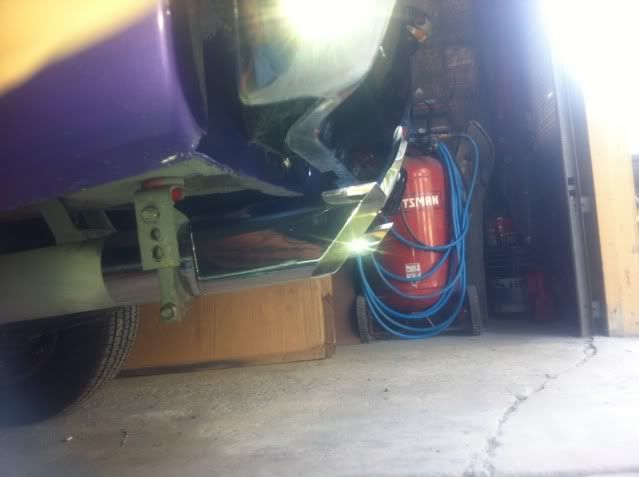
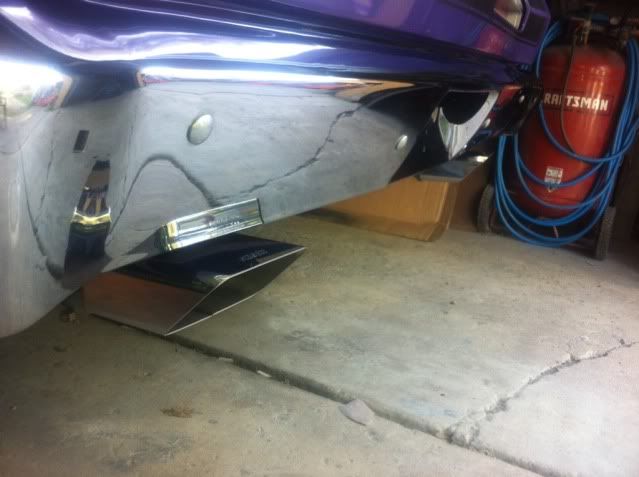
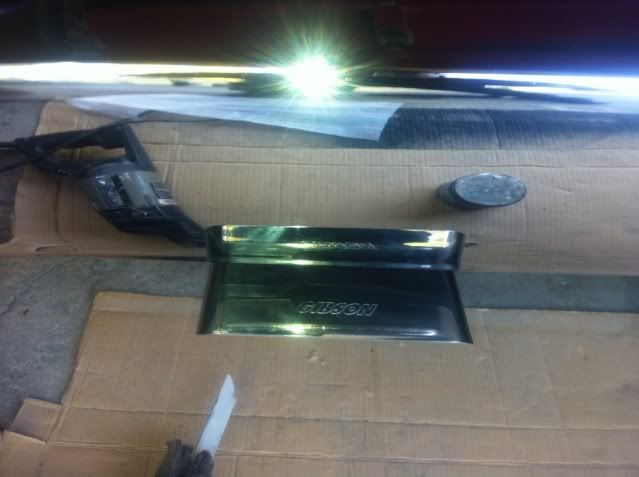
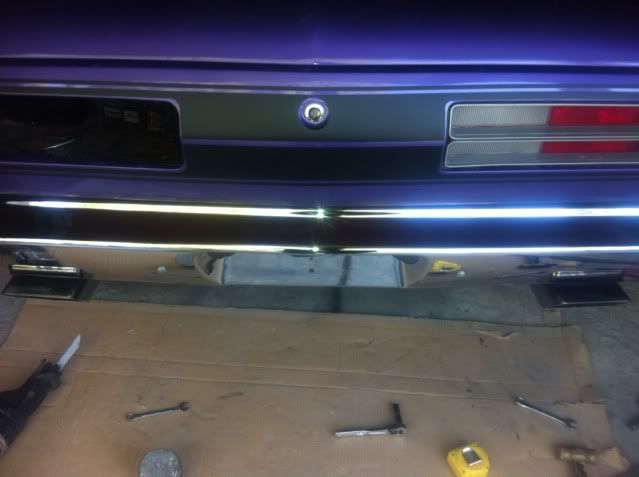
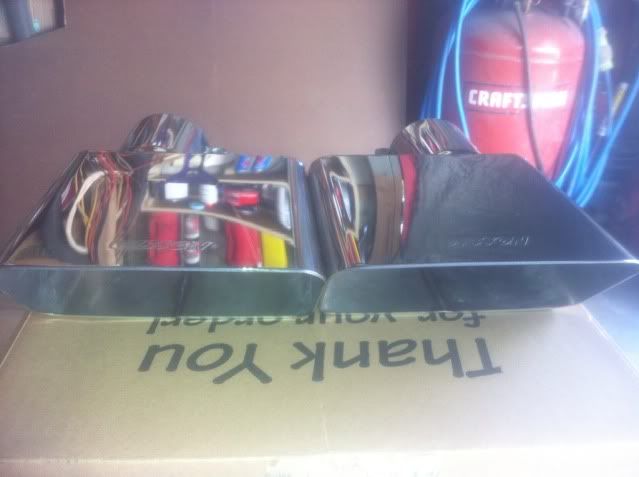
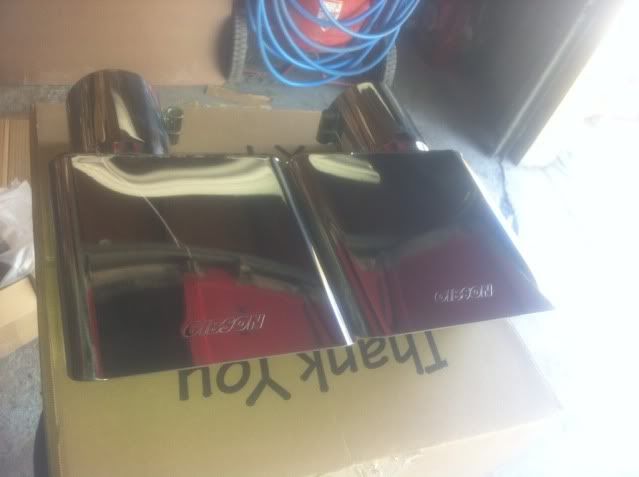
I also ordered my exhaust tips ,they should be here soon, ordered my new bumper bolts for the front and rear ( i just tossed a couple old ones in to hold the bumper on until i got around to ordering the new ones), I also ordered a new Grant challenger series 3 spoke steering wheel ( looks alot like the original tough wheels). with all the new parts i have accumulated over the last few months I have a decent amount of stuff I removed from the duster that i replaced with new that I will have for sale so if anyone is looking for something in particular please PM me and let me know what you need and i just might have it.
ANYHOW , on to the car **** lol....
after I sanded all the parts and primed them
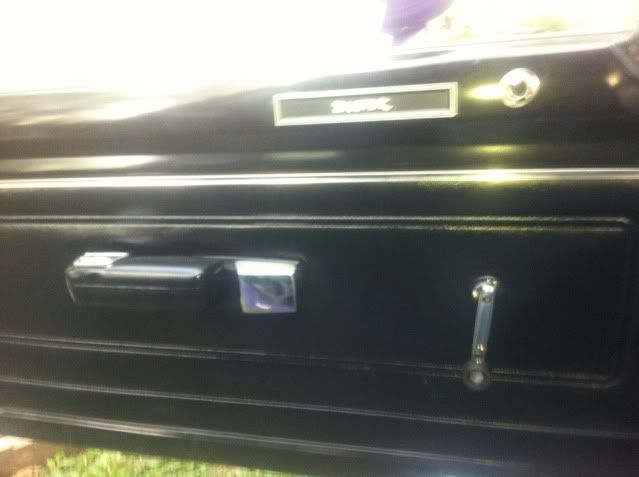
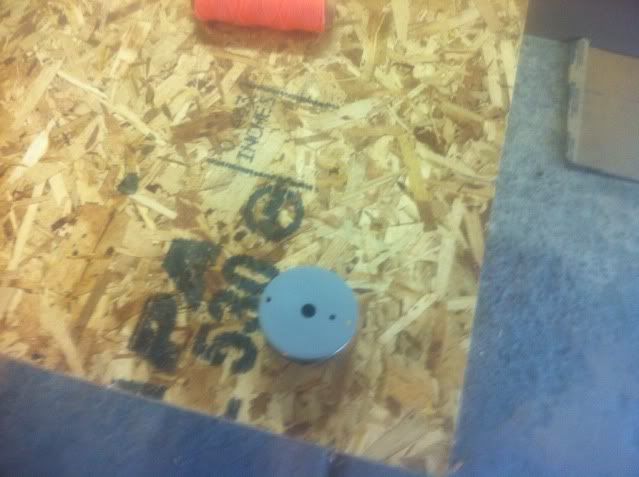
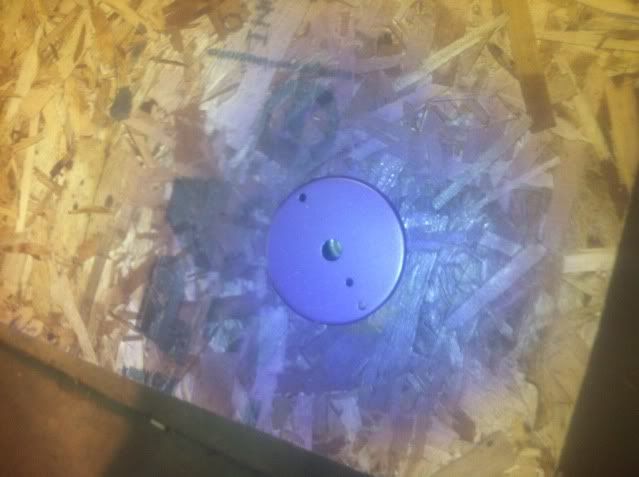
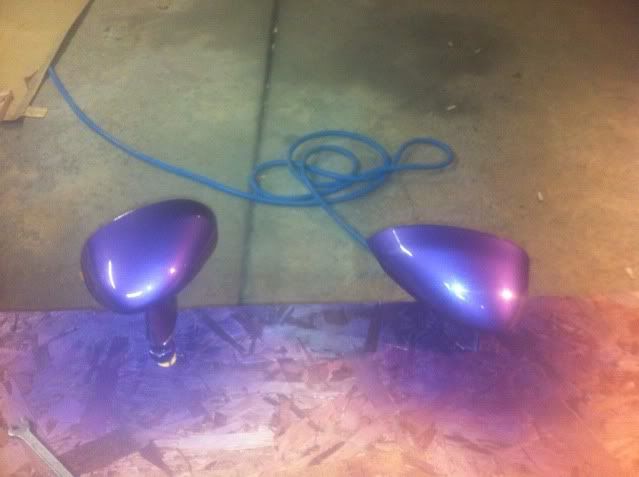
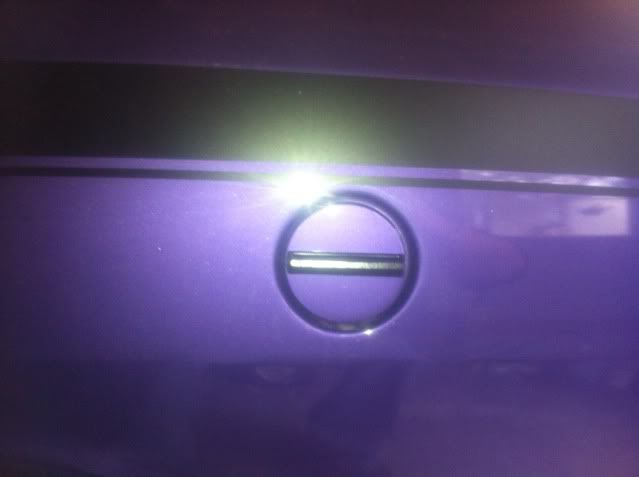
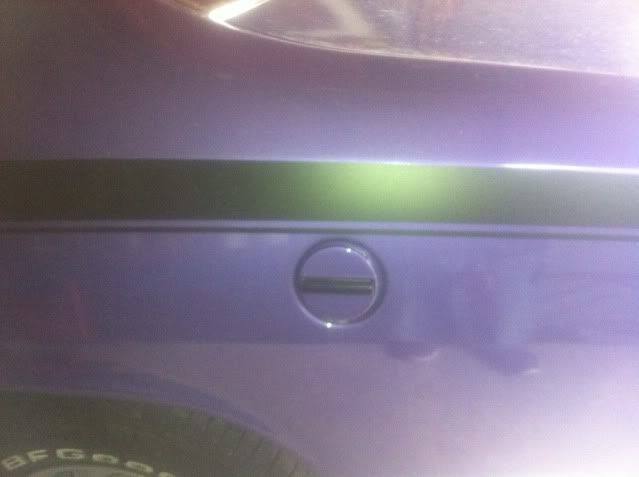
A couple of you suggested i paint my gas cap so I went ahead and did just that.....I figured if I ever want to, I can always pick up another chrome cap......but I cant just pick up a plum crazy cap if i chose to. so i went ahead and painted it and if I decide I do not like it, I can always get another chrome one.
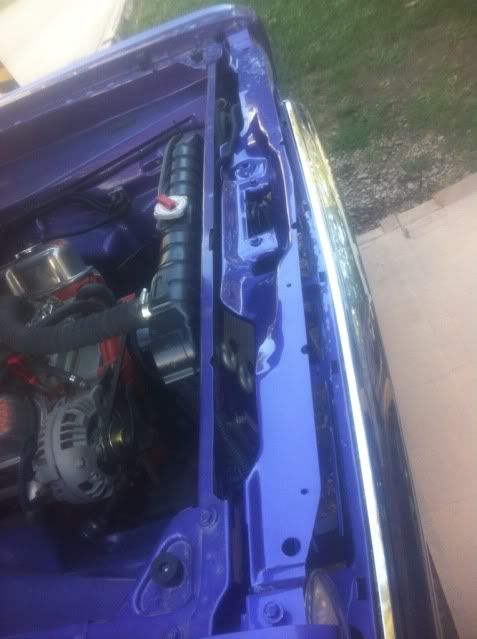
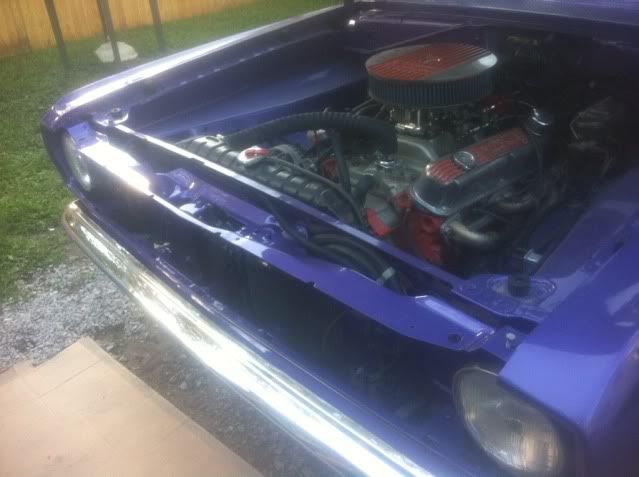
filler panel
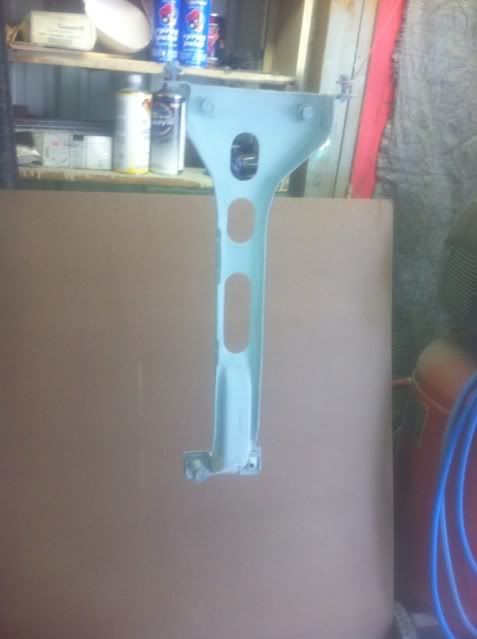
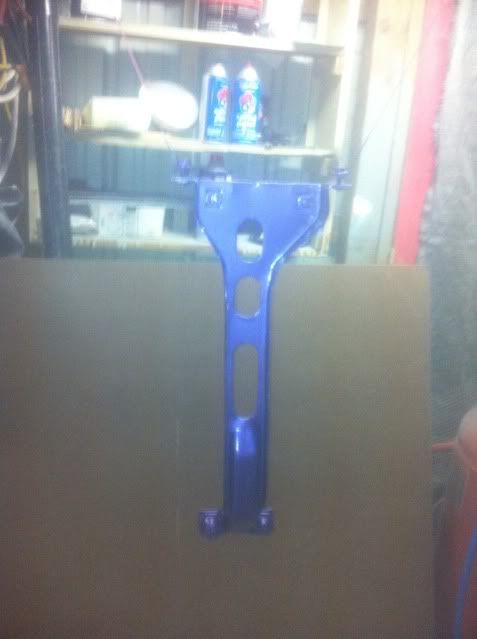
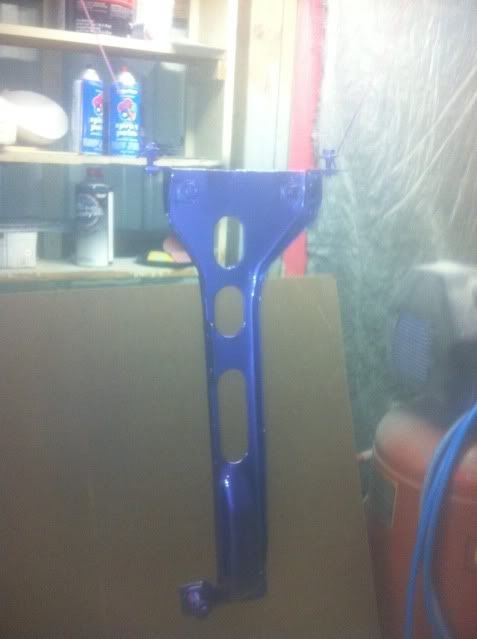
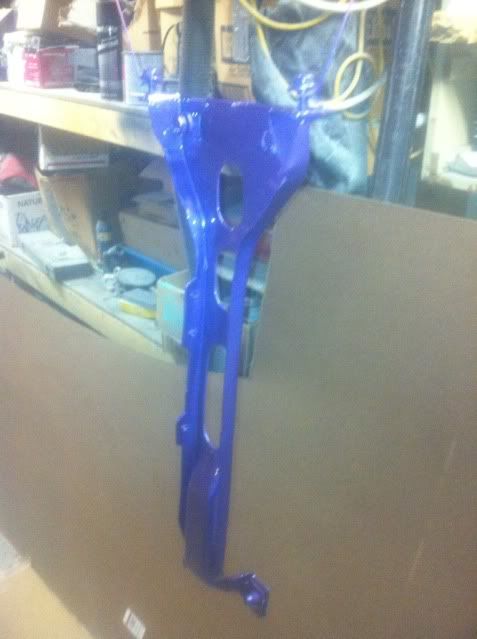
latch support
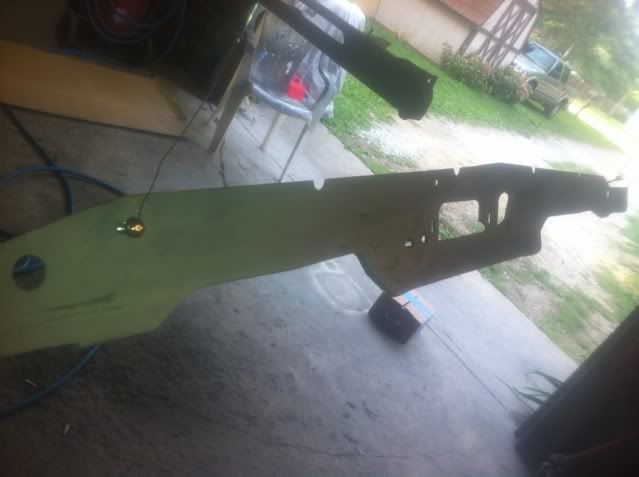
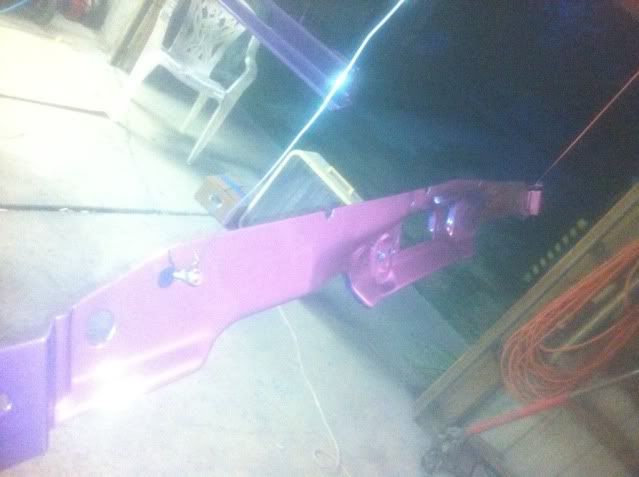
header panel
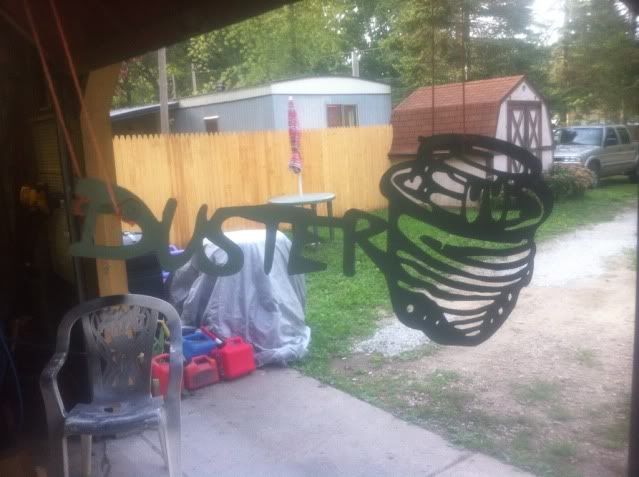
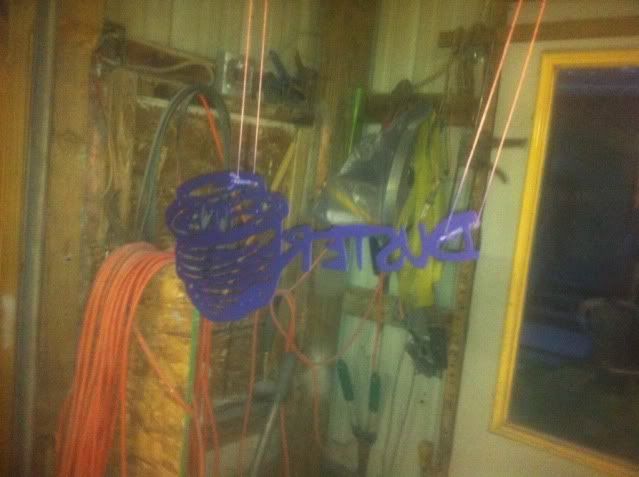
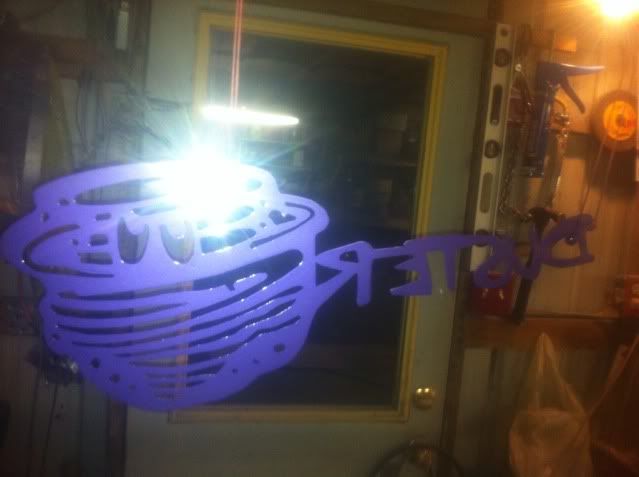
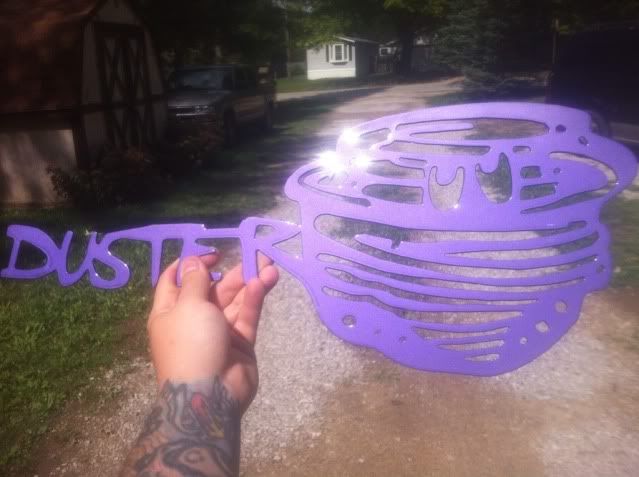
and i went ahead and painted my CNC metal duster sign I picked up from member RPM awhile back ( i think it will look nice setting in the center of the nice fresh new black package tray in the back window).
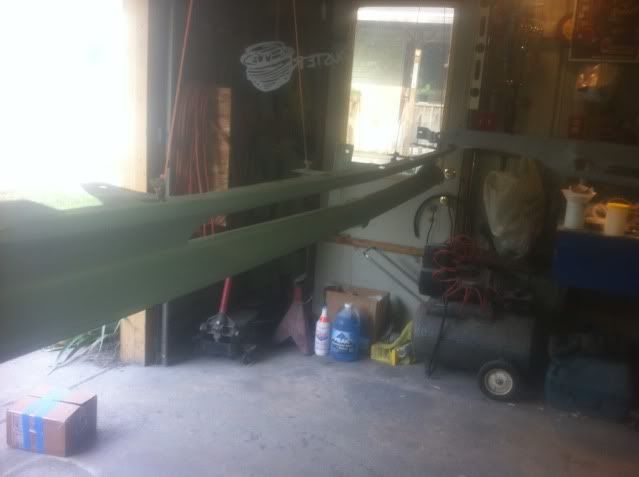
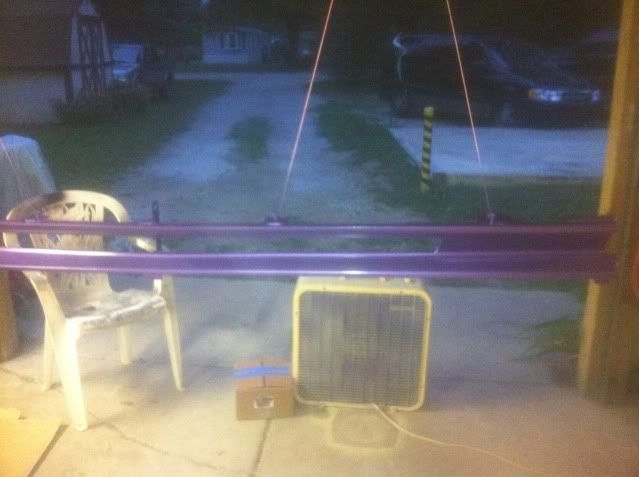
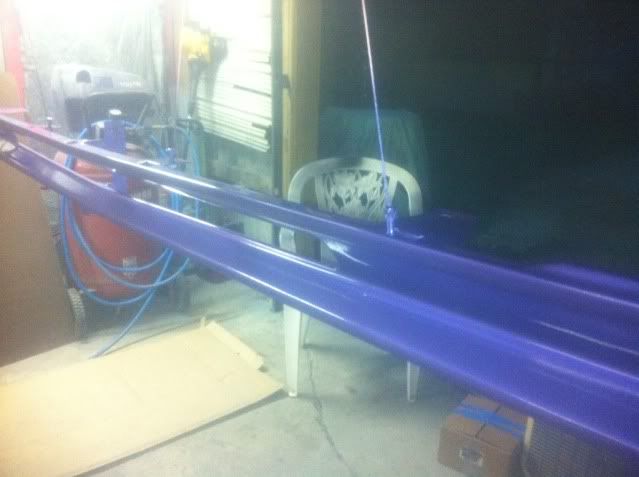
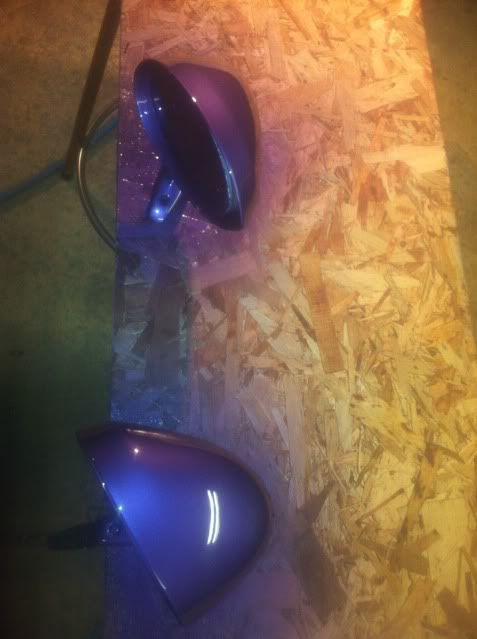
took these while i was in the middle of spraying the color
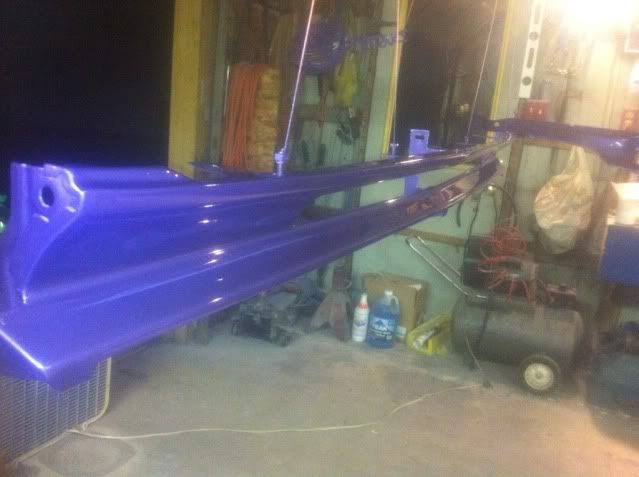
first coat of clear
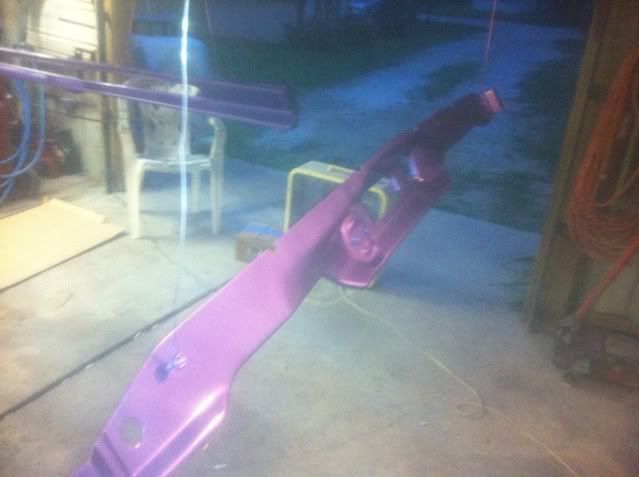
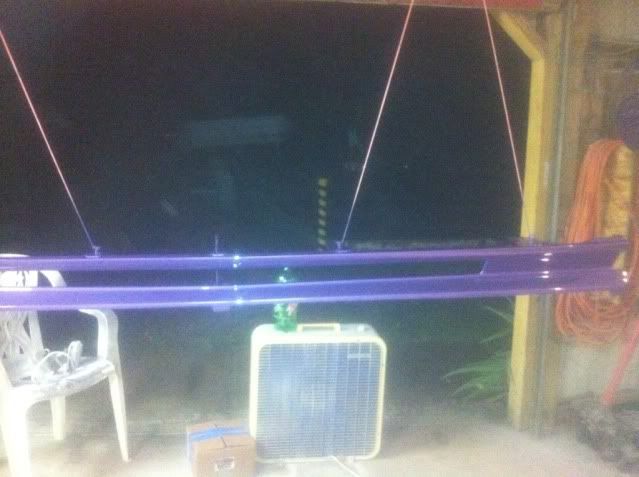
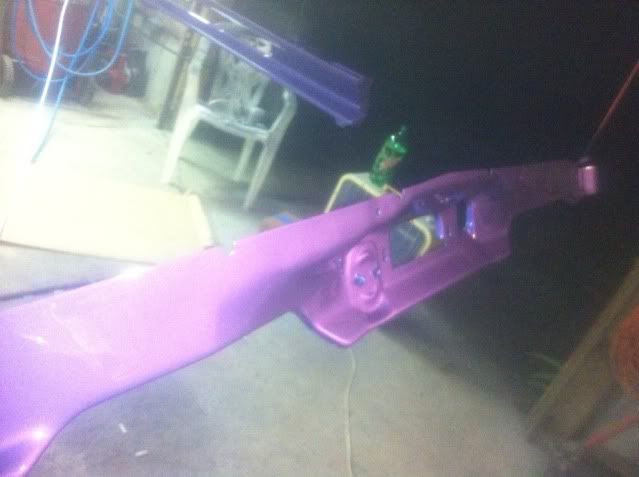
Just after spraying the 3rd and final coat of clear on everything.
.Sorry, My phones camera doesnt do any of it any real justice but it all came out looking great. stay tuned, ill be posting more updates soon as i start putting parts on the car.:cheers:


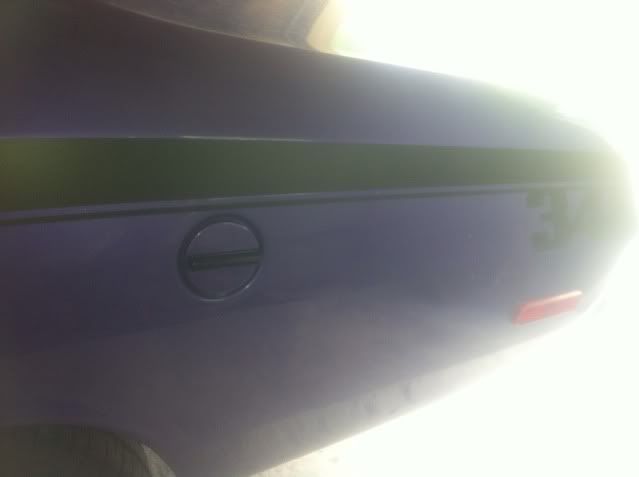
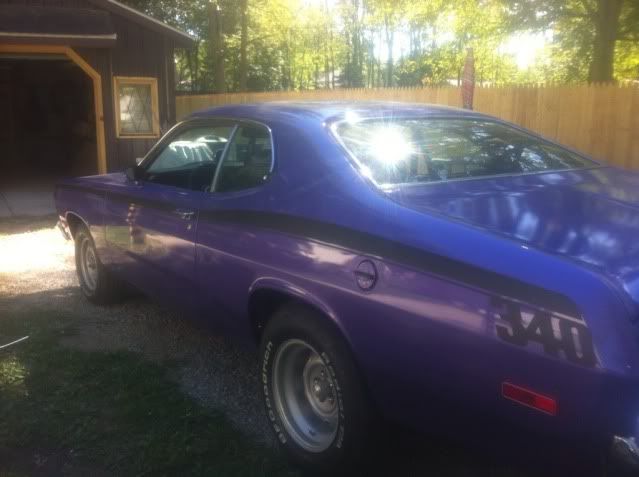
") the ladder stripe is my favorite for the dusters..gonna look cool keep it dude!
the ladder stripe is my favorite for the dusters..gonna look cool keep it dude!