AlV 69 Dodge GTS project

-
I've been following your build from the beginning, it's looking real good. I'm also a big fan of blue cars.

I have to install the door glass in my 67 cuda. I see from your pictures that you recently put the glass back in your car. I'm wondering if you have any tips or tricks you learned while doing that you could share with us.

Hi! thanks for checking us out and for the kind words.
We did the windows recently so It's still pretty fresh in my old noggin lol

First off the side glass is easy compared to the quarter so you're starting out ahead right there.
Since you've been following us you probably read about the removal and how the side glass sits in the frame. Installation is the reverse and it actually drops in to the frame nicely.

Tips, basically a brain dump of stuff:

  • First thing I suggest is protect the paint. (I'm sure you were already thinking that :0
  • Tape the top of the door but stop about a half inch short of the vent wind frame otherwise the tape gets trapped under the vent window seal. Ask me how I know :).
  • Tape the area on the end of the door where the seal would go maybe about a 5" x 5" could be larger. Keep in mind I removed the seal to have a clear path to the window track
  • If you have the rear window track out go ahead and install it first.
  • to reduce potential hangups I removed the front adjuster and the lower adjuster before installation and reinstalled them after the frame was in.
  • You'll need a helper since the side glass and vent window frame go together as a unit into the door.
  • Don't forget to loosen the pinch block.
  • Once you get the foot of the vent frame into the door (keep in mind that you will need to rotate the assembly slightly to clear the foot) you want to align the front and work it forward and down so it lines up in the pinch and in the rear track. And lower the vent frame down.
  • With your helper holding the assembly you'll want to put in the lower frame adjuster on the foot of the frame. I took mine out to keep the area clear.
  • Have your helper hold up the side glass and install your regulator. I slipped the roller into track first and then bolted it to the door. Keep a crank handy to rotate the regulator to help align the bolt holes.

Only thing left to do is install the front adjuster and holding bolt of the frame and adjust the windows.

Take your time and don't rush.
 
[ame="https://www.youtube.com/watch?v=v19PpD5uqL0"]Kid Dy-no-mite!!! - YouTube[/ame]

Dynamat going down but not on the seams.


11113005_820803041335405_4979515996326657591_n_zpsoybwfg6w.jpg


11351481_820886114660431_9075307158814543600_n_zpsp2irl3o6.jpg


Put some in the doors and quarters too. On to the brakes!

Dyn-o Mite!!:cheers:
 
So we have been knocking down a lot of things on the Dart and now that we've fixed the thread I've been able to load up some new photos.

One of the things we recently tackled was the Hood to cowl seal. check it out.
This is the piece from soft seal .

DF8C7C6F-E210-4AEC-9BEC-3591E83A9448_zpslogrurxw.jpg


hood%20to%20cowl%20clip%20annotated_zpstt8mab39.jpg


cowl%20to%20hood%20clip%20annotated_zpskg51ufl6.jpg


hood%20to%20cowl%20mount%20annotated_zpsy9akutl2.jpg


cowl%20seal%20%20holes%20anotated_zpscbjcr6zj.jpg


1CB792E1-9245-4830-9226-7B993397A292_zpsfoal1ptf.jpg


DE5D6540-B5B8-416E-86B0-F52B389575DE_zpsmbwksx2b.jpg


:cheers:
 
It's not necessary to remove it, but I pulled the front and lower adjusters to make it easier to install the frame.
 
Great thread. Would you mind posting or PM'ing me the body shop contact info? I tried to reach them once to no avail, but would like to try again. Looks like they did some nice work for you.
 
Great thread. Would you mind posting or PM'ing me the body shop contact info? I tried to reach them once to no avail, but would like to try again. Looks like they did some nice work for you.

Hi Peter,
check your PMs.

I hope all is good.
 
So, I wanted to try my hand at restoring the bright work. Read a few threads (Thanks Waggin) and started to clean up some trim pieces.

Doing this on the cheap I started out using my drill press to get a feel for it. After working on a small piece of scrap I felt pretty good but man it made a mess of my press. So I cleaned it up, off to HF I went to picked up a buffer polisher. Guy gave me a free one year warranty, that's nice I guess, this should get me through the car. lol

11752539_849460755136300_6438889672179456455_n_zpsa4blsgod.jpg


It's working pretty good.

It hit a little 5 " test spot on the Rocker moldings .

11751445_849948121754230_2034271156007362943_n_zpsrucd0g0k.jpg


Not to bad.

Here I shined up the very oxidized hood trim. Pics don't do it justice.

11781774_849460775136298_1873881858462807964_n_zpsg8qx4uyn.jpg


This is hard and tedious work. Lot's of cleanup and the prep work is all done by hand no other power tools except the buffer. And you better keep on your toes or you will get wacked or send your rocker molding into your neighbors yard like a Jevelin. That's an unintended AMC reference right there :)
 
Man! I really enjoy reading FABO from all the crazy discussion threads to the threads where I don't even know what the hell you guys are talking about (seriously it's like there's an inside joke and I'm looking in through the window) :)
For me it's these build threads, they are compelling and you guys do some outrageous stuff. it Just keeps me energized. BUT, there are those times when you just read and Zonk out.

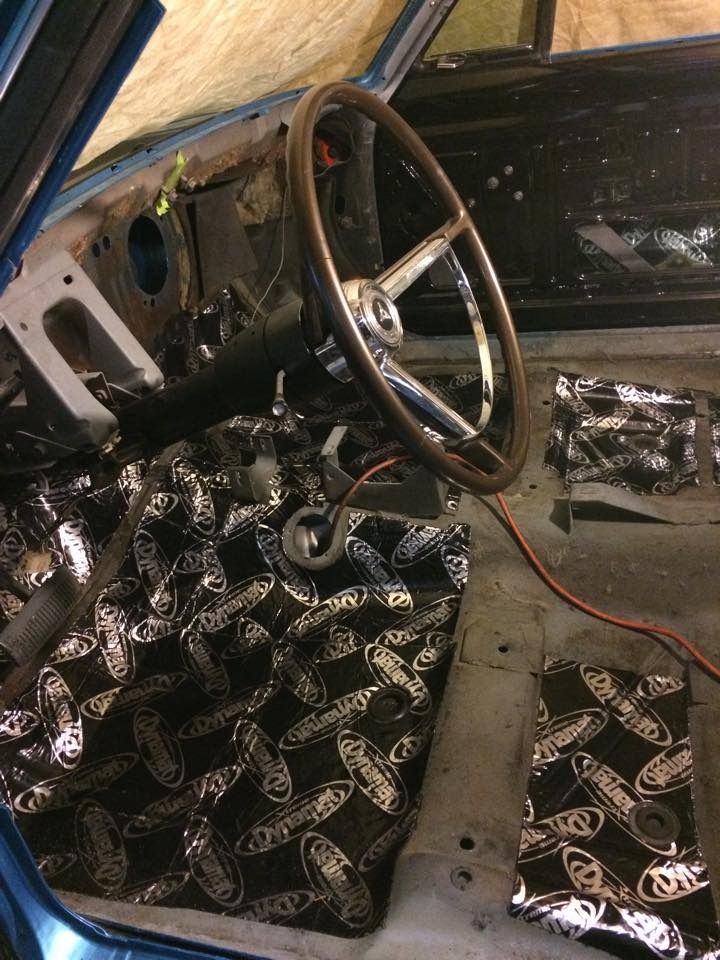
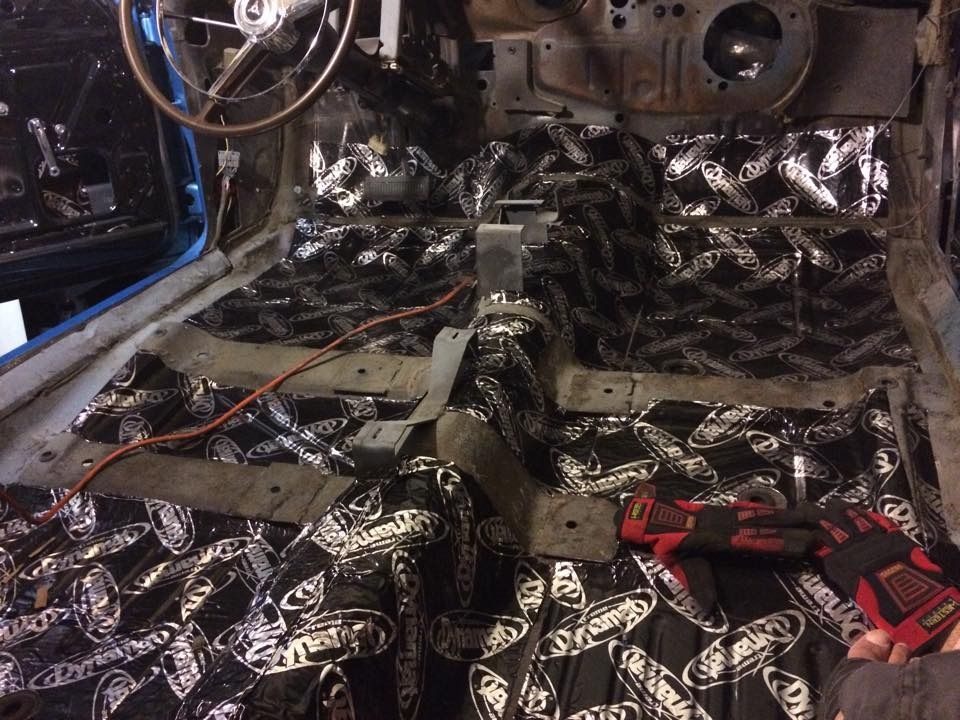
Well I put the old carpet into the car stretched out to take it all in pulled up the laptop to check out what was going on and the next thing I remember is my son hitting me on the face with weather strip .. Man I fell asleep ! LOL they've (he and my wife) been looking for the last 1 and a half!
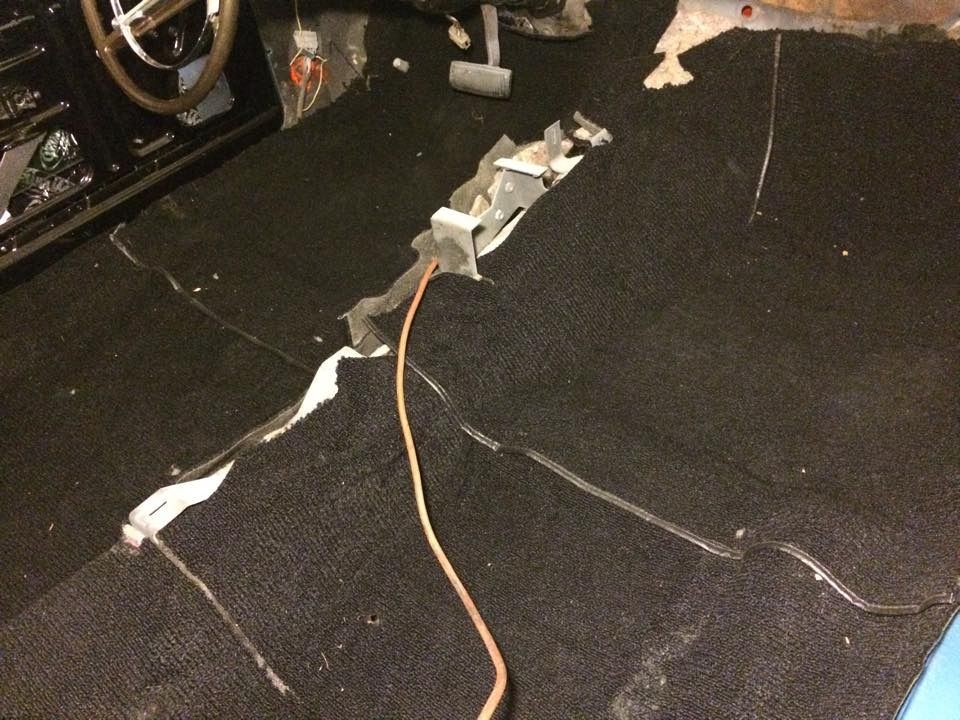
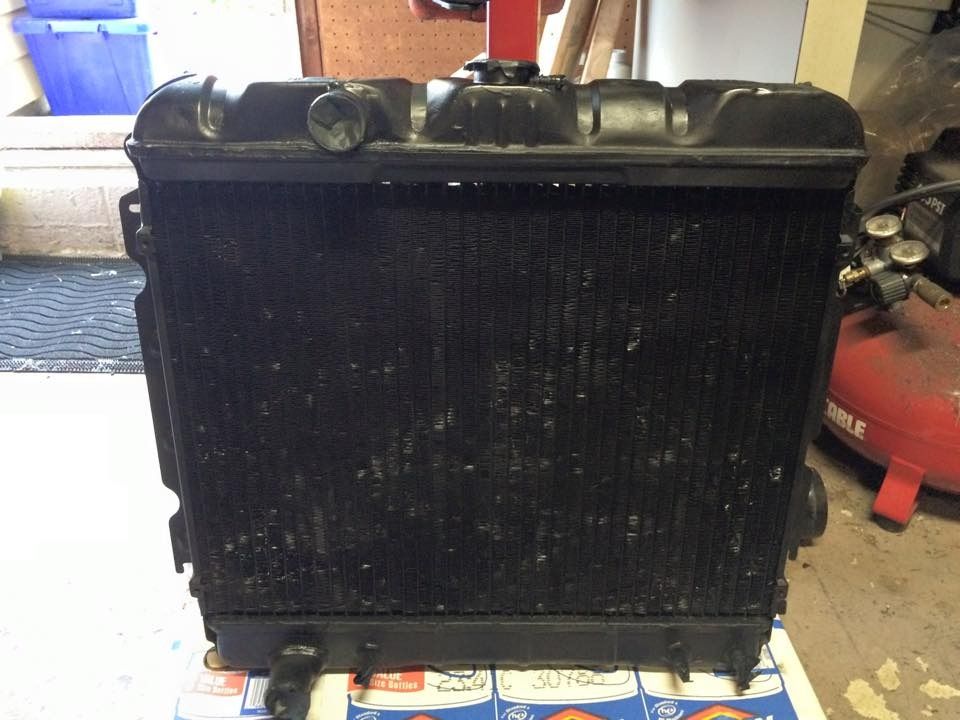
Scene Of the crime.

11224577_824972964251746_7547425623054528028_n_zpsckfdse3j.jpg


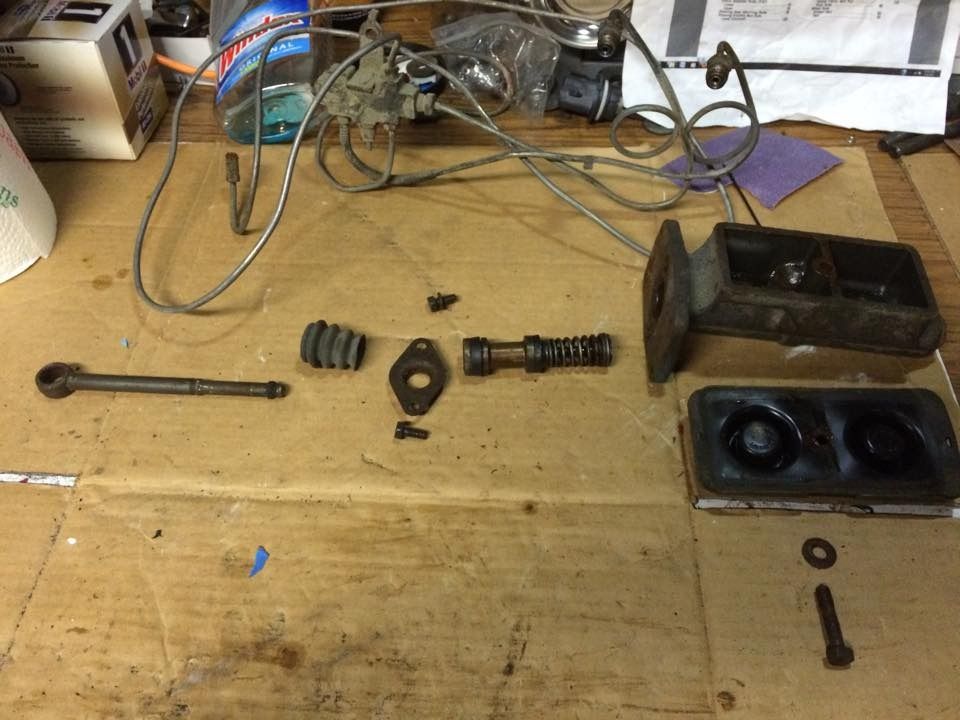
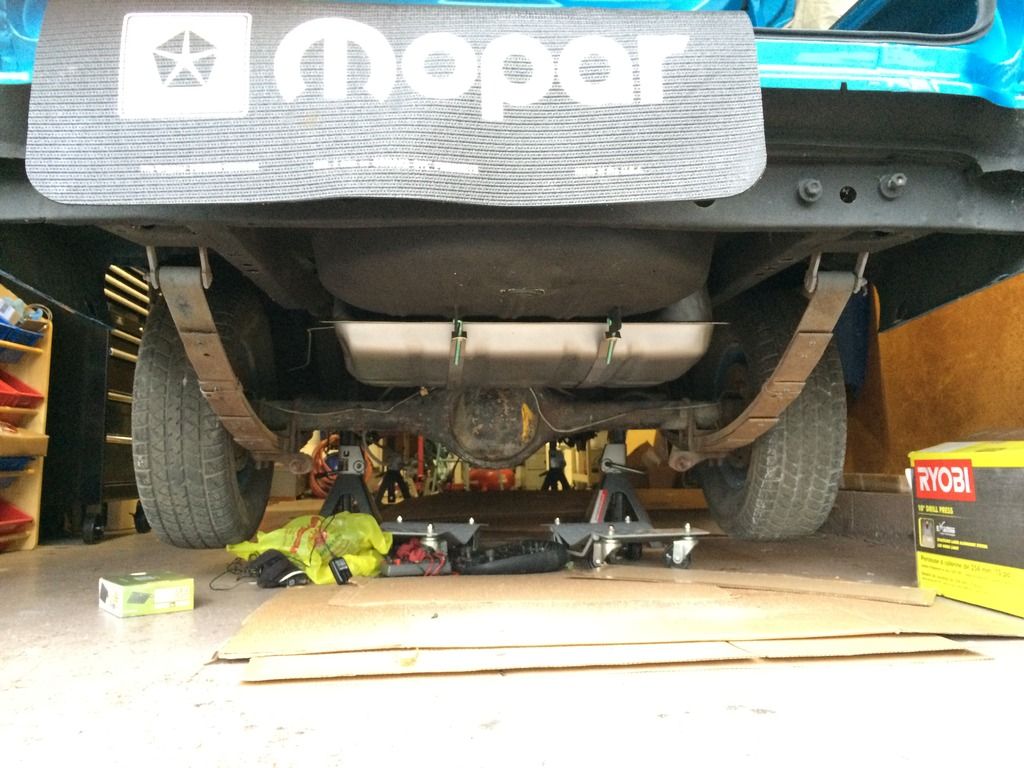
After checking in and making sure everything was alright I started to work on the Brake system.

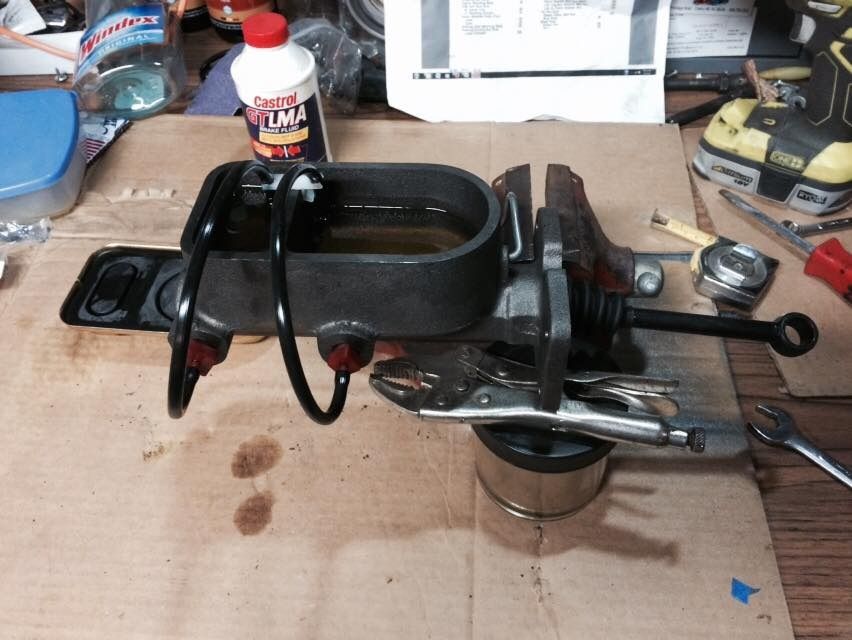
Starting with disassemble of the old Master cylinder.
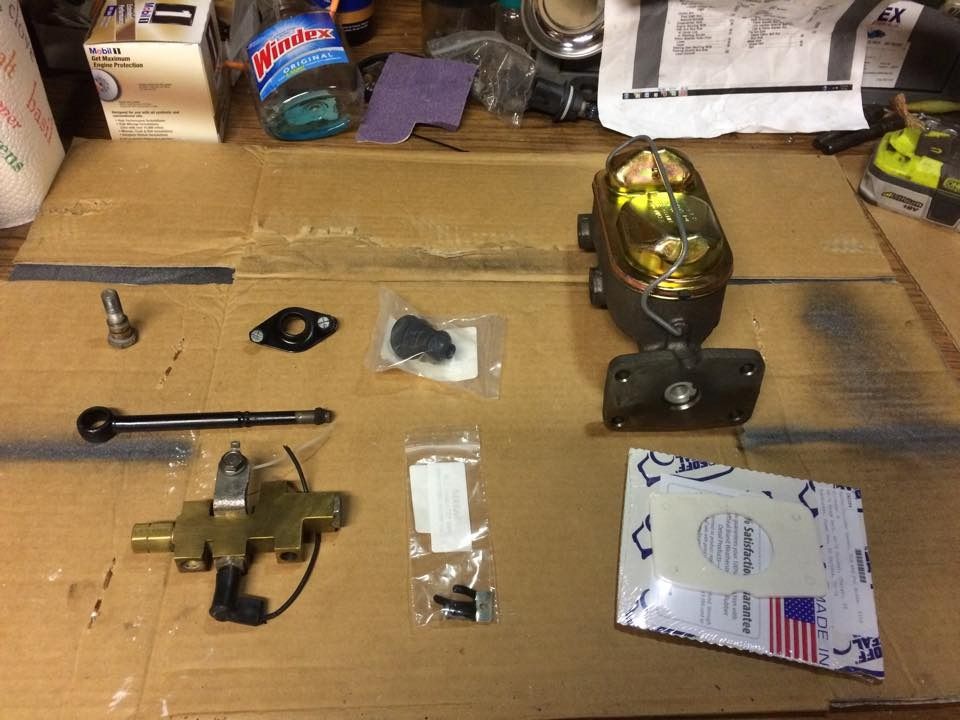
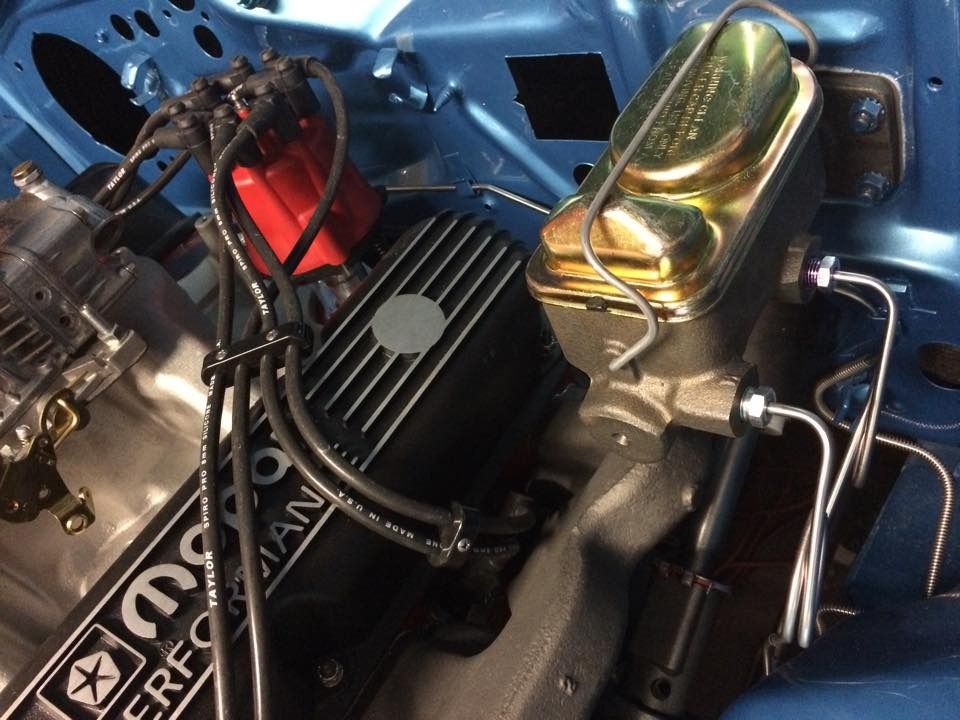
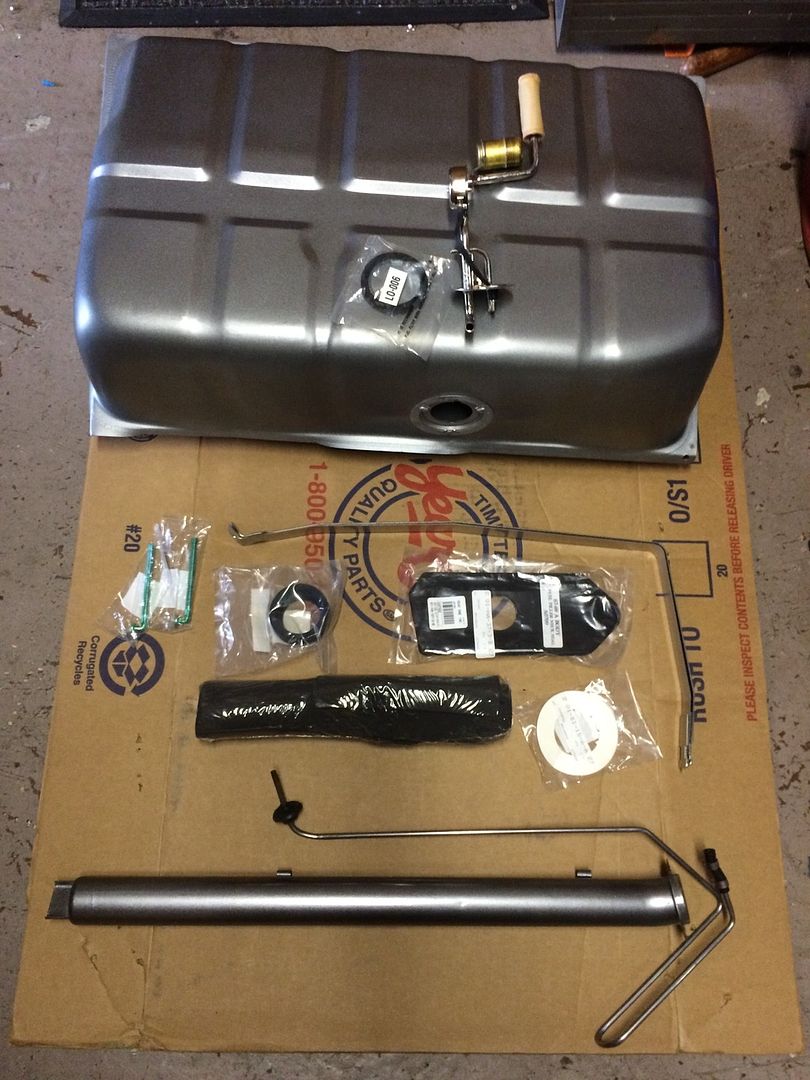
1459804_830749863674056_6745367353462672798_n_zpsq4icrj7c.jpg


The new setup.
New Master with a 15/16th bore for the disk brakes. It should help the pedal feel.

Had to get the disk brake pro portioning valve to pump more fluid to the disks and less to the rear so the drums don't lock up.

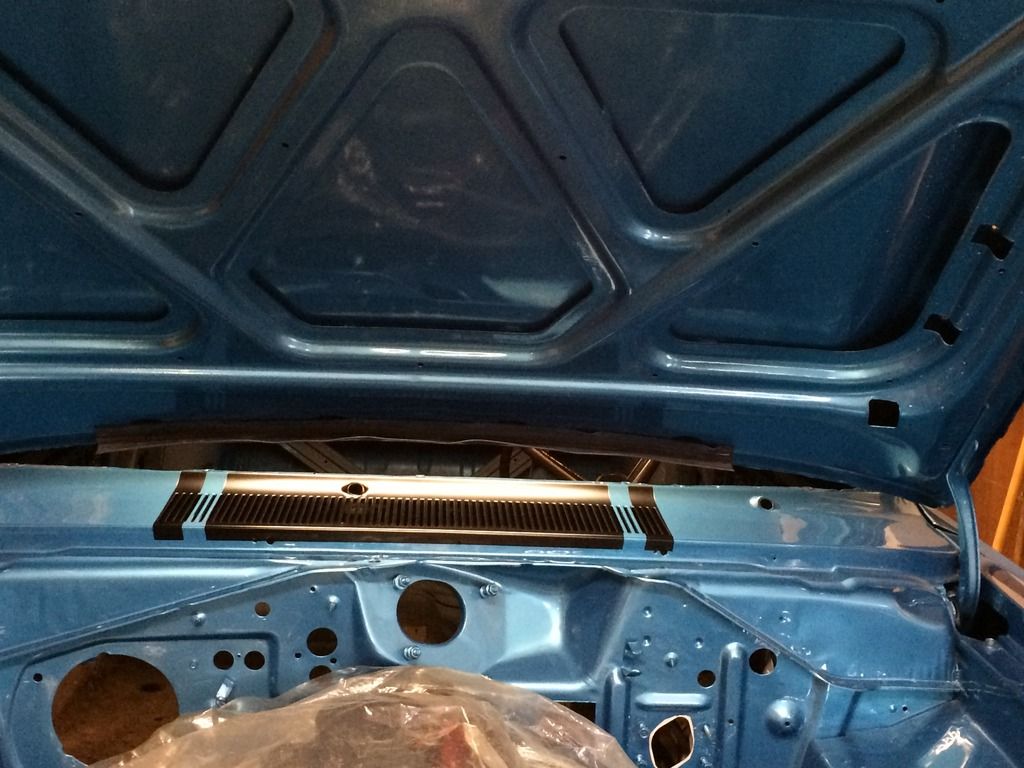
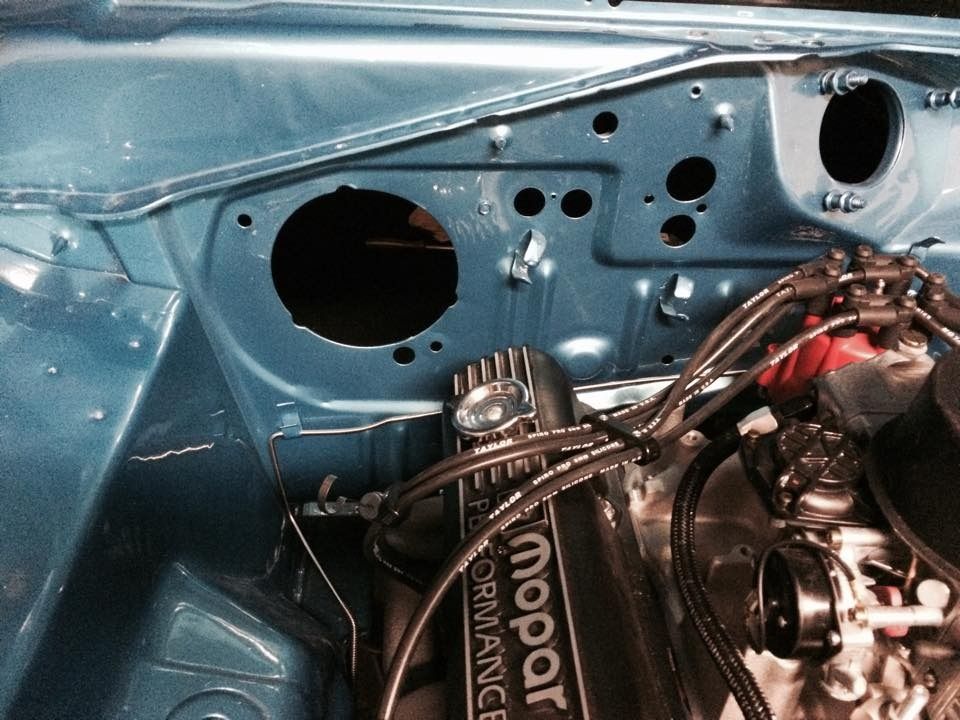
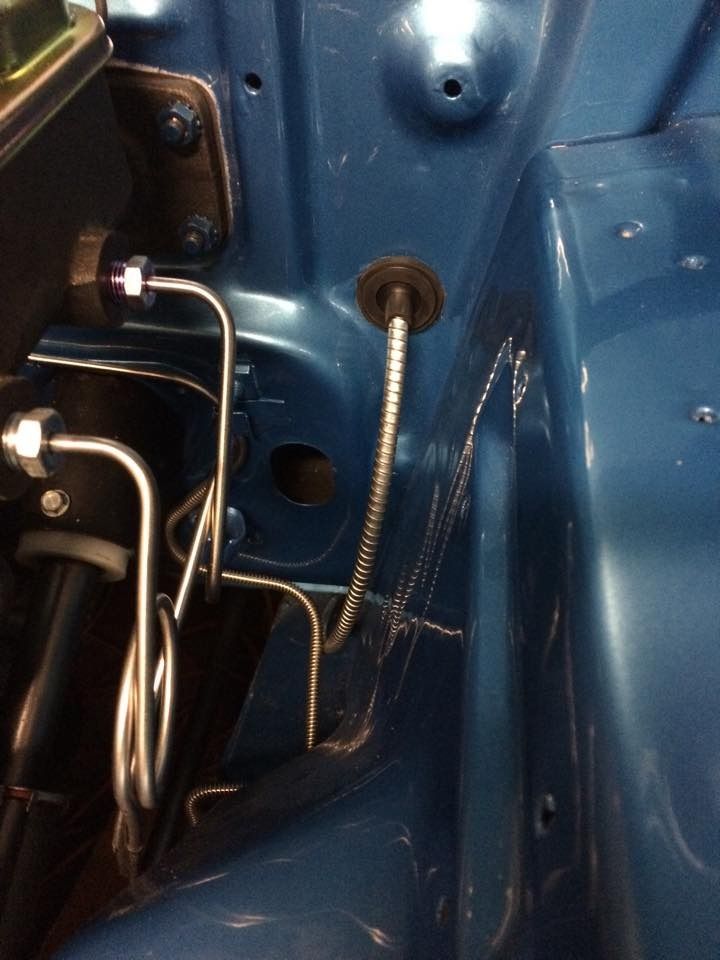
New firewall gasket ( I do eventually get the right gasket) and push rod boot to finish it off.

10289836_830760633672979_4456792687939341565_n_zpsxodtirft.jpg


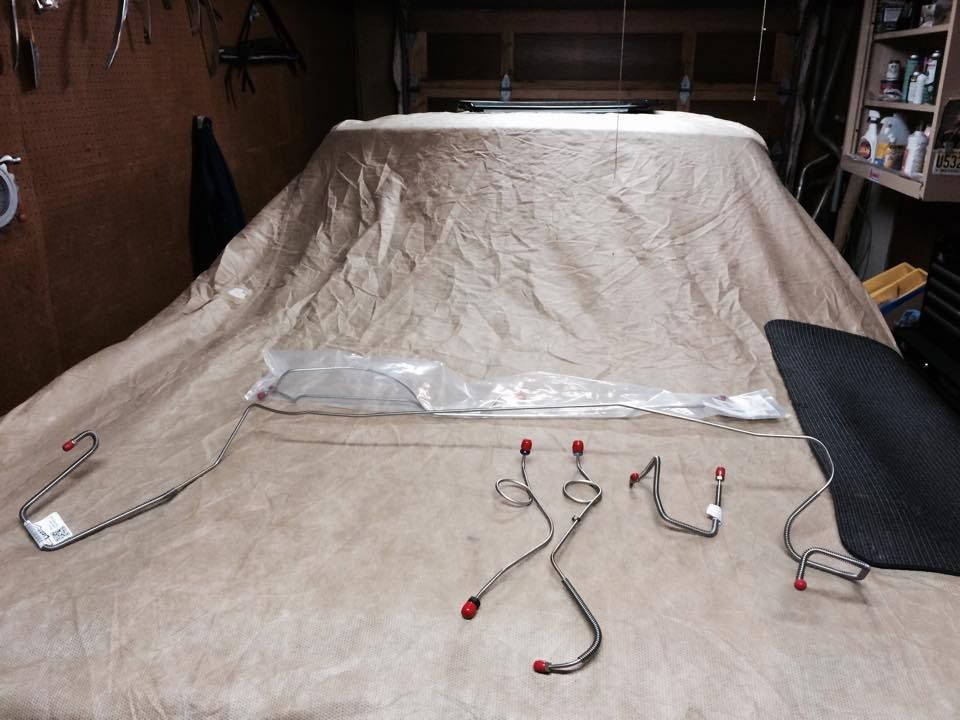
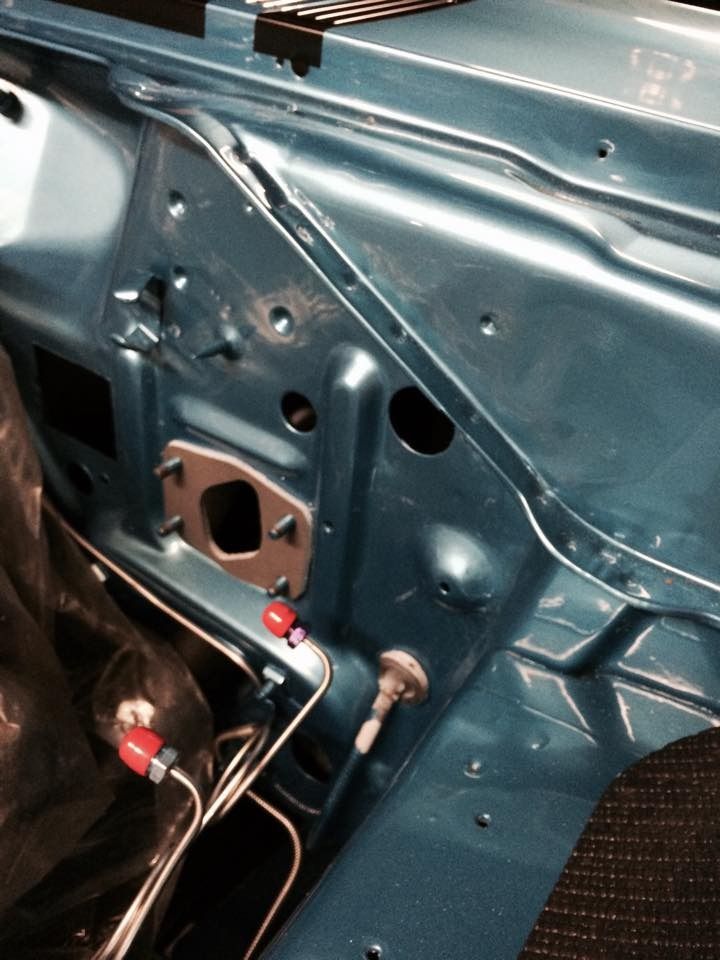
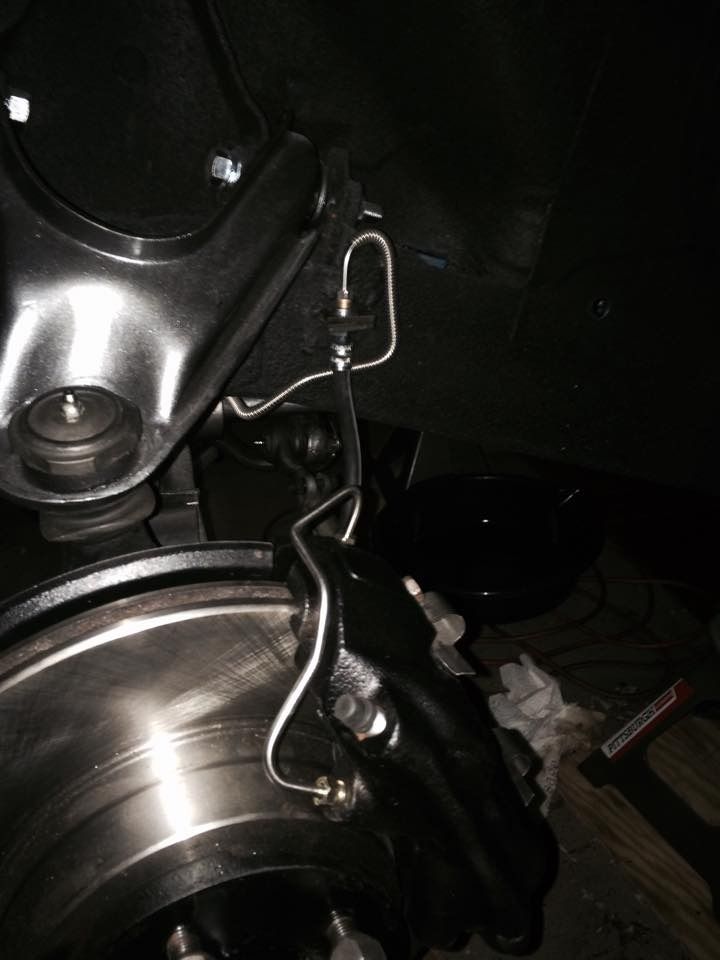
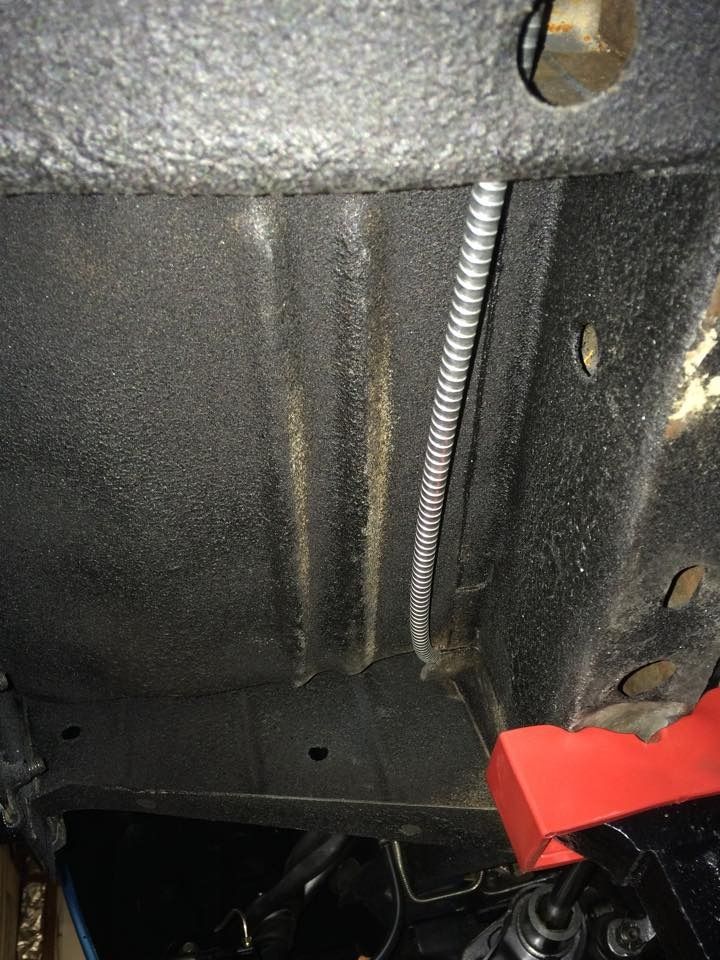
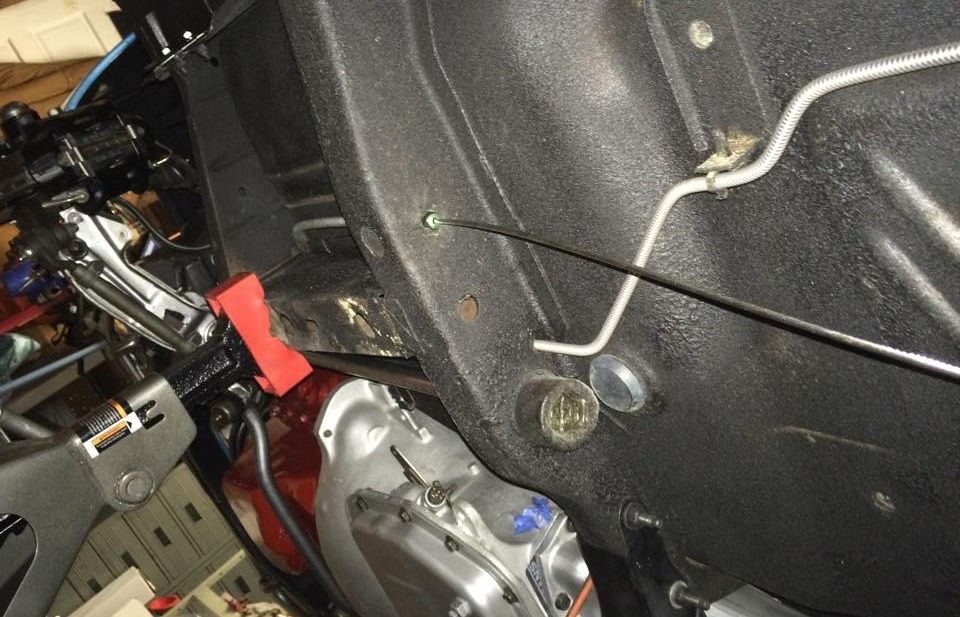
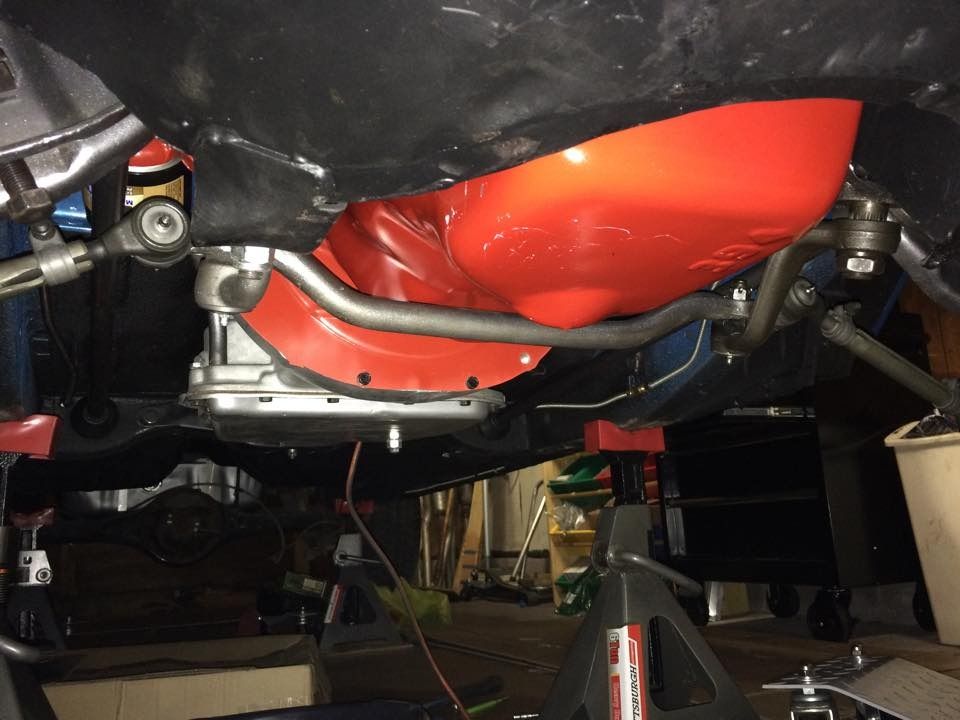
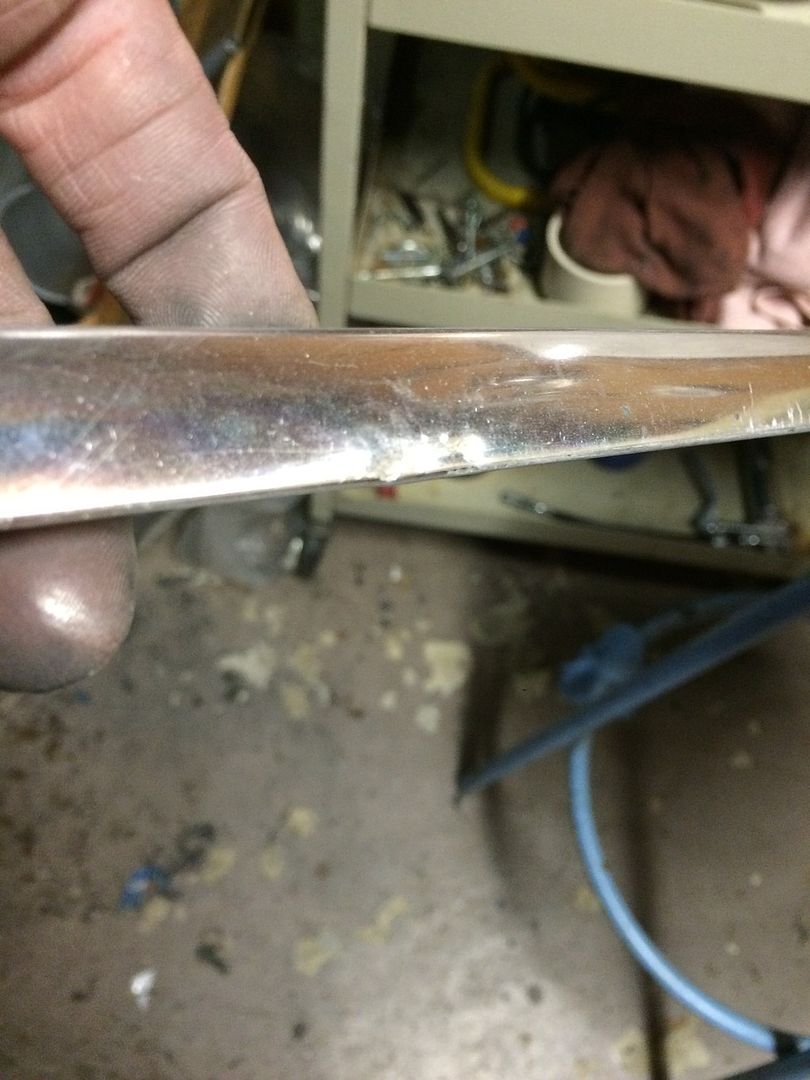
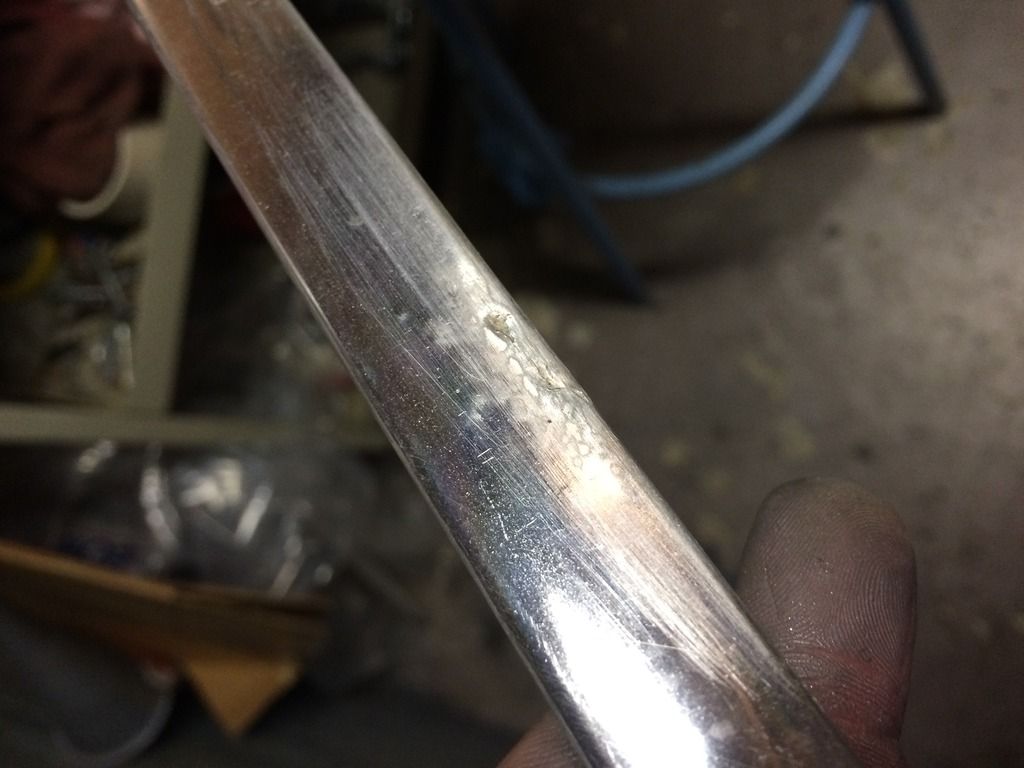
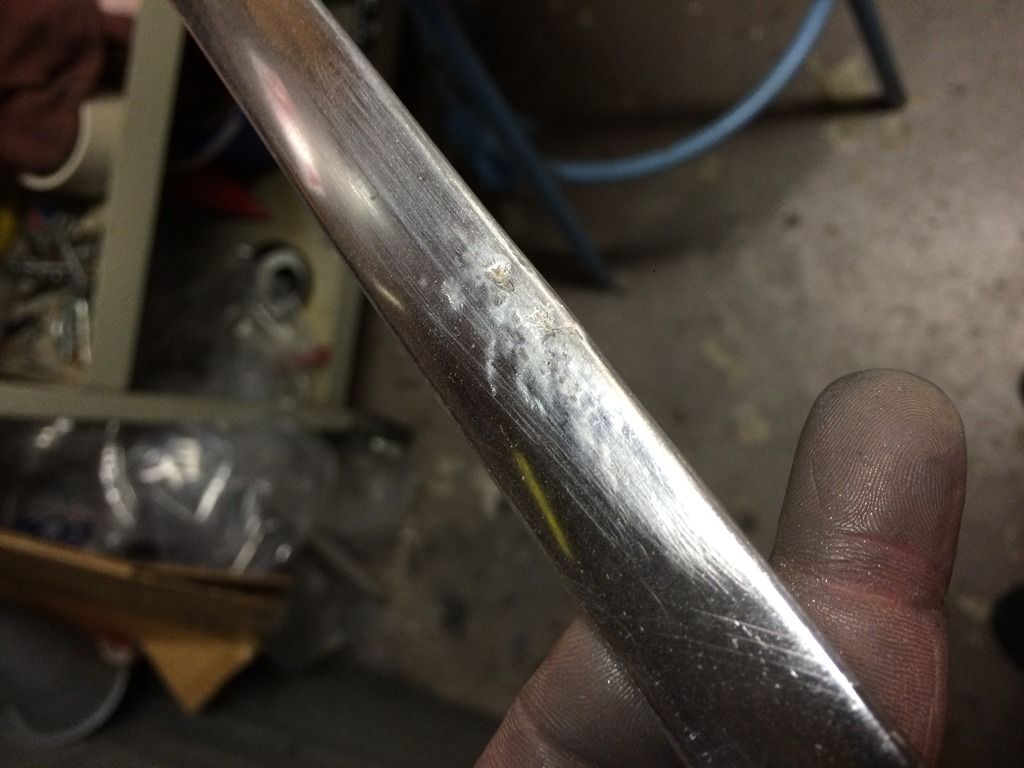
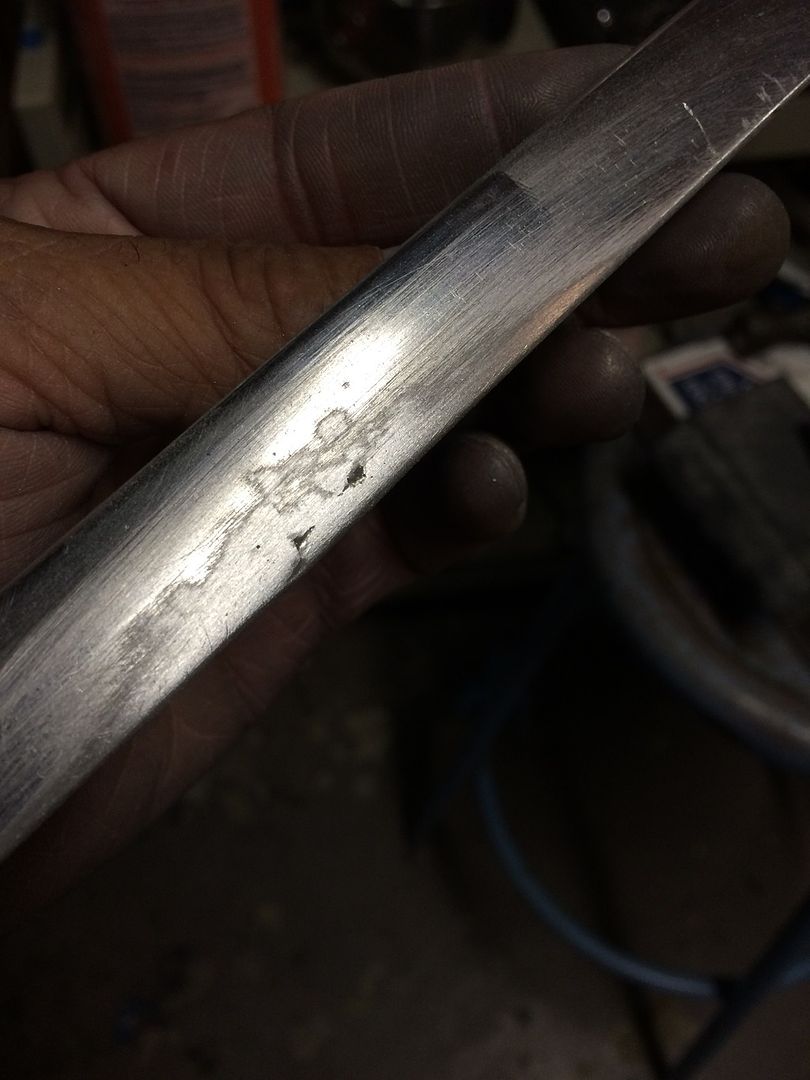
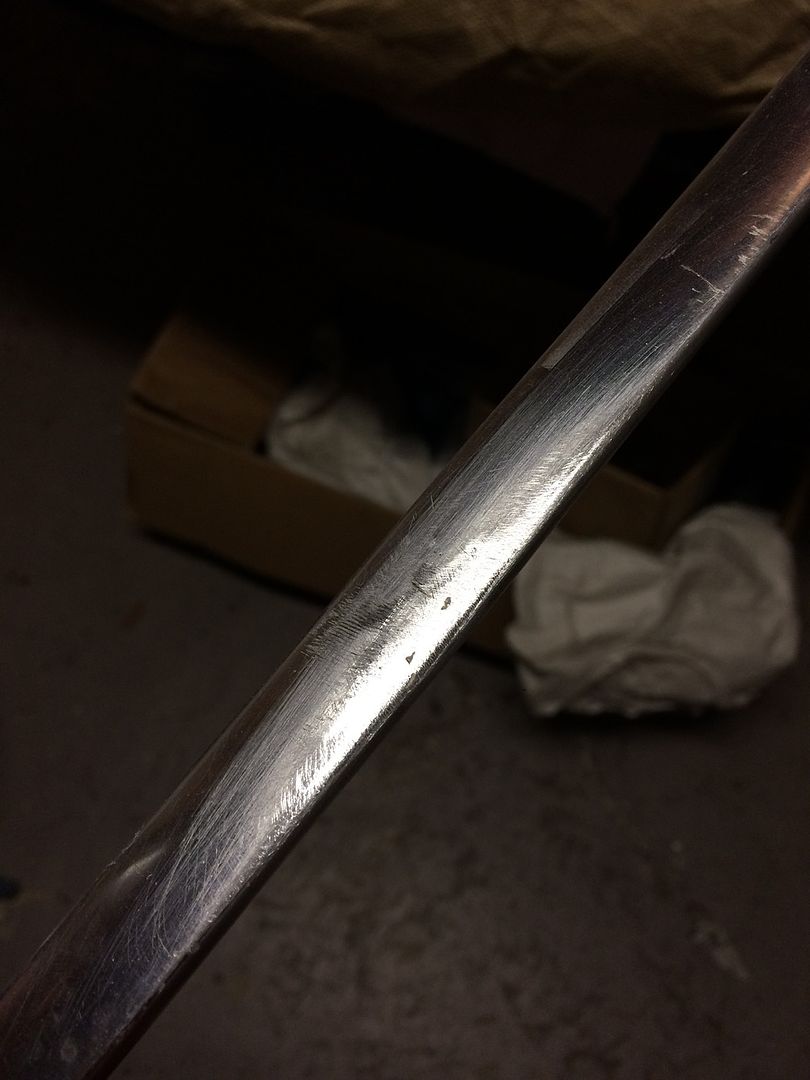
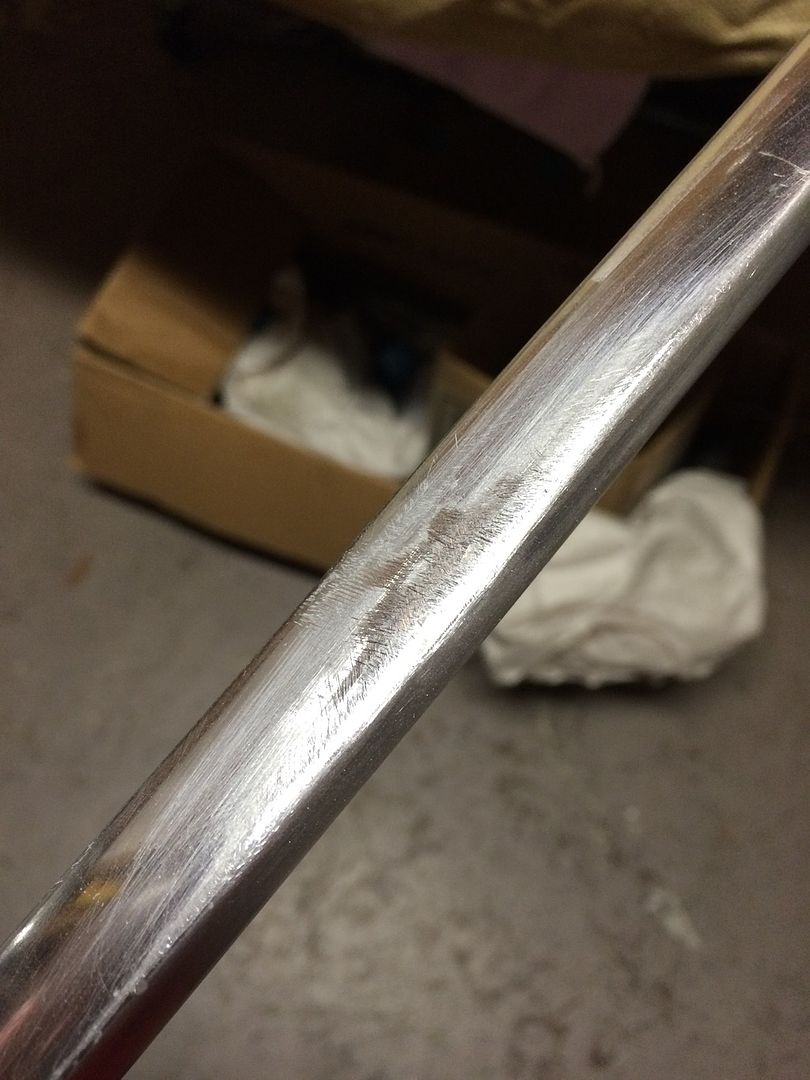
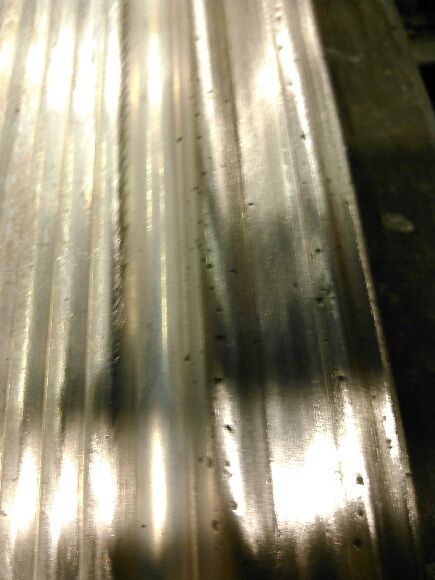
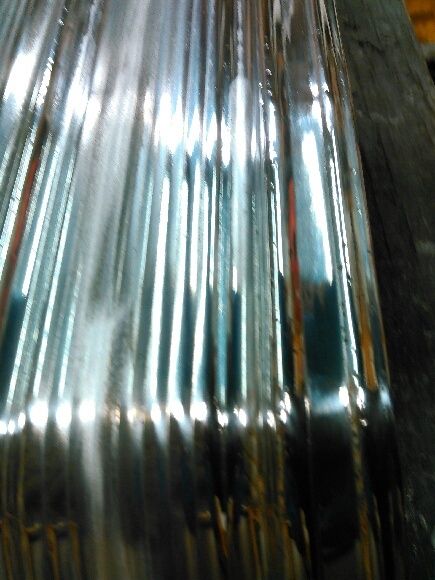
Front and back Finelines stainless steel brake tubes.

11429932_831119220303787_602510692204097241_n_zps2rtd0cix.jpg


First I'm going to bench test the master cylinder and mount it. Then I'll install these babies and I'll be one step closer to the road.

11350672_831665226915853_4369545911065149544_n_zpsouvqotv4.jpg


Brake prop valve and front lines are in. Next is the master cylinder and the rear lines. I do eventually get the correct gasket :) )

11148425_833680290047680_6559342243511923314_n_zps5lsdgumr.jpg


11009972_833680253381017_4075299376163184262_n_zpsd2hmrqcg.jpg


11698425_837012436381132_6583102141119009781_n_zpsoxi7aihu.jpg


10351595_833680220047687_887073352389349774_n_zpsltju5wpw.jpg


10154285_833680273381015_701154068395790931_n_zpslbw9hxoc.jpg


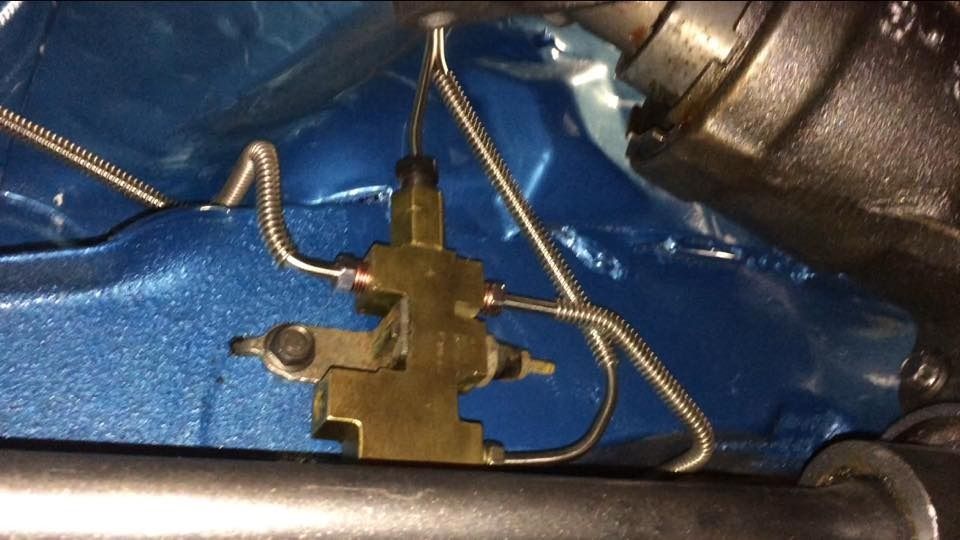
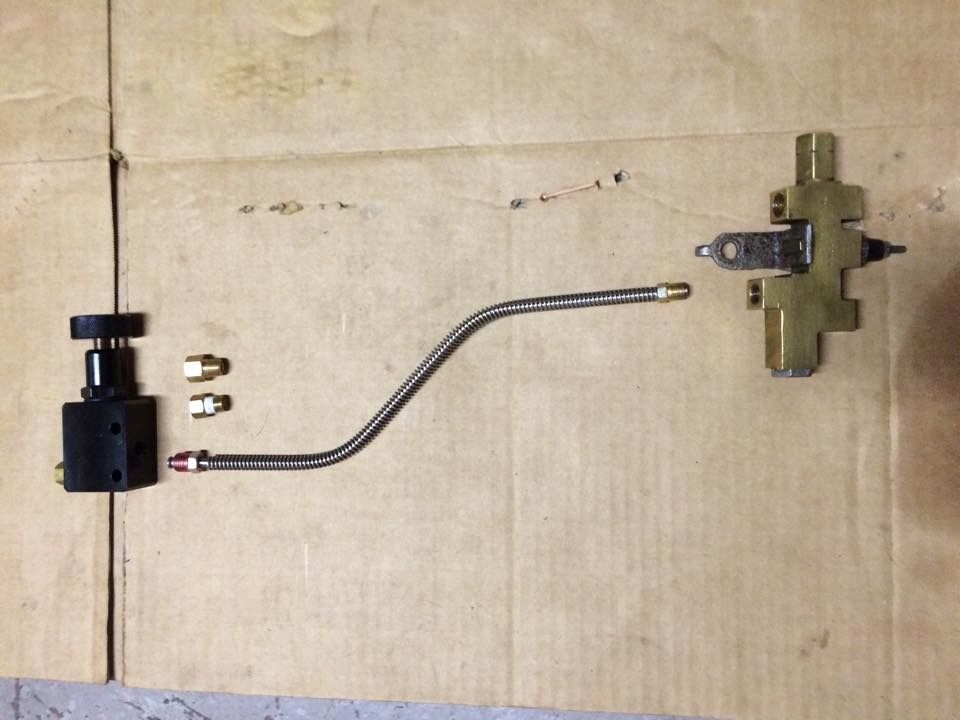
I went back and fourth on the configuration for a while. First planning to use the combo valve then reverting to keeping the original block and getting an adjustable Prop Valve, which I did, only to come to the realization that the short section of the two piece rear has different fitting on each end to accommodate the factory hold off. More about this later. IN the end I stayed with the Combo valve and worked a solution to couple the two piece front to back section.


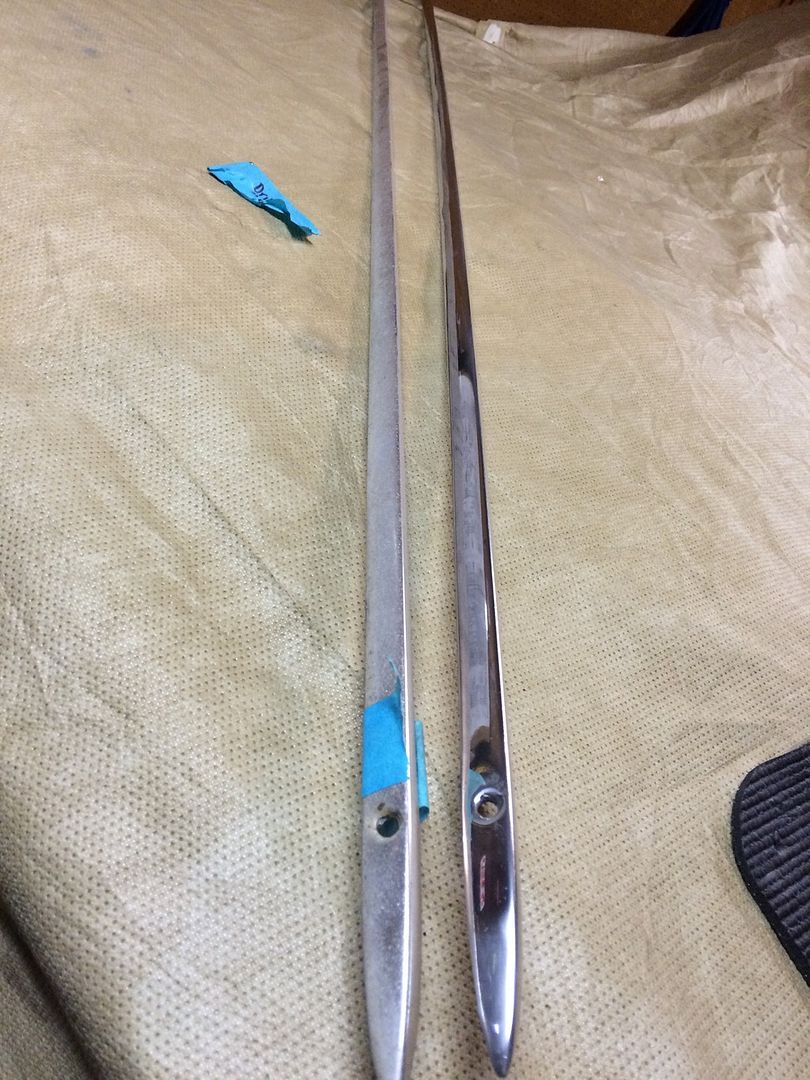
The fitting sizes on the short section of the 2pc. Front to rear line set I received from fine lines came with a 3/16 fitting on one end and a 1/4 on the other. The port on the factory block is tapped for the 3/16 end which means the 1/4 end has to join with the long section..

More about the configuration dilemma. I received the adjustable proportioning unit from "Right Stuff" braking, I bought it through Inline Tube since I was ordering the P-Brake hardware anyway.

The P-valve came with 2 - 3/16th adapters but as stated earlier, the short section of the front rear line came with a 3/16 fitting on one end and a 1/4 on the other. So I bought a 1/8mnpt x 1/4 adapter from advance, but it doesn't fit in the P-valve bore which is also a 1/8 mnpt. I'm not sure why, but I am stepping away from this nonsense for now before do something silly. I'll swing by the local advance and rummage through their fittings again but this time I'll bring the P-valve to dry fit.

This would have been the configuration with the stock distribution block) (the combo block is for illustration) notice the different fittings on the short section.

11049120_837174936364882_8836424293760767925_n_zps3m17w1tp.jpg


After some digging I found out:

* The adjustable prop valve is tapped for metric M8 (1 0) which is why the 1/8 not didn't work.

* The short section with the 1/4 in fitting is correct for the input of the factory hold off.

I'm going to either track down the fitting, the original hold off, or flare in a 3/16 fitting.

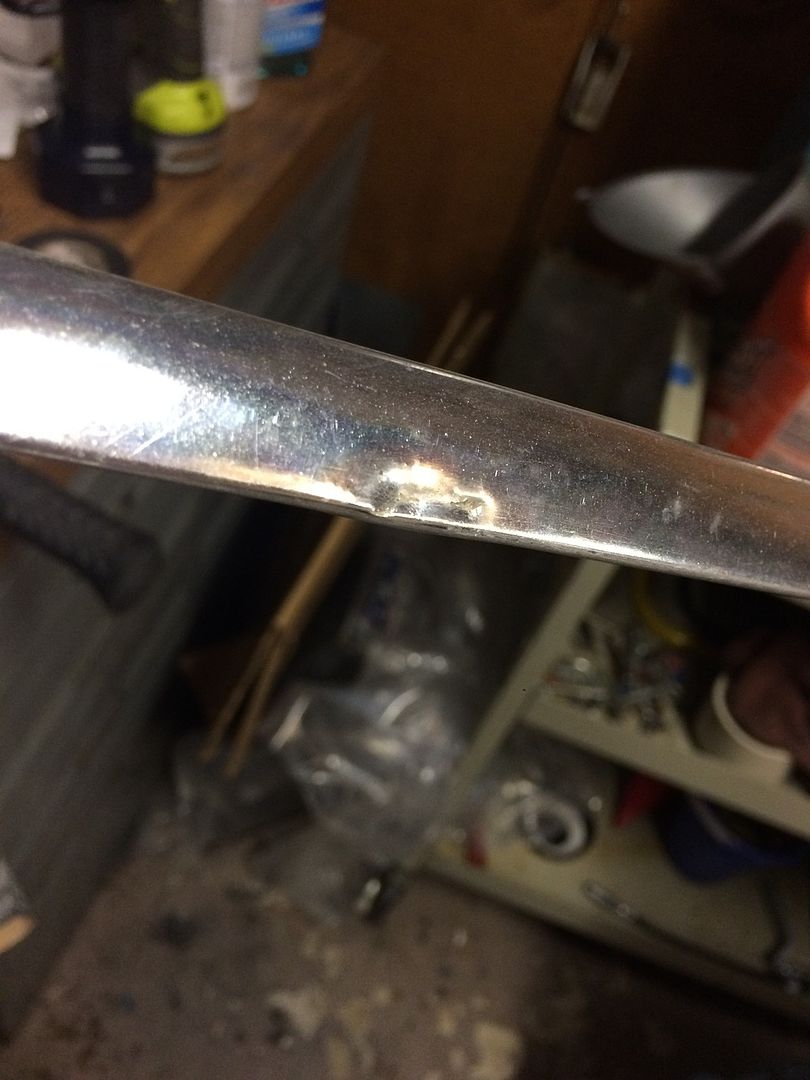
I ended up bending up another short section with 3/16 flare at both ends and using the combo valve with a coupling to Join the 2pc front to back section (ala AbodyJoe).

That being said I can also fit the adjustable prop valve at any time. AND I have the original short section with the 1/4 end if I want to go back to the factory standard block and hold off.

With he lines sorted out I plopped in the Master Cylinder.

11261914_837012423047800_3765898368253099274_n_zpshar6tmwi.jpg


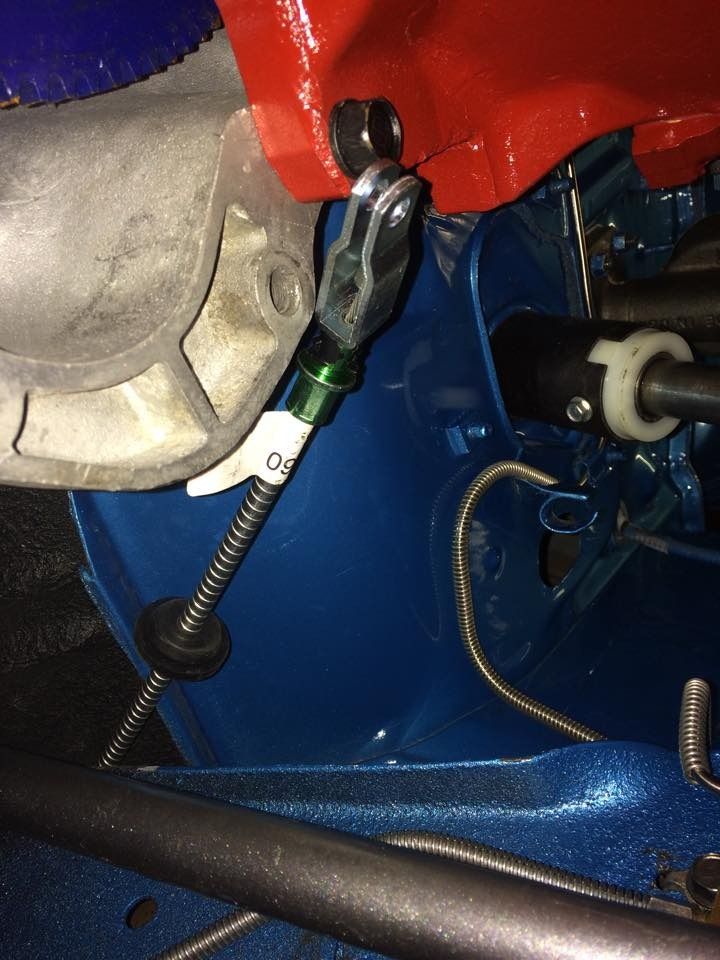
After I was done with the brake lines and master I tackled the parking brake.
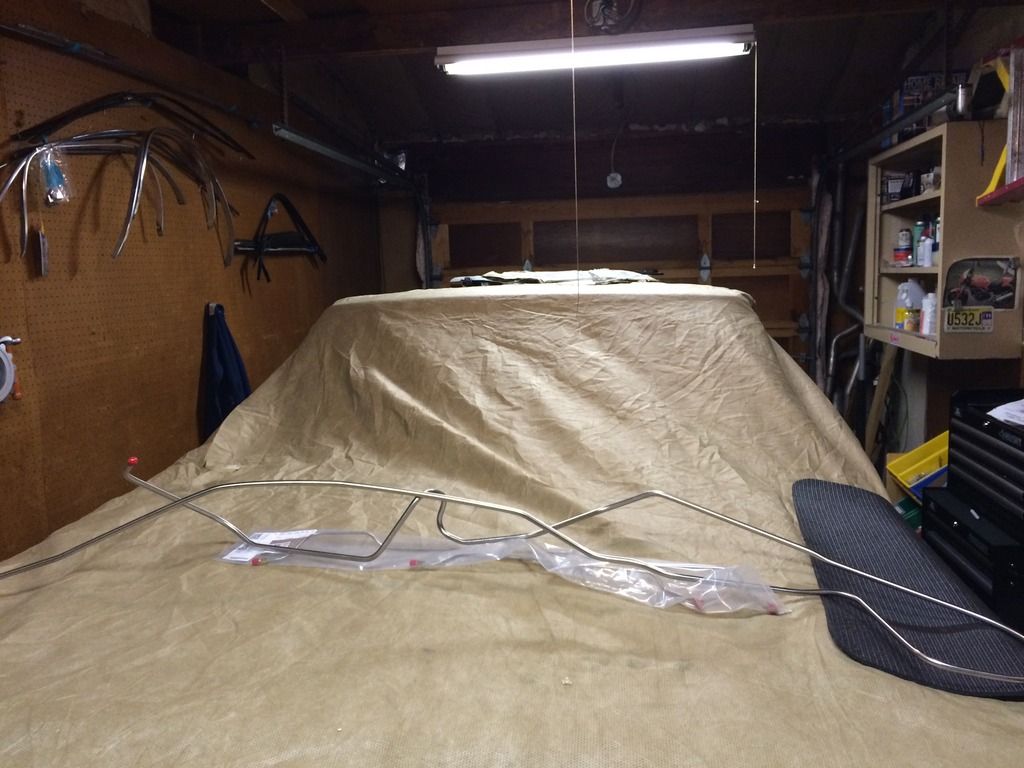
I went with Stainless steel parking brake cable from Inline tube. It went in nice and looks great next to the brake lines.

11215154_841660012583041_7619219036638490639_n_zpsjfqvory2.jpg


11209681_841660125916363_6818564351382017065_n_zpsrkg9wbbe.jpg


a6c49f6d-d36f-48ba-ac85-82ccc5ad66b1_zpsvafohctu.jpg


11659300_841659972583045_6364079854999804749_n_zpsmx3b4ibv.jpg


I still have to install the rear drum lines and connect the equalizer hardware but the hard part is done.
 
Our Fuel system has arrived and is installed. :)
The fuel system was upgraded to 3/8ths unit from Finelines. Again these bends were perfect.

9B3E69A7-4617-447A-93D2-027EEE2CDD63_zpsyesqztvr.jpg


I also picked up a 3/8ths stainless sending unit and cleaned then painted the filler and vent tube. Got 30% off on the 3/8 sending unit and new fuel tank from YearOne, but the sending unit pickup tube is bottomed out preventing the flange from sitting flush. every thing fit after massaging the bends a little.

8ACAEDF6-518D-4928-896F-1CC702E09971_zps6fbk8a5q.jpg


I needed a little extra umph to turn the lock ring so I picked up this wrench from home depot that worked like a champ.

74A4DF2D-AB08-4146-A727-887142BA08CE_zpsr3u2yfmh.jpg


41BEF306-488D-4FEF-A9BD-75EA82F4ED72_zpsz1hdcdik.jpg


Here is a view from the trunk. I think it came out good. OH! and you'll notice I installed the trunk weather seal. The only problem with the seal is that it lifts the trunk lid a little. I don't understand why because it's really soft. But that for another time.

69B745CB-D4E3-4A86-BFCC-2D462CB8415B_zpspxfwkzb7.jpg


And the underside

25DF1D32-1743-482D-BE59-02772837B7FF_zpskezcgz5b.jpg


I'm calling M and H to see how long the harness will be want to keep the momentum going. :)

Getting the fuel system in gets us one step closer to the road :)

We are still waiting for the Rear harness from M and H.
 
This was fun :)

Hood inserts


11753727_844589062290136_8859704013974247151_n_zpsv83qochr.jpg


11701224_844589072290135_8088791374562232200_n_zpsburrtkr7.jpg


11751753_844589102290132_7109067885165793285_n_zpsvfrkahbr.jpg


11752573_844589082290134_4132787943655609881_n_zpstt1lg35v.jpg


Fratzog and Flip Cap

11218994_844191735663202_1772180564325944711_n_zpscqy6opmn.jpg


11742713_844191718996537_6410740400134707559_n_zpsdhp4ndqs.jpg


11745902_844589122290130_7860407757804648612_n_zpsqh8hd0hy.jpg


Air Cleaner


11232285_842013809214328_5922630072108182998_n_zpssuh16kfa.jpg


11665597_842019045880471_6437686789604442948_n_zps3tfpo1w2.jpg


Trans cover


11698593_842019035880472_6059097360438204226_n_zpsarvfnzzi.jpg


Stay tuned
:burnout:
 
After wrapping up the drivers rocker molding I Started on the passenger side rocker trim. First thing I had to do was remove a nasty dent from the show side.

I its not perfect but it is original :)
Ffinished drivers molding.

708E8F93-B303-4FD0-A351-A5E066D50632_zpsmps84oz4.jpg


F722D4DD-BD61-41BE-B2A4-6DBDA7DC3F7F_zpsk5tqhyfw.jpg


I used the claw of my framing hammer a 1 x2 piece of wood and the anvil of my vise to work it out. Then I used a file to pull the high spots.

Time laps progression.

2A16254F-2CE8-436D-BBF6-417F56C4805F_zpskusorpl8.jpg


463847FC-7E1A-4F47-85CF-5983E92C8A7C_zpspahel3dh.jpg


95EF6C96-BF9D-44D4-9FBB-FD4FD64773E2_zpsot9qyo13.jpg


C42D110E-0E57-4D91-AAF9-10A49D635D8D_zpsmmw9m1bb.jpg


4A4E3635-85C5-4659-A9BB-142FF0C0F2A0_zpsgxabajyg.jpg


9E6BC32E-1BC9-4A63-BF13-1DF668B09AA8_zpsvnetxtfk.jpg


DB8C2ADE-CC94-46BB-932F-914C2228CB5D_zpsijudgr5v.jpg


That took me some time but I'm happy with it.
 
I wish every day not spent working on the car was spent just like this :)
 

Attachments

  • image.jpg
    47.1 KB · Views: 590
So many deep nicks on the finish panel that I can't fix. So I'll do what I can and call it character.

29E64F79-27A4-43D9-BFF7-FC41CCFC83BF_zpsbyslh70l.jpg


7C8E7C0D-6065-4263-BE72-E9D38CC4C44A_zpsvfbccrcm.jpg


44803722-30A9-4DF6-886A-54D1CA5C7C36_zpsujfseaia.jpg


68B02EDD-0B44-4F41-A3B2-A738EFD9ECB8_zpshg3ifmnb.jpg


still need to finish up the emblem.
 
Yeah, so it's REALLY HOT in NJ, And I thought I'd take a break from the trim work and focus on the Radiator. Oh, I have more bright work pics of the grill and finish panel coming soon.

But it's cooling for now. So, I pulled the radiator and found it is the original 2949068 Max Cooling unit for the GTS which is good.

I took it to a local guy to have it checked out and he tells me that it's been re-cored for extra cooling.
"Nice!" I say, what else should I know?
Mike: "well,it flows good, pressure test is fine but they were sloppy with the solder."
Me: "That sounds good except for the sloppiness, anything else?"
Mike: "yeah the Oil cooler is good too, it's a nice unit, you could run a 15 lb cap. I'll paint it come pick it up." In that moment I thought I should paint it, but hey he could save me a step so I say sure.

Well it's certainly glossy now lol.

6351DED7-3E6E-4E6E-95A5-CEFA24C24F50_zpszgcgvpsr.jpg


D293AB1C-932F-48BB-851A-944B7B7E8341_zps9mrqftpb.jpg


06C271D6-80A3-415E-9288-525183E78C9A_zpszp2k1d6g.jpg


Think I may repaint this thing.
 
Some pics to show how the grill and finish panel look.
I still have some work to do assembling the grill and painting the logo on the finish panel.

11855919_860389090710133_3554980306254524477_n_zpsmzev8ql2.jpg


11903938_860389080710134_2680166082816422801_n_zpshlbvytxv.jpg


11866221_860389380710104_6884964621431638240_n_zpsrqhwml5f.jpg


11863220_860389104043465_4553271219754975098_n_zpsa8cjvpaw.jpg


11863448_860389120710130_4293209364628808680_n_zpsmwhmibit.jpg


11885129_860389130710129_1507328134633407093_n_zpskk9frftc.jpg


11891263_860389184043457_947710143102864695_n_zpsiz8qbgss.jpg


11885230_860389170710125_6581283246997364063_n_zpsympxx9qv.jpg
 
I stripped the paint off of the radiator the best I could today. Tomorrow I'll prep and paint the Frame and both tanks.
:)
I'll straighten the fins before they get sprayed .

11889597_860584730690569_7559435230809136154_n_zps4lisfgk8.jpg


11885317_860584740690568_3049666547756712249_n_zpsyh1gc3us.jpg


Painted.

11060961_861020390647003_7482008250082641165_n_zpsktqxdrey.jpg


11873381_861020400647002_7340116403718010974_n_zpsdqfszgdu.jpg


11892203_861020410647001_4403139460067379581_n_zpsosycgjfd.jpg


I'll bolt on some accessories next.
 
I'm Waiting for some parts and material to come to start the electrical. So, I decided to decorate the tool box with a Fratzog.

B679CA5E-1A2E-4D59-9921-FE0740770681_zpsaxiyuuav.jpg


And cleaned the wheel trim.

:glasses7::happy1:
 
I had a great weekend. Got to meet Bob "Dusterdaddy" and his son Aaron. We had a great time putting in the motor and trans into their Duster.

Today I riveted the grill back together. I couldn't find the correct rivets ,so I went with the standard blind aluminum type. I picked up a nice multi angle gun and drove the rivets from the top for a clean look. The sizes were 5/32 by 1/4 for the brackets and 3/16 for the rest.

Next up is blacking out the logo on the finish panel then Onto the light bezels.
 

Attachments

  • image.jpg
    49.1 KB · Views: 376
I had a great weekend. Got to meet Bob "Dusterdaddy" and his son Aaron. We had a great time putting in the motor and trans into their Duster. Today I riveted the grill back together. I couldn't find the correct rivets ,so I went with thestandard blind aluminum type. I picked up a nice multi angle gun and drove the rivets from the top for a clean look. The sizes were 5/32 by 1/4 for the brackets and 3/16 for the rest. Next up is blacking out the log on the finish panel the. Onto the light bezels.

Al, your project looks amazing, can't wait to see it.
Your experience and preparedness made our motor/trans install go smooth as silk. We are so grateful. Thanks again.
 
Al, your project looks amazing, can't wait to see it.
Your experience and preparedness made our motor/trans install go smooth as silk. We are so grateful. Thanks again.


Thanks man! You guys rock! I had a great time hit me up anytime.
Can't wait to hit the road with ya'll
 
-
Back
Top