Rocker'sDuster
MOPAR rookie!
Ok, so I have been on here for about a year or two now, and figured I procrastinated long enough…time to finally get a restoration thread going.
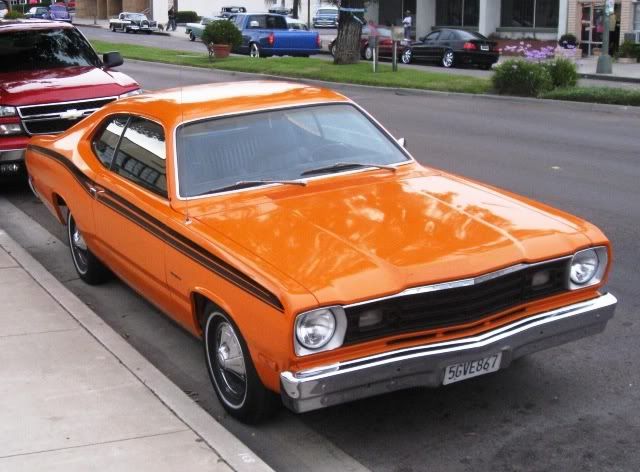
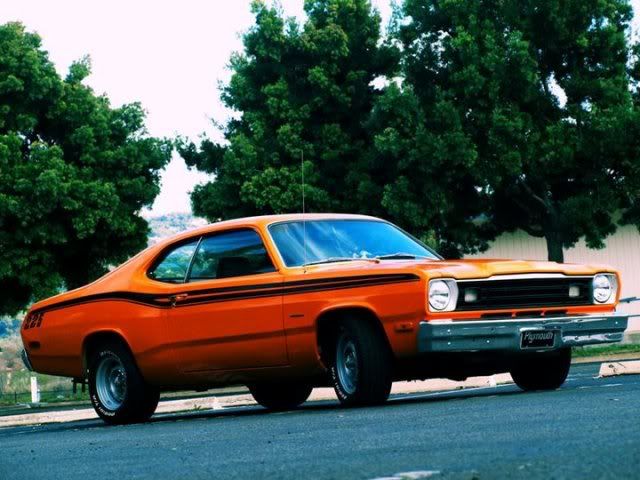
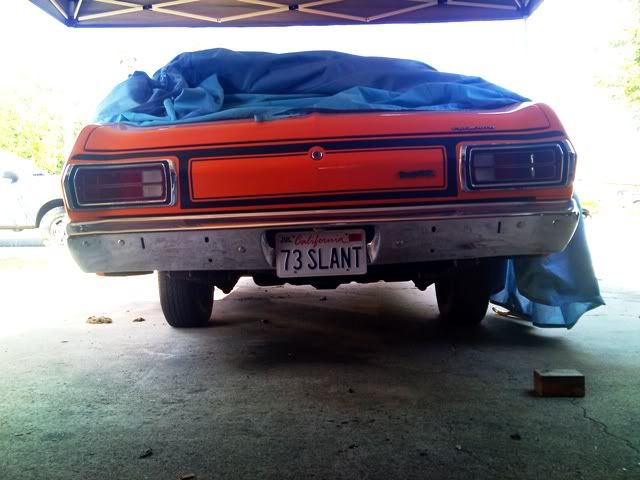
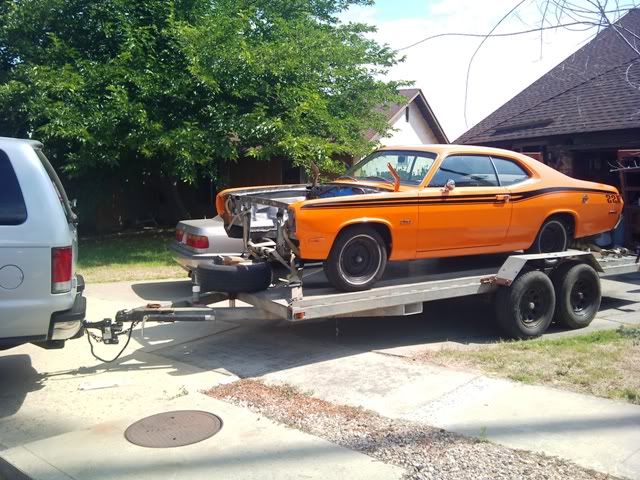
This is our 1973 Duster “Clara”. The family wanted a fun project car we could take to the local cruise, so we added her to our family about 2 years ago (damn time flies). It is your typical dime a dozen slant six Duster: Honey gold, A/C, auto, sbp, manual everything, etc… But she is solid!
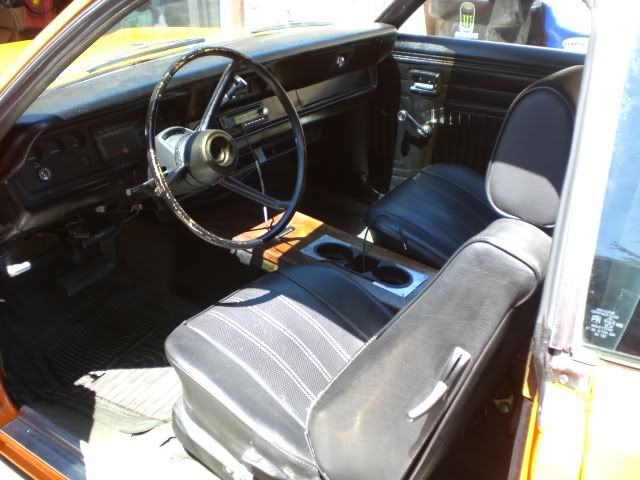
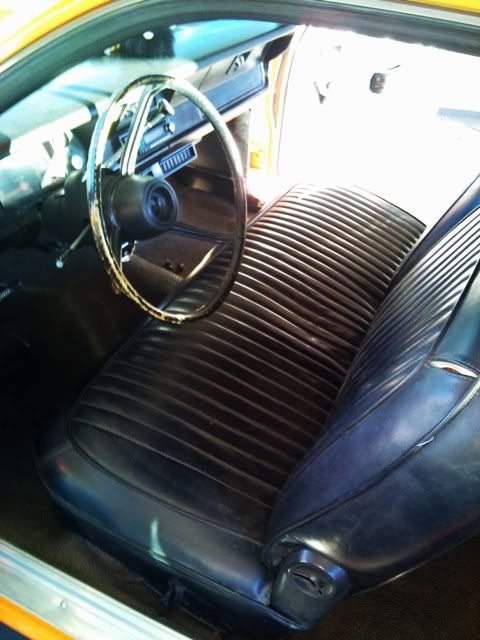
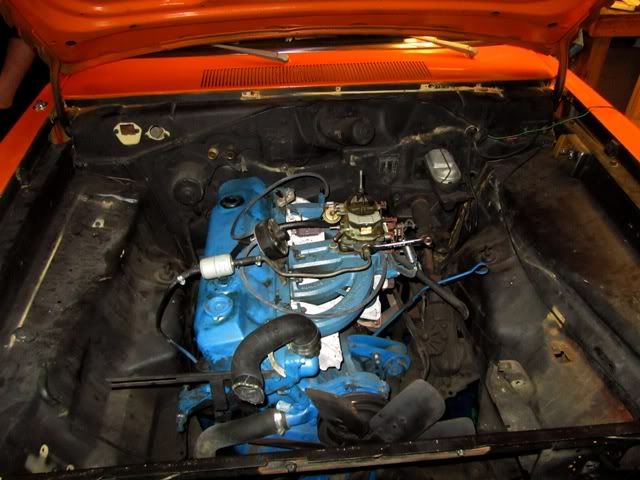
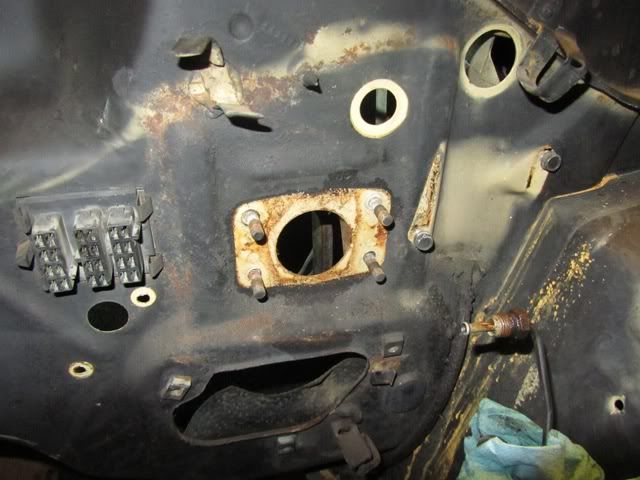
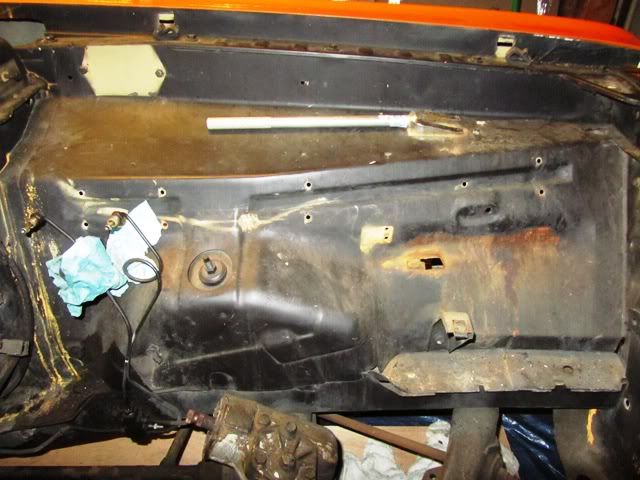
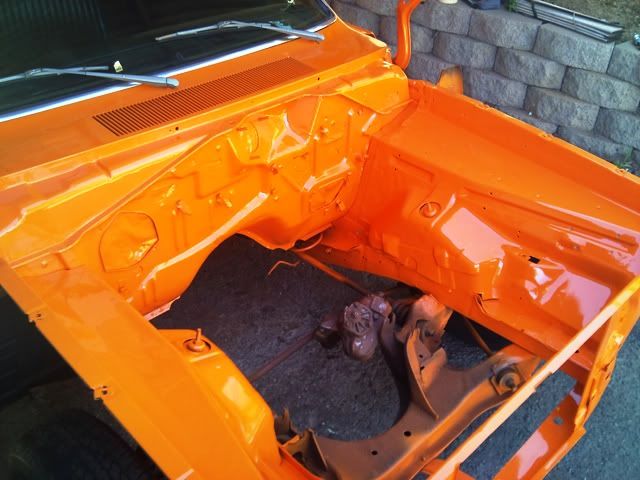
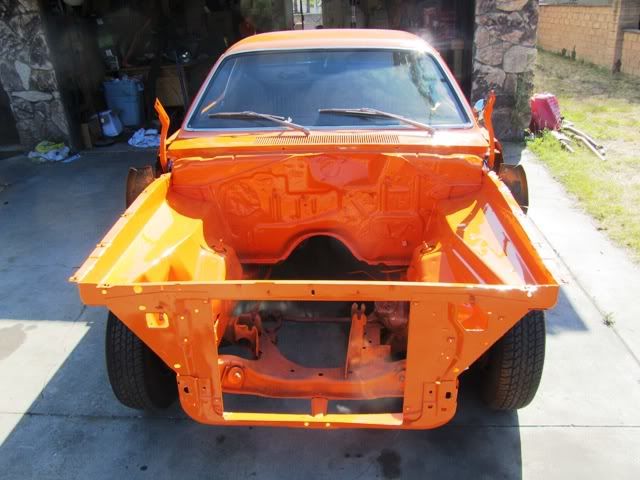
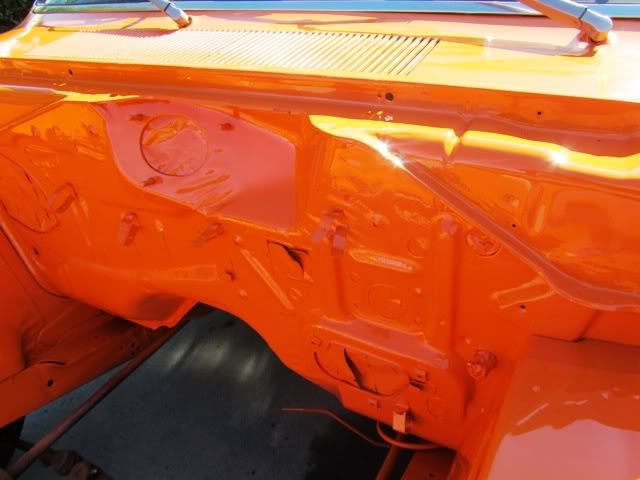
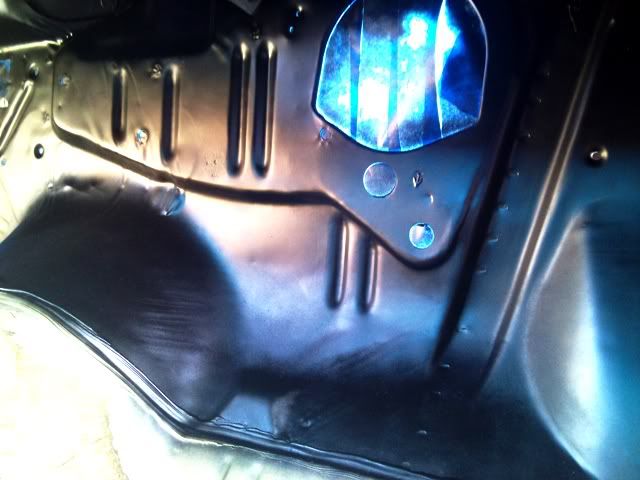
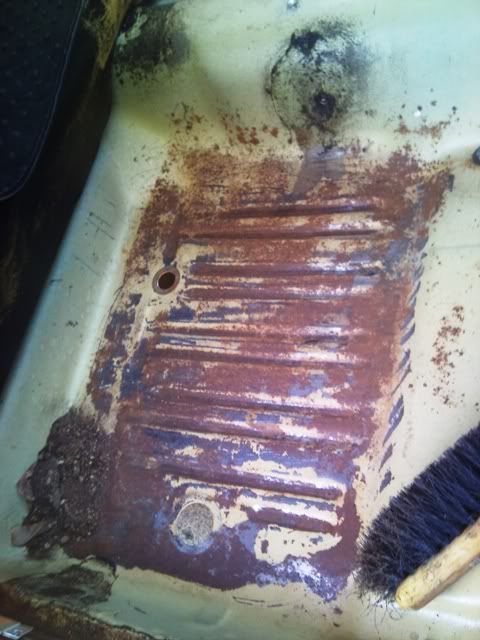
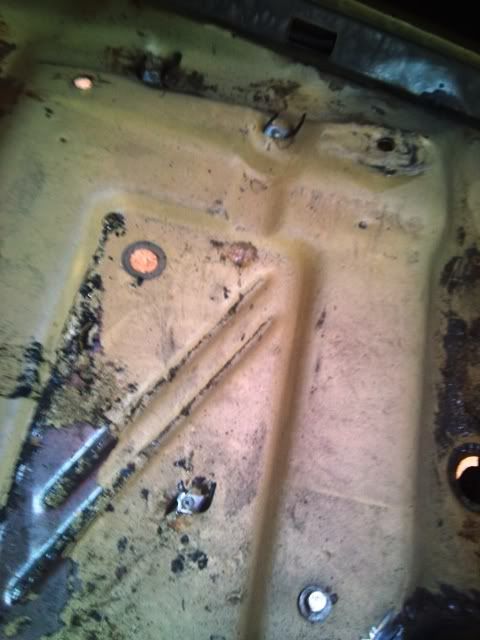
I am the 5th owner of the car; the previous two owners also having been FABO members! When we bought the car, it had already been painted Omaha Orange (single stage), and is a “ten footer” home job. It had older BMW bucket seats installed, and…sigh…the engine bay had been spray bombed flat black (I’m talking mask off the block and spray EVERYTHING else).
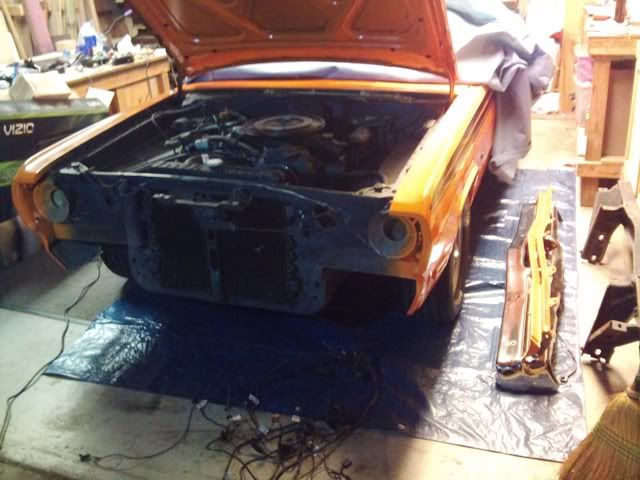
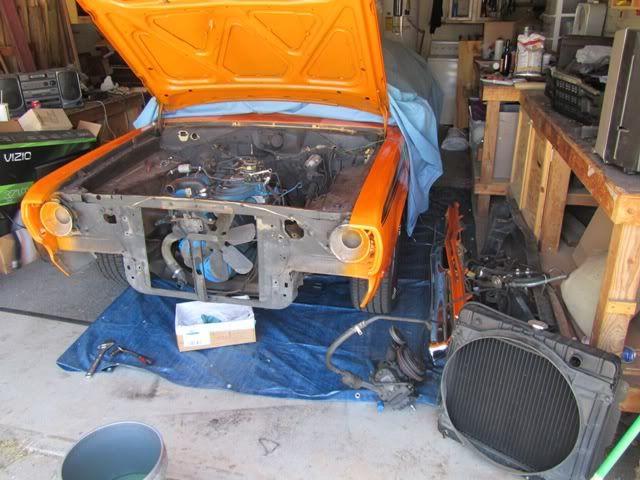
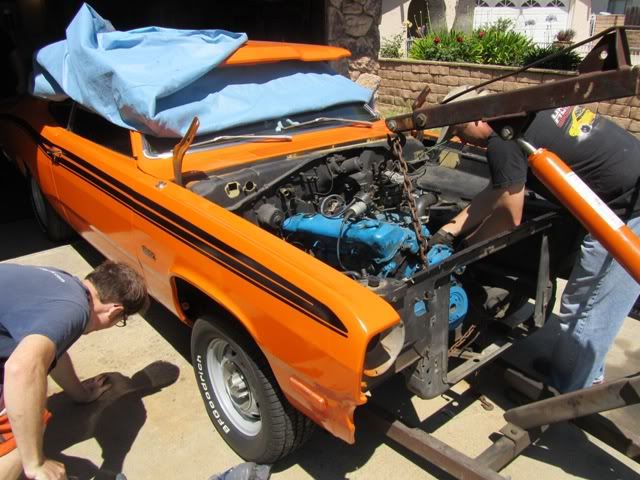
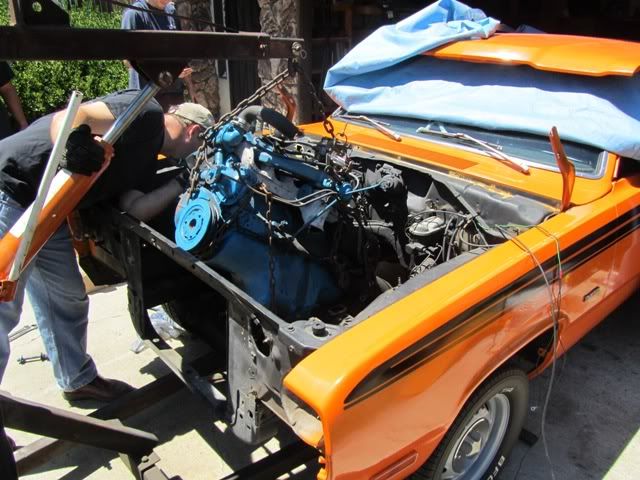
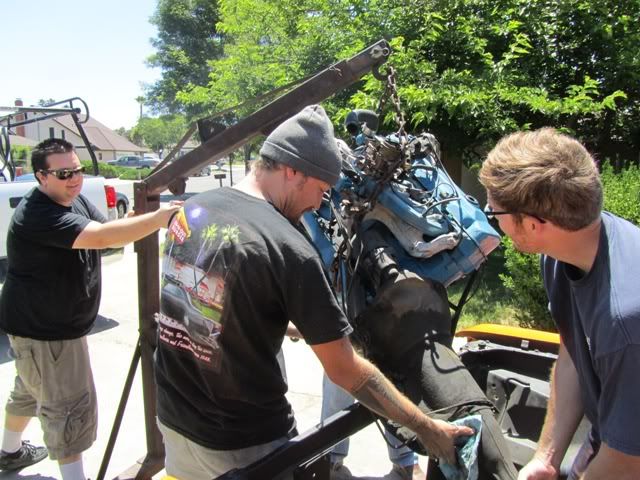
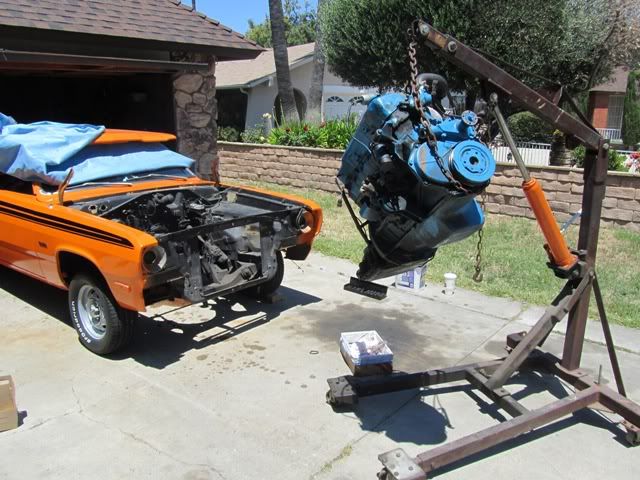
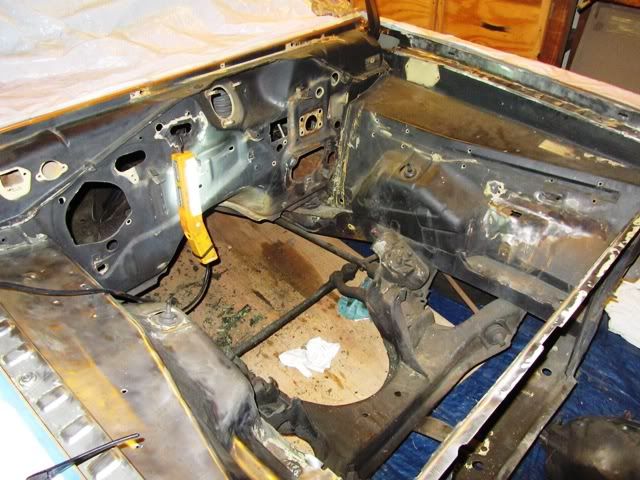
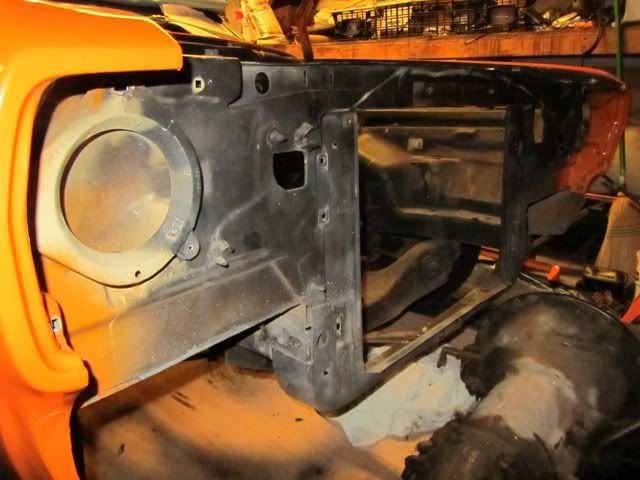
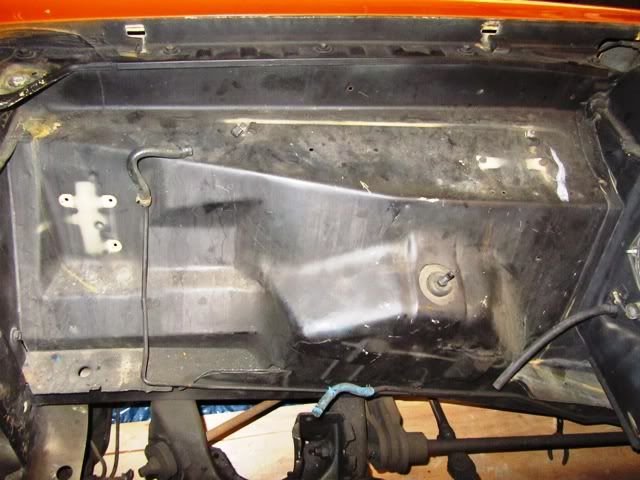
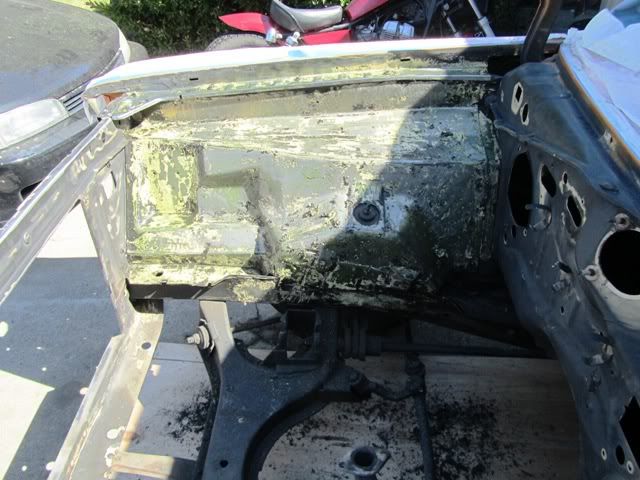
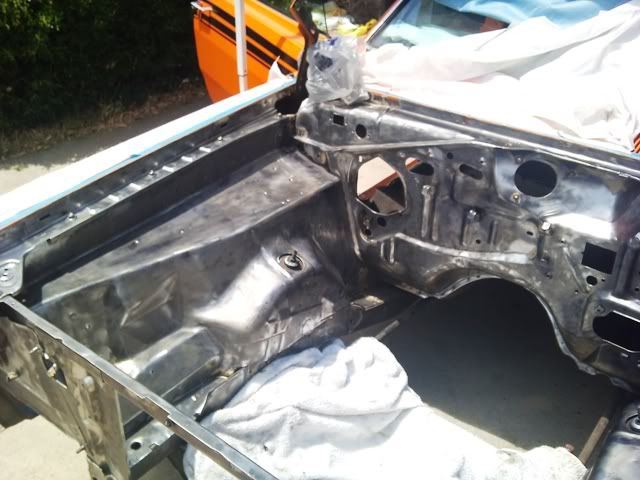
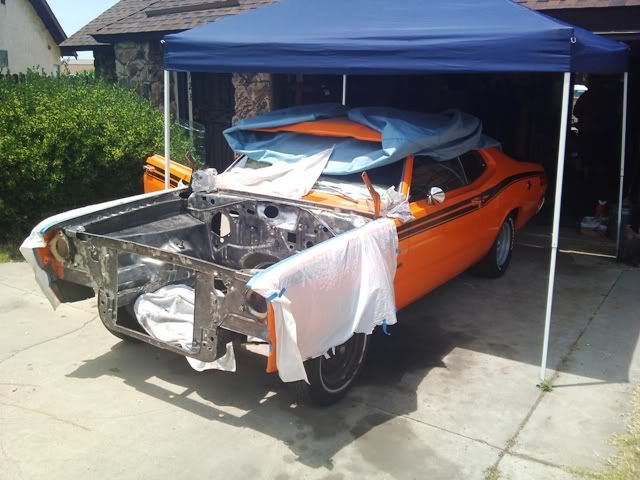
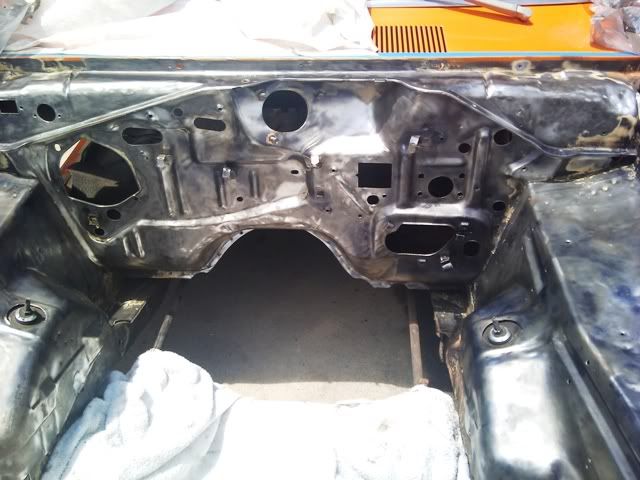
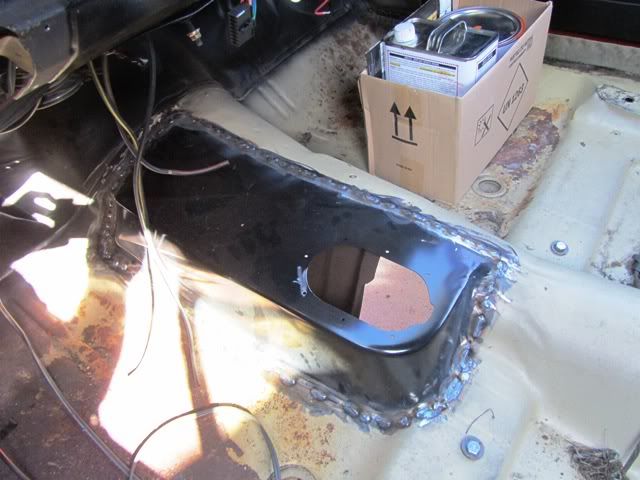
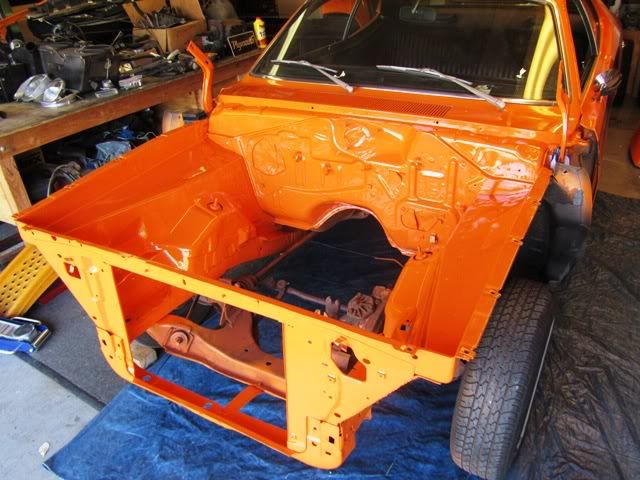
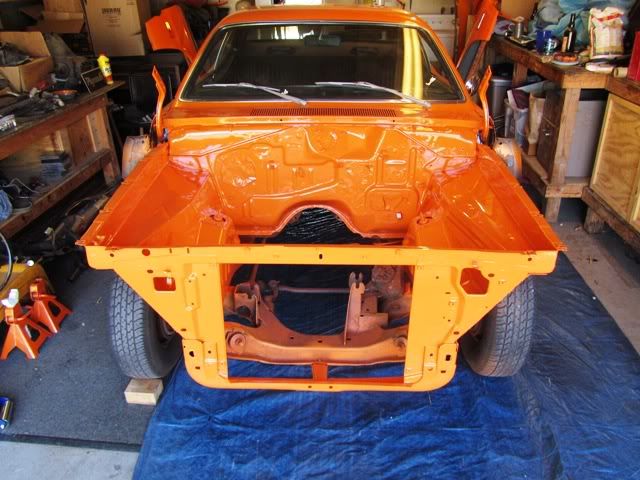
The family enjoyed the car for about a year or so, but we started to want more, so this past June I decided to start converting the car to a 4 speed V8. Don’t get me wrong, the slant was great, but we really want a nice thumping V8. I also want to cleanup/ restore as much as I can under the hood during the swap process.
Below are a few pics from 2009, when we first got the car.

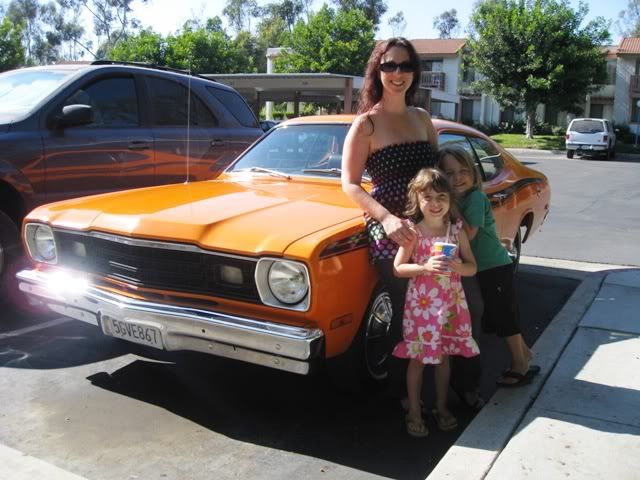
The Fam, before heading to our first cruise.
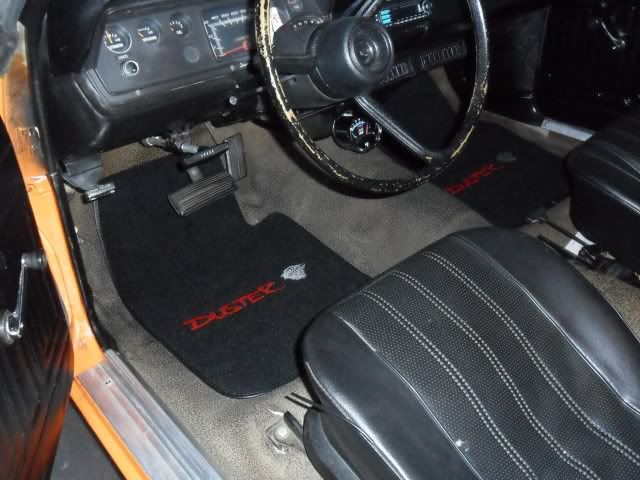
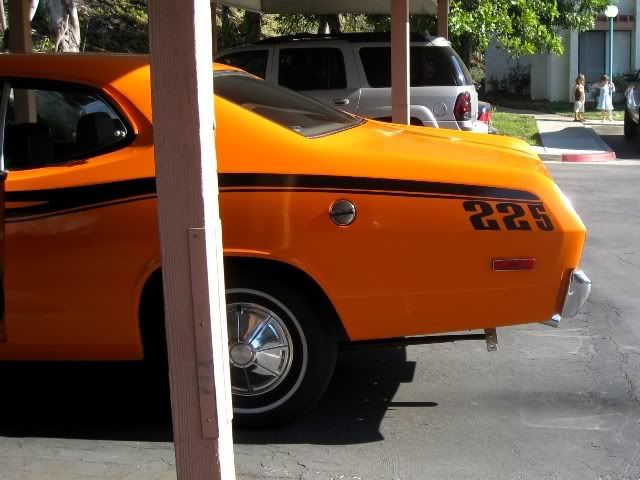
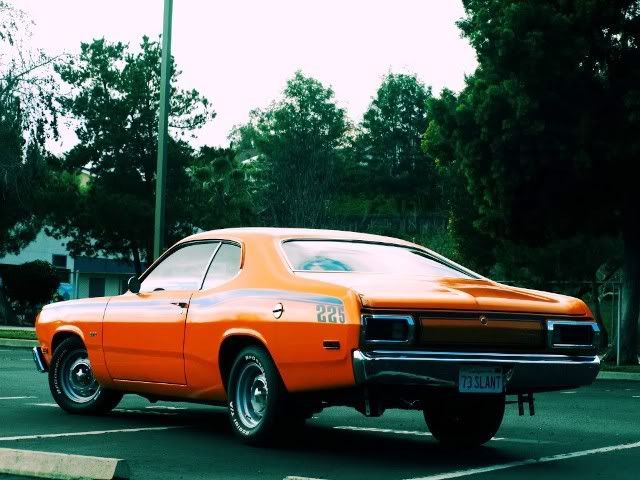
We really didn’t make any drastic changes the first year. My wife got me a set of Duster floor mats, I removed the home made center console, and added a side sweep tach (Not much use really, but looks Damn cool!). I was most proud of the “225” callouts I added though…Gave it a unique touch, while looking like it could have come from the factory (thank you Gary).
Floor mats and tach.
Rocking the 225.
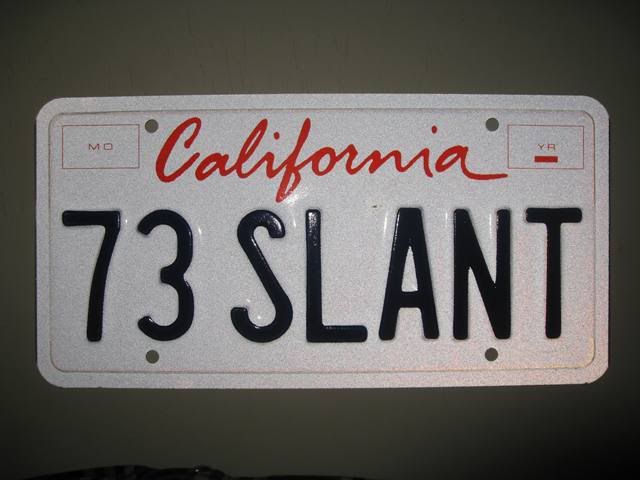
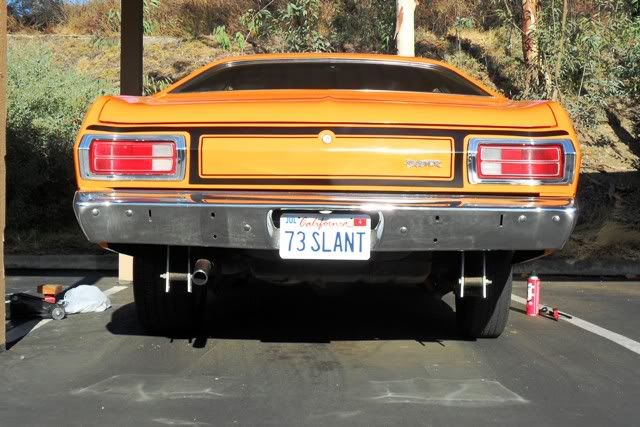
Oh…and a custom plate.
Over the next day or two I will post all of my progress up to where the car sits currently. I have spent countless hours reading through FABO, and have learned soo much. It’s even cooler applying that knowledge to my actual project! Maybe it’s still too early, but I am having an absolute F@#king blast working on this car!
Hope you enjoy.
This is our 1973 Duster “Clara”. The family wanted a fun project car we could take to the local cruise, so we added her to our family about 2 years ago (damn time flies). It is your typical dime a dozen slant six Duster: Honey gold, A/C, auto, sbp, manual everything, etc… But she is solid!
I am the 5th owner of the car; the previous two owners also having been FABO members! When we bought the car, it had already been painted Omaha Orange (single stage), and is a “ten footer” home job. It had older BMW bucket seats installed, and…sigh…the engine bay had been spray bombed flat black (I’m talking mask off the block and spray EVERYTHING else).
The family enjoyed the car for about a year or so, but we started to want more, so this past June I decided to start converting the car to a 4 speed V8. Don’t get me wrong, the slant was great, but we really want a nice thumping V8. I also want to cleanup/ restore as much as I can under the hood during the swap process.
Below are a few pics from 2009, when we first got the car.
The Fam, before heading to our first cruise.
We really didn’t make any drastic changes the first year. My wife got me a set of Duster floor mats, I removed the home made center console, and added a side sweep tach (Not much use really, but looks Damn cool!). I was most proud of the “225” callouts I added though…Gave it a unique touch, while looking like it could have come from the factory (thank you Gary).
Floor mats and tach.
Rocking the 225.
Oh…and a custom plate.
Over the next day or two I will post all of my progress up to where the car sits currently. I have spent countless hours reading through FABO, and have learned soo much. It’s even cooler applying that knowledge to my actual project! Maybe it’s still too early, but I am having an absolute F@#king blast working on this car!
Hope you enjoy.


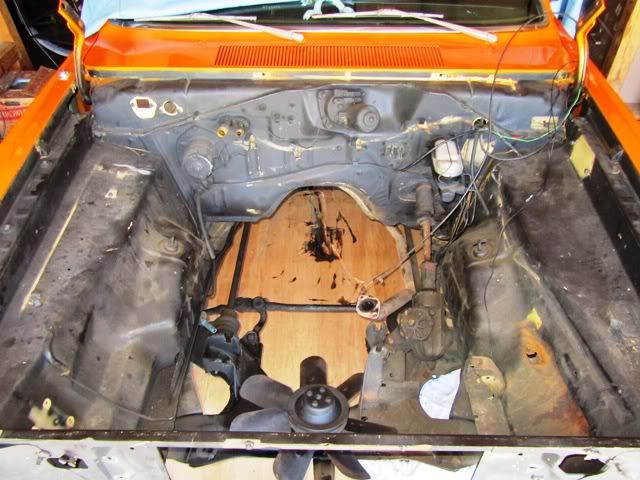

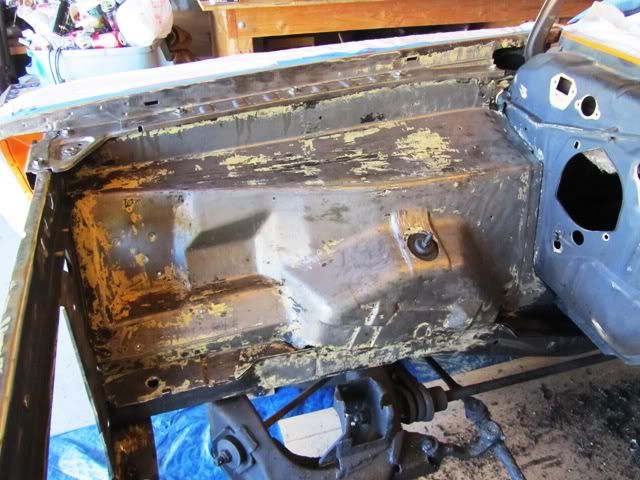


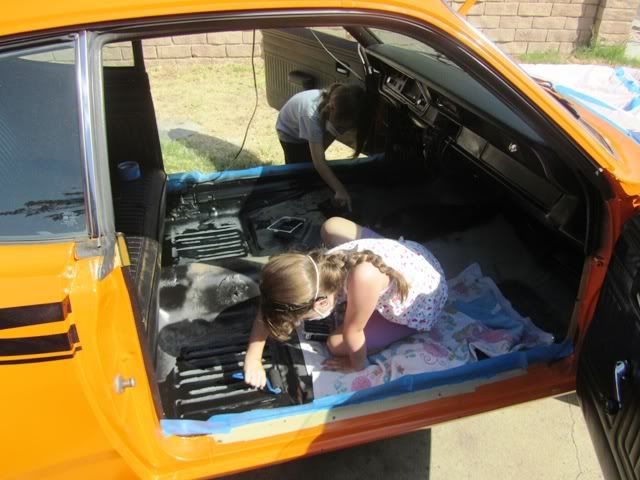

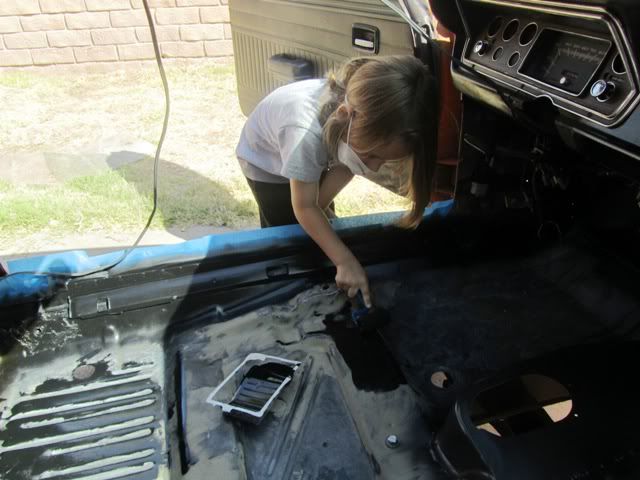
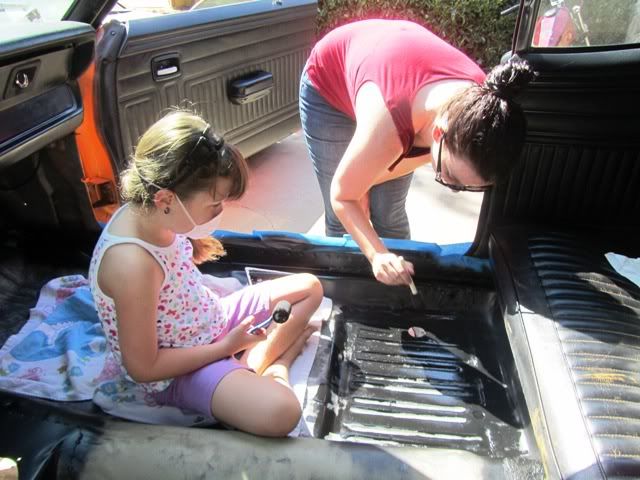
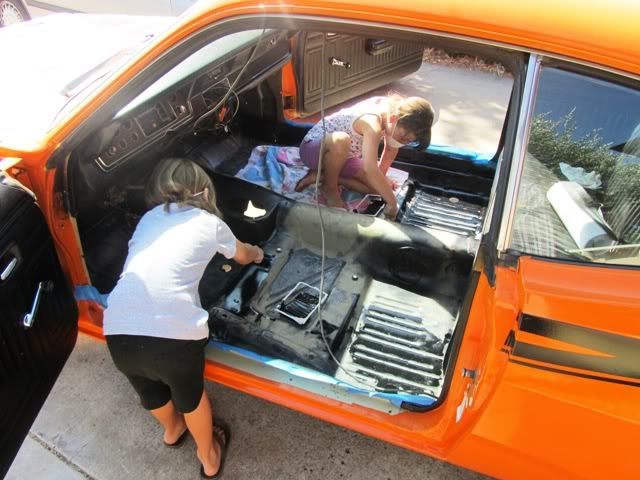

") What did you use for the floor, just paint or POR-15? The car really does look good.
What did you use for the floor, just paint or POR-15? The car really does look good.


