Rockerdude
Rock n' Roll and A-bodies
Wow. This build has made me look at more door cars in a whole other respect. That is going to be one of the nicest four door cars around.
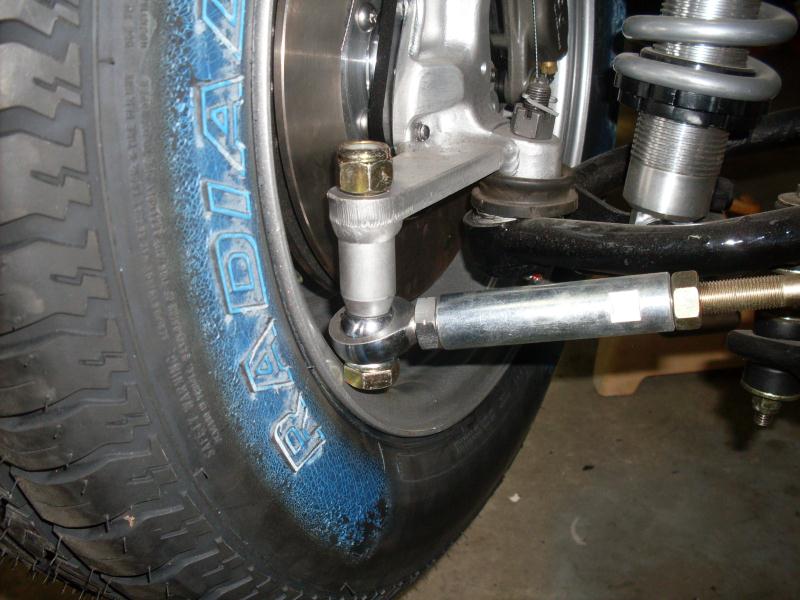
>Great pictures and progress. It looks like your steering link is on "top" of the steering arm ? I suspect this angle will generate "bump steer". I think it's supposed to match the angle of the lca. ? Good Luck, ateam.")
I see in your pic you have a wiring harness drapped over the 5.7 Hemi but you quote in your future expenses that a MOPAR harness is $4500. If you cant use this one on the engine cant you just get another junkyard harness and ECM? I would really hate to see you spend that kind of money on a harness when there maybe a few other options.
Great buiild though, I was toying around with a 5.7 Hemi daily driver as my next project. In a A-body of course!!
I know that the steering link is supposed to go on the bottom........If it causes some bad bump steer
problems, I will have to get different rims........
You DO realize if you plan to drag race this car, the brake lines along the firewall are illegal & probably won't pass tech?
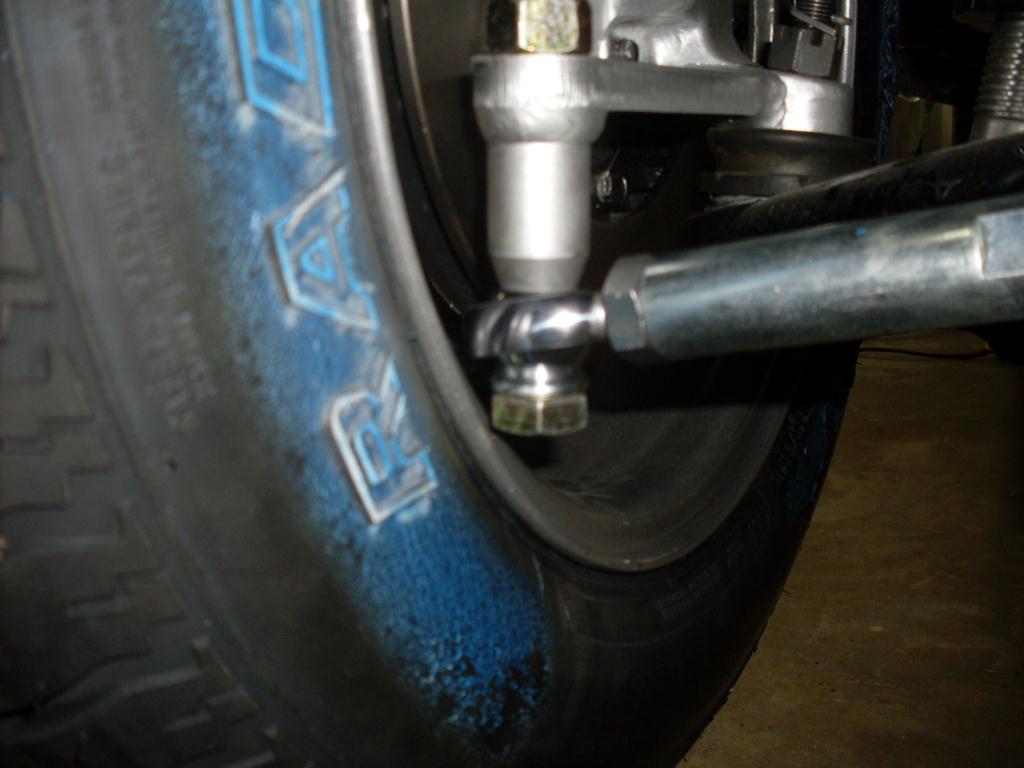
Look carefully at your photo. You see how the tie-rod, when mounted
correctly on the bottom of the arm, follows the angle of the lower control
arm? This is not by accident and is the way it must be to elimate bump-steer.
That's why their sleeve is exactly as long as they made it.
If you mount the outer tie-rods to the top of the arm you will have so
much bump steer that the car will be ennormously unsafe to drive.
I can not emphasize how huge this problem will be. You could easily
loose control in any situation where you get on and off the gas at
highway speeds or on a rolling road which excercises the suspension.
One drive is all it will take to park it until a solution is devised to
get wheels with the proper clearance.
Yes. One ride was enough. Still S-C-A-R-E-D !. Is it from experience?
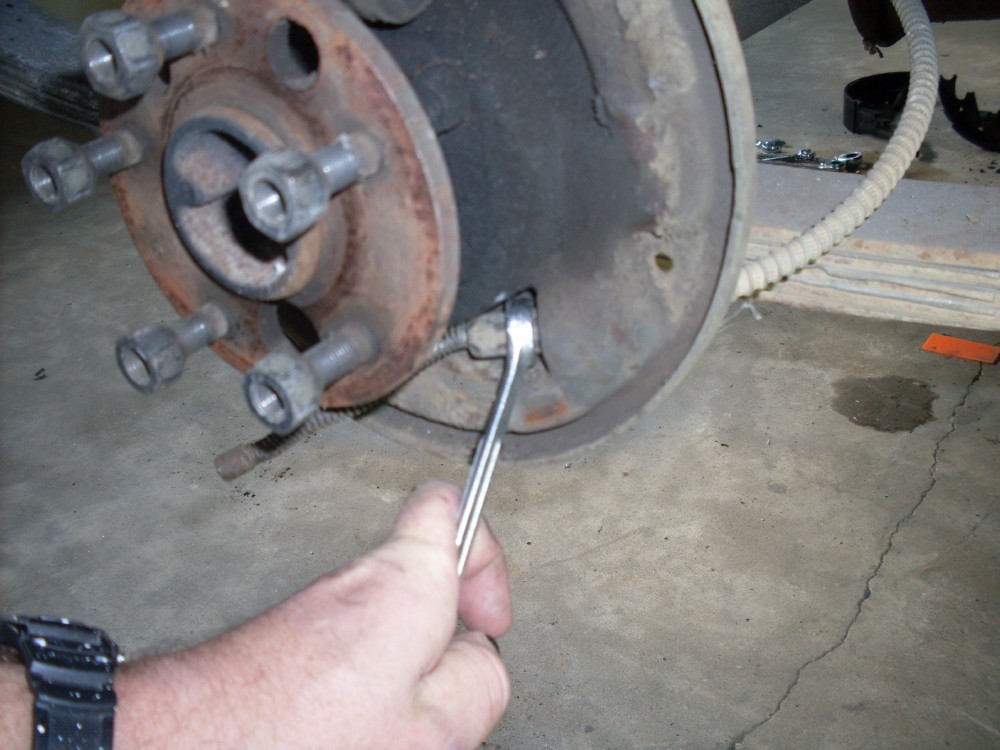
I am having a difficult time removing the emergency/parking brake cable. I read somewhere to use a 1/2 inch wrench to "squeeze" the tongs. Once the tongs are squeezed, the cable should come right out. However, I tried the 1/2 inch, 12 mm, 13 mm, and 14 mm wrench. None of them could squeeze the tongs enough for me to remove the emergency brake cable.
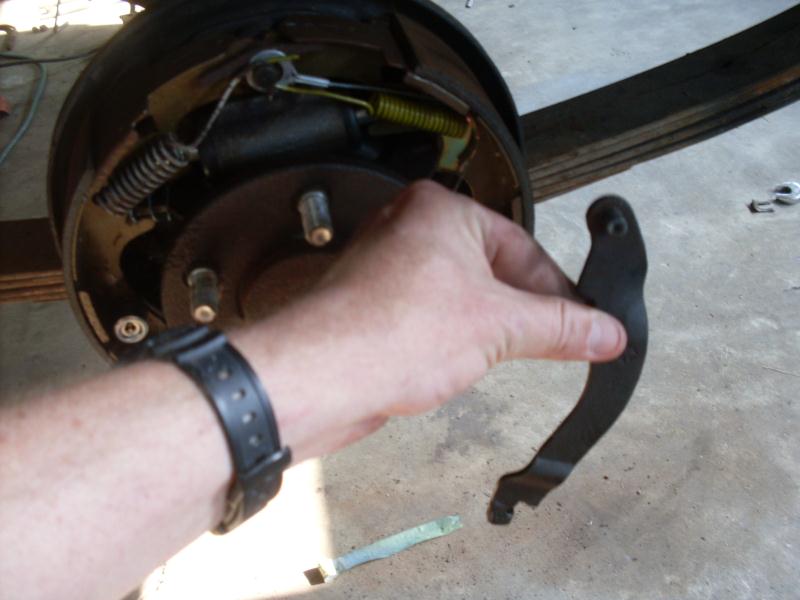
I decided, instead, to remove the parking brake cables from the "equilizer" and then remove the emergency brake cables while the rearend is OUT of the car. Hopefully, it will be much easier. I will let you know, soon.
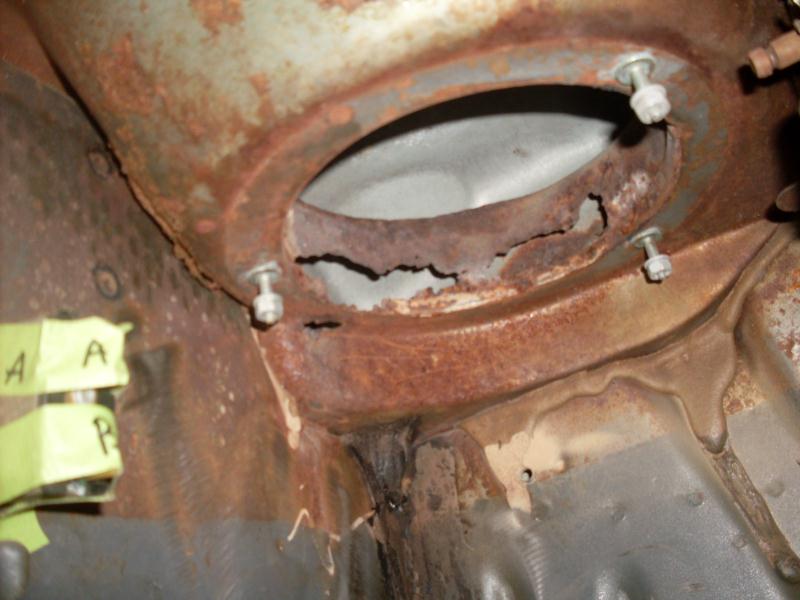
The other thing that I have been working on is the driver's side vent. I showed before, the rust damage. (Picture below).
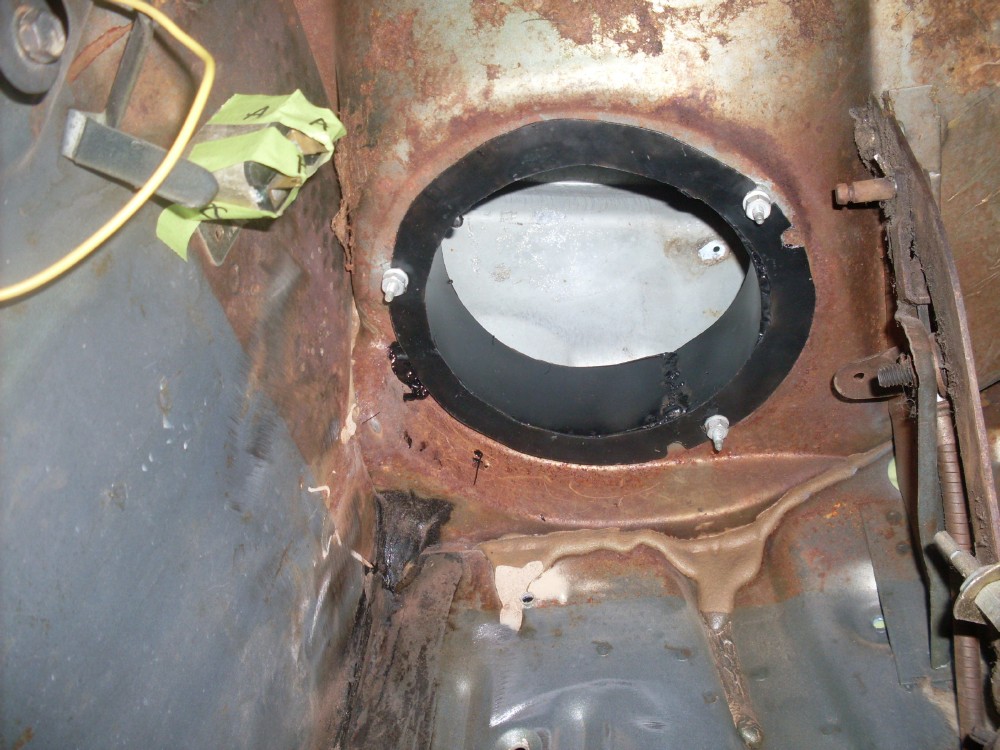
Instead of trying to create a new sheet metal vent and trying to make it look perfect, my goal is to make it last until I am dead. So, I fabricated a new vent, and then, I put a bunch of epoxy on the "lip" to seal it in there. It can't be seen and I will be dead before it rusts through. So, I am OK with my "fix". Anyway, here is the "fix".
I hope to have more to report soon. Hopefully, my wife will find something to do on the weekends (like getting a job) so that I don't have to "entertain" her all weekend.
It's been a L-O-N-G time ago, but I seem to remember using a small hose clamp, tightened up around that cable stay to squeeze down to a size that would start through that hole....
I tried the small hose clamp. It worked great. Thanks for the tip.
was that car on craigslist last year. if it is it looks like a nice
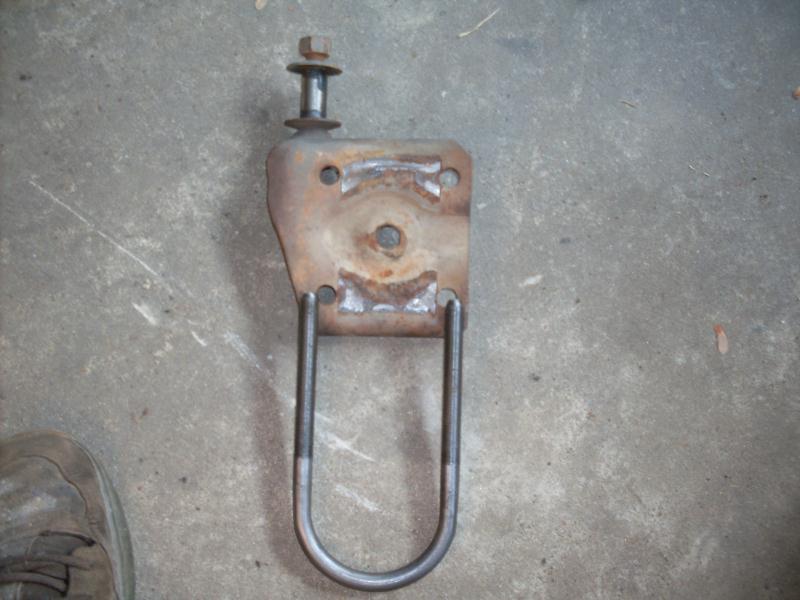
I just got a set of shock plates from mancini yesterday.
The holes are slotted so they fit 8.75 and 8.25, they are about $100.00 a pair.


