72 duster Build progress

-
The rear BFs fit in your wheelwells perfect. I have a pair BF drag radials in that size that I will putting on my Duster. Did you put off spring shackles to make them fit? I just bought a set and havnt put them on yet to see how they fit.
 
The primer was 2k shopline correct? What brand was the sealer?

no the 2k primer aswell as the sealer were both autobody master brand. Thats what my local paint shop carries. not sure in what other states/stores it is available.
 
The rear BFs fit in your wheelwells perfect. I have a pair BF drag radials in that size that I will putting on my Duster. Did you put off spring shackles to make them fit? I just bought a set and havnt put them on yet to see how they fit.

That's what I removed from the car was 275/60/15 BFG Drag Radials. But they were a little worn and I am going to do more street driving with the duster anyhow so I opted for the BFG radial T/A's.

And no I do not have offset shackles. My leaf springs have been relocated inbound 3" on both sides.
 
looking better every time I see it

(the only thing I would change is a body-color gas cap:D)

I thought about it but I kind of like the chrome cap. Still have some other odds and ends that i need to paint ....so who knows....may change my mind yet lol
 
at least a painted cap can be swapped out with a chrome one any time (and back and forth)- if that's the only complaint someone has that's pretty damn good:D
 
true lol.....I am building the car for me and not anyone else... BUT I do like your idea on painting the cap.....like you mentioned, I can always swap back to a chrome if i don't like it....then I can use which ever cap i feel like using.

I think Ill take your advise on that and see how i like it.
 
Thanks Pat!.

yup, I am hoping to have it done soon. I was really hoping to get a couple months of driving out of it this year. But its looking like I may be lucky to get a couple weeks to a months worth of driving out of it just so long as i get things done in the time frame i am thinking. I think I should have just about most of the major stuff done by the beginning of september. I would like to drive it up until around halloween or so before i park it for the winter.

we will see though, all depends on what i can get done and if finances will allow for it.

Yesterday and today i worked on restoring the tail lights. I did one in a satin black and I did the other in a silver like came factory. I wanted to see which i liked more. and the black to me just looked to tacky/cheap for some reason. so i think I am going to redo it in the silver to match the other . the factory look is better in that instance.

I got the rest of my paint supplies ( mirrors,hood latch support,bumper filler panel) still have to get more satin black for the spoiler and scoops. But ill start working on all of that stuff soon.

my headlights showed up today! (they are the clear lense aftermarket lights with the replacement H4 bulbs.....they looks really awesome!). Also my new wiper arms arrived today. I also picked up a set of clips to hold my plymouth emblem in the hood in place.

anyhow, ill keep you guys up to date as i go so stay tuned.
 
CAN'T WAIT FOR MORE PICS!!!! sorry I shouted, more pics please. LOL Sounds great Jerrod
 
Well, don't like the dusters going to be on the road this year...... Told my brother to hop in and I'd take him for a quick ride, got about a mile from where I keep the duster stored. Put it in first, smashed the gas and launched, hit second and the shift kit really showed its colors lol, hit 3rd . Let of the gas to start slowing down and BOOM and then a VIOLENT shaking. I mean really bad, scared the crap out of us. And some neat little clanking crunching noises also with the shaking. So I immediately pull to the side of the road cause I assumed something in the rear end cut loose and I dreaded getting out to look thinking the worste that my tire caught my quarter panel and wrecked my body or something . Luckily all appeared good. So we limped it the half mile or so back at about 5 mph . Got it back safely. Pretty sure something in the rear end cut loose , feels like the passenger side axle snapped at the carrier and the only thing holding the axle in is the retaining bolts and the end of the axle just wobbling in the housing. It also appears that the axle hosing kicked some because the front and rear gap at my rear tires to my quarter panels is tighter on one side versus the other.

We just services the rear end and inspected everything and it all looked good, set the end play adjustment as it should and everything. I think it's a matter of pure power busted something back there but I need to take it apart some time to see for sure what exactly the issue is.

It's a bummer.... But at the same time I'm glad it wasn't worse (mess my body up or something or lose a wheel and smash my quarter panel or something). And at least it didn't happen on the way to a car show or out cruising.

So ..... That's where she stands for now. Always some kind of set back it seems. But it's got to be done. One more thing to add to the to do list I guess.

And if I take anything from it.... I guess now I know just how much dang power she has and how good the new shift kit works! Lol.

I'll update you guys on what I find was the problem when I get the chance to dig into it.
 
Tear the rear apart and see what happened, did you check the coast side of the gears?
I doubt an axle twisted off but you never know.
Good luck.
 
good news......looks like the rear ends good. I just did a quick inspection but what I found was that when I gunned it the rear axle shifted in the u-bolts about a half inch or so which through the drive shaft out of wack and it dropped a u joint cup which let the driveshaft drop ....at which point the car felt like it came unglued when the shaft went so far out of balance. luckily one cup and strap held which kept the drive shaft in and didnt cause worse damage. so now when I get the free time I am going to lift the car up and go over all the rear end work the previous owner did and make sure its all up to my standard and retrue the axle housing to the car. put another u joint in and then it should be good to go.


just wanted to let you guys know my findings so far!
 
wow.. glad to hear it wasnt anything catastrophic dude.. that coulda been BAD...
 
ya, im glad it wasnt worse too guys.

I kept thinking to myself.....I got on it good.....but its not like I was doing neutral drops or pushing 1,000 horse or anything .....and I just inspected the internals of that rear end and seen no signs of fatigue .....so I was scratching my head wondering how an axle would have snapped (that sure is what it felt like). so I decided to jack it up and look things over to get a better idea of what happened. I spun the wheels and they both were still spinning so I knew then that the shaft hadnt sheared .but there was still a nasty clunk when i rocked the wheel back and forth. I got under and looked at the drive shaft and it "appeared" all was normal at first. Then I had my father spin the wheel while I layed under and looked and THEN it rotated to the opposite side of the u-joint where I then seen one of the cups was missing. and after a little more digging I seen the u bolts on the axle housing look like they moved away from the "dirt marks" of where they were sitting. so it appears that when it launched the rear end housing shifted and threw things out of wack.

so now I need to go through and see what all the previous owner had going on in that area and true everything up and inspect it all and what not and THEN I should be back in business.

so I may be able to get it on the road this year yet! .....if I can get a months worth of driving out of it even id be happy. its been a long time coming and I am ready to drive it.

anyhow....ill keep you guys posted on progress. right now ( or was until this rear end issue) I was prepping the rest of my odds and ends parts for paint so I can get all that done and out of the way.

stay tuned!
 
gee...thanks.


(see avatar:D)

Haha no offense. I think it was due to my tail panel stripe being a matte ack finish and I painted the tail lights a satin black and the difference in the two sheens did not mesh together well. Anyhow I redid them in the factory silver with a satin black divider stripe like factory came and they look much better.
 
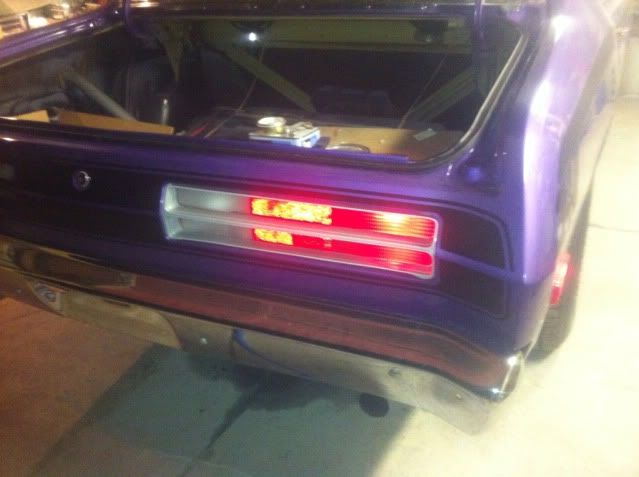
Restored the tail lights (the picture was prior to putting the black stripe between the two....ill get some pics of them all done soon)
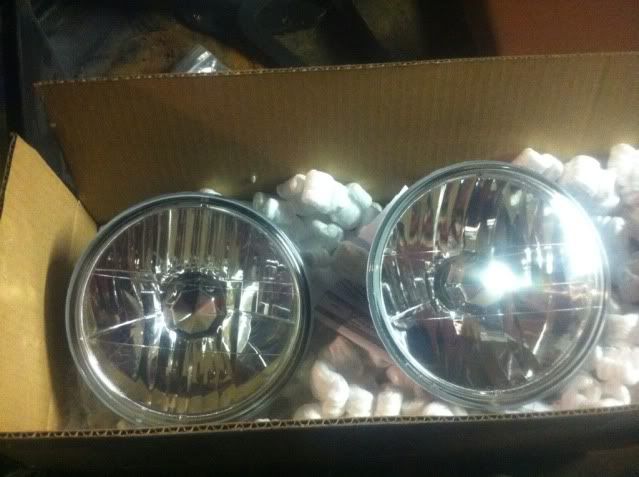
D689B900-62F3-49CB-974F-731883D918FA-3483-0000022B994D42B9.jpg


New headlights
1A8C67C2-01F6-4380-8B65-F333C83A627A-3483-0000022B95E89FE5.jpg


cleaned the interior up ,vacuumed it and wiped all the dust off everything.

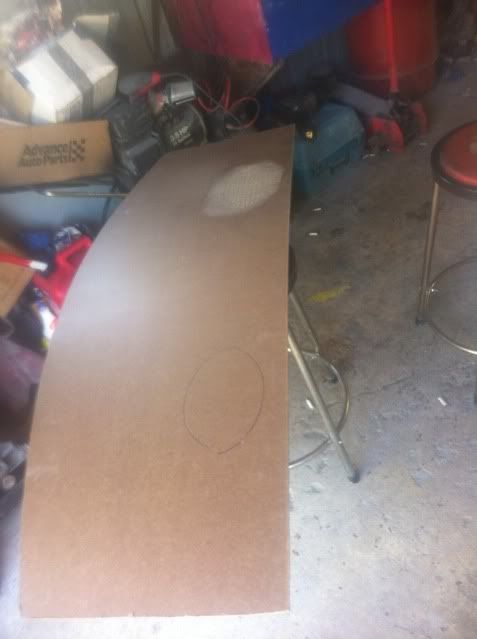
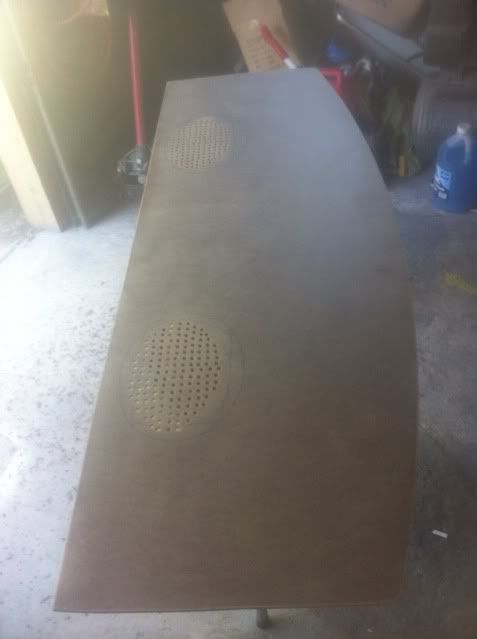
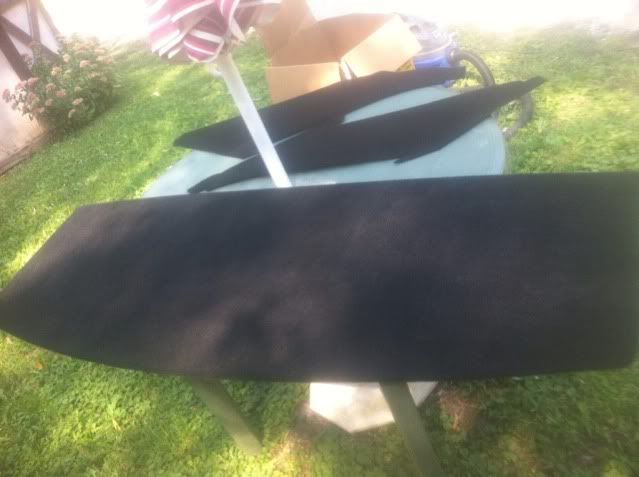
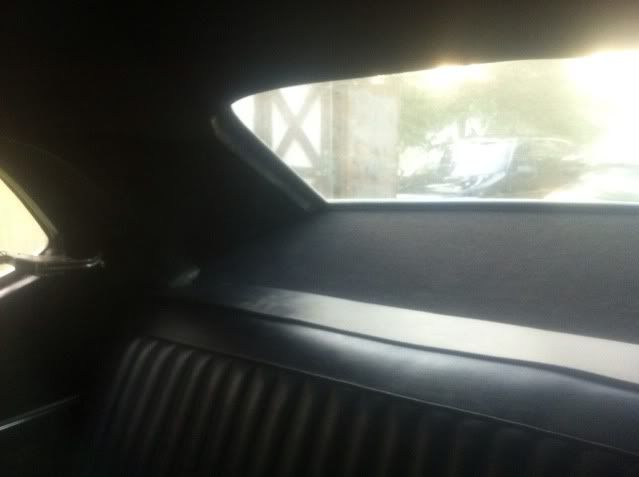
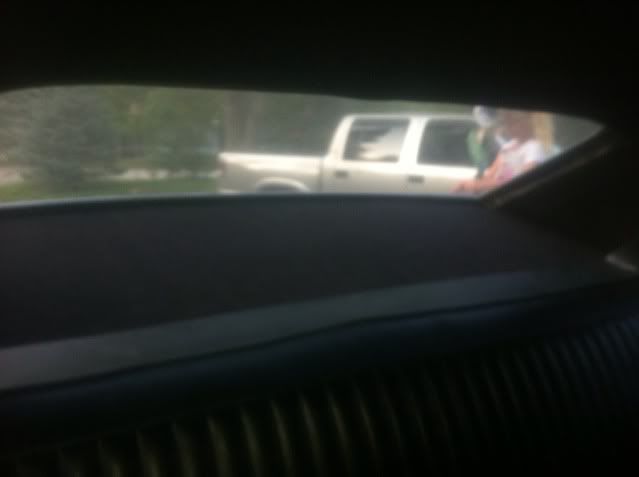
I also just finished building my own package tray and am almost finished covering my new interior sail panels. (couldnt find a good deal on a package tray so i went and bought a sheet of high density board and a roll of carpet ( $20.00 total).templated it all out,drilled vent holes where the speakers would be (long tedious process by the way lol). install new pioneer 6x9's in the car while I was right in there anyhow. sanded the board down,lined it all up,brushed on contact cement on the carpet and board and laid it all down nice and flat and put relieve cuts in it all the way around. DONE....new package tray!. going to try to get all that finished up and installed tomorrow or so).
88232930-83D7-4F78-8E3D-7E9F43E7E392-3483-0000022B87B9DBBA.jpg


C6C9A982-9CC5-4193-8E4B-54D4196E3664-3483-0000022B84BA640E.jpg


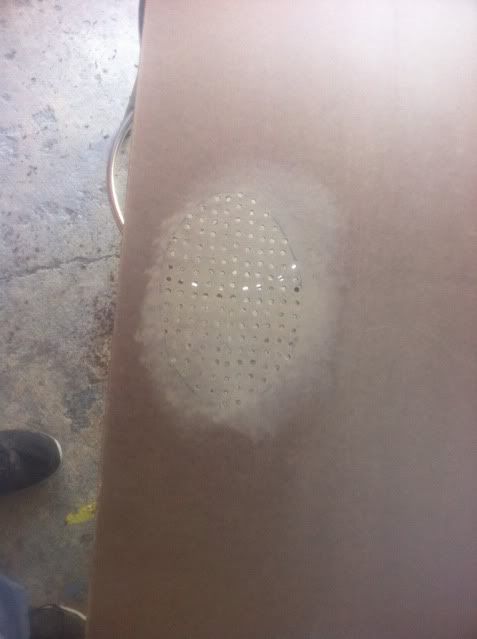
measuring the grid out wasnt so bad......it was the repeditive drilling and deburing each hole with my deburing tool and sanding it all smooth that got a little old after awhile lol)
ADDE85AC-C17F-4808-B2B8-3DAA0CBBF620-3483-0000022B7B2FA48B.jpg


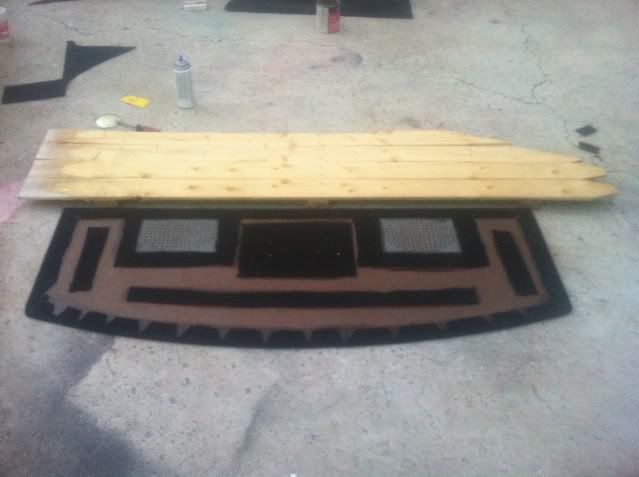
laying it out on the carpet to get it all centered where i wanted it
86895E00-6802-4FB9-872E-8A09097E7892-3483-0000022B7681B12F.jpg


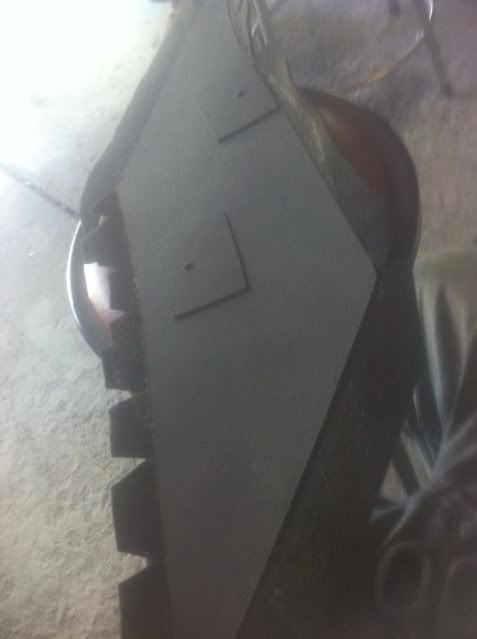
after finishing it.......on the bottom side i glued a few strips down hear and there for added cushioning so I wont get any rattling . Then as i stood back and looked at it I started laughing at the image I unintentionally had made lol. The "hat" was a chunk of fence that was laying close by that I threw above it for added effect LOL.
EDDFDC0B-6160-4D5B-94FF-C3132368BE7C-3483-0000022B6CFB2E71.jpg


I forgot to take pictures of the finished product. but I will try to get them tomorrow. Looks great though, im very please with how it came out.

also installed my rear seat belts....and alot of the time to do all of this stuff was consumed by basically having to gut the interior lol, I had to pull the back seat,sail panels,rear door panels etc...etc... just to get in to do what i needed to do.

also am in the process of getting my mirrors,filler panel and hood latch support ready for paint. so I should have those done soon aswell. then The next biggest things to do on the to do list are paint my scoops and spoiler, finish restoring my grill and fix the u-joint issue that I mentioned in a previous post. after that i am basically down to odds and ends on finishing the duster up. been a long time coming but its coming together.

stay tuned, more updates to come!.
 
I like the silver tails with the stripe- look good together.

package tray looks good- I did mine basically the same way, but got lazy and just cut out for speaker grills. And I used vinyl for the covering.

btw, I used that 3m spray adhesive (super77 I think) and all summer I've been having a horrible film on the inside of the windows -I mean, I can clean them and then three hours later I have to clean them again. I think it's the glue doing it, so I wish I would have used plain old contact cement on mine.
 
bummer. I have not had the greatest of luck with the spray cans of glue. So i like using weldwood brand contact cement. works great and holds a bond really well. I normally will brush on a layer of the cement onto each side of whatever i am applying. Then wait 15 minutes for them to "tack up" then stick the two pieces together and thats where they stay!.

I also know some guys who use the same stuff as me but put it in their spray guns and use it that way. not sure if they dilute it with something or if they use a larger spray tip or what....but works just as good and would save a bit of time and elbow grease in case anyone else was considering attempting some similar work.
 
Finished covering the sail panels , got them installed and the package try installed. I'm very please with how it came out, all fit like a glove.

Started putting it all back together ( seat back, side panels, chrome trim,metal sail panels...etc....etc.... Still need to finish buttoning a couple odds and ends up but it's basically done.

Tomorrow I should get the rest of my exterior parts primed and ready to paint and should have them all painted sometime this weekend. Then I need to paint my spoiler and scoops. And finish restoring the grill. Pretty good feeling that the list is getting smaller!. Still a decent list of odds and ends and little things left.... But all the big stuff is about taken care of.

Stay tuned, more to come.

During covering the sale panels
0314AEBB-7720-47A5-82FD-5E44D05102A7-4301-0000025B0CEC9620.jpg


Finished product. ( the flaps on the sail panel boards in case you are wondering are where I left extra material to fold above the headline and under the package tray for a cleaner looking install....came out great!
F16F6C6A-839B-45D3-8731-1A2132D799FE-4301-0000025B007D2212.jpg


Another
A66E0636-AA55-41EC-9856-5DBAA07BBB1A-4301-0000025AFD8FA7D7.jpg


Installed
667B4F67-B206-47C2-B35E-DEFD4F406407-4301-0000025AFB011465.jpg


26E50769-796F-4D95-82ED-BEF3FEB94512-4301-0000025AEB46514B.jpg


AEF5C115-CF30-4DAA-912F-7834896DFCA8-4301-0000025AE25008C1.jpg


Sorry for the picture quality. The sun was throwing the focus of my camera off in a few of the pics.

Let me know what you think.

P.S. I like the clean " no speaker look" and doing it with the perferations in the board the way I did..... The stereo still sounds 100% clear.
 
Man oh Man what a great job Jerrod, I now know how to do my interior when that ever comes LOL. Looks great buddy keep up the exceptional work your doing.

Brad
 
-
Back
Top