MuuMuu101's 68 Dart, A Learning Process...

-
I just took a quick look underneath the car and the car is really solid (as I already knew). Subframes and floor boards hardly have any surface rust on them. Almost looks brand new. It's just a little greasy down there. Sorry, I don't have any pictures as of now. I may take some pictures of the underside tomorrow when my friend and I start working on the brakes. But I agree, I would probably have the car sand blasted or media blasted when I decide to repaint her.

Another day my friend and I may just take a wire wheel to remove the rust and probably por15 it then.
 
My friend came over today to try and help me fix the brake issues. Trying to take a step forward today on the project ended up taking us 2-3 steps back. The power steering issue is just a cobbled up mess. The booster itself is some sort of GM or aftermarket booster and to fit it on they cut off the studs then trimmed up a big hole in the firewall. So next step is to fix all that to as close to factory as possible and then convert it to manual brakes. Idk if I'm still going to use my 1980 Dodge Aspen MC (Bore ~1.03). I think I'm only going to use it if there's some sort of adapter plate and push rod I can buy. We can fab up a panel and weld it in there, we just want to make sure we do it right and so that my foot doesn't go through the firewall in emergency situations.

IMAG0989_zpsd25f7c6d.jpg

IMAG0993_zps53761210.jpg

IMAG0994_zps5d2c84ff.jpg

IMAG0995_zps0ee6f500.jpg


Well, after all that, we decided we might as well and replace the wheel cylinders. Well we started with the Driver's side and after I removed the wheel cylinder I realized it obviously wasn't a stock one (or one that belonged on the car for that matter). The bolts looked nothing like the passenger side which we know to be correct. So we left it at that since I don't have extra bolts lying around.

IMAG0996_zpsfe8c2d41.jpg

IMAG0997_zps968c92d0.jpg


Then we went to working on the windows. And man, that was even more of a pain in the butt from when I fixed it last time. In examining that we found the rubber stopper isn't missing, the clear film is torn up and gunked up in the rails, the sliders aren't even completely on the rails, and the rails aren't even straight. To sum it all up, the windows are very angry! We were able to put it back on the regulator and roll it up a bit but after my uncle realigned the door, the window doesn't fit as it should and now there's a gaping crack since the window is crooked or whatever.

At least we know what we're dealing with now. Next time we'll work on the car will be after midterms (3-4 weeks) or after finals (6-7 weeks). I will not be going to Fall Fling in the Dart but I still want to go and take pictures of cars as well as possibly snagging some goodies from the swap meet.

Even though we were a little bumbed and the car is in a worse condition that before the MC broke loose, we still had a fun time working on the car and cracking jokes about how cobbled together this car is. On our way to get parts we passed by the Downtown Covina annual car show (I didn't even know it was today). So we stopped by and snagged some pictures. Definitely a lot more mopars than usual. It was the most he's seen in one spot at one time.

AGAIN, SORRY FOR CRAPPY CELL PHONE PICS...
 
To answer a few of your question I used mp master cylinder adpter plate with an 85 5th Ave mc and the stock manual brake push rod. Just don't forget the push rod keeper bushing. I would build a reinforcement plated that goes on the back side of the firewall so that it leaves the mc in the stock location and include new studs on it then weld up them holes to the reinforcement plate for added strength. I notice my firewall flexes when we were bleeding the brakes.
 
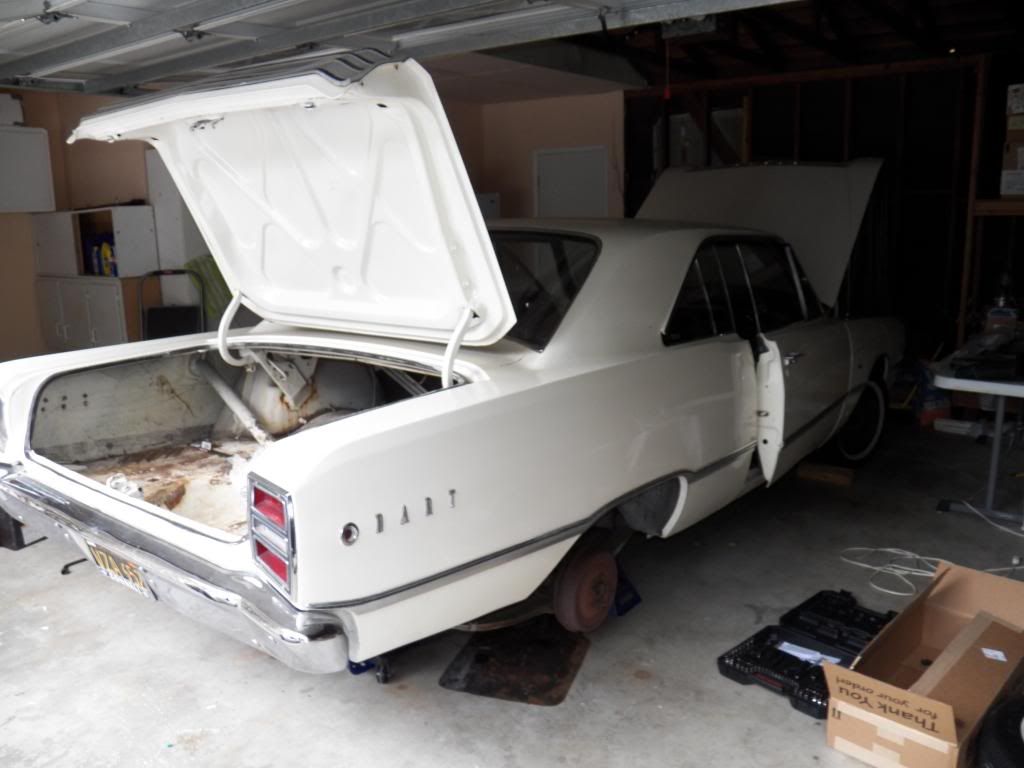
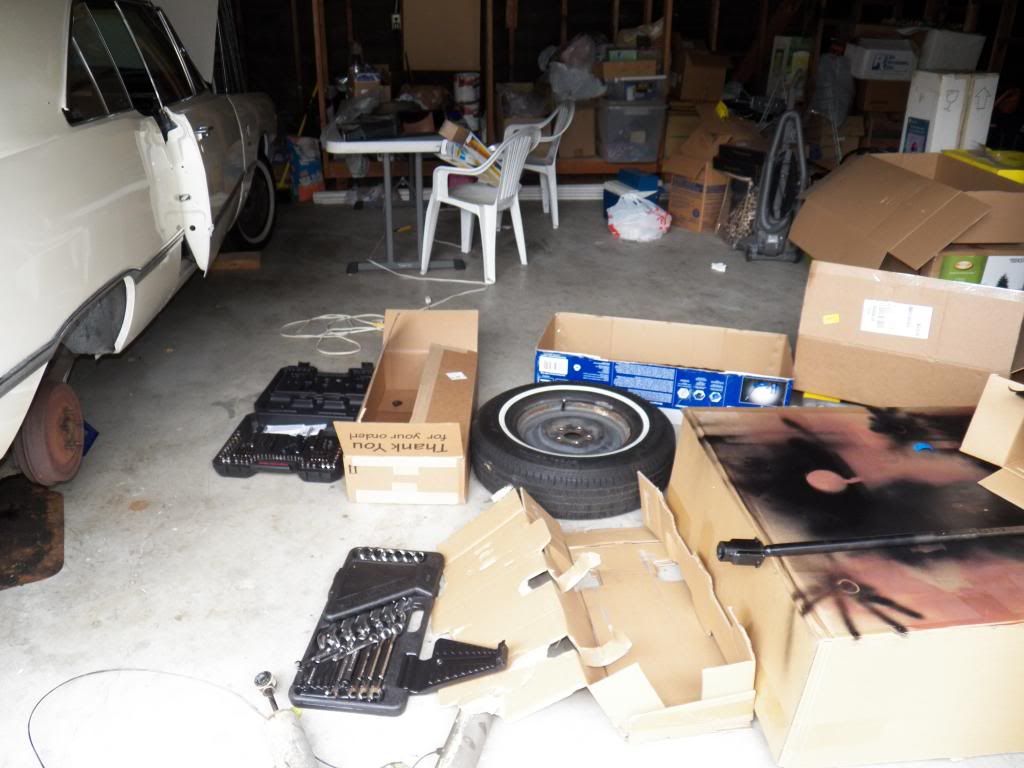
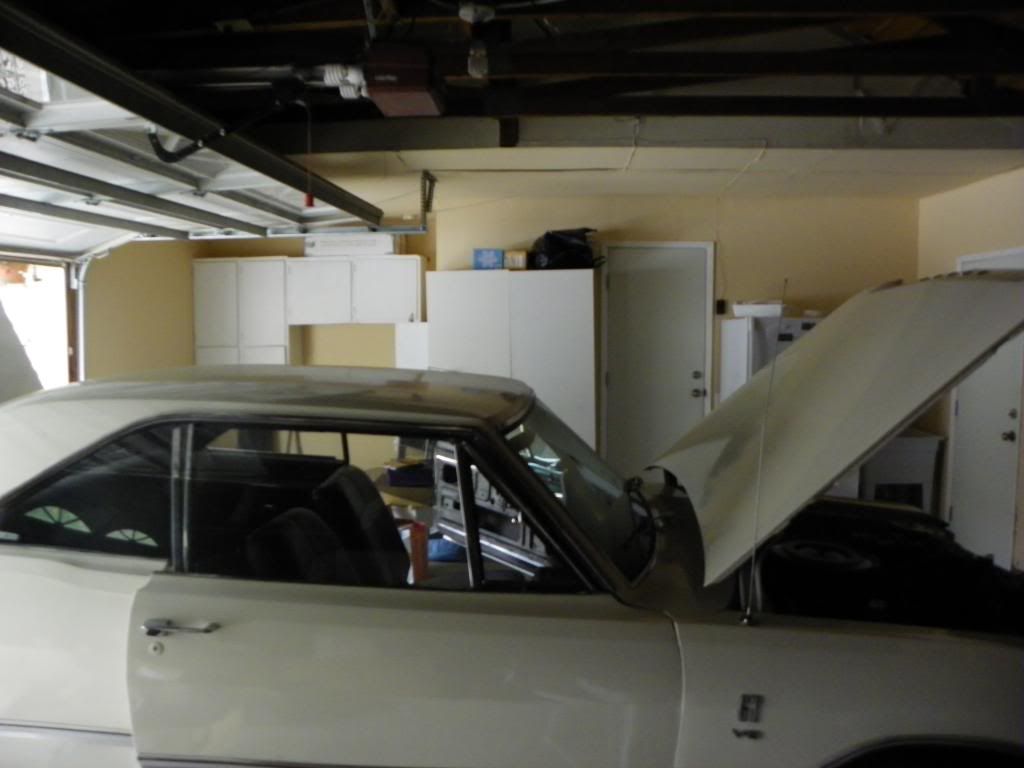
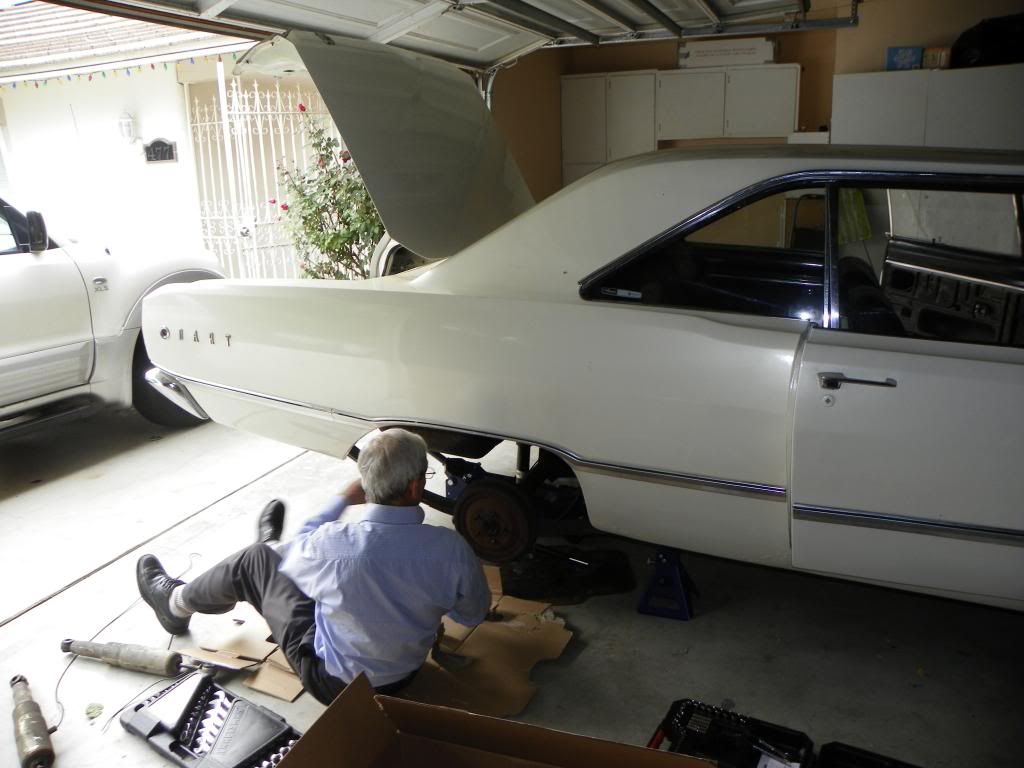
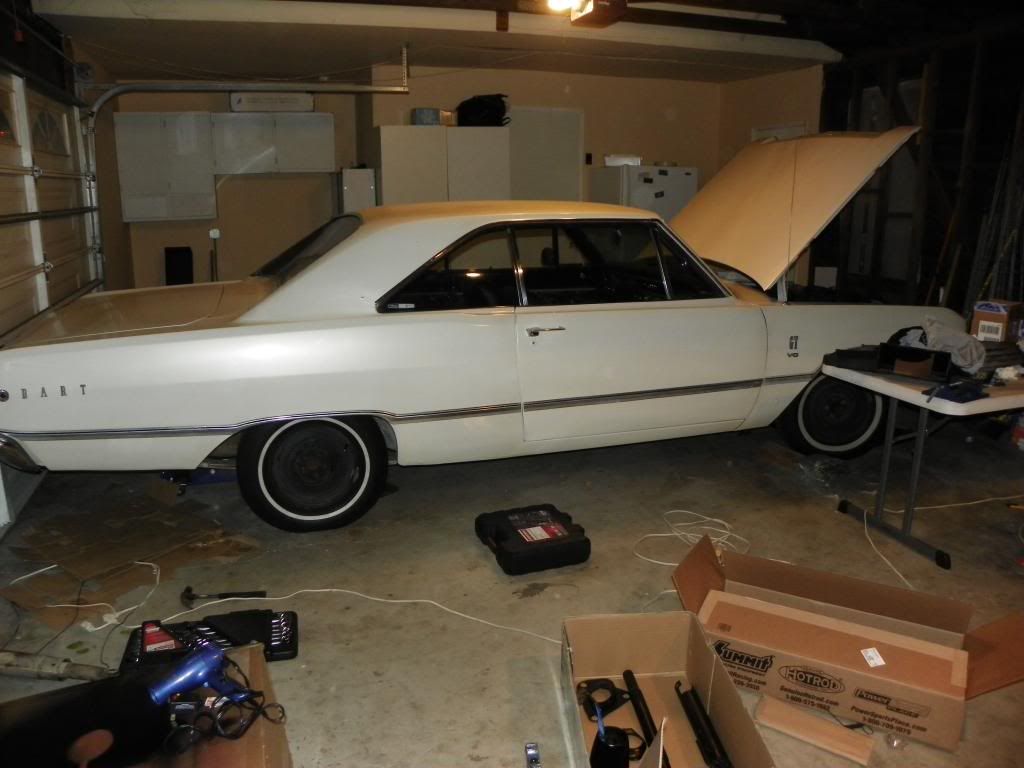
I actually got to do some work on the Dart this afternoon. I got a lot of little stuff done and I feel, combined, comes out to be equal to a big stuff.

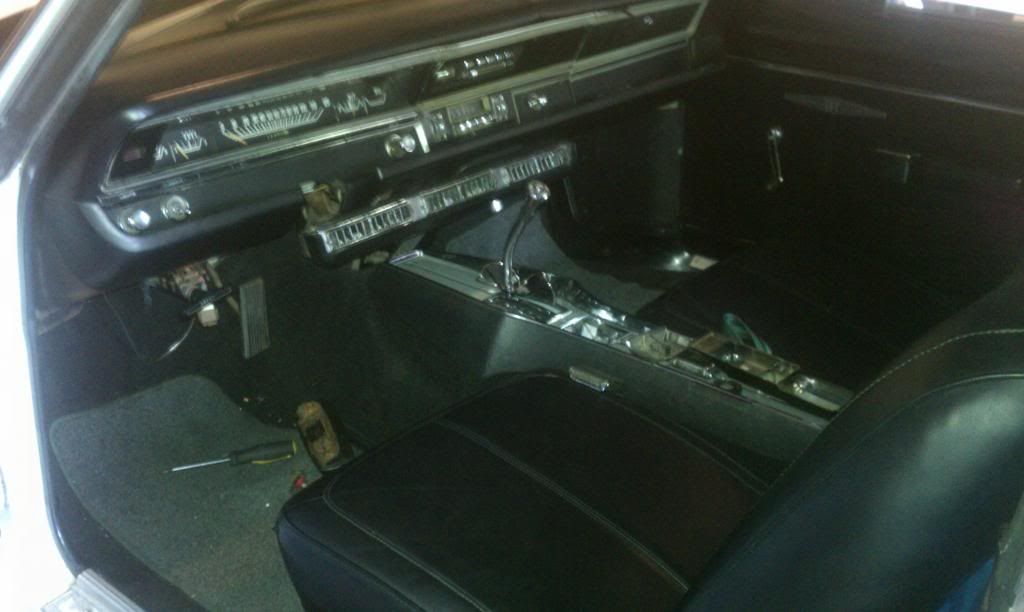
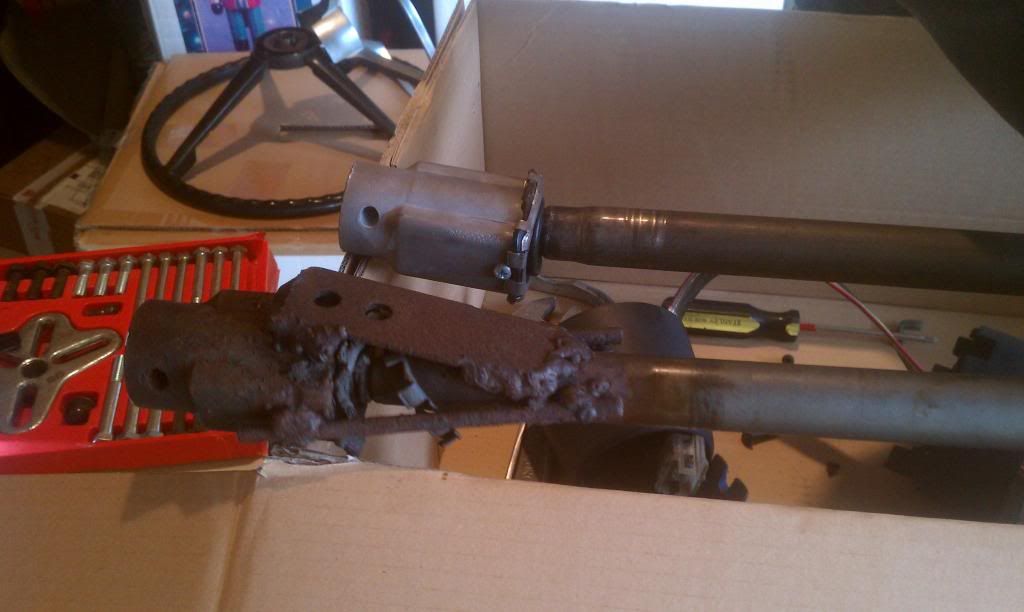
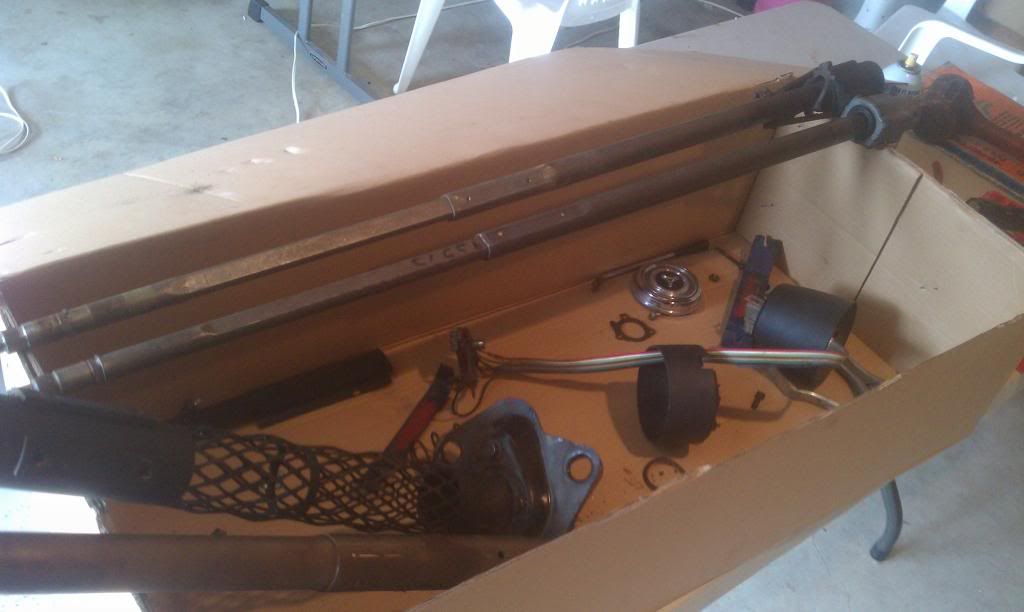
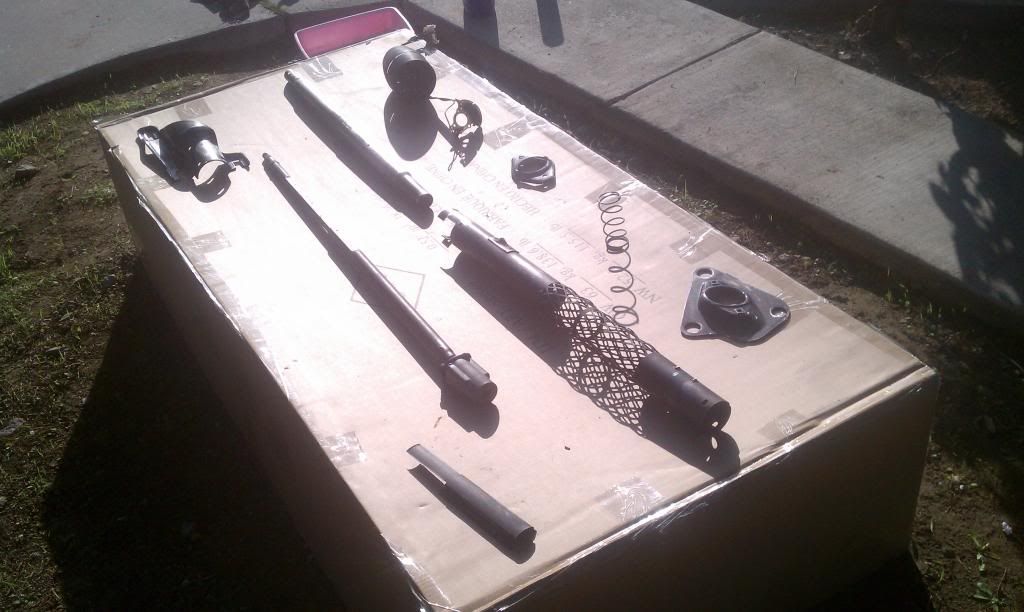
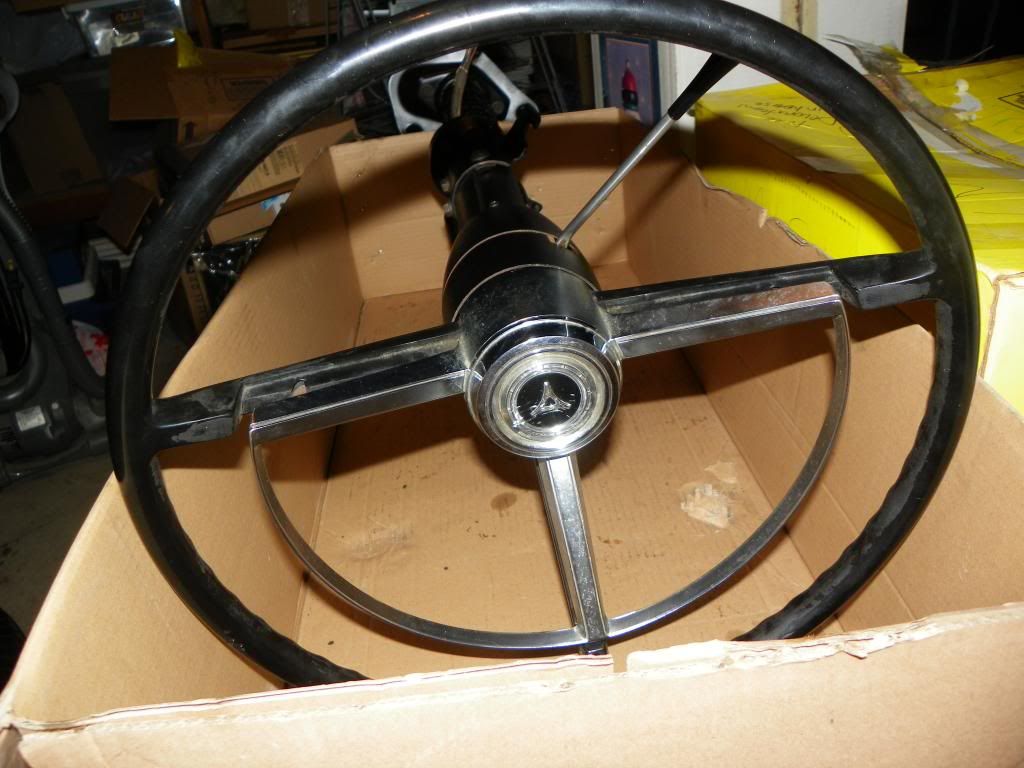
So I was going to start off my afternoon pulling out the steering column, but as I flipped through the service manual I couldn't find any info. Not only that, but I kinda sorta forgot I don't have a grinder to cut the welds off the previous shaft. :whistling:

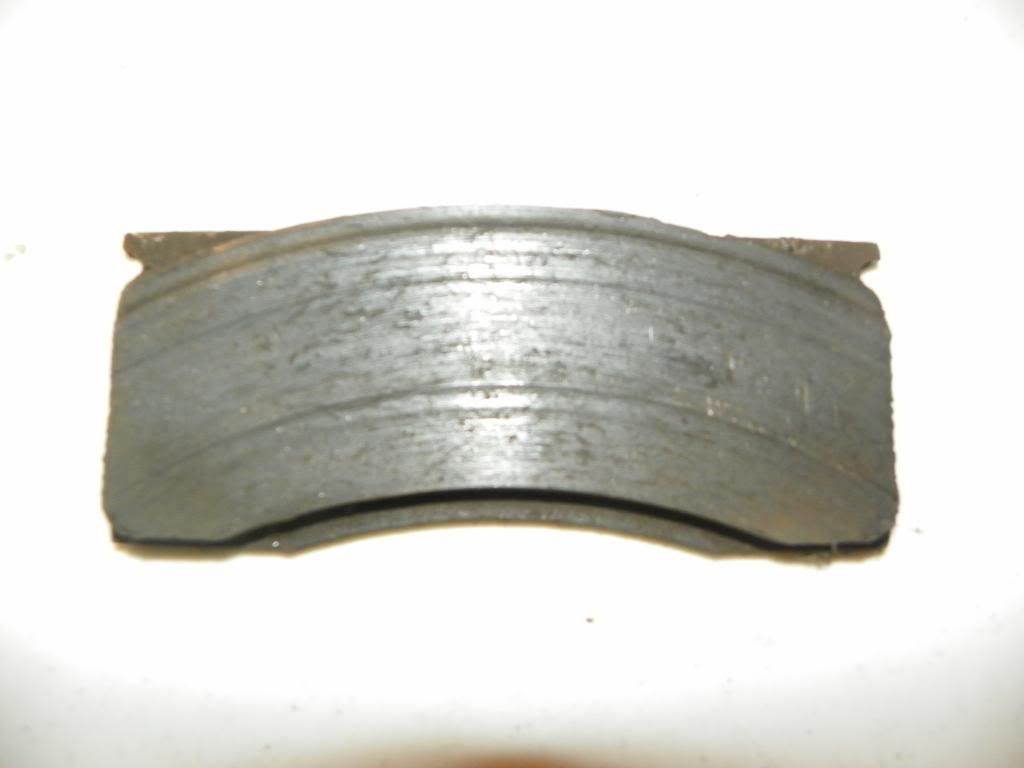
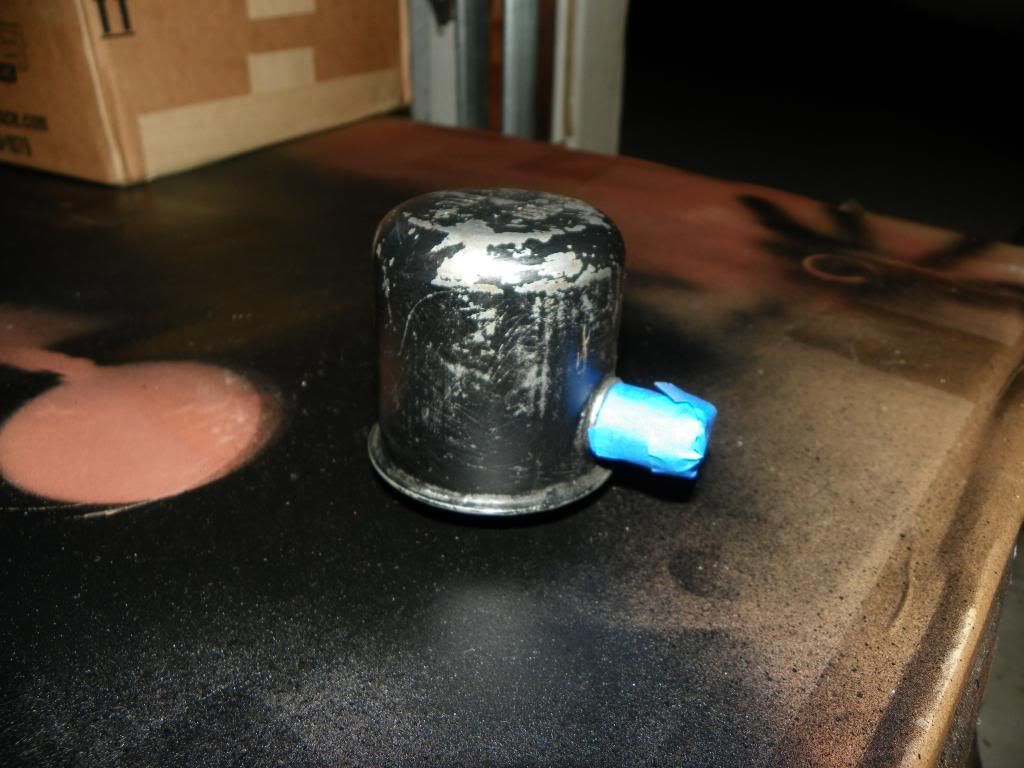
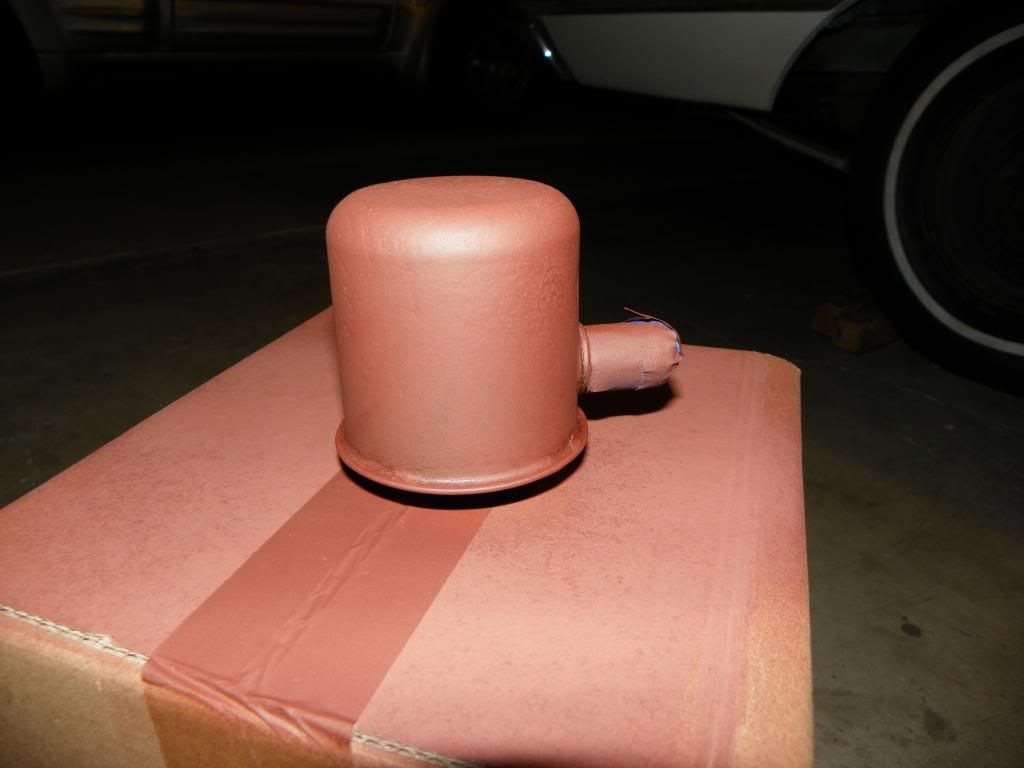
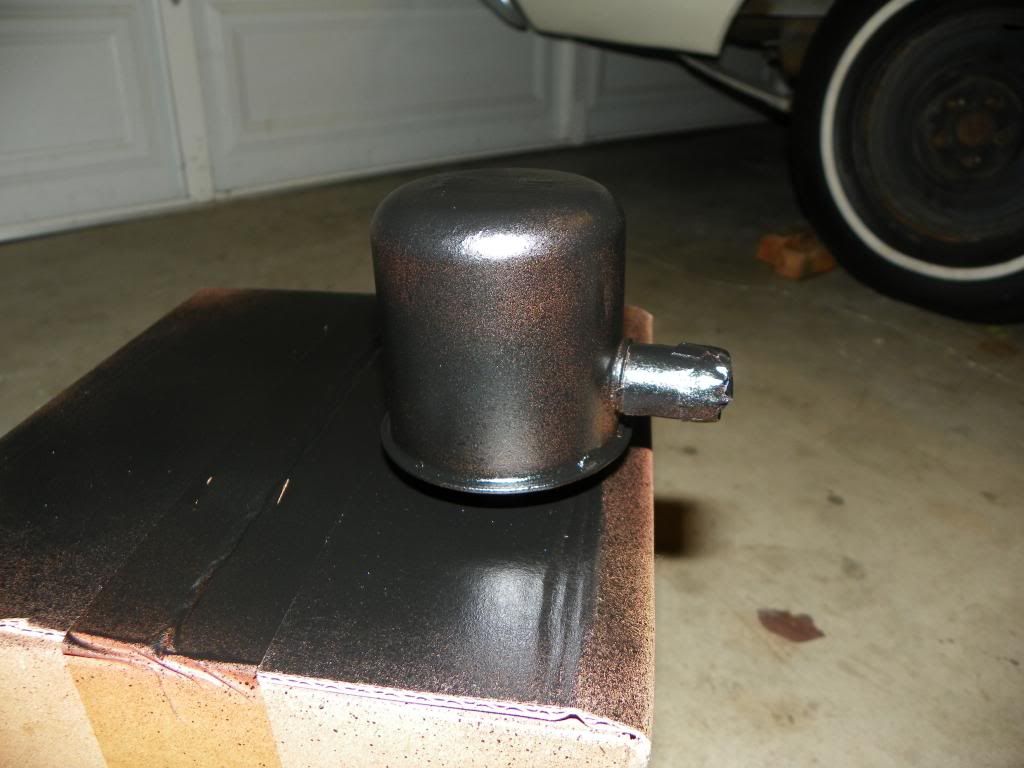
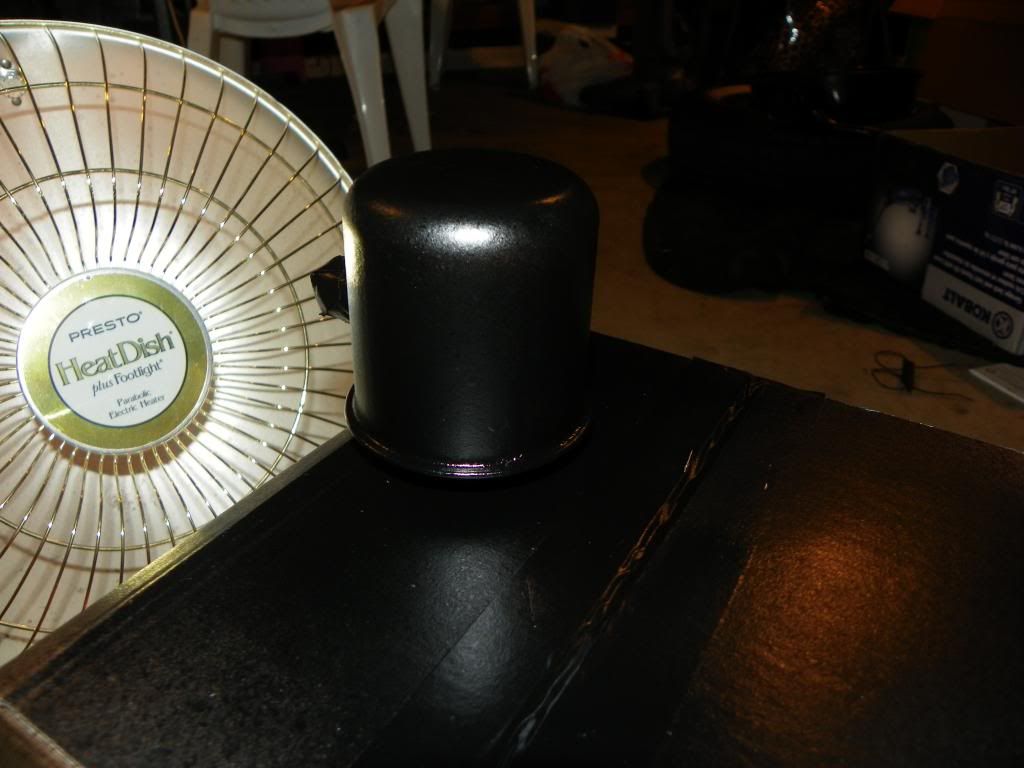
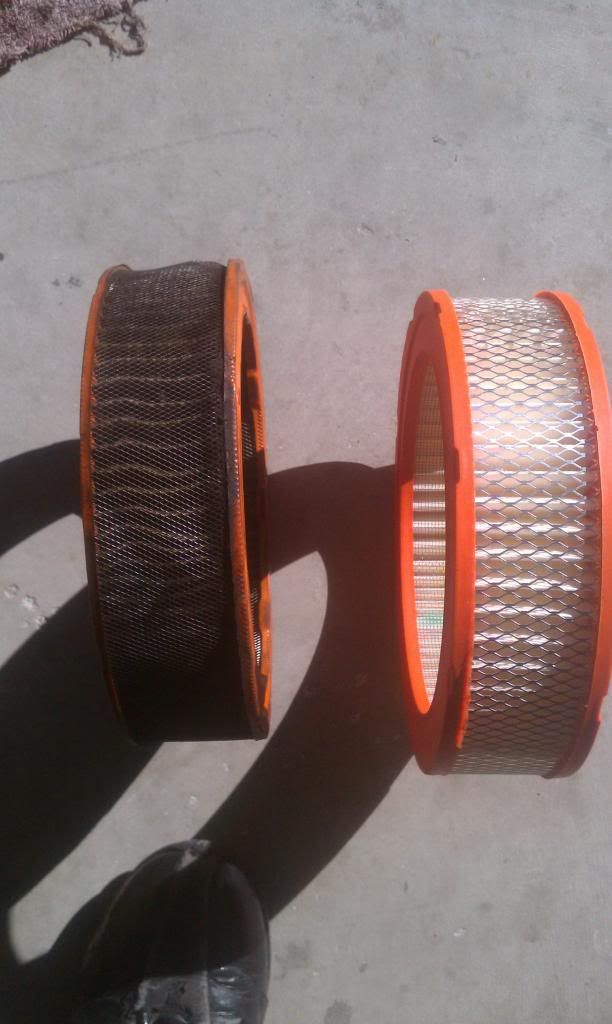
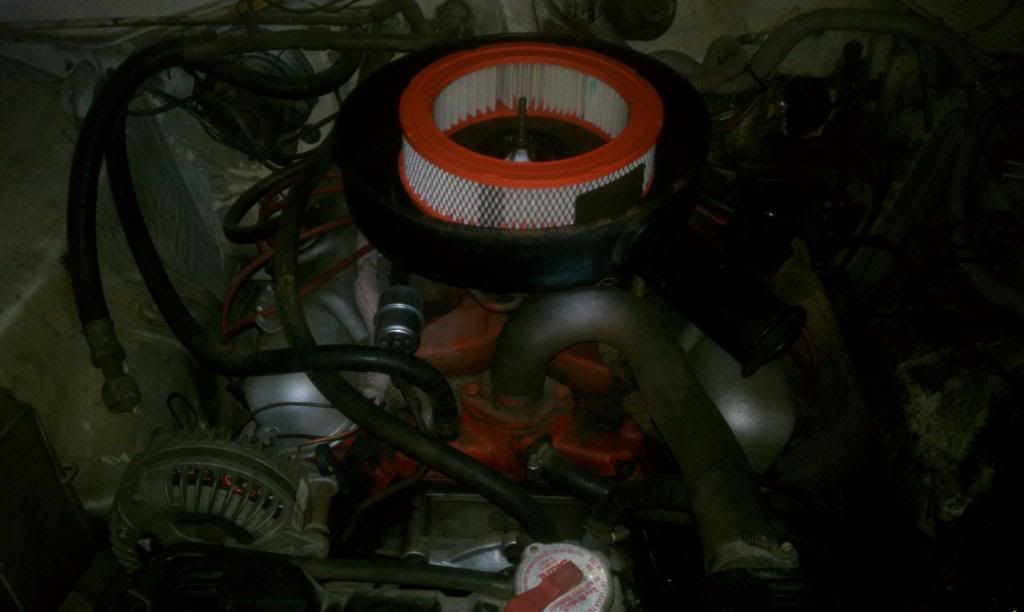
So I thought I'd do a maintenance day today. So out I go to Pepboys and Walmart to pick up a couple parts, tools, and fluids. I come home and start with the air filter. I bought one when I was out figuring I'd need one (without even looking at it beforehand) and what do you know?

IMAG1146.jpg


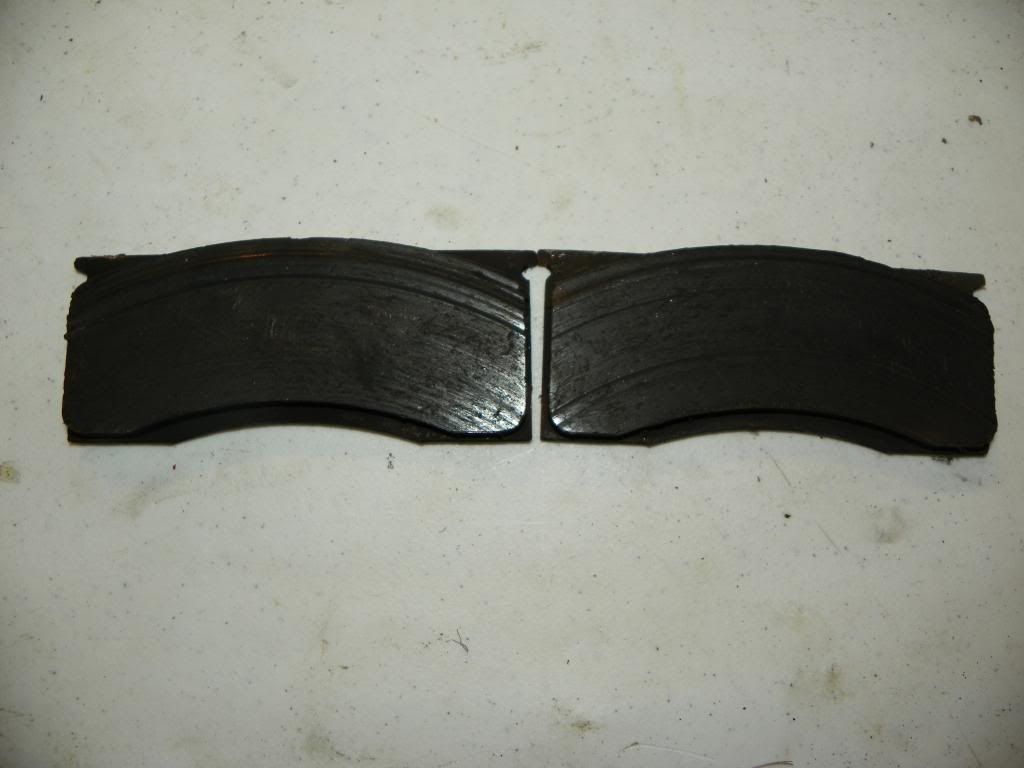
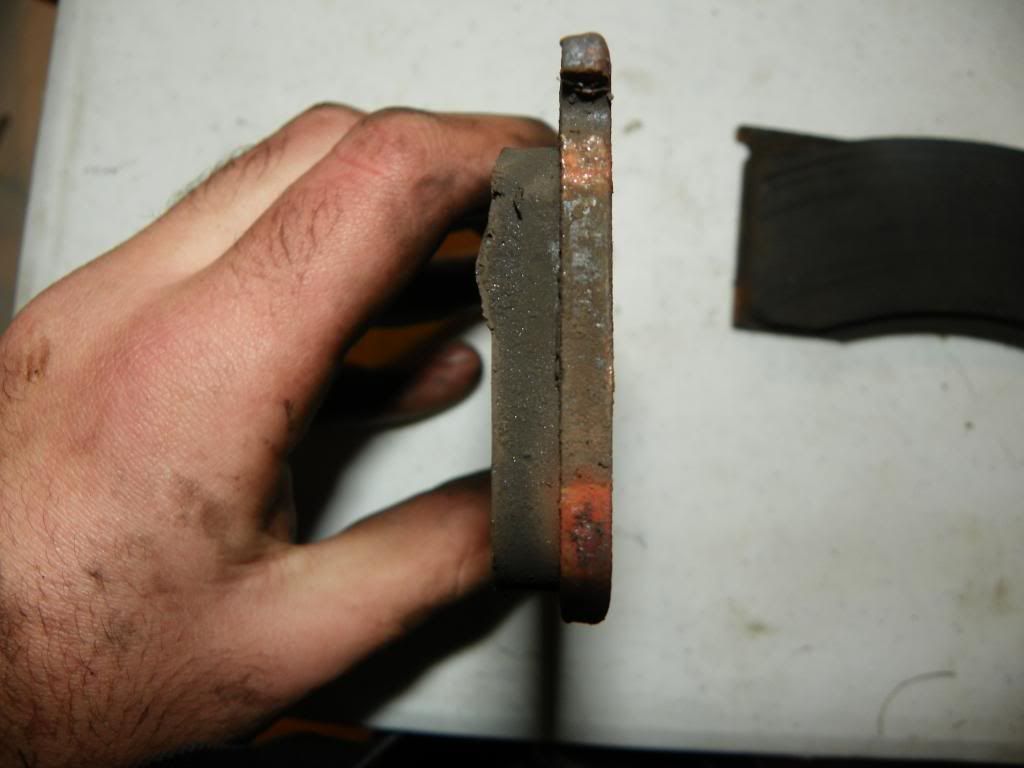
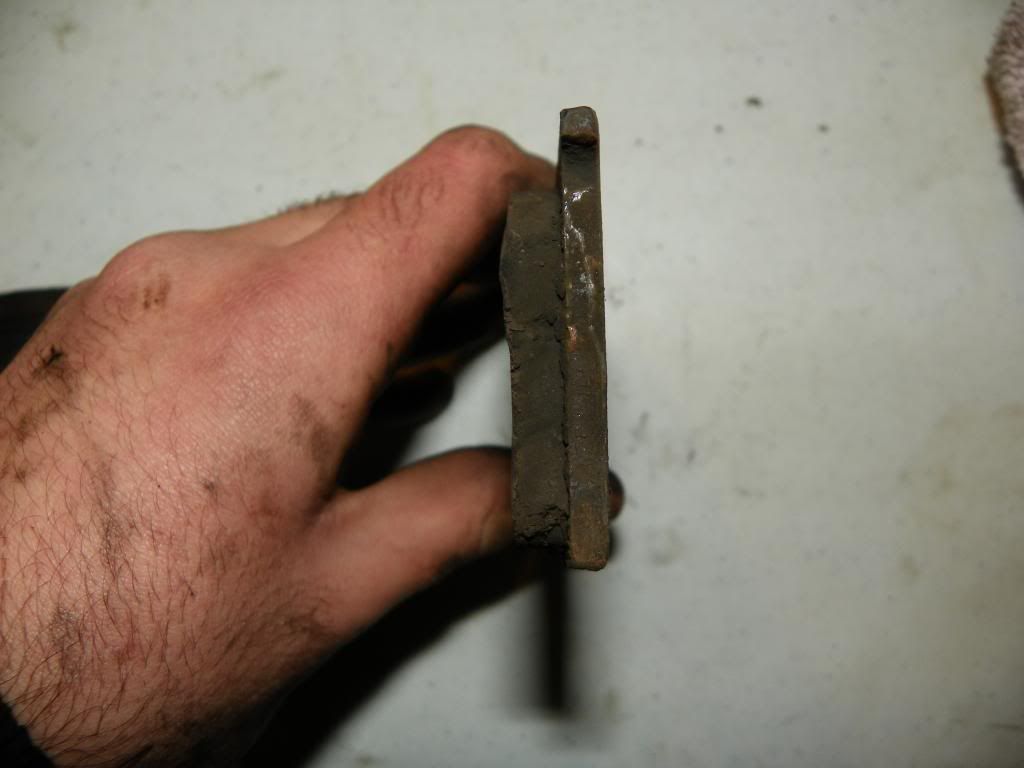
While I was at it I decided to take the air filter carrier device and wipe off all the dirt off the top with some Clorox wipes. So out with the old and in with the new (minus the cover).

IMAG1149.jpg


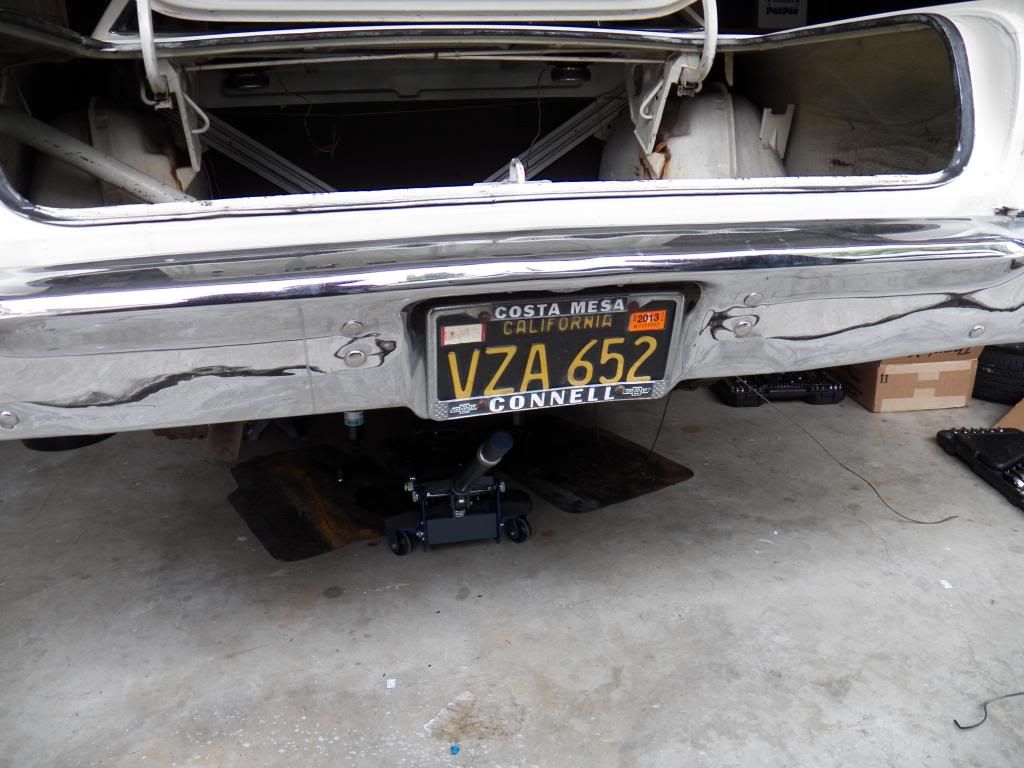
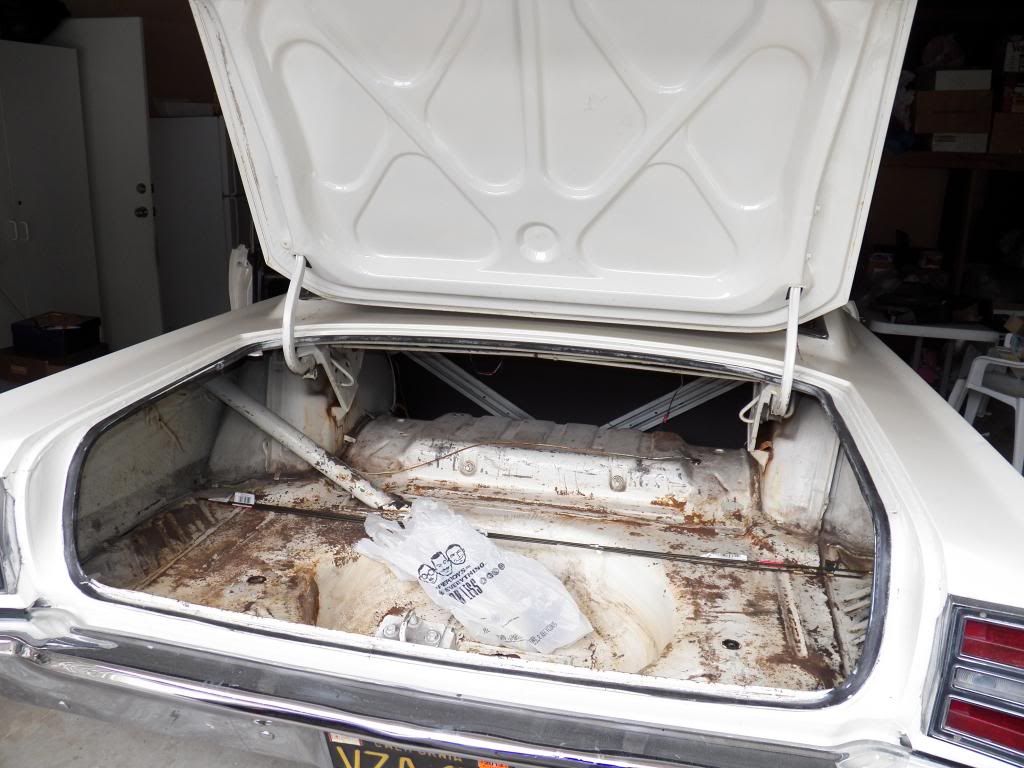
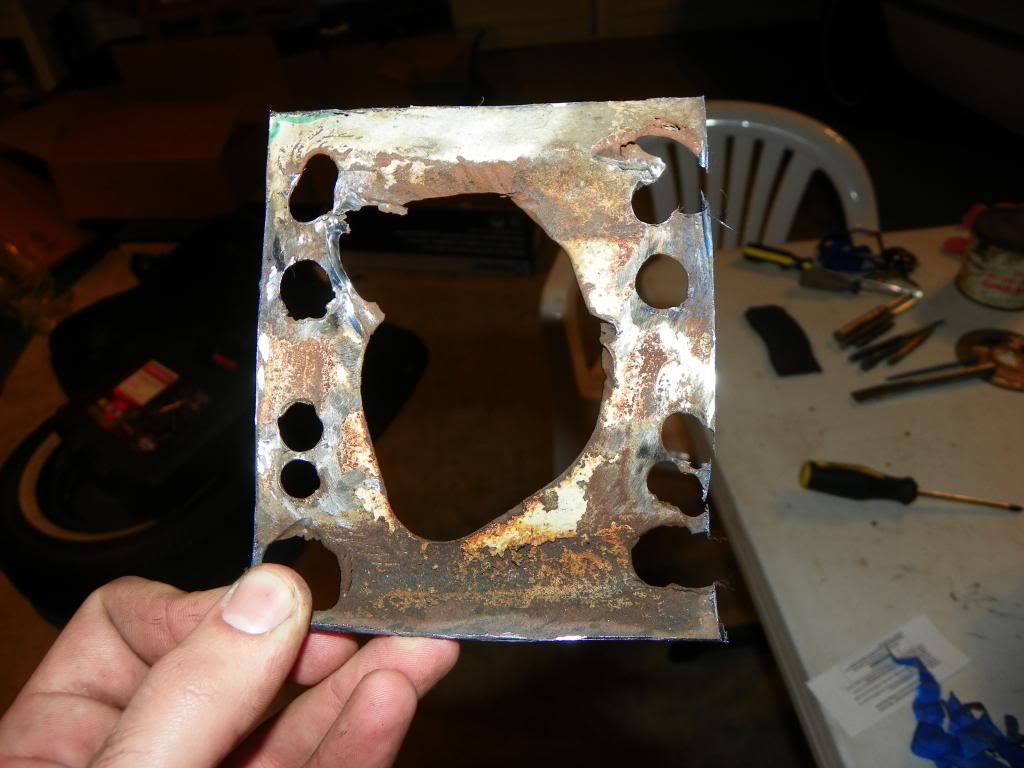
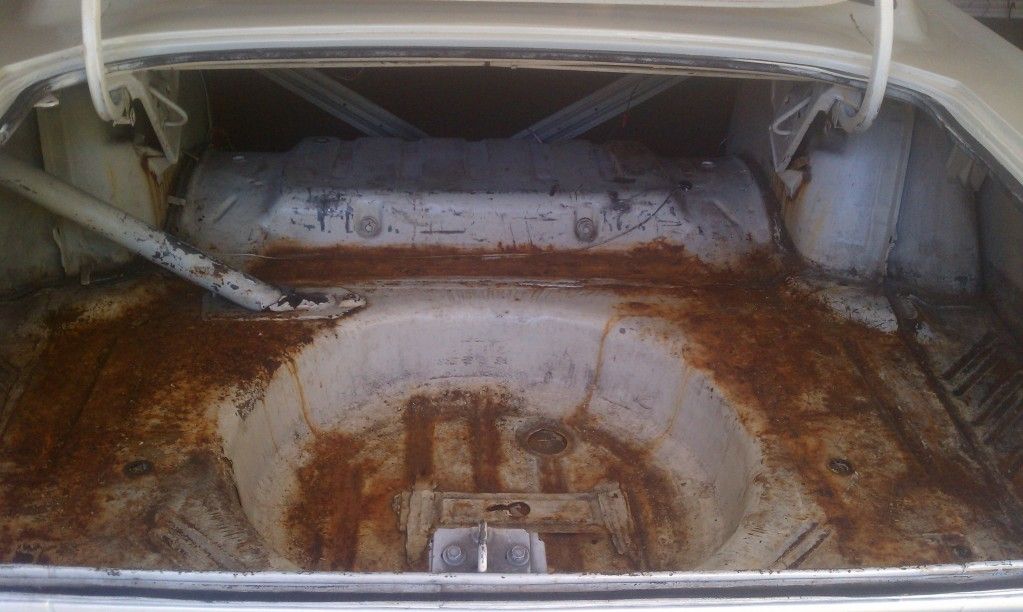
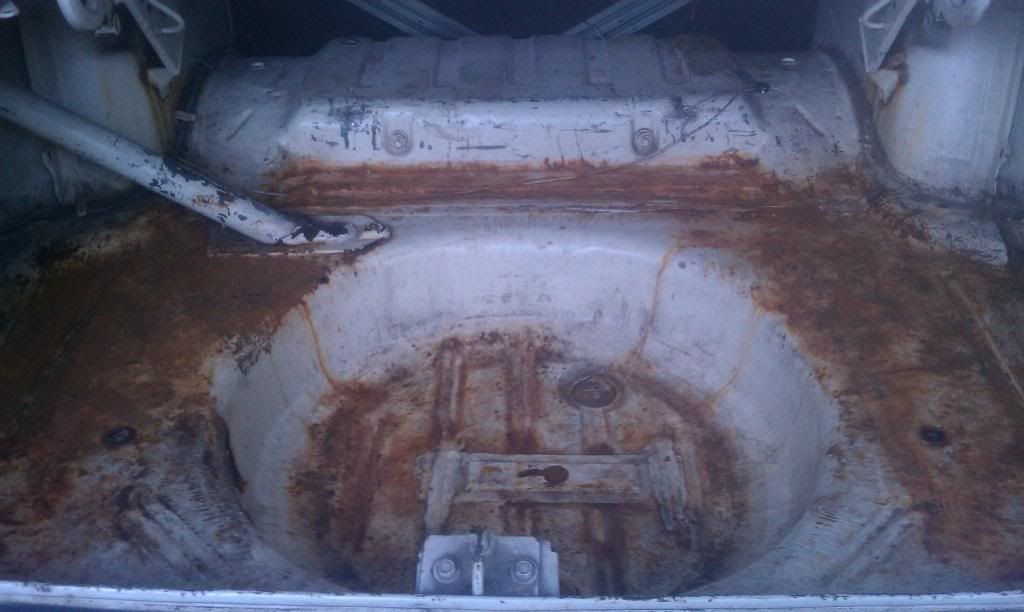
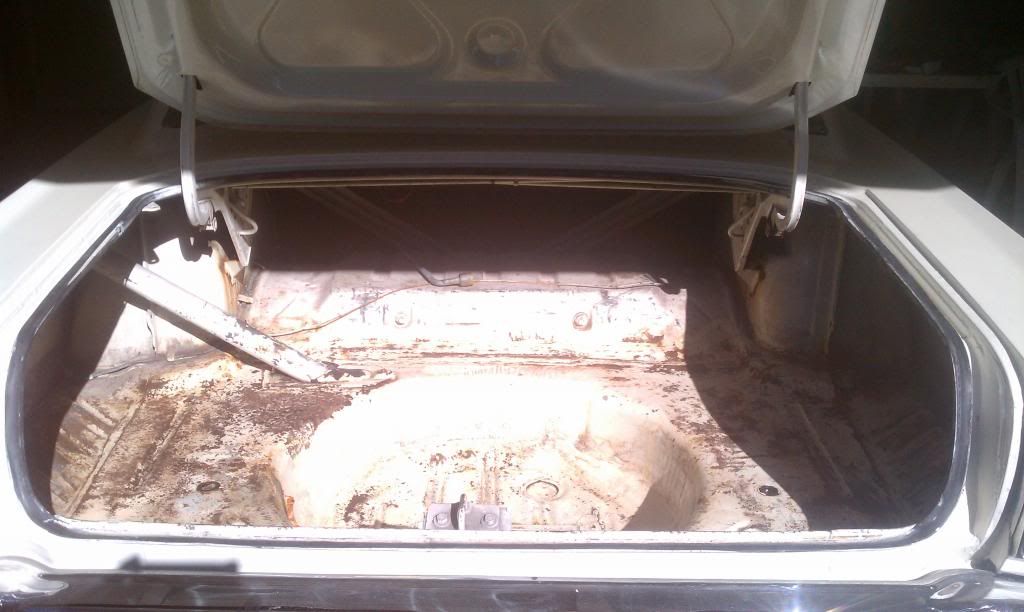
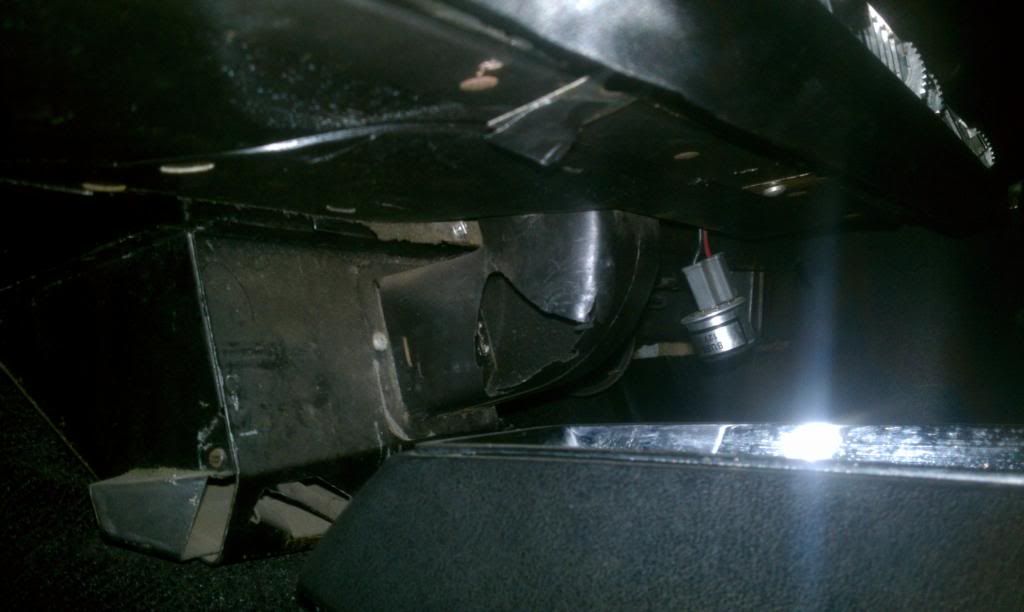
Next I decided to go to the rear of the car and work with the trunk a little. With my brand new wire brush, I just started brushing away trying to chip off all the larger chunks.

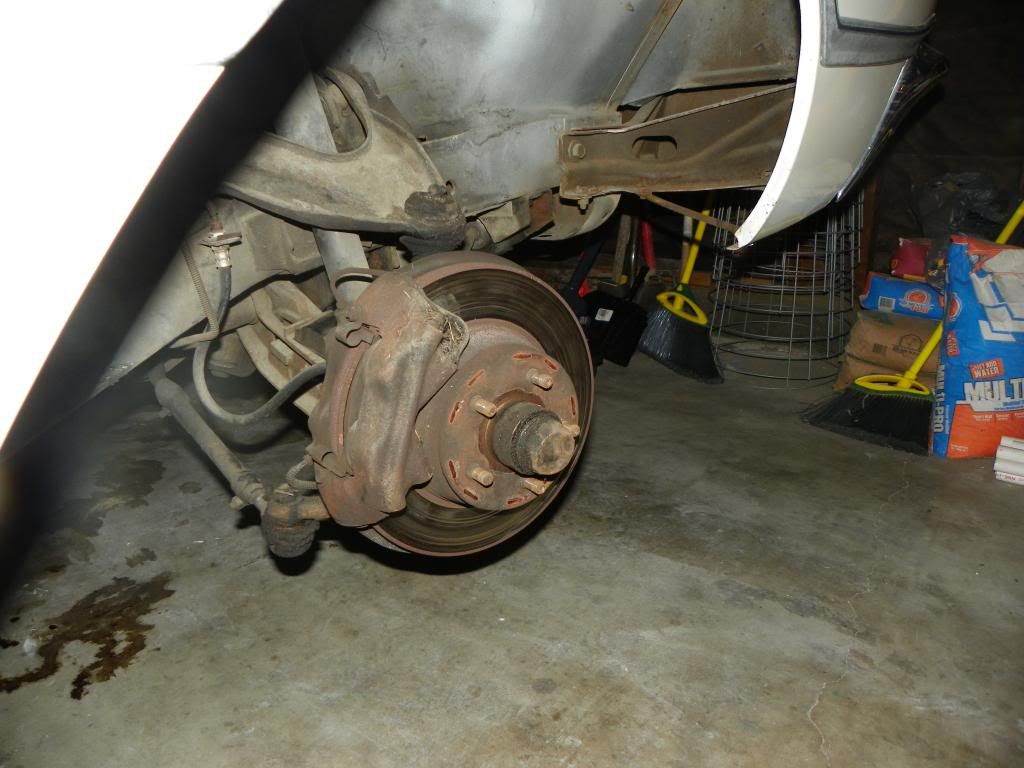
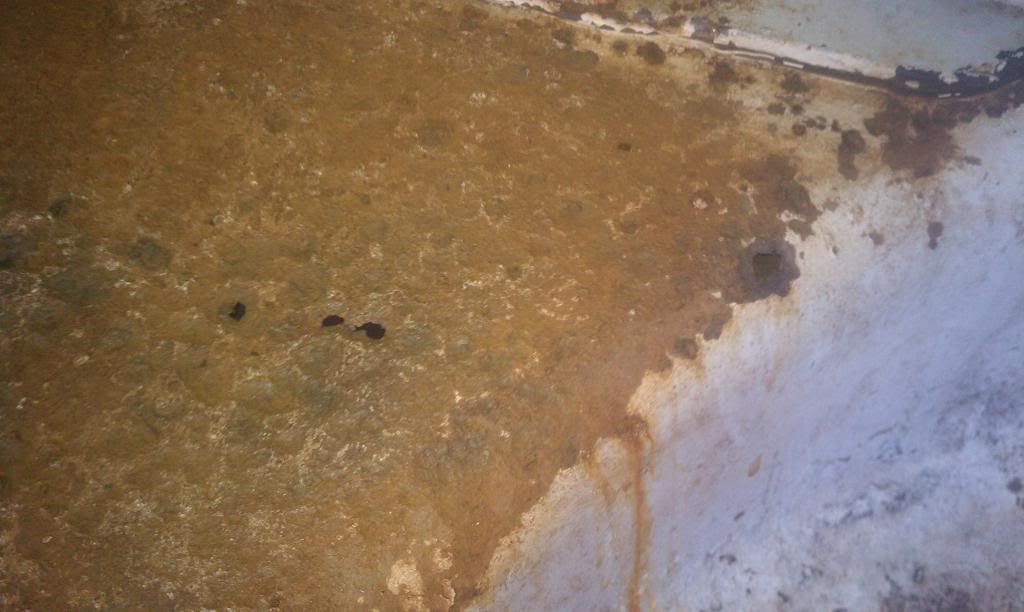
Here's a before shot (when I first bought the car):
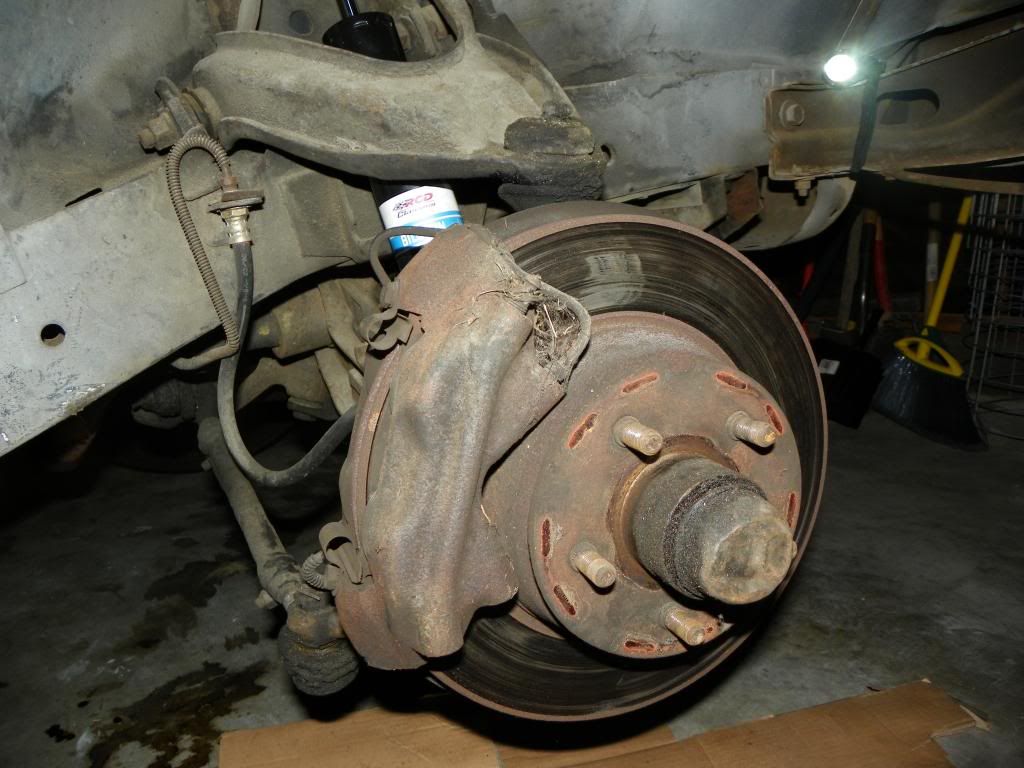
IMAG0676.jpg


And an after shot:
IMAG1150.jpg


It's not much better, but it's at least something. I also found out I have some small holes from the rust in the trunk. O well, at least it's not that bad... disgust
IMAG1151.jpg


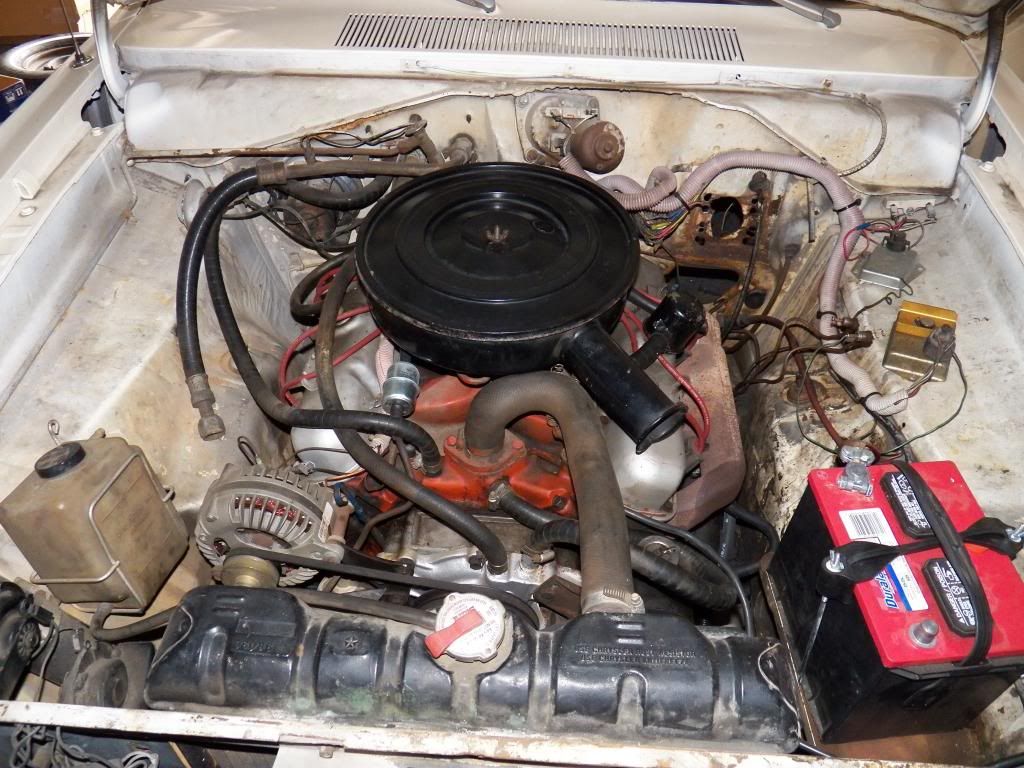
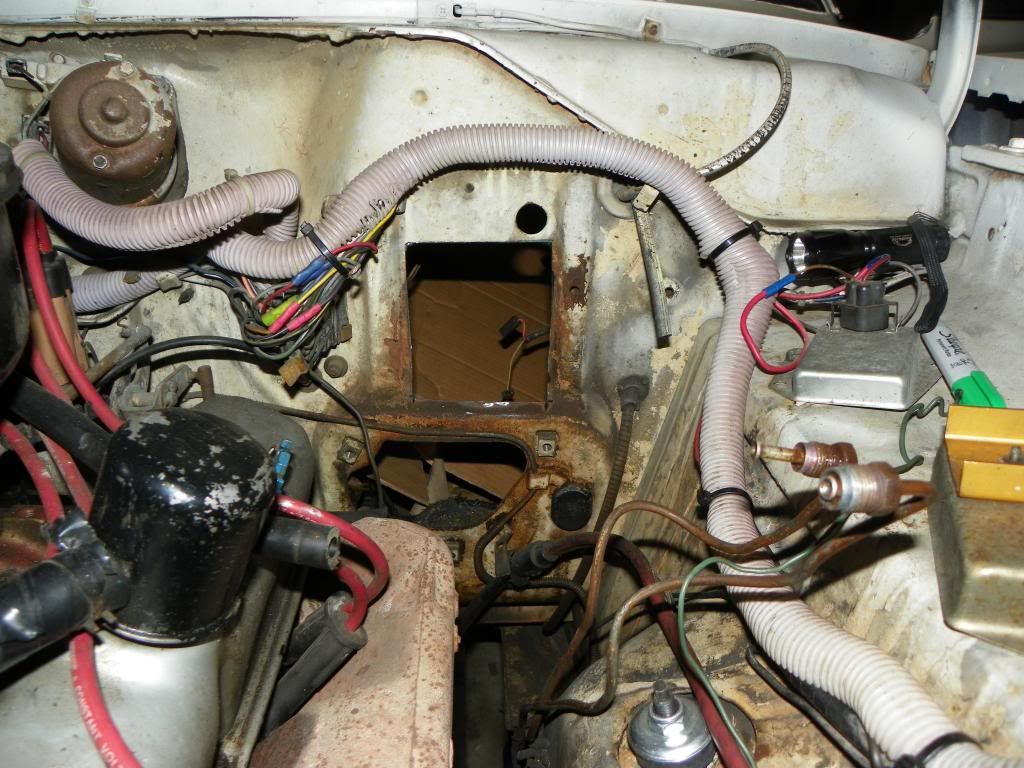
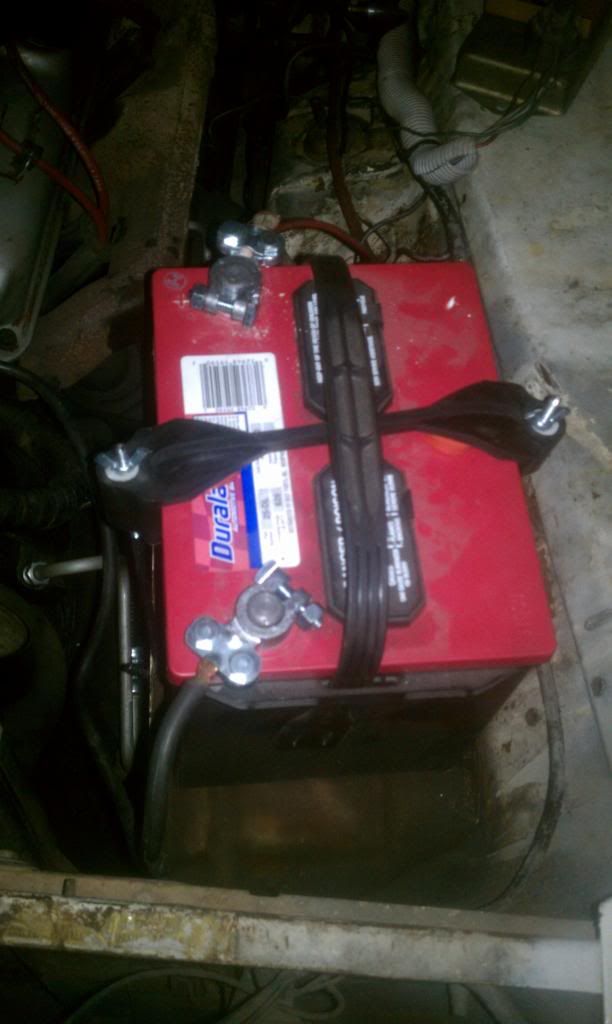
Next I went back to the front of the car to work on the electricals a little. Idk if you guys remember but my previous battery tie down was a simple worn out bungee chord with a wood block underneath the battery to try to keep the chord in tension. Over time at constant tension bungee chords like to loosen up a bit. So that's got to go. At pep boys I got a cheap universal battery hold-down. I also got some new battery connector mabbobers since the ones on my car were rusty, cracked, and had some sort of sulfur build up on them. So, out comes everything. I took the tray out even and wire brushed it a little and put it back in. Still a little rusty but it's nothing I'd be worried about. As for the universal hold-down, the studs were too long (obviously) and the strap wasn't long enough width wise (luckily the rubber stretched, sorta). Well to cut the studs, you need some sort of sharp object. I took out my saw and it's as dull as ever. Took out my bandsaw, and it was angry and didn't like it. So I clamped the stud down and filed each one to the proper length for 30 minutes each. I finally got it to fit and for less than $5 I guess I'm happy with it. The Battery is tight and not moving anywhere. Here's a picture with everything connected (currently disconnected, almost shocked myself a couple times because I thought the negative side was disconnected when it wasn't).

IMAG1152.jpg


Well, since I just went through the effort of getting the battery situated, I figured, "why not go through the entire line?" So I took some 60 grit sand paper out of the cupboard and sanded down all my grounds. I think I got them all but I'm not sure. The headlights and dash lights look brighter (which could all be in my head) but we'll see if I still have my dimming lights problem when I get the car running and on all 4 again.

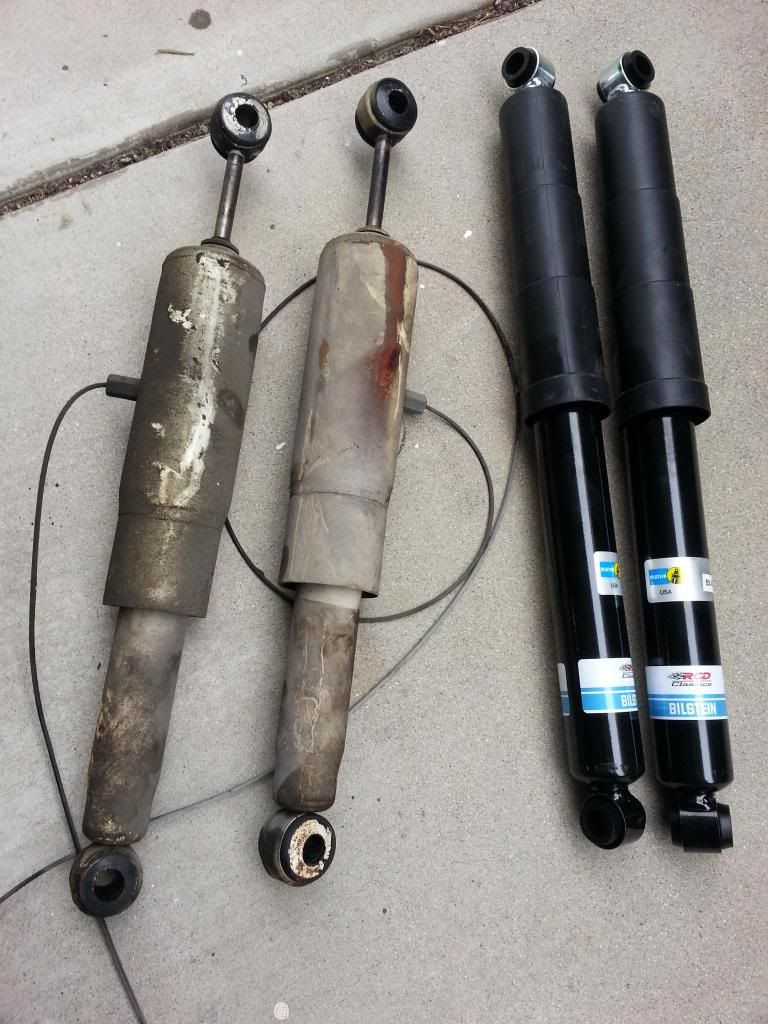
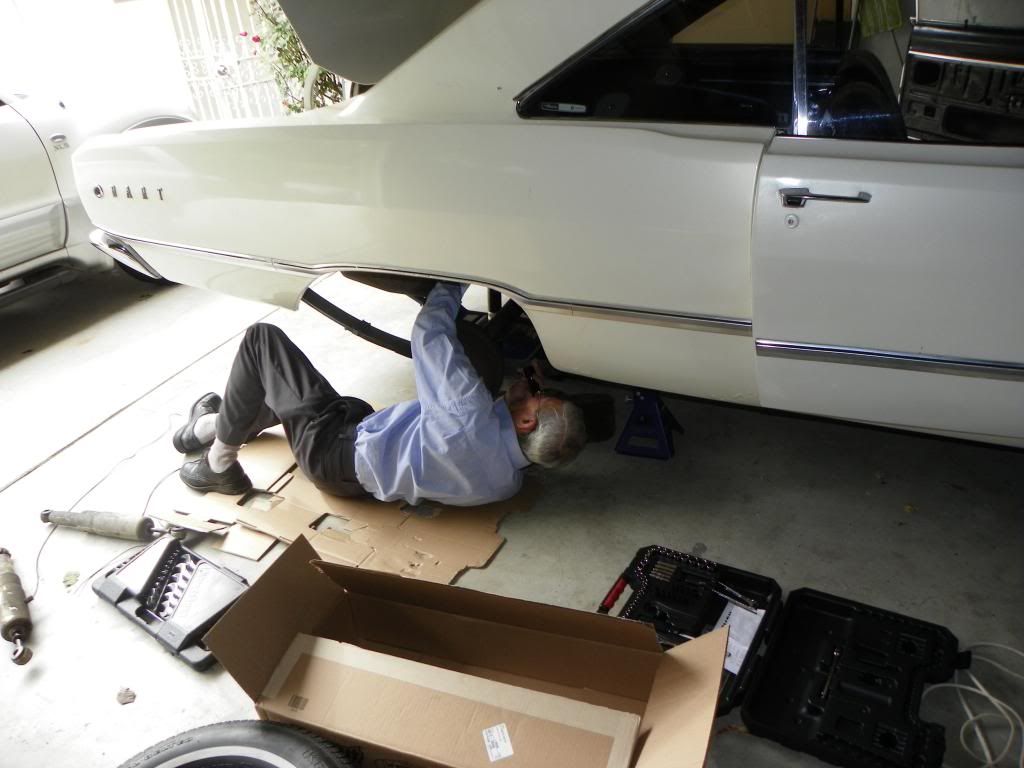
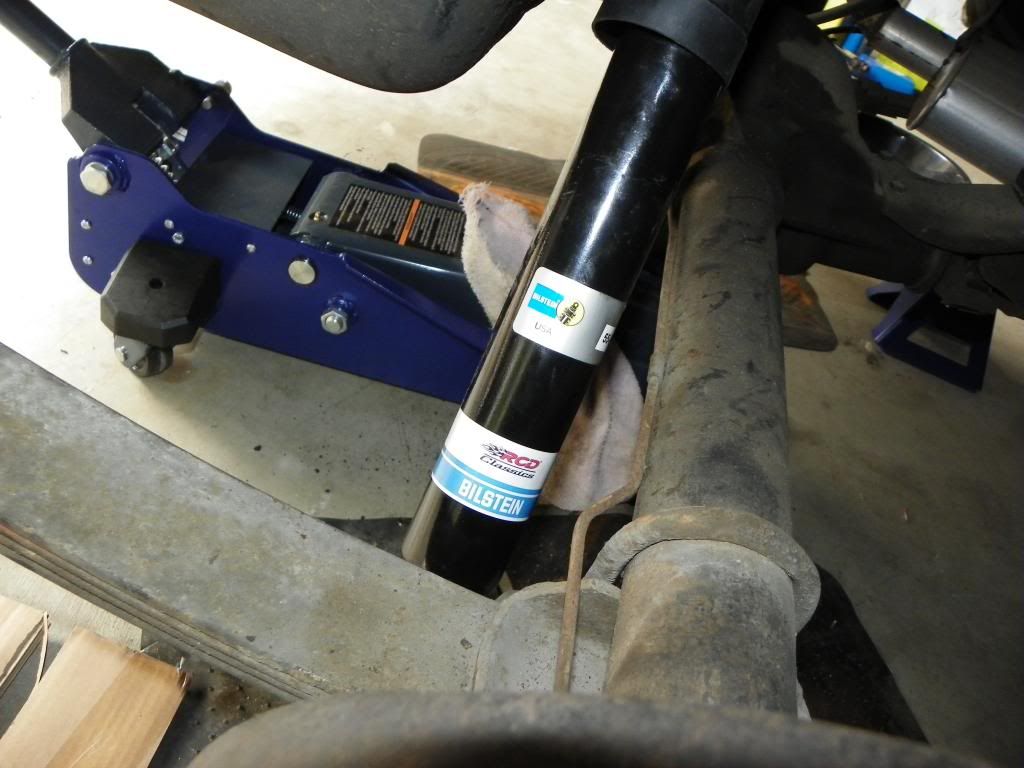
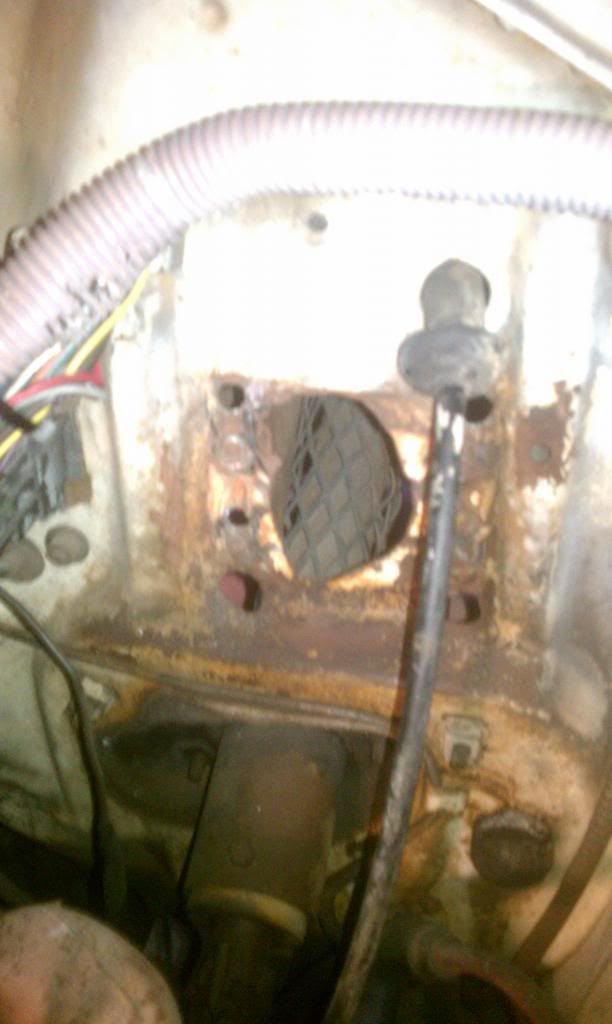
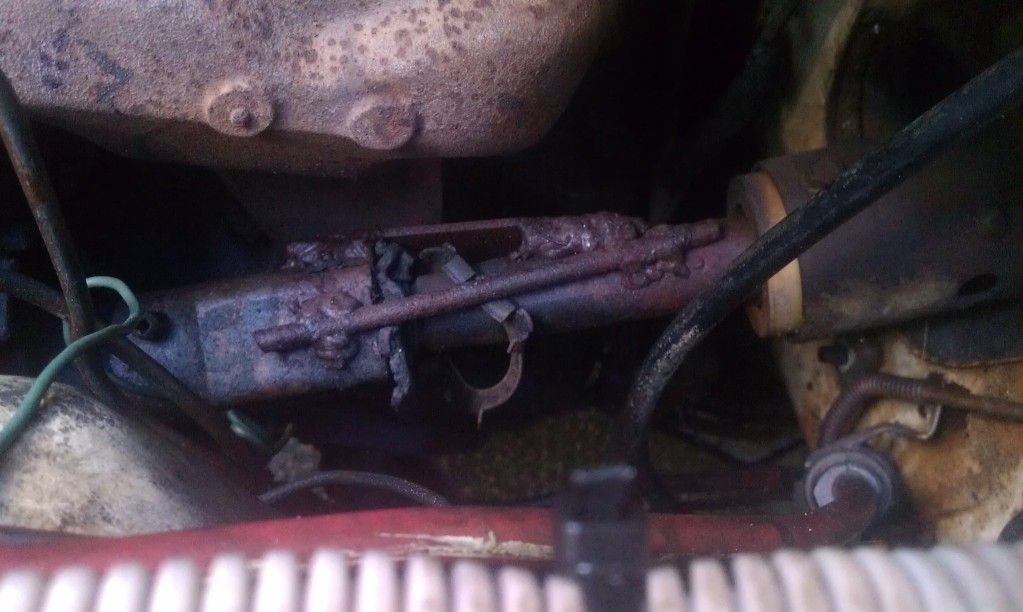
As I had my battery stuff out. I also decided it was time to change out my power steering return hose. When my friend came over last time he noticed it was hard, cracked, and leaking. I guess he found one of my mystery leaks. So I picked up some hose and new clamps at the store and installed them on there.

Lastly, I figured I could probably do at least one more thing, I decided to check out my passenger seat and why it won't scoot back when the lever was pulled. Initially I picked up my WD40 since I thought the tracks may have been a little rusty or it just needed some lubricating. The first thing I did was look underneath the seat and I see this one doo hickey clip thinger mabbober connected to two springs lying on the ground and not connected to the hookey thingy. Well, in my mind I thought the two would go lovely together so I hooked her on, sat on the seat, PULL THE LEVER! (Emperor's New Groove Movie Quote :D), and wallah! My passenger seat works again!

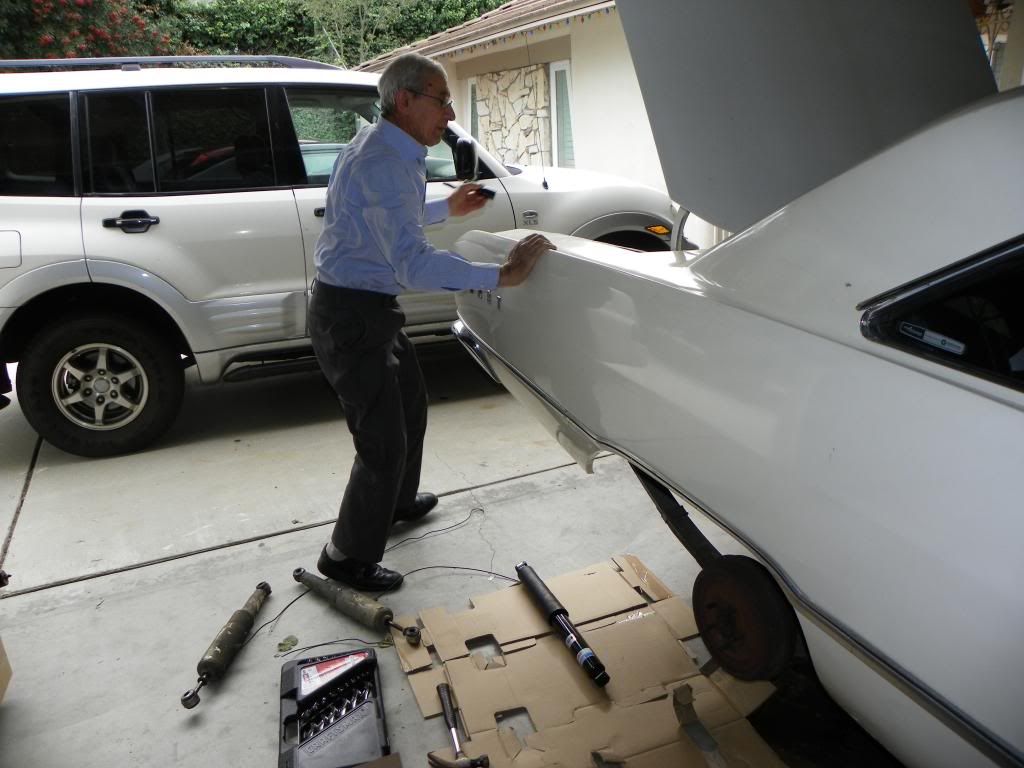
I also picked up some engine degreaser so I can start cleaning up the scariness underneath the front end. :nervous:

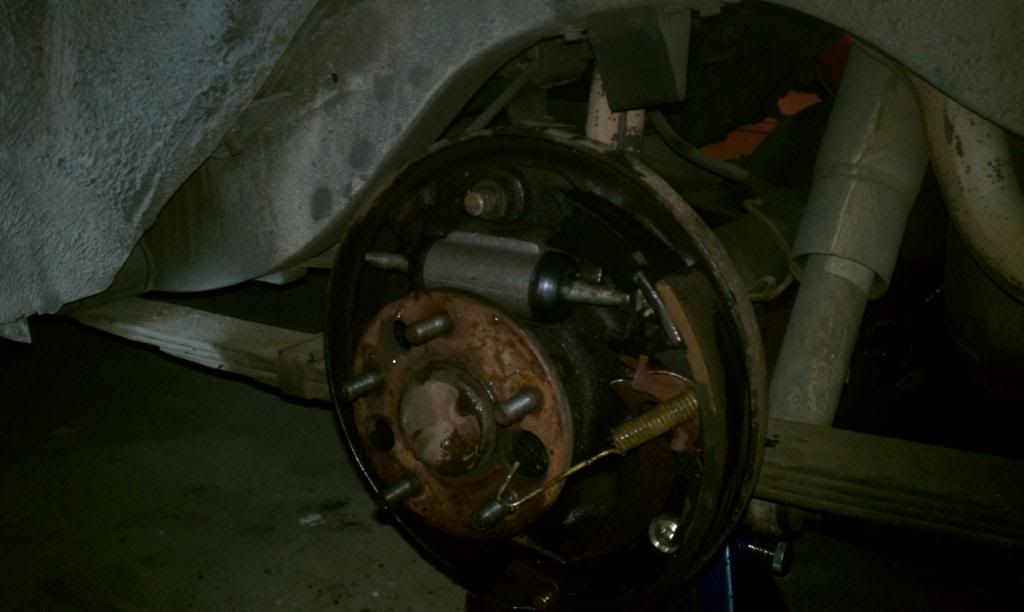
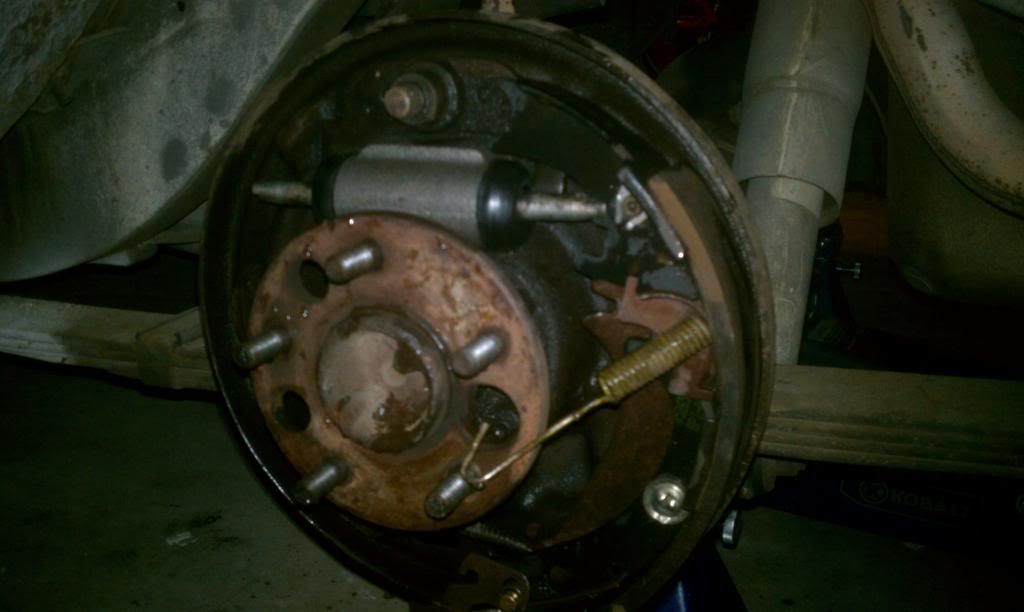
I'm still figuring out steering column and brake stuff. I've been doing some research and asking around for info. I also need some new bolts for my wheel cylinders in the back (I believe they're 3/8"?). I know I sound like a noob, but where can I get some SAE grade hardware?
So that was my day. I feel accomplished. :blob: Now it's time to relax for the rest of the night. :glasses7:
 
I do believe the wheel cylinder bolts are 1/4-20 x 1/2" long. If you have new ones you could take them to the hardware store and match them up. There should be a roll pin on the coupler at the steering box you have to knock out, then disconnect the shift linkage in the engine bay, go under the dash and disconnect the two connectors then there is a plate the bolts it to the dash and a few bolts at the floor board.
 
I do believe the wheel cylinder bolts are 1/4-20 x 1/2" long. If you have new ones you could take them to the hardware store and match them up. There should be a roll pin on the coupler at the steering box you have to knock out, then disconnect the shift linkage in the engine bay, go under the dash and disconnect the two connectors then there is a plate the bolts it to the dash and a few bolts at the floor board.

Yeah, I found out about the wheel cylinder bolts so I'll probably get them within the next week or so. And is there a shift linkage if I have a floor shift automatic?

Is the roll pin you are talking about that little pin furthest to the left on this couple? Edit: Nevermind, a moparts member just answered that question for me.
IMAG0712.jpg
 
Still don't know what I want to do with regards to fixing the car. I probably won't get to steering for at least another 2 weeks, if that. And I'm still deciding what to do with the brake issue. My goal is to get the car driving safely by mid December (let's just say Christmas).

For the firewall and brakes it seems like I am, for sure, going to go with Dr. Diffs replacement panel and studs along with his adjustable pushrod. I just don't know if I want to get his aluminum master cylinder (still manual brakes), use the MC I have with an adapter (still have receipt and haven't used it), or switch to "OE" power brakes MC and booster from NAPA (the most expensive, but for the most part correct for the brake system I have).

Lots of people say to switch to manual, "there isn't much difference." I've heard from other close friends (yes, even older fellas) to keep it a power brake car because you "lose so much braking without the booster." I'm really on the fence here. I've never driven a manual brake car. I won't necessarily mind putting more effort in braking, just how much is more?

Just a side note... I do plan on upgrading to much bigger disc brakes all the way around within the next 2-3 years.
 
Dude,
I appreciate the work you have done on the car.
Do not drive it with that cobbled up steering column.
 
Dude,
I appreciate the work you have done on the car.
Do not drive it with that cobbled up steering column.

I already have a replacement coupler with shaft on standby and the car will not be moving on it's own power until that is swapped. On the other hand, one of the guys on moparts is getting me into possibly going bbp. But now I want big brakes, wheels, and tires too. With a rear end swap as well.
 
Well, I was a little sick today and had the day off, so instead of moping around all morning I decided to drive on down to the parts store and pick up some hardware for my wheel cylinders as well as some Castrol Superclean Degreaser to clear out the surface rust in the trunk. Overall, not a bad product. Worked wonders. My friend thought I used a wire wheel when I texted him the before and after shots. Cost me about $11.50 for a gallon. Anyways here are before and after pics...

Before:
IMAG1150.jpg


After:
IMAG1183.jpg


I'm still trying to gather up all the parts I need for my MC swap. My friend and I should get started on that in about 2-3 weeks. Hopefully the Dart should be ready by Christmas time.
 
Going to work on the Dart Saturday morning with my friend. We're probably going to pull out the steering column to replace the shaft and the coupler. Also was looking around the car and as I was looking for what I was going to need for the column, I spotted my AC box/vent. It doesn't seem like I'm going to need that anymore. I'm thinking of just taking everything AC related out of the car. Because as of now I have no compressor, random hoses in the engine compartment that go nowhere, and no effective way of transferring air flow to the cabin. :wack:

IMAG1195.jpg


O, and I was also looking around the engine to see if I can spot the numbers to confirm whether or not it was a 273 or 318 (just wondering if the original engine was swapped because when I bought it, it was advertised as an "original" 318 even though it's a coded 273). I couldn't get a good angle from either inside or under the engine bay to get the numbers. Anyways, I knew the 273 exhaust was pretty restrictive, but does there seriously need to be a huge @$$ dimple in the exhaust right next to the torsion bar? :banghead: I figure some headers, a larger diameter exhaust, and x-pipes would really give this car a little kick.

IMAG1196.jpg


I'm thinking about just pulling out some of my Castrol Superclean Degreaser and start scrubbing the underside of the front end as well. Boy is it greasy. :puke:
 
Alrighty. Well I've been working on the Dart all day. My friend came over in the morning to help me out. The first thing we did was finish up the wheel cylinders. He taught me how to work with them so with the proper tools I should technically be able to work on any drum brake set. Then we went to replacing the steering coupler and shaft. We basically removed and took apart the column. As it was out my friend asked me, "You want to paint it?" I looked at it and said, "Well if it's out, I might as well. At least I'll have one nice looking thing on the car." So off to Home Depot we went. Got some sand paper, steel wool, primer, and black paint. Then we went back to my place, prepped everything, and he showed me how to spray on the primer (I've never been good with paint). After that he had to leave to a friends so I finished the job spraying 2-3 coats of paint. Overall, I'm really happy with the turnout (except for a couple spots where the paint pealed because it was lying on the cardboard, which I just touched up). Anyways, here are the pics I always provide...

It's a little more roomy in the car. While the column was out we took out the brake pedal assembly and we're going to fix it in the shop probably sometime this week.
IMAG1204.jpg


Old vs. New Coupler and Shaft. Kind of a scary thought looking at the welds. Some of the welds cracked and others didn't even look like they would hold at all. I bet you I could break it easily with a hammer. Bye bye steering... Crash!... Injured/dead.
IMAG1200.jpg


Disassembly of the steering column:
IMAG1201.jpg


Parts laying out waiting to be painted:
IMAG1202.jpg


In primer:
IMAG1203.jpg


After a coat or two of paint:
IMAG1206.jpg


Plan for the car is to be driving, safely within the next month. At this point, our schedule is up in the air between both our works and baja, but there should be a couple more updates coming up within the next week or two. I would like to get the car back on the road for old times sake.


As far as brake stuff goes, the column is going to stay out till we get the MC installed. I decided to go manual steering with the new MC and an adjustable pushrod I already have in stock. We're basically going to take out the old, cut rivets on the brake pedal assembly and weld those in. We're also going to cut out the firewall and replace it with some new sheet metal. Going to go with the 2 Grade 8 bolts to hold the MC in. I already have new brake lines on hold as well.
 
Had a fairly good day today and made some progress with the car. Well, I got a set of Bilstein RCDs this morning for Christmas so I got a little excited and decided to install the rears since my wheels were already off the ground. I got to work and my mom's husband walks into the garage and tells me I should take a bunch of pictures of the car how it sits now just so 30 years from now I could talk to my kids about it. So we took a bunch of pictures and I continued to remove the shocks. When trying to install my new shocks I needed some oil from my uncle and when I told him about it, he just went at it when he got here trying to work as fast as possible to get these shocks on. Anyways, here are my pictures from today and I hope you enjoy them.

100_5135_zps89b17500.jpg

100_5138_zps2e809e77.jpg

100_5139_zpsb7135720.jpg

100_5140_zpse8f1fc79.jpg

100_5141_zps61d730d0.jpg

100_5142_zps4e3fb48a.jpg

100_5143_zpsb0bccdd4.jpg

20121225_094352_zpscd2958d1.jpg

20121225_120305_zps24adb06c.jpg

101_0003_zps06e51c59.jpg

101_0004_zps3acd4f21.jpg

101_0005_zps0e1f509b.jpg

101_0006_zps13fb664f.jpg

101_0007_zps66003817.jpg

101_0008_zps055d50e6.jpg

101_0009_zps8e915d4c.jpg

101_0010_zps882b215d.jpg

101_0011_zps9501e956.jpg

101_0012_zps025a2cec.jpg

101_0013_zps1a621c3d.jpg

100_5136_zpsf6920bb2.jpg

100_5137_zpsbabf7ea6.jpg


I had a blessed Christmas today and had some real fun with my family. Overall, I'm fairly happy with these shocks. It seems to have lowered my ride just a tad but that's what I want anyways. I still have to get to the fronts though. I'll probably get working on those within the next couple days. I also need to find time with my friend to work on the brake issue and putting the steering column back together. Merry Christmas FABO and have a great night!
 
Looks like a nice straight body to start with. One thing I've learned over the years is that you should plan your entire build and write it down on paper. What you want the car to be like, the final purpose/usage, options, color, interior, etc. Stick with it, don't start making half hearted, hurry ups in order to get it done. Money and time spent that way is usually a loss that you'll never get back and generaly devalues the car eventually. Good Luck with Your Build! Mopar!
 
Ok. I'm finally done for the night. I'm pretty happy right now. I believe this is the first time I've ever done anything major to the Dart without any physical help or input on what to do. Just finished putting on the front shocks right now. I had some questions along the way and I just thought it through. The instructions weren't much help but I got them in just fine. I didn't clean up the grease on all the suspension components because I'm just going to pressure wash it all in the future anyways. Another note, found out that the previous owner replaced a stud on the driver side and put on some metric bolt and thread pattern. Unfortunately for me I just ordered a new lug nut from rockauto (extra $3 due to shipping). O well, it's nice to have spares. Here are my pictures...

101_0014_zps37092cf3.jpg

101_0016_zpsbd0913d8.jpg

101_0017_zps49367e45.jpg


Overall, I'm happy with the shocks. Front end is sitting a little high but I figure the shocks need to settle. The car is definitely stiffer; however, when you rock the car up and down you still get just a little bounce. That's not firm enough for me. It's obvious the next things that need to be upgraded are going to be my torsion bars and leaf springs (after I get it driving and rebuild the suspension).

My tools are tucked away beneath the car and I'm currently cleaning up the garage. I had a lovely date with my Dart. :D
 
So there was some good and bads in today. I'll start with the goods just to keep the glass half full. The good part about today is the steering column is all done and we started on working on the firewall. Here are pictures of the entire steering column assembly (I didn't restore the steering wheel)...

101_0021_zps5b1df0da.jpg

101_0022_zpsf8bf2b64.jpg


And of course here are some pictures of the firewall and how it is now. We're planning on wire wheeling around the new cutout and bending a new piece of sheet metal to replace the old one.

101_0020_zps6a37c589.jpg

101_0027_zps0829a8e4.jpg


Now for the bad news. Taking a better look at my disc brake assembly at the very least, my pads and rotors are way gone. The rotors are way glazed over and have this little notch/crevace on them that made the pads stick to them. You can even see in the picture how bad the pads are. At the very least my calipers may need a rebuild and who knows if they are even rebuildable or worth rebuilding/replacing. I'm wondering if I should switch to bbp now or what I should do... Anyways, here are pictures of the carnage.

101_0023_zpsd94df59f.jpg

101_0024_zps8be274fa.jpg

101_0018_zpseaf80e82.jpg
 
By the looks of the brake pads, the grooves ins the rotors came from a set of pads that were on the car before that set.
Just put a new set of rotors and pads on the front and you should be good to go.
You may have to replace the calipers if you cannot get the piston to compress enough to install the new pads.
Down load a copy of the factory service manual, search for it on this site, it will walk you thru it step by step.

Thanks, I think that's what I'm going to end up doing. I have a copy of the service manual as well I've been following while working on my car.
 
More work done tonight and more to come tomorrow. I degreased my steering wheel a little to clean it up and get some of that crud off. Also took off my oil breather and repainted it. Lastly, I started to remove all the rotors and pads. Almost done. Just waiting for the PB Blaster to work on the passenger side. Of course, pictures are always provided...

Breather:
101_0028_zpse491d9e9.jpg

101_0029_zps925b7b40.jpg

101_0037_zps28511288.jpg

101_0038_zpsb2ebc168.jpg


Driver's side brakes:
101_0030_zps6bcc6c43.jpg

101_0031_zps8cf431ba.jpg

101_0034_zps7969eb50.jpg

101_0035_zpsc64f38c8.jpg

101_0036_zpsb3f1575a.jpg

101_0039_zps496f0c59.jpg

101_0040_zpsfdb58318.jpg


Even if these pads and rotors may still be usable, I'd have more of a piece of mind if they were replaced so I ordered some new rotors (not CD/Slot) and pads. Plus it was a good learning experience trying to take apart the entire disc brake setup.
 
Coming along nicely....you guys dress way to nice to be working on an old Mopar.....
 
wow, muumuu, looks like u have yer hands full.......and that steering column, omg.... your pluggin' right along though, that's what u want to do, take your time and make progress.

also there's a ton of guys here that have the knowledge to do just about anything u want to that car, so don't be afraid to ask, there always glad to help.

earlier in the thread i read that u were wondering what engine u have. i don't know if anyone's told u this yet, but on the drivers side or left side of the block just under the head there should be stamped the size of the motor. it's on the front of the block as your looking at the motor. you'll probably have to wire brush it, and use your favorite degreaser to see it. keep workin' on her dude.......subscribed.
higgs

It's my first build and things are going to start to slow down. I just started school up again and baja is taking up my time. I also checked the block a couple weeks ago and it is confirmed a 273. I got all my brake parts (rotors, pads, and studs) and may start working on the rotor/hub assembly. I'm also thinking about getting the hubs and calipers painted (after a caliper rebuild, maybe).
 
Coming along nicely....you guys dress way to nice to be working on an old Mopar.....


Xs2 ...even i dress in rags to work on the cars....i get pretty greasy and dusty though :cheers: LOL

Wow thats a really high optioned car......kelsey-hayes 4 piston disk brakes ....power brakes....looks like you have power steering too.

my 68 dart (Natasha) was a 270 originally and soooooo plain compared to this one...mine has manual steering and manual drums and it had a bench seat.

now i put a 4 speed in and im putting a rally dash in .....but originally talk about plain.

Your GT is definately an executive car :cheers:

That picture was taken towards the end of working on the car. I generally dress in some older shop/car shirts with some old ripped, greasy, dirty, and/or painted jeans. And I agree, this is definitely a car for upper class.

I think power brakes and the KH went together. I don't have a build sheet, but I don't think this car was a power steering car. When I changed my PS pressure hose I had to use a 75 Dart hose which has different fittings from a '68. Lot's of hokey pokey, no no stuff was going on with this car that I've been slowly sorting out.

I wish I had the time, money, and the skills to do much more but I'm still learning.

Here's the fender tag decoded...
CAR: Dodge Dart 2 Door Hardtop
ENGINE: 273cid 2-bbl V8
TRANSMISSION: 3-Speed Automatic
TIRES: Unknown tire code
BUILD DATE: October 25.
AXLE: 2.94 Rear Axle Ratio
INTERIOR: Premium Trim Grade, Vinyl Bucket Seats. Black Interior.
PAINT: Monotone White Paint.
OTHER: Black Upper Door Frame Color.

MOLDINGS:
25: Drip Rail Mouldings
30: Body Belt Mouldings
55: Body Side Mouldings

ABC OPTIONS:
R1: AM Radio
S1: Air Conditioning
X2: Tinted Windshield Only
Y6: Black Vinyl Top

abc OPTIONS:
u1: Sold Car When Built (Somebody Ordered It)
 
-
Back
Top