My first muscle car build thread (lots of pics)

-
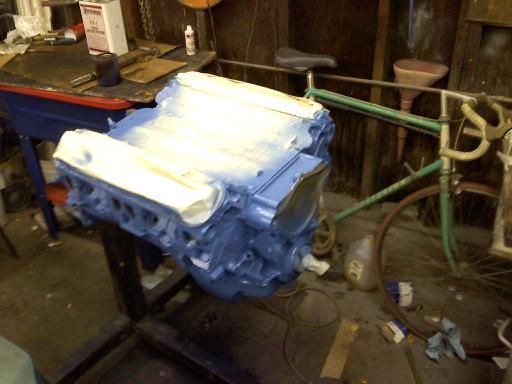
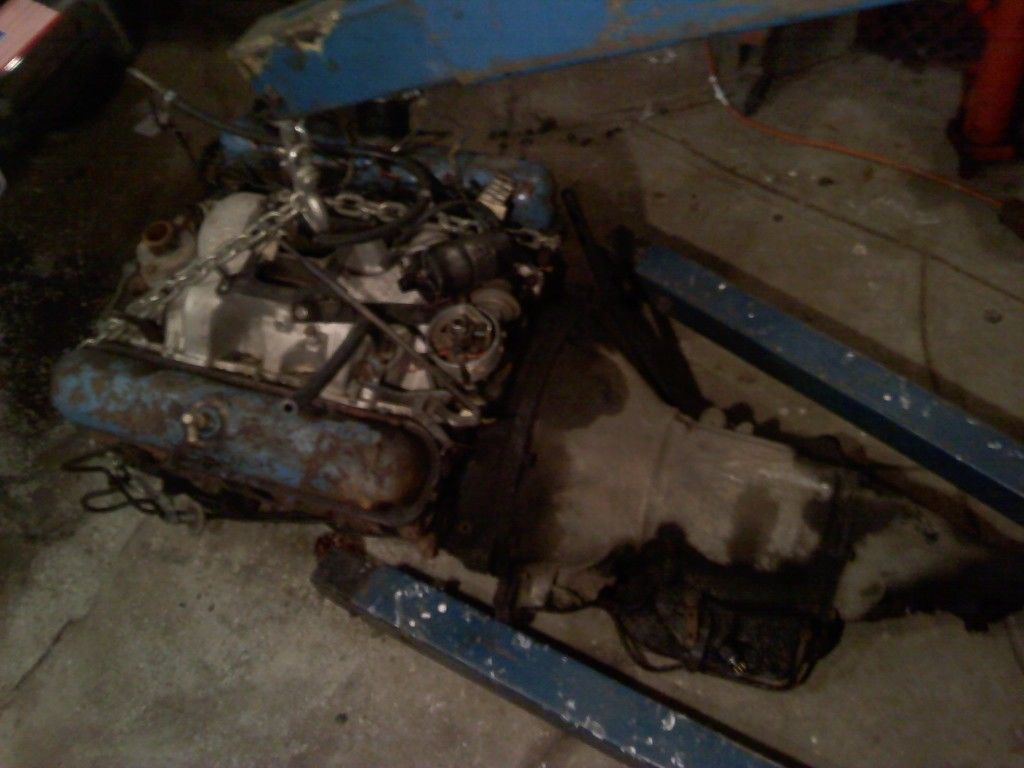
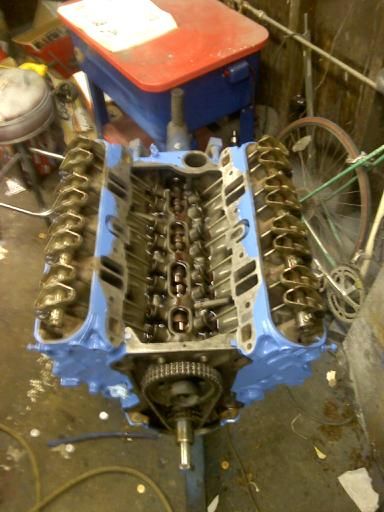
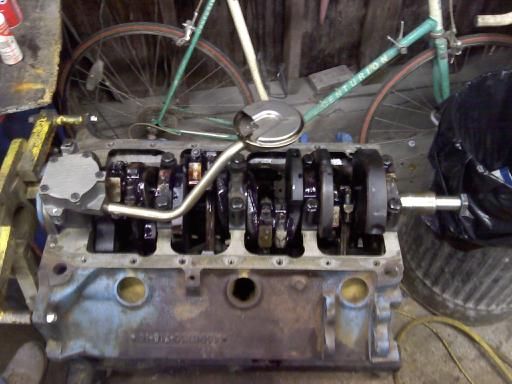
Well I picked up the .010 under rod bearings, with them my clearances were wonderful. so now all the pistons and rods are in and connected!

downsized_0413121712.jpg


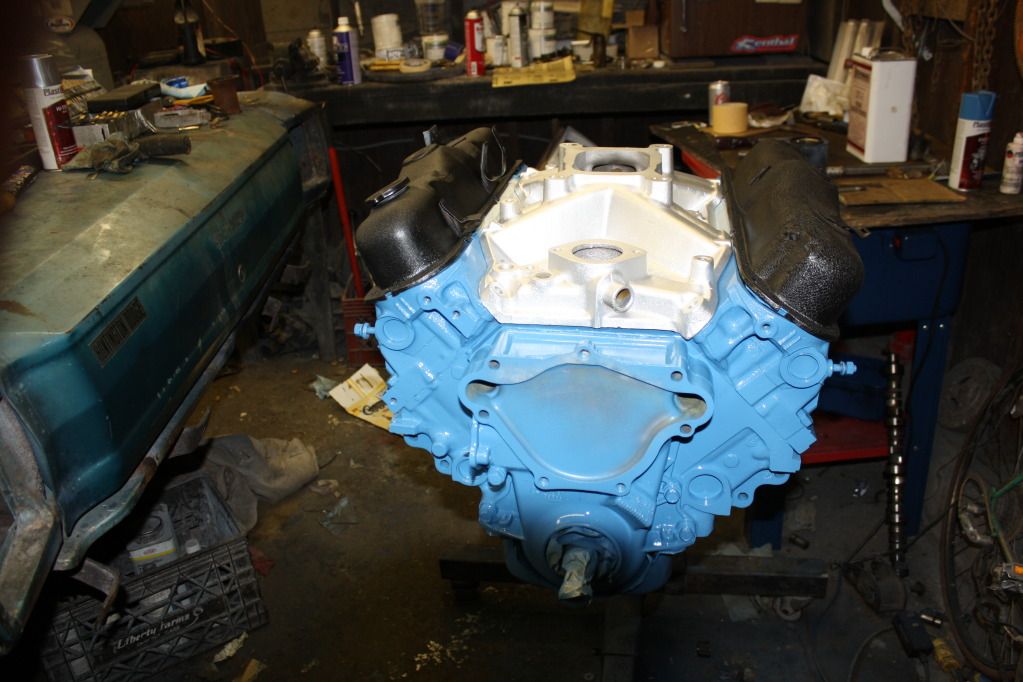
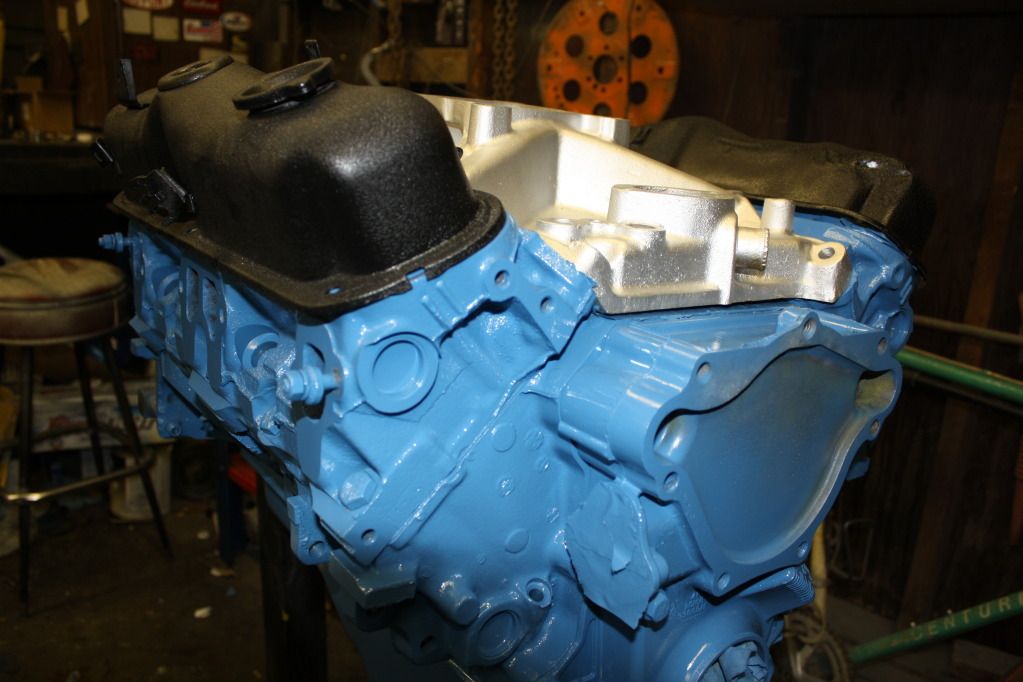
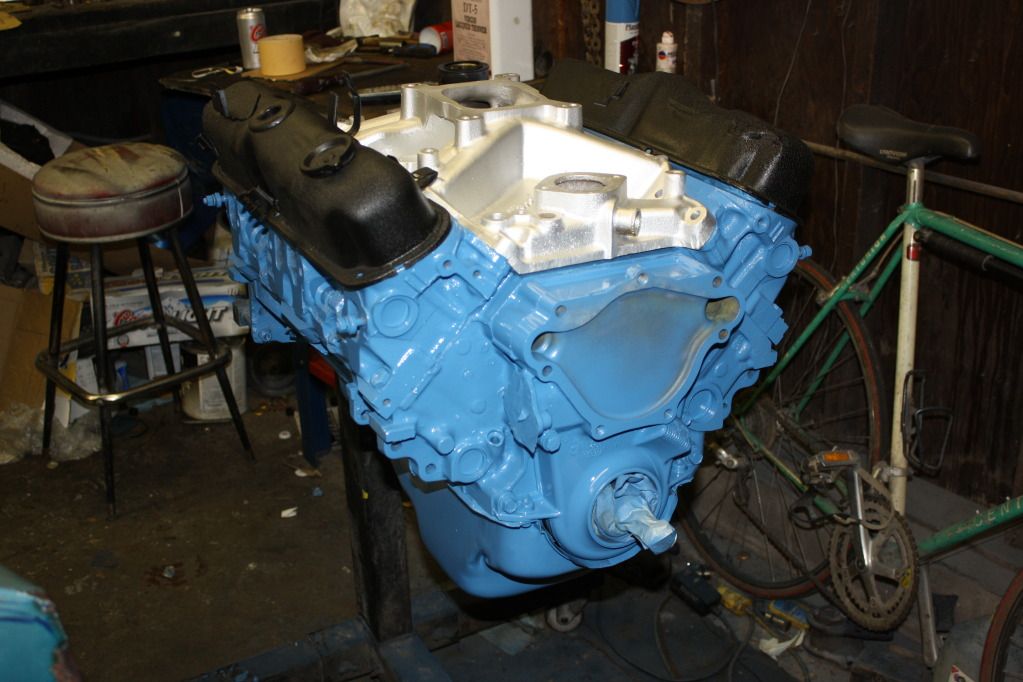
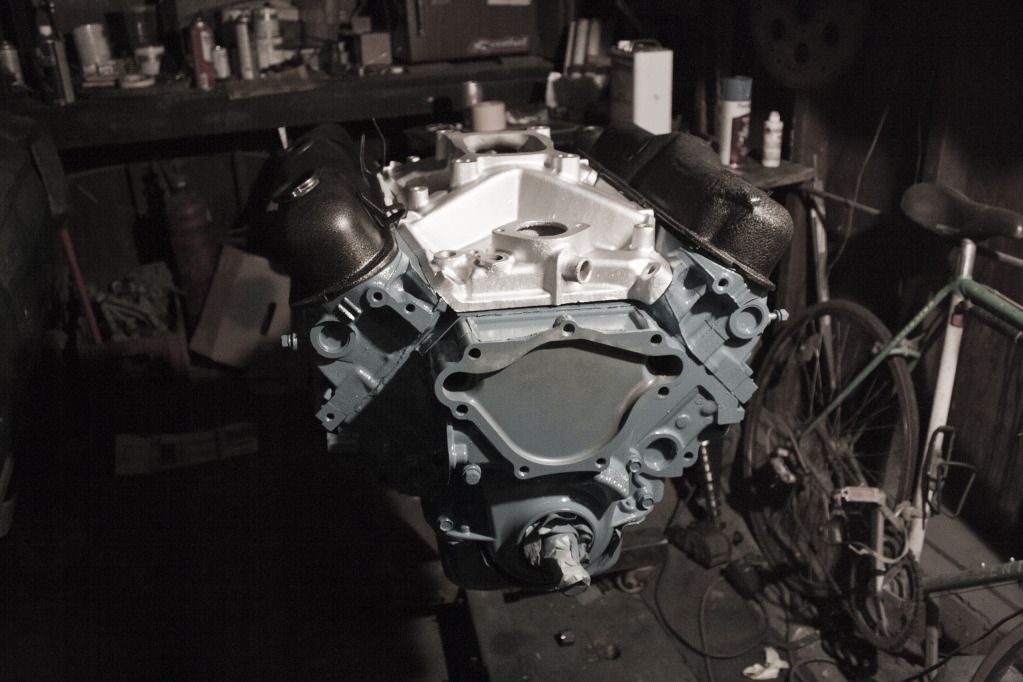
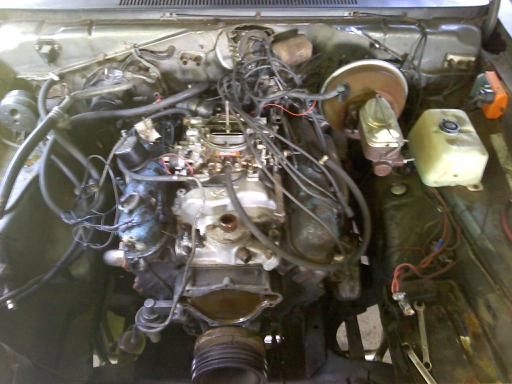
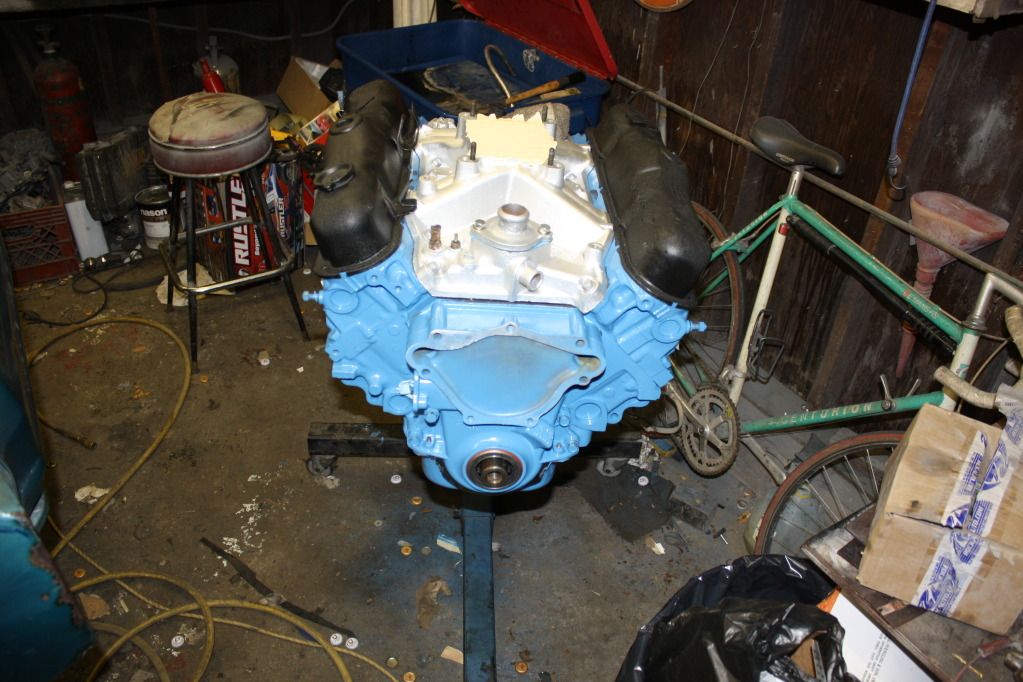
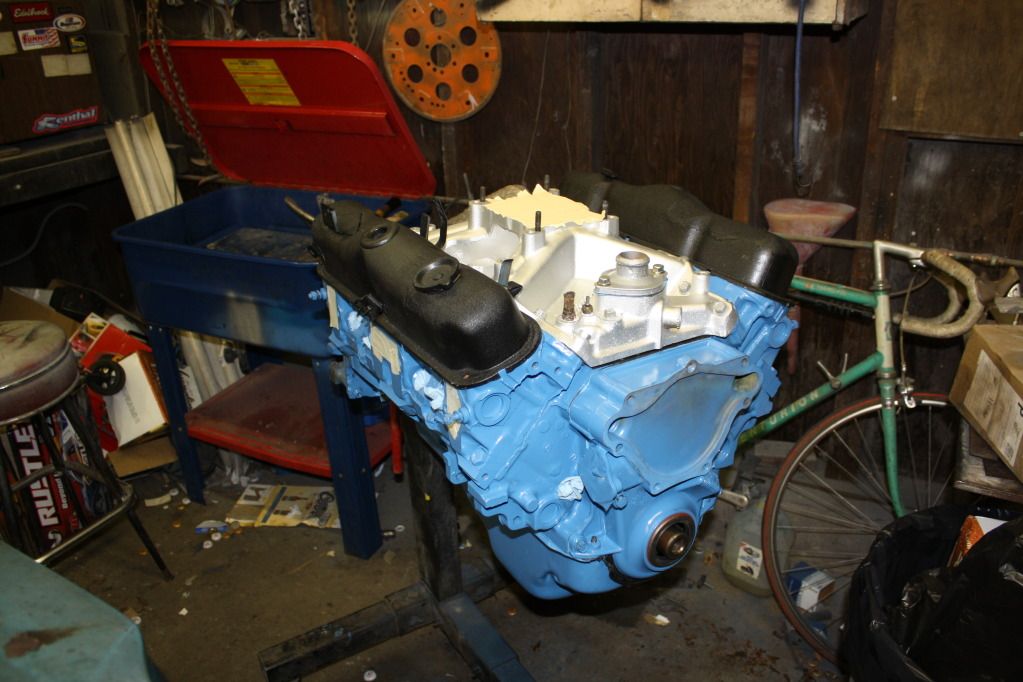
Threw on the oil pump, pickup and oil pan. I also re bead blasted and painted my intake manifold. I did not take into consideration that there is an exhaust crossover in the intake which gets rather hot. So i found some paint that is basically the same color. I found out when i got home i had to cure it at 400 degrees. Put it in our gas grill for a while :rolleyes: came out looking fantastic.

I started cleaning the heads up more. They are grease free but there is a bit of rust and carbon to take care of. My dad cleaned the combustion chambers up really nice with some wire wheels. We lapped one valve so far and it cleaned up decent. The ports on the head look really good as cast in my opinion. I don't think I am going to screw with them.

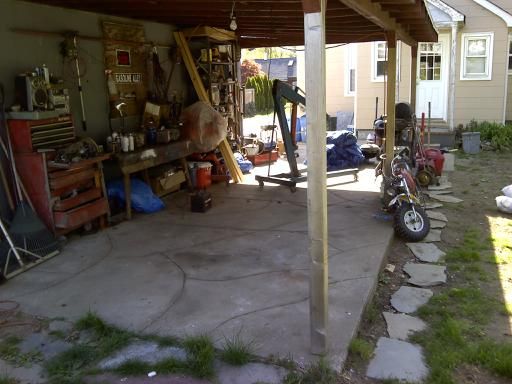
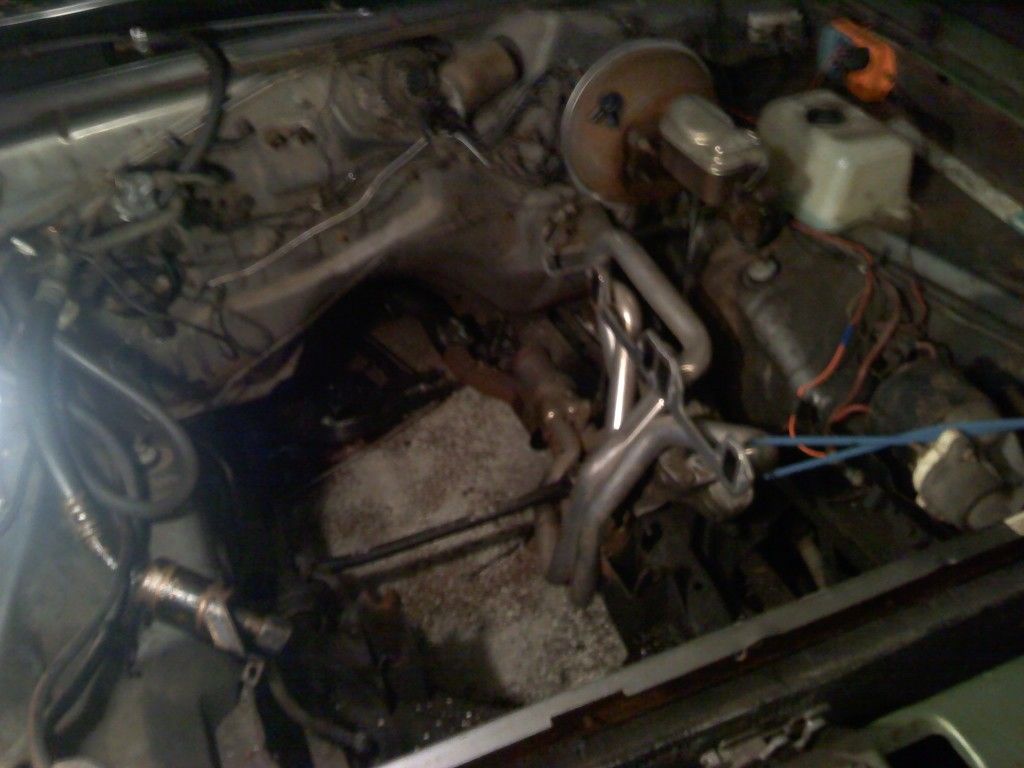
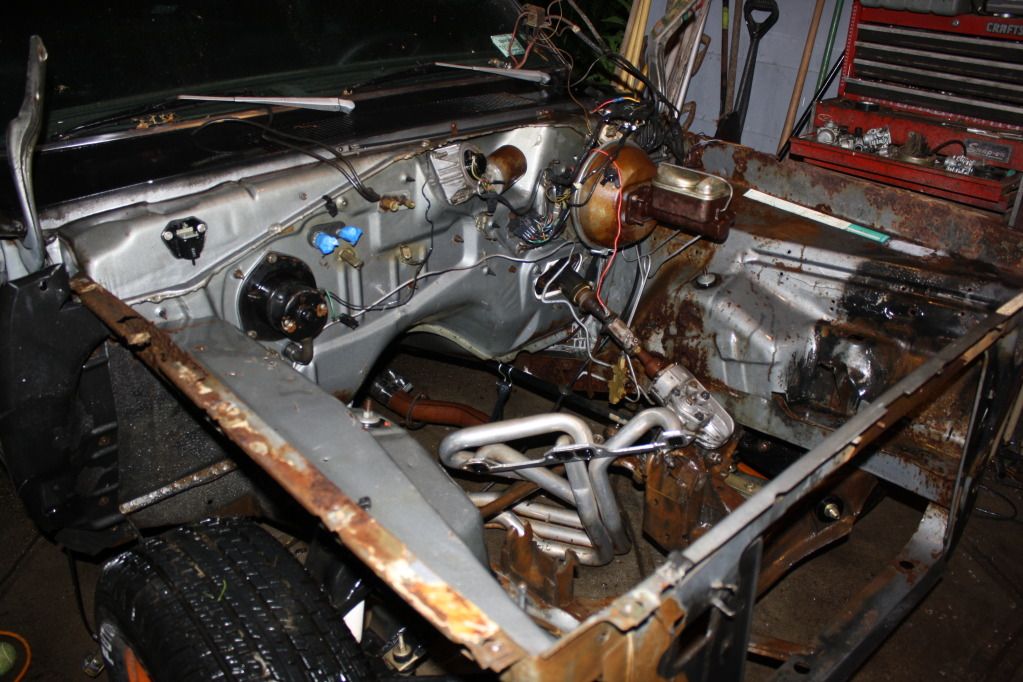
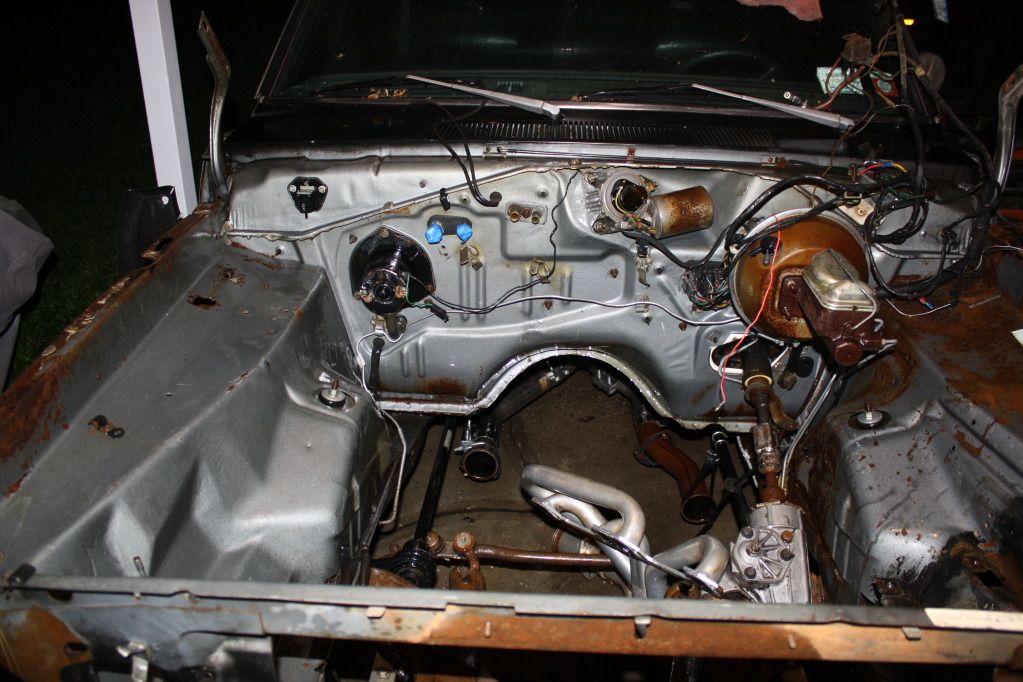
Hopefully i can get more done soon but, things are coming together now and i am nearing the point of yanking the old engine. Keep in mind I would like to paint my engine bay while it is out. So first startup probably wont be for a month.

Budget:

freeze plug set 19.44
head plugs 5.20
intake hi temp paint $10

$475.48

now if you inlcude the second set of bearings i bought it would be up to:

$539.42

But I don't think i would count those in the budget since you cant use two sets in the engine.

Knock on wood I don't think I will need to buy anything more.

You too could build a under $500 small block mopar. Who says building mopars can't be cheap!
 
Just finished lapping all the valves and cleaning the heads. Doesen't sound like much but, i think I can get the heads bolted on tomorrow and maybe some paint?
 
Okay got the heads torqued to spec and threw on some paint!
downsized_0415121905.jpg


timing cover is not permanently bolted down. still waiting to get the old cam out of the other engine.

Here is a picture with the intake and valve covers laid on.
downsized_0415122019.jpg


One purdy small block, on the cheap. :hello1:
 
I took better quality pictures of the engine tonight for the fun of it. The blue came out pretty shiny. Its plastikote brand. I am thinking of doing the dip stick tube silver so I can find the damn thing in the dark!

IMG_1774.jpg

IMG_1773.jpg

IMG_1772.jpg


Heres an artsy fartsy picture:
artsy_fartsy.jpg


I actually like that picture a lot.


Also I have 3,500 bucks in a cd that matures in july. I think I might spend the money on paint supplies and some forced induction. :finga:
 
I cleaned up the work area last weekend

downsized_0417121609.jpg


Its not much but it beats the heck out of doing it in the dirt! My dad wants me to prime the whole overhang before i pull my car under to work though. I cleaned it up a bit last weekend but this weekend I am going away to ride dirtbikes.:finga::finga: so Ill have to wait till next weekend.

today I spent a few minutes here and there working on my throttle cable bracket. I shaved off the kickdown linkage mount as I wont need that with the 4 speed and I don't ever want to put an automatic back in.

downsized_0425121409.jpg


Bead blasted in the cabinet:
04251220361.jpg


Painted to match the intake:

downsized_0425122059.jpg


Also i dug out this cool radiator hose i won a few years ago at a car show. I will finally have something nice enough to put it on!
downsized_0425122041.jpg


And last but not least what do you guys think of this stripe?

dart_stripe_scan.jpg


The car would be vitamin c orange, black wing, black vinyl top, black hood with black dual scoops(the separate ones) and orange cop wheels.
 
A place to work that is under a roof and has a floor is always better. Car comming along great.
 
Spent friday and saturday painting the overhang then sunday I started at 2 or 3pm, pretty hungover. Didn't expect to have the engine out tonight but by 11pm it was on the ground! I got a ton of **** done this weekend! :cheers:

downsized_0506121727.jpg

0506122323.jpg

0506122326.jpg


Everyone said drop the K frame its way easier, maybe it was but this way certainty was not very hard either.
 
Really busy with my finals rite now so this is on hold until next friday.

I have also been wondering about what to do with my headers. They ceramic coating is already getting a bit of rust.

My thoughts are either paint them, which I am wondering if i can bead blast the ceramic coating off? and advice on painting them so the paint stays would be great.

OR

wrapping them. I have done some research and everyone ad their mother says oh they will rust your headers out faster. I looked at some failure pictures of wrapped headers and they did not look like they rusted out. Then I read a guys comment that said they get so hot with wrap that it melts the metal or it gets brittle from being so hot.

so I am leaning away from this at the moment. It would be really nice if there was a wrap that didn't hold the heat in and was purely aesthetic.

So I'm leaning towards painting them but that presents two issues.
How to get the coating off?
and
how to get the paint to stick good?

So help or advice would be appreciated there.

I am also going to look into putting a rack and pinion steering setup in the car. I probably won't be doing that on top of all the other stuff I have to do rite now but I am looking into it. I am thinking of going with a 82-85 celica/supra rack and pinion. It is a rear mounted rack. I have an 85 celica so i can measure the rack. I like the tightness and road feel of the rack in my celica. the dart is 600-700 pounds heavier so I imagine that would stiffen it up a bit. but in retrospect they used the same rack in supras which weighed close to 3,000 pounds. so i think it would work find in the dart as far as strength is concerned. Anyway I will try and research that more this summer.
 
You've come a looooooooong way with this car & you should be proud. I surly couldn't have done all you did when I was in college.
As to your headers---ya, you could beadblast 'em but it would take ALOT of time & materal and you could grind/sand the coating off but now your screwing up the metal & again spending alot of time. If it were me, before I did that, I'd find the nearest coating dealer (Jet-Hot or similair) and ask them if they could strip the coating off for you. If you're so inclined, you may be able to swing a deal & work for them part-time in exchange for coating your headers. Assuming that's not do-able, and you have to paint 'em, prep is everything. Clean 'em up as best you can--strip e'm, snd/scotchbrite 'em, use plenty of solvent or thinner to clean 'em & don't handle them barehanded. Use latex gloves while handling them. Once you start painting them, use multiple thin coats, allowing each coat to dry thoroughly before adding the next. IMO, 5 or 6 coats (rememebr I said THIN coats) should do it. Some guys will use regular 'ol heat lamps to cure the paint, but unless you already have them, that's extra expense. With the headers painted, follow the paint manuf. directions on curing the headers once they're on the car.
Of course it goes without saying that you should trial fit the headers before any painting in case you have to clearence a tube or two.
 
Still not sure what to do with the headers but, I have some time to think about it as i still need to get my cam in the motor and button it up, and do some work on the engine bay, paint some more stuff. I might toss one in the blast cabinet and do a "test" down by the collectors and see how easily the coating comes off.

Also someone is interested in my auto for $150 bucks. I am crossing my fingers and hoping they buy it for 150. I need to get my flywheel resurfaced, buy fluids for the transmission and if I have enough left over I think I am going to do this hydraulic clutch setup:
http://board.moparts.org/ubbthreads...28489&Words=+ChargerDude70&topic=&Search=true

I tried to cross reference the part numbers to figure out what cars they are from but I had no luck. I really don't want to give autozone my business.

My last class is thursday so after that Things should get moving!
 
So this morning I sold the auto trans for $150 to a member on here! Then I double checked I had the right flywheel better safe than sorry especially on my budget. I went down to the local autoparts store, bought 4 quarts of 75w90 cam2 gear oil, got a magnum pilot bearing and paid for the flywheel resurface and it was $65! very sweet! I have some play money left to maybe try doing a hydraulic clutch setup.
 
Dang dude, I picked up my engine hoist at 12:37 pm, drove home, picked the engine out, split it apart from the trans, and had the hoist back to the hardware store at 2:45. But then my engine was literally 1 bolt away from being able to be yanked out. (one of the transmission crossmember bolts) I'm just bustin yo balls man. I wish my engine had been in good enough shape to be doing what you are. Mine needed a full rebuild. oh well. gl with rebuild.
 
Dang dude, I picked up my engine hoist at 12:37 pm, drove home, picked the engine out, split it apart from the trans, and had the hoist back to the hardware store at 2:45. But then my engine was literally 1 bolt away from being able to be yanked out. (one of the transmission crossmember bolts) I'm just bustin yo balls man. I wish my engine had been in good enough shape to be doing what you are. Mine needed a full rebuild. oh well. gl with rebuild.

The headers with the big old style starter complicated things a lot.


I haven't been working on this thing in the past week because i was helping my friend with his truck motor. We thought it had a really badly blown head gasket, so we replaced that and my friend went to torque the head and broke a valve guide. so we had to take everything off to get it fixed, then we did the headgasket again, and it did not solve the problem. by thusday we took the engine out and apart and found out the #4 piston rings were broken. Brought it to the machine shop got everything fixed up and picked the block up at 5pm on friday. rebuilt the motor installed it and had it running by 3pm saturday. before the truck broke we planned to go ride dirtbikes that weekend. Well we decided there was still some weekend left and at 5pm with about 50 miles on the motor we decided to embark on the 300 mile round trip. made it there without any issues, had a ton of fun on the bikes and drove back without any issues.:cheers:

A bad week was turned into a great week, and best of all I can get back to working on my car!
 
Well I have to paint the engine bay, and since dad is a body man he is going to help. Hopefully it won't be too much longer though. Hopefully by the end of the night the engine will be as buttoned up together as I can get it out of the car. I would like to put a few things on in the car so there is more room to get it back in.
 
I got the motor together as much as I want to out of the car and on the stand. I was pretty tired so i forgot to snap a picture. Its looking slick. I guess tomorrow Ill probably start cleaning the engine bay.
 
Took 2 pictures of the engine assembled. I think it looks F'n sweet! valve covers are just sitting on there, will probably wait until it is in the car to put them on.

IMG_1842.jpg


IMG_1843.jpg


Took more crap out of the engine bay and started cleaning. I feel like i spent half the day cleaning the work area up. Still probably have more to clean I just can't see it in the night time. California guys would be scrapping the car if they saw this much rust. In reality for an east coast car it is in good shape. sure it needs a few patch panels but nothing all that crazy to make.

Pictures are in order here if your wondering. It might be a subtle change in the pictures but loads of grease came off.
IMG_1841.jpg


IMG_1844.jpg


IMG_1845.jpg


IMG_1846.jpg


IMG_1851.jpg


IMG_1852.jpg


IMG_1853.jpg


IMG_1854.jpg


IMG_1855.jpg


IMG_1856.jpg


IMG_1857.jpg


I was a bit bummed today after buying de-greaser and rustoleom paint for the k frame I had 20 bucks left. Then I got an offer to do some work tomorrow for cash. sweet! probably wont get anything done on the dart tomorrow though.
 
turned out pretty good. so whats plan? replace inner fenders or just bolt back on? looks like its missing good part where fender bolts to it
 
Going to have to make the part where the fenders bolt on to on both sides. both are really gone. There is a hole in the inner fender on the passengers side up near the top. The drivers side inner fender might need a patch by the frame rail as its pretty f'ed up there. I am going to clean more and sand blast the rusty areas to reveal the true damage. the inner fender is real rusty to the right of the master cylinder but i think that might just be surface rust. Lots of work to do still. I would love to get this thing back on the road before the 4th of july. we shall see.
 
-
Back
Top