Moparmarcus
Well-Known Member
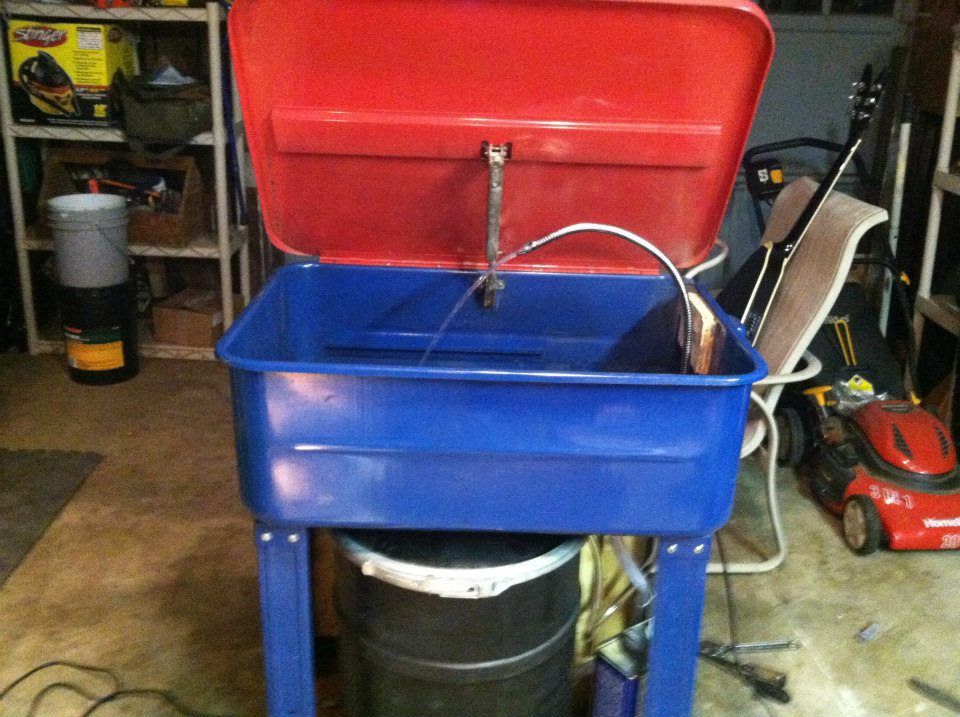
Started with a static parts washer tub from Harbor Freight. Added the drum and associated supplies for a total of about $150.


Cheap intermediate shaft removal tool.
1 - 6" length of 1" Schd. 40 PVC
1 or 2 as needed zip ties
a little muscle
Looking good Del
Here's some I made.
First one is a Holley carburetor stand. Hey don't laugh, it works.
Second one is a spark plug air hose attachment tool. When heads are on engine, this holds valves closed for changing valve springs or seals.
Third one is an engine plate for pulling engines. This one I made but didn't weld. I don't trust my welding skills.
Fourth is a tool for turning the adjusters on an 8 3/4 rear. A fine example of my early welding ability. LOL
View attachment 70172
View attachment 70173
View attachment 70179
View attachment 70181
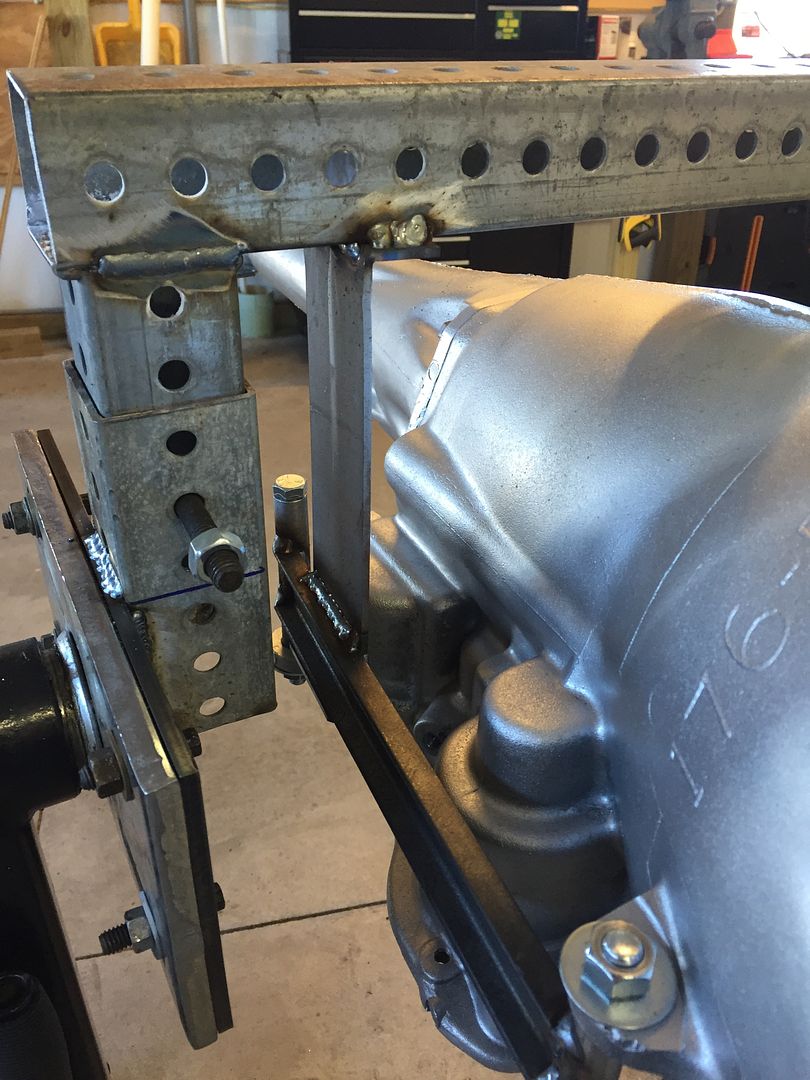
Today, RS23VOA & I build up a transmission adapter for an engine stand. We needed a fixture that let us rotate the trans pan-up or bell-up for assembly. Here's what we came up with using mostly recycled material
genius
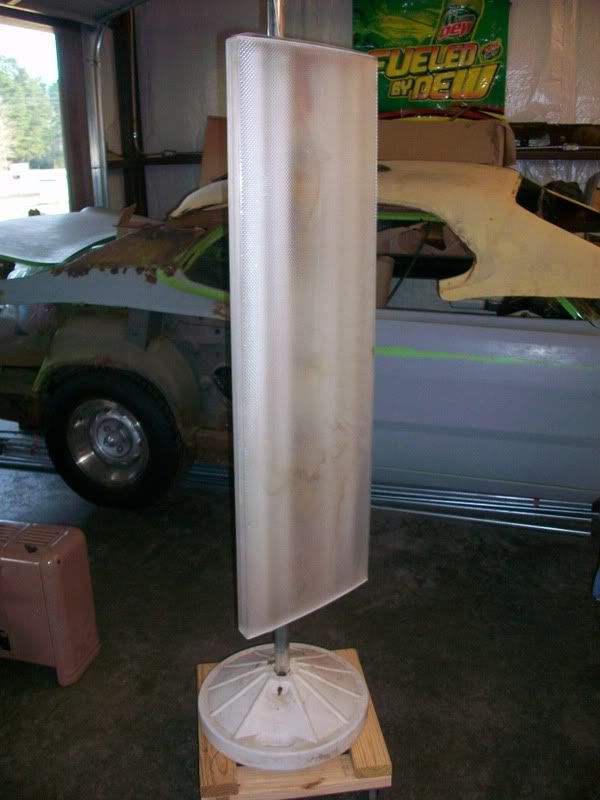
That is way cool, I'm definitely making one of theseMy portable bodywork / shop light... Made out of 4' fluorescent light attached to a patio umbrella pole mounted on wheels....
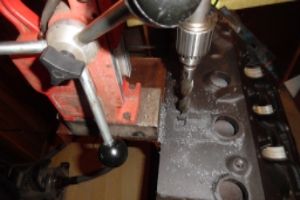
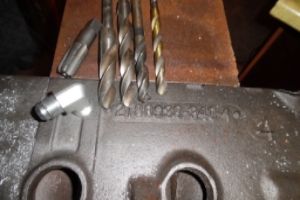
So I made this the other day. After modifying a set of 273 rocker arms I got to thinking how do I know for sure that the oil will be getting to the top of the valve stem and not just hitting the side of the spring where its of no use? So i modified an old rocker shaft with a fitting to connect to My air compressor. I then plugged all the remaining holes . Installed the shaft on the head removed one bolt filled the shaft with oil.Then tested the spray pattern varying the air pressure from 20-80PSI. I now know for certain that I drilled the new holes correctly as I could see the oil spraying directly at the point of contact between the rocker arm and valve tip.View attachment 1714955643View attachment 1714955644
LOL... When I was a kid before the days of harbor freight I bought some cheap wrenches from Wal-mart cause I didn't have the money for anything better and I bent a 3/4" wrench just like that trying to get a flexplate off a 383. I kept it in my toolbox for yrs cause it was useful in tight spaces, as long as the bolt wasn't too tight.My friend made a curved 3/4 ratchet...for the tight spots.
View attachment 1714963632
not really, he bent it setting the preload on a Ford 4X4 pinion. Ratchet head is still tight! He used a floor jack on a 4' cheater pipe to apply like 800 ft/lbs to the nut. Yeah, that's HF Pittsburg brand. HF wouldnt take return...! "It wasnt used as designed" Ha ha!
LOL... When I was a kid before the days of harbor freight I bought some cheap wrenches from Wal-mart cause I didn't have the money for anything better and I bent a 3/4" wrench just like that trying to get a flexplate off a 383. I kept it in my toolbox for yrs cause it was useful in tight spaces, as long as the bolt wasn't too tight.


