Rocker'sDuster
MOPAR rookie!
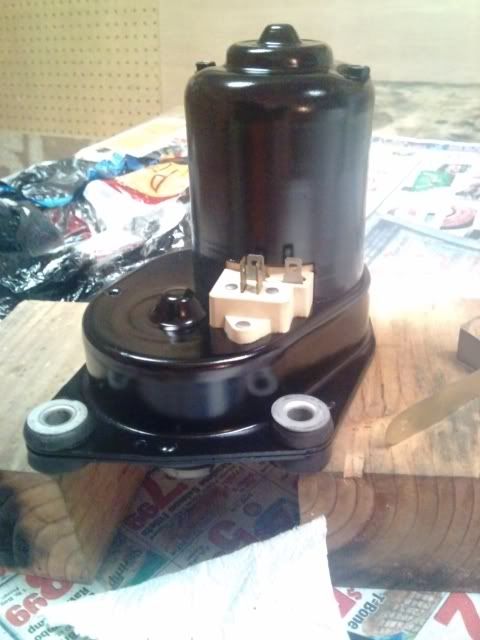
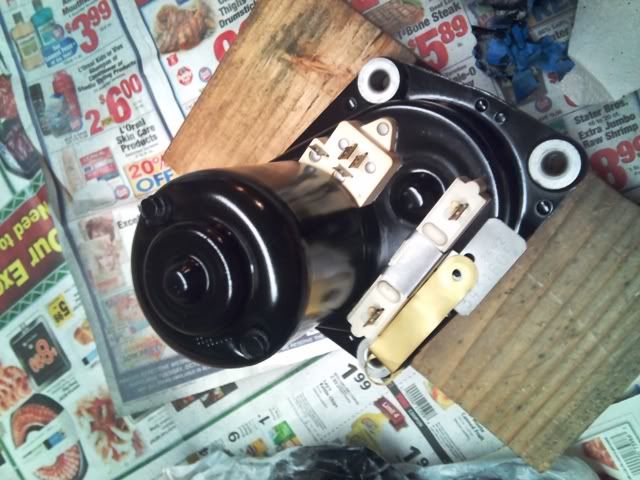
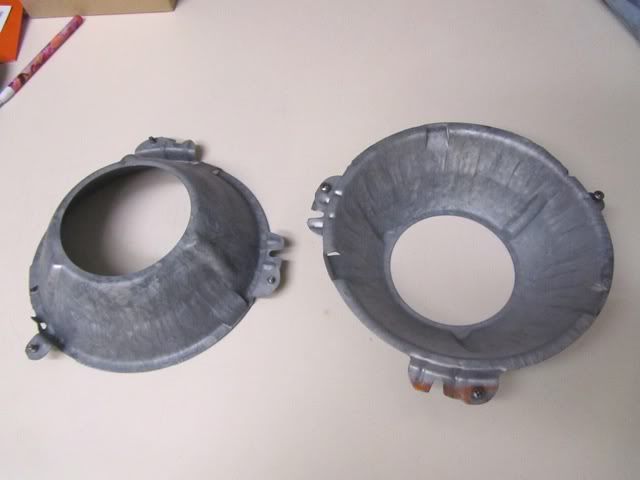
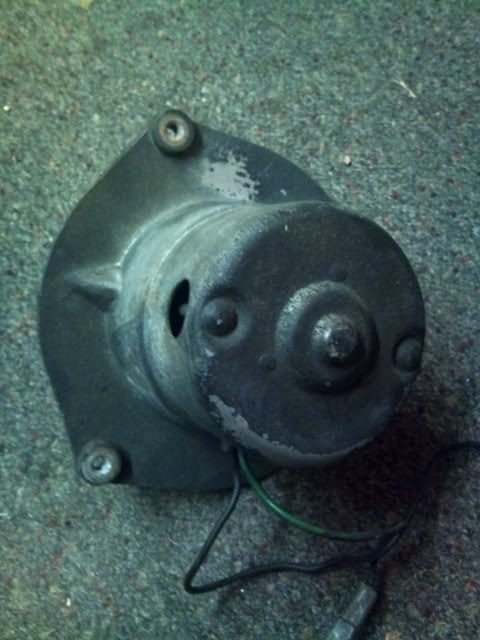
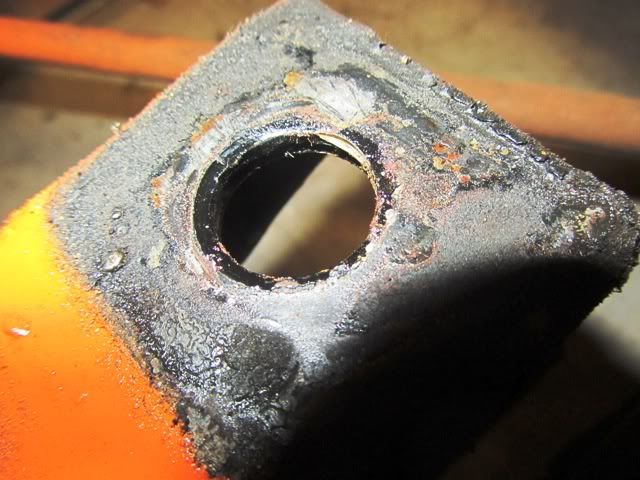
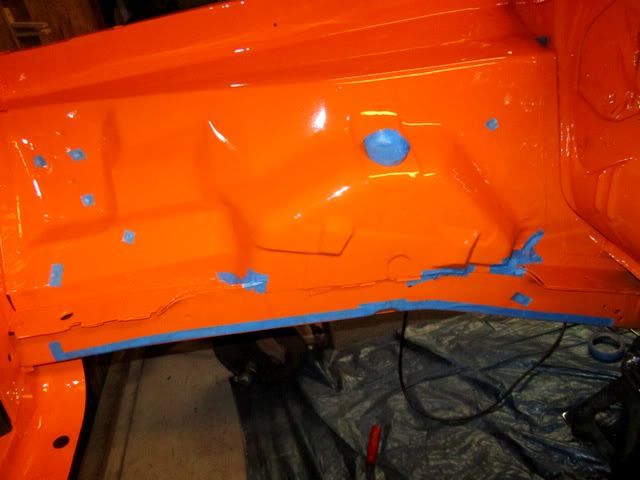
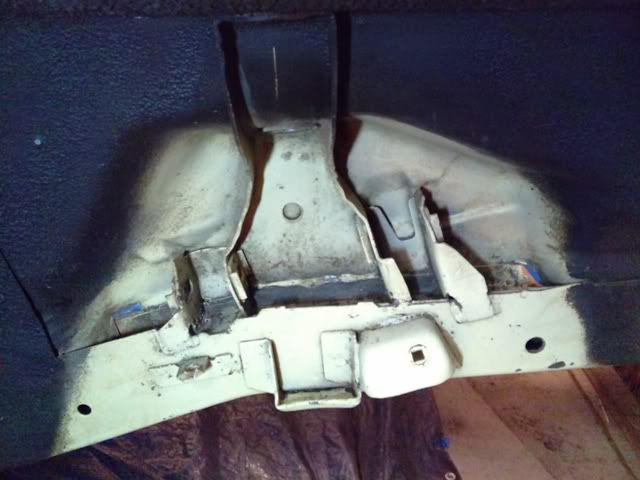
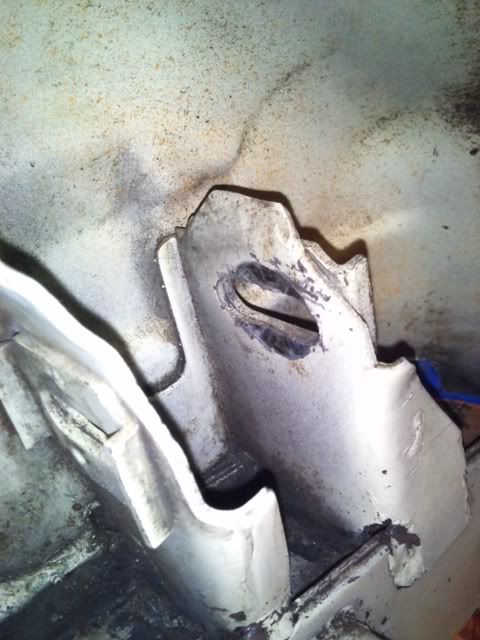
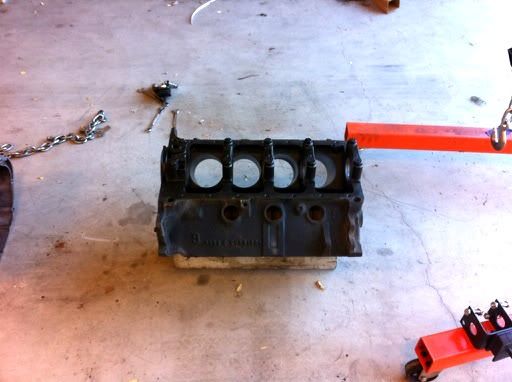
Hey J-Mac, after grinding down just about all of the rust, I used POR15 "prep and ready" which works like a rust converter. After it dried I lightly wire brushed the loose material away, then repeated the process a second time. We then painted it with Eastwood's Rust encapsulator.